Starter Peaks
This list of winter peaks has some of the less risky routes for winter summit attempts. Most of these routes are traditionally free of avalanche terrain during normal snow years, or the areas of concern can be avoided. However, sometimes avalanche terrain isn't far away from these routes, so staying on route is critical in winter. If you have not taken an AIARE course yet, the key thing to keep in mind when choosing routes and staying safe from avalanche terrain is to stay on ridges whenever possible. With that in mind, the peaks and routes below are recommended:
For each of these routes, please read the route description carefully before you head out on your hike. Bring a map and/or gps/phone for navigation and consider using the 14ers.com mobile app so you can reference the route description & photos if needed. It also allows you to follow the route on the app's map.Quandary Peak
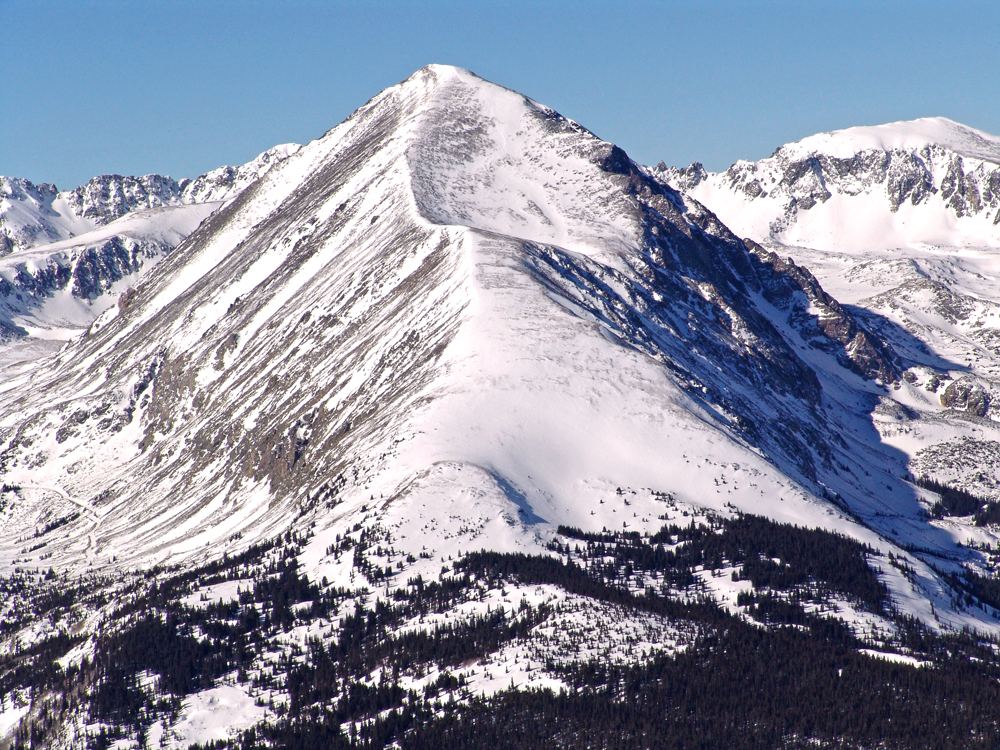
Quandary's East Ridge route is probably the most popular Winter 14er route. Unless there's a storm or high winds, hikers are likely to be on the east ridge every day of the year. Trailhead parking is right off CO Hwy 9, usually plowed, and parking reservations are not needed in winter months. Practically any car can make it to the Quandary trailhead.
The winter route follows the traditional summer route until treeline, near 11,700 feet. The summer trail swings left to the peak's southern side but you'll want to take a more-directly line along the east ridge. From treeline, stay to the left side of the slope and hike up to a point near 12,000 taking care not to go too far to the right as well because the lower east bowl is susceptible to avalanches. Continue up the slope to where the standard trail meets the ridge near 13,000, there are a few large cairns in the area. The remainder of the route follows the summer trail up the ridge to the summit. Microspikes and trekking poles are very helpful here.
With so many people hiking this peak there is usually a trench or bootpack from the trailhead to treeline. In the trees, just make sure to follow the correct path as there can be numerous ski tracks and one-off boot tracks of people seeking shortcuts. Depending on recent snow fall and the winds, boot tracks from 11,700 to just above 13,000 can be hidden. And while this route is the least likely to need snowshoes in winter, it is still a good idea to bring them unless you have seen a recent Conditions Update that makes it clear you don't need them. Crampons and an ice axe are rarely needed for this route on Quandary.
Avalanche danger is traditionally low on this route as long as you stick to the ridge and away from the snow fields in the upper and lower bowls.
Mt. Bierstadt
Mt. Bierstadt's West Slopes route is popular all year as well. The winter route follows the standard, summer route, though some folks do cut the switchbacks because they can't be seen and snow is considered to be a durable surface in Leave No Trace terms.
Guanella Pass is closed in the winter but the road is usually plowed from Georgetown to near the Guanella Pass campground, about 1.5 miles from the traditional trailhead. This adds an extra three miles roundtrip to the hike, making it about 10 miles total. The beginning of the winter route follows the road to reach the standard trailhead. Additionally, starting at the winter trailhead adds about 700 feet of elevation gain.
Hiking through the willows section can be exhausting if the snow is not supportive in early winter or is softening in the spring sun. This is certainly a route to bring your snowshoes because the willows can be quite a postholing adventure. Many experienced hikers can tell you stories of walking right across sections of snow covered willows with ease in the morning when everything is well frozen, only to spend double or triple the amount of time and energy later in the day as the temperatures warm and the snow becomes unsupportive.
Avalanche danger is traditionally low on this route, and in fact one of the only areas of concern is actually near the final switchback on the road itself. Crampons and an ice axe are not needed, but bring snowshoes and microspikes.
Mt. Elbert
The East Ridge is the traditional winter route for Colorado's highest peak. The road to the 2WD South Elbert Trailhead and parking area is paved and kept clear. There are no bathrooms at this trailhead. The first couple of miles of this route involve walking up the 4WD road to reach the summer, 4WD trailhead.
This trail was recently redirected and a new section was built by Colorado Fourteeners Initiative. Though in winter, most hikers take turn left near 10,600' in the aspens and take a more direct line to reach treeline, near 11,800. This trek up through the forest can be confusing so make sure you have a navigation device and have done your homework.
Starting at the plowed 2WD trailhead adds 3.6 miles roundtrip to the route, making it nearly 15 miles roundtrip for the day (depending on your route). It also adds 900 feet of elevation gain. While this route is a fairly gradual and gentle slope, don't under estimate the effort and route-finding needed to be successful. You are still looking at nearly 5,000 vertical feet in addition to the miles.
Avalanche danger is traditionally low on this route.
Mts. Democrat, Cameron, Lincoln, and Bross
The standard, summer loop is also the winter route for this group. One major difference is the extra mileage for the road closure, adding either three or six miles, depending on if the road is open to the working mine and gate afterwards (11,500'), or closed at the Paris Mill (11,000'). Depending on snowfall, there are usually a couple of places to park near the upper gate, definitely worth the time to drive up to check.
Many people will skip the switchbacks and slope to hike straight up the ridge on Democrat from the Democrat-Cameron saddle. If you plan do this, you will want traction (either microspike or crampons) and an ice axe. Take care here as the slope can become quite hardpacked/icy and is steep enough that a fall would be unpleasant.
Between Lincoln and Bross, there is routinely a hard-packed section of snow that you will have to cross. Traction and axe are recommended here.
During heavy snowfall years, the avalanche danger increases on the standard route. However, avalanche danger is traditionally low on this route.
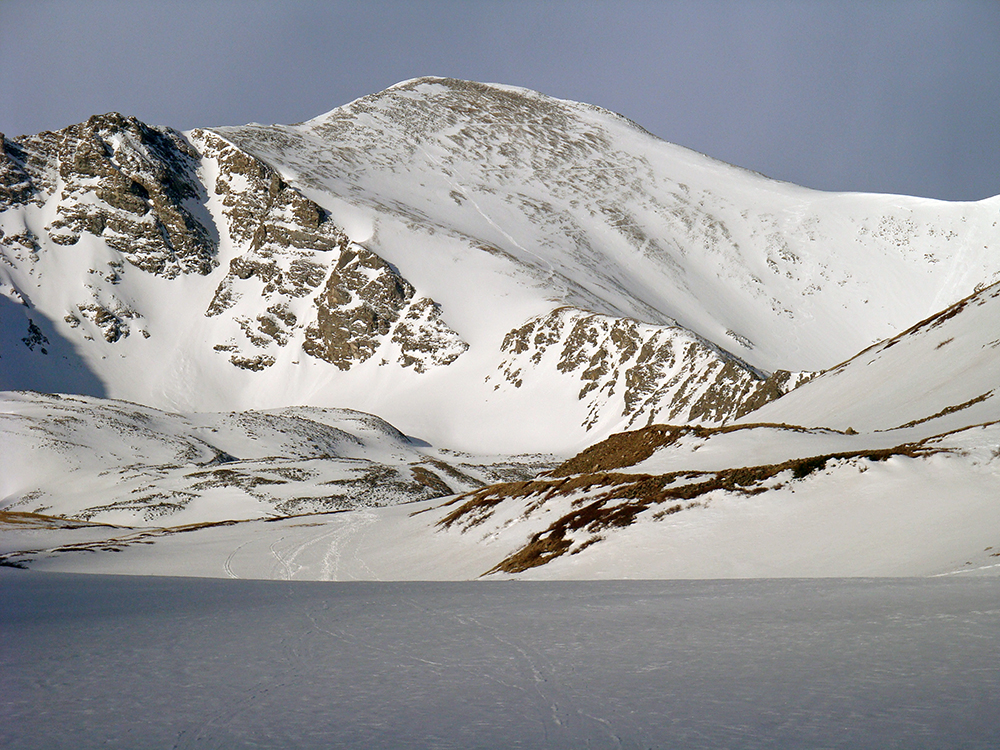
Grays and Torreys Peaks
Despite these peaks being great beginner peaks in summer, avalanche danger is real on this route in winter and spring, but it can be avoided for the most part.
Park just off of Interstate 70, at the bottom of the road to the Grays Peak trailhead. Numerous people try to drive up the trailhead road every winter and the carnage left from the stuck vehicles is ever present. Chance the drive at your own risk and wasted time. Hiking the road adds an extra six miles roundtrip and 1,450 feet of elevation gain.
As you walk up the road be aware of the potential for avalanche areas on 13er Kelso Mountain to your right. The first is a northeast-facing gully which has the potential to slide over the road. You will pass a couple more areas that are quite obvious as the avalanche cycles in previous years have pushed debris across the road and destroyed trees on the uphill side. Since you must walk up the road, you are forced to walk through these areas so be aware of the CAIC avalanche forecast and recent snow/wind activity that may have loaded these gullies.
Once you arrive at the summer trailhead, cross the bridge and follow the standard route to approx. 11,600' where it swings right and approaches 13er Kelso Mountain. Before you get close to Kelso's avalanche-prone, east slopes turn left and take a more direct line up through Stevens Gulch before re-joining the Grays Peak trail near 12,100'. Avalanches on the southeastern slopes of Kelso have killed hikers more than once and it's best to stay clear of this area. This diversion takes you over willows, which can be exhausting if the snow is not supportive. Bring your snowshoes.
Once past this section, follow the standard up to Grays or Torreys. If you hike Torreys, beware of the west side of Grays' north slope, near the saddle, as it can become wind-loaded with snow, posing avalanche problems.
Remember to stay clear of the avalanche terrain on the way down too. As the sun beats down on the snow, conditions change throughout the day. A slope that might have been fine in the morning could be otherwise in the afternoon.
Pikes Peak
Pikes' Northwest Slopes route from Divide is the popular winter route for "America's Mountain." The winter route follows the summer route with added road mileage, an extra two miles roundtrip. Making this peak about 16 miles roundtrip in winter.The road is plowed and gated shortly after the Rocky Mountain Mennonite Campground and parking is limited.
The lower section of this route is usually trenched or packed due to other popular destinations in the area, The Crags and Raspberry Mountain.
Avalanche danger is usually low on this route.

