|
|
Routes |
Gain |
Round-Trip |
Difficulty |
Risk Factors |
|
|
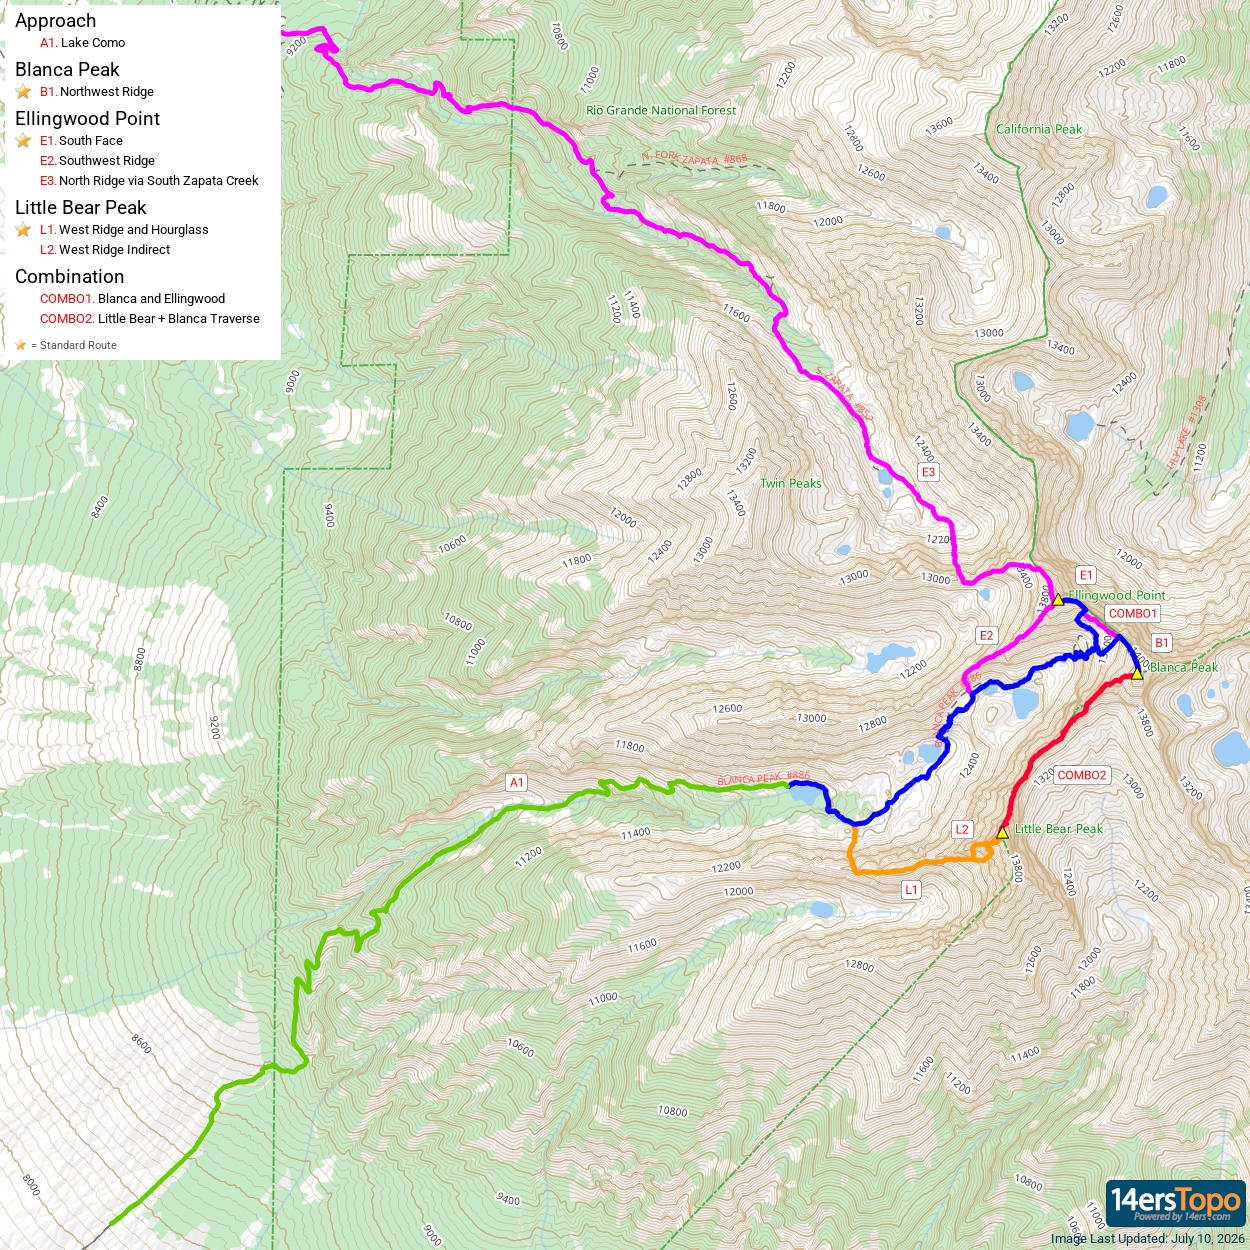
Lake Como ApproachDifficulty: Class 1Total Elevation Gain: 3,900 feet Round-trip Distance: 11 mi |
3,900' |
11 mi |
Class 1 |
Low Exposure: Low
Rockfall Potential: Low
Route-Finding: Low
Commitment: Low
|
|
|
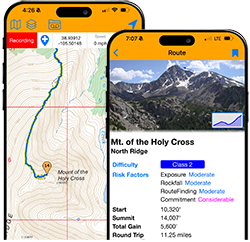
Blanca Peak - Northwest RidgeDifficulty: Difficult Class 2Total Elevation Gain: 6,500 feetRound-trip Distance: 17 mi |
6,500' |
17 mi |
Difficult Class 2 |
Considerable Exposure: Considerable
Rockfall Potential: Considerable
Route-Finding: Moderate
Commitment: Considerable
|
|
|
Ellingwood Point - South FaceDifficulty: Difficult Class 2Total Elevation Gain: 6,200 feetRound-trip Distance: 17 mi |
6,200' |
17 mi |
Difficult Class 2 |
Considerable Exposure: Considerable
Rockfall Potential: Considerable
Route-Finding: Considerable
Commitment: Considerable
|
|
|
Little Bear Peak - West Ridge and HourglassDifficulty: Class 4Total Elevation Gain: 6,200 feetRound-trip Distance: 14 mi |
6,200' |
14 mi |
Class 4 |
High Exposure: High
Rockfall Potential: High
Route-Finding: High
Commitment: High
|
|
|
Combo: Blanca and EllingwoodDifficulty: Class 3Total Elevation Gain: 6,800 feetRound-trip Distance: 18 mi |
6,800' |
18 mi |
Class 3 |
Considerable Exposure: Considerable
Rockfall Potential: Considerable
Route-Finding: Considerable
Commitment: Considerable
|
|
|
Combo: Little Bear + Blanca TraverseDifficulty: Class 5Total Elevation Gain: 8,000 feetRound-trip Distance: 17 mi |
8,000' |
17 mi |
Class 5 |
Extreme Exposure: Extreme
Rockfall Potential: Considerable
Route-Finding: High
Commitment: Extreme
|
|
 |
Ellingwood Point - Southwest RidgeDifficulty: Class 3Total Elevation Gain: 2,200 feet Round-trip Distance: 15 mi |
2,200' |
15 mi |
Class 3 |
High Exposure: High
Rockfall Potential: High
Route-Finding: Considerable
Commitment: Considerable
|
|
|
Ellingwood Point - North Ridge via South Zapata Creek |
5,200' |
12.5 mi |
Easy Class 3 |
High Exposure: Considerable
Rockfall Potential: High
Route-Finding: High
Commitment: High
|
|
|
Little Bear Peak - West Ridge IndirectDifficulty: Class 4Total Elevation Gain: 6,200 feetRound-trip Distance: 14 mi |
6,200' |
14 mi |
Class 4 |
Extreme Exposure: Extreme
Rockfall Potential: Considerable
Route-Finding: High
Commitment: High
|