Download Agreement, Release, and Acknowledgement of Risk:
You (the person requesting this file download) fully understand mountain climbing ("Activity") involves risks and dangers of serious bodily injury, including permanent disability, paralysis, and death ("Risks") and you fully accept and assume all such risks and all responsibility for losses, costs, and damages you incur as a result of your participation in this Activity.
You acknowledge that information in the file you have chosen to download may not be accurate and may contain errors. You agree to assume all risks when using this information and agree to release and discharge 14ers.com, 14ers Inc. and the author(s) of such information (collectively, the "Released Parties").
You hereby discharge the Released Parties from all damages, actions, claims and liabilities of any nature, specifically including, but not limited to, damages, actions, claims and liabilities arising from or related to the negligence of the Released Parties. You further agree to indemnify, hold harmless and defend 14ers.com, 14ers Inc. and each of the other Released Parties from and against any loss, damage, liability and expense, including costs and attorney fees, incurred by 14ers.com, 14ers Inc. or any of the other Released Parties as a result of you using information provided on the 14ers.com or 14ers Inc. websites.
You have read this agreement, fully understand its terms and intend it to be a complete and unconditional release of all liability to the greatest extent allowed by law and agree that if any portion of this agreement is held to be invalid the balance, notwithstanding, shall continue in full force and effect.
By clicking "OK" you agree to these terms. If you DO NOT agree, click "Cancel"...
Missouri Mtn. East Ridge Cliff Skirt/ South Gullies Distance: 5 mi (one way) Elevation gain: 4,400 ft YDS class: Class 3 Special gear: helmet, microspikes
Early on in my 14ers career while looking for peak combo routes I wondered why Belford-Missouri via the Elkhead Pass ridge wasn't commonly done. After a little research, I quickly realized that the ridge is cliffy, covered in loose rock, and discouraged by none other than Gerry Roach himself--apparently in the good book he writes that the ridge is "relegated to this author's worst nightmares"!
While looking into it more, however, it appeared that there was a work-around for the worst of the ridge. According to this helpful forum post and this trip report, a viable and even fun option involves skirting the east ridge to the south by traversing along the base of the cliffs on the south face and then ascending gullies to the summit ridge. I've been curious about trying this myself, in part because I wonder if it could be a feasible winter route and also because decent class 3 Sawatch scrambles are pretty rare! I wanted to make this trip report to show some more pictures of the route and add my own experience of it as well. I had a great time, it was nowhere as loose expected, and it sent like a dream!
Note: if you notice any colored bubbles at the edges of these pictures, I was just trying to edit out my hand. The sun was shining directly at me while on the ridge and I had to block it out with my hand to get useable pictures.
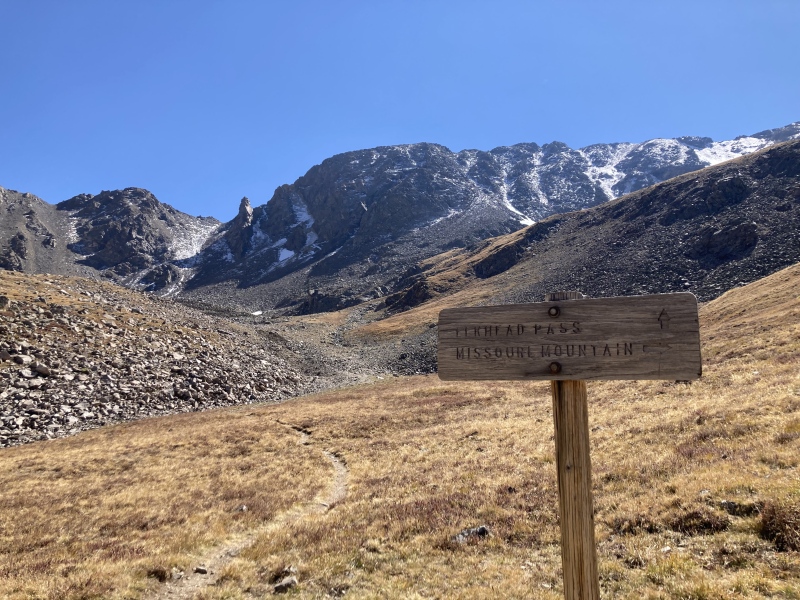
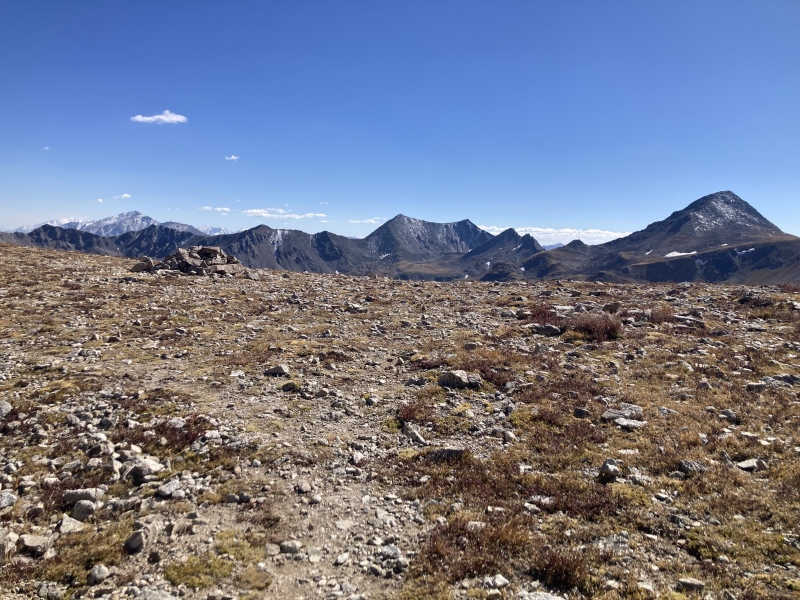
To access the east ridge, first you must reach Elkhead Pass between Belford & Missouri. On the way up to the pass, the first part of the ridge before you drop to the south side of the mountain is visible. The features on this section from left to right are a small bump-and-a-half, a larger bump, a low saddle, and then Missouri's broad summit ridge. The low saddle is the point where I started skirting around the back side of the mountain to avoid the difficulties of Missouri's summit ridge.
Elkhead Pass turn-off. Half of the first small bump, the larger bump, and the low saddle are visible on the left side of the ridge from here. Note: there wasn't any water access past this point in early fall so be sure to fill up at the prior creek crossing if you need.Elkhead Pass
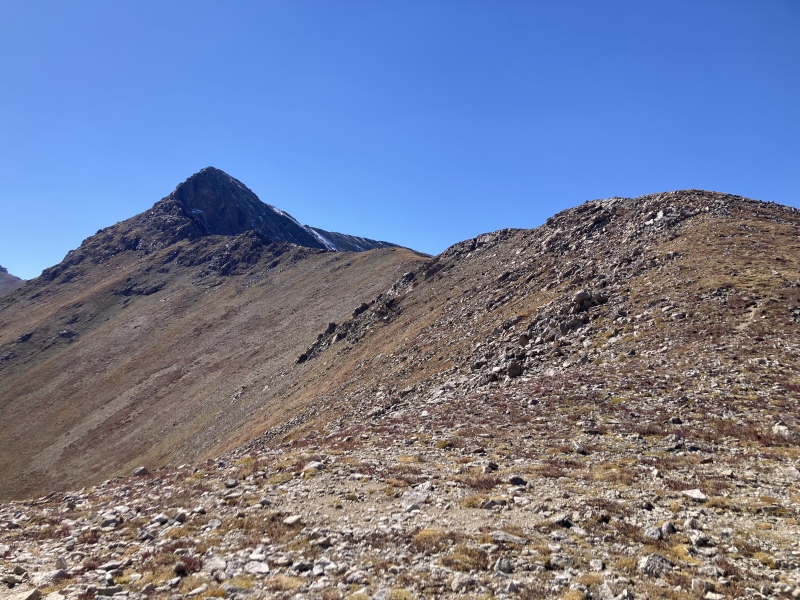
Once at the pass I could now start heading up the east ridge. I was surprised to find a path here in an area I don't see talked about often--I've seen Front Range 13ers with less of a trail than this!
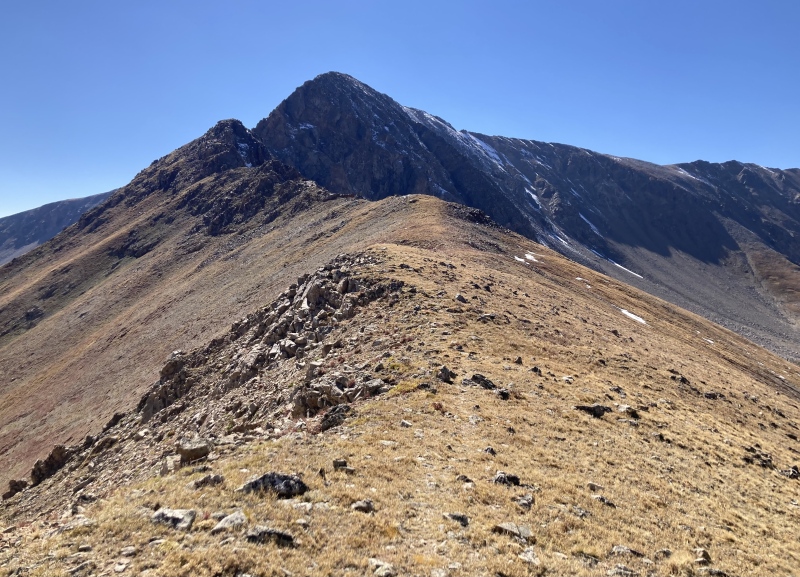
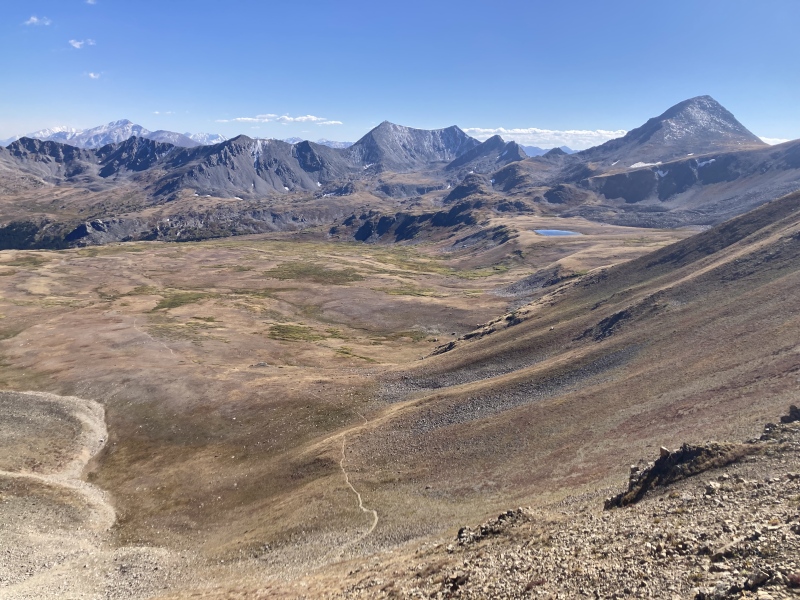
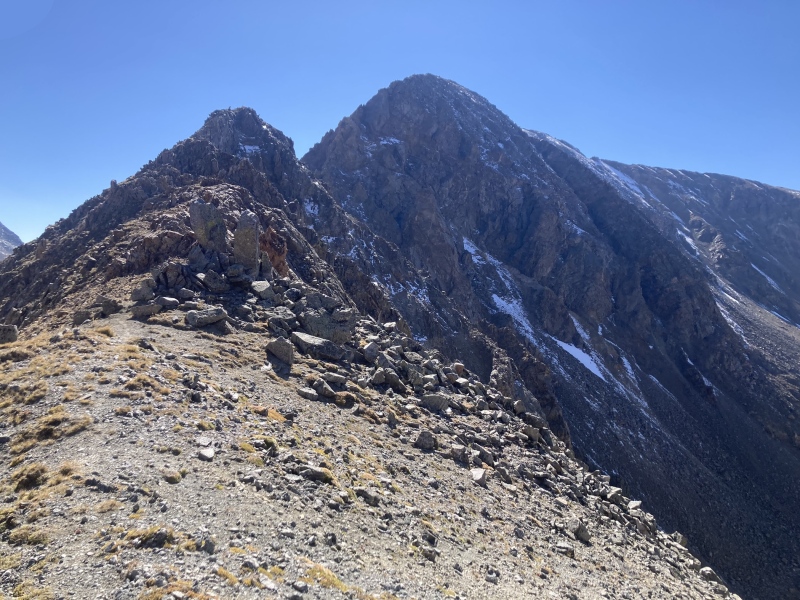
Looking up east ridgeGet ready to be treated to phenomenal views to the south the entire time on the ridge!Small bump just ahead, larger bump behind that, Missouri summit ridge in center. Looks like there's a brown Sasquatch lurking behind that first patch of rocks atop the ridge!
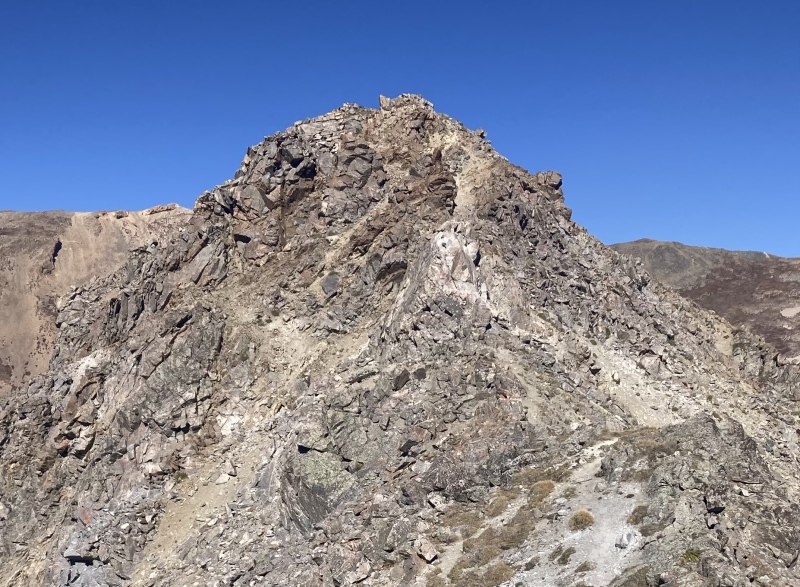
Once I arrived at the first small bump I could instantly see how the rock quality here gets a bad rep. The social trails charted through solid rock, but small stacks of splintered rocks embedded in the boulders looked ready to fall apart with a single pull. There was a short yet exciting catwalk on solid rock after this bump as well.
At the first small bump on the ridge. Doesn't look like it but there's several established social trails through this area--I went left to the notch below the airplane.
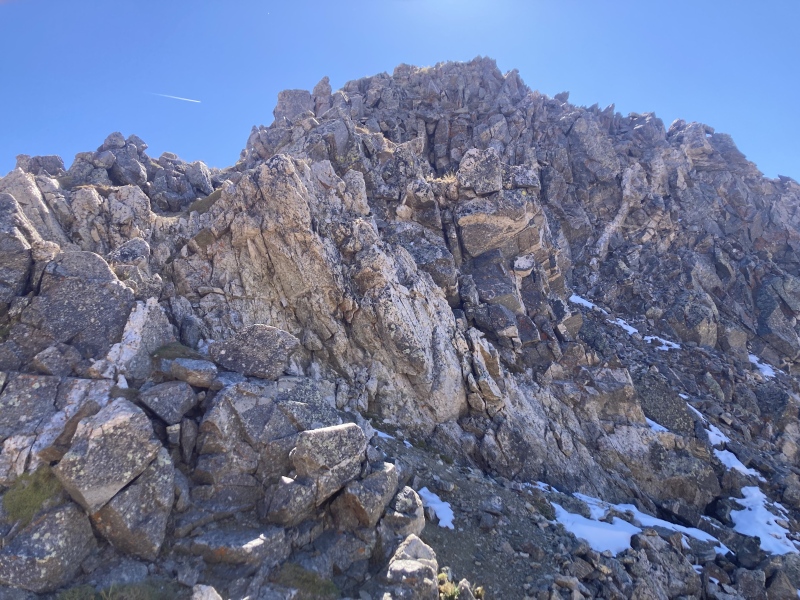
Here's where my advice would differ from the previous reports--others have suggested skirting the large bump right after the small bump and catwalk but I would have much rather gone over it. The bypass to the left of this tower had the loosest and steepest terrain of the whole route. The author of the report I linked earlier said that the downclimb from this large bump was "impossible"--from the other side to me it looked perfectly feasible, though, especially for an already class 3 route.
Large bumpBackside of the large tower. Those rounded-off brown and gray rocks near the top look pretty solid.
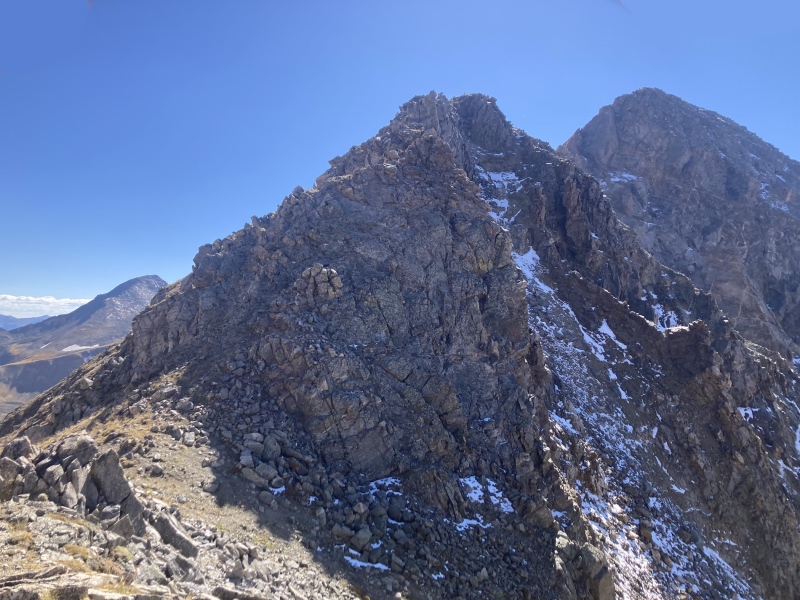
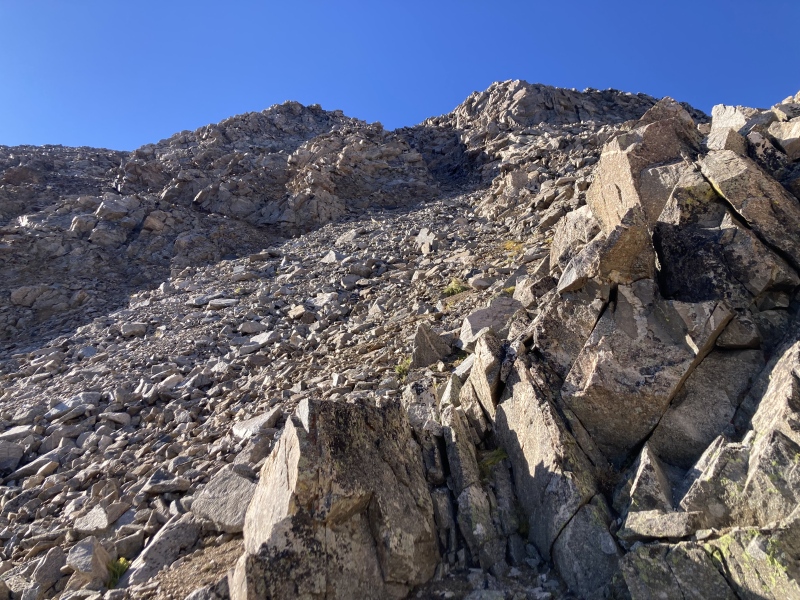
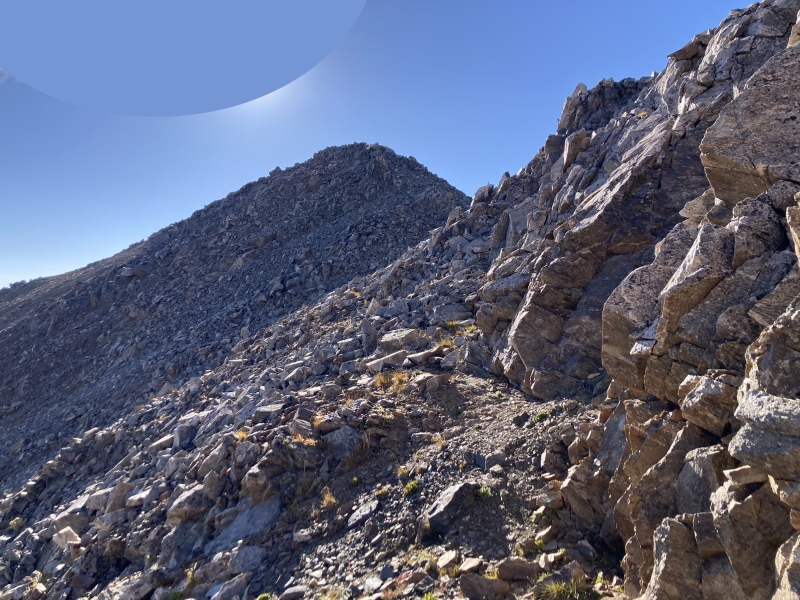
After this larger knob I arrived at the low saddle just before Missouri's summit ridge. This where I started skirting to the left/south side of the proud yet disintegrating bluffs. The social trail here was still holding up strong--I could definitely see recent footprints and a pattern of disturbance at the base of the cliffs.
I only realized later that these trailrunner prints were probably from none other than 14er royalty Andrea Sansone & Andrew Hamilton on their Nolan’s run that morning! From Andrew’s forum posts it looks like he has a dialed-in yet still unnerving Pyramid Peak-like route down the upper south side of the summit ridge.
This saddle was where I also put on my secret weapon: microspikes! I noted how user daway8 used these with success and no damage to the spikes while going up the sandy, slippery standard trail of Maroon Peak. They were very useful for me for maintaining traction across and up dirt sections from here. I think it would also be wise to put on a helmet here too in case anything lets loose from above.
Low saddle below Missouri summit ridge headwallLooking left from the low saddle towards the base of the cliffs
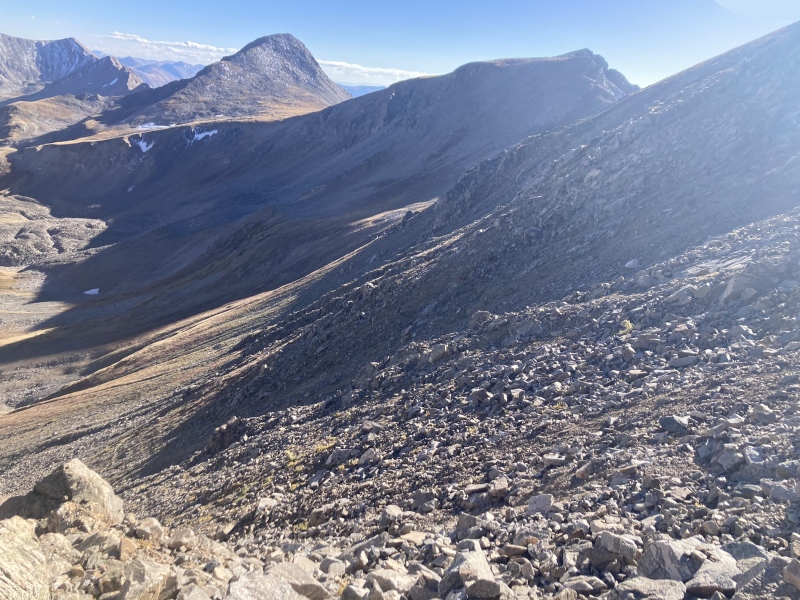
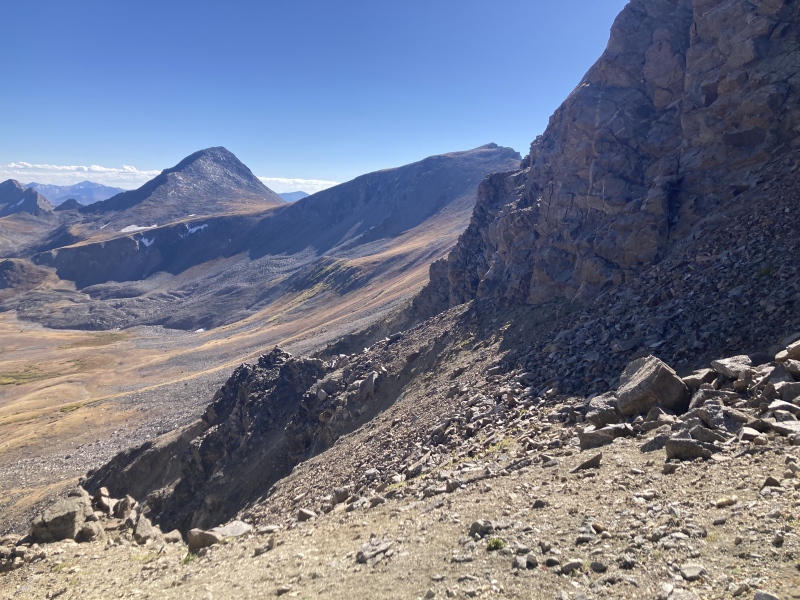
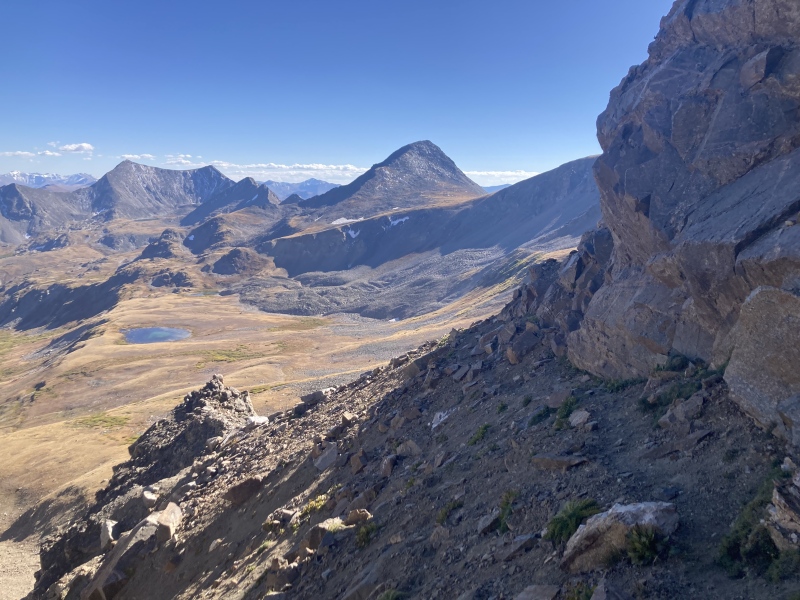
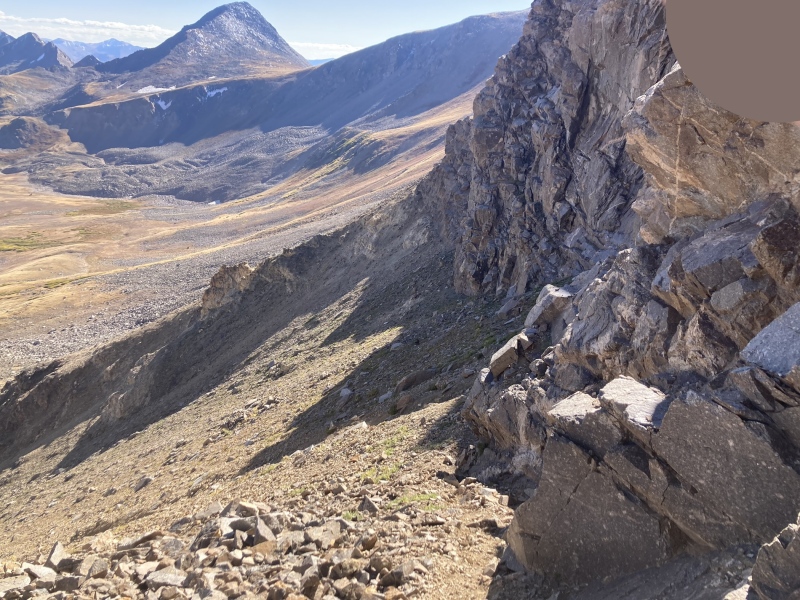
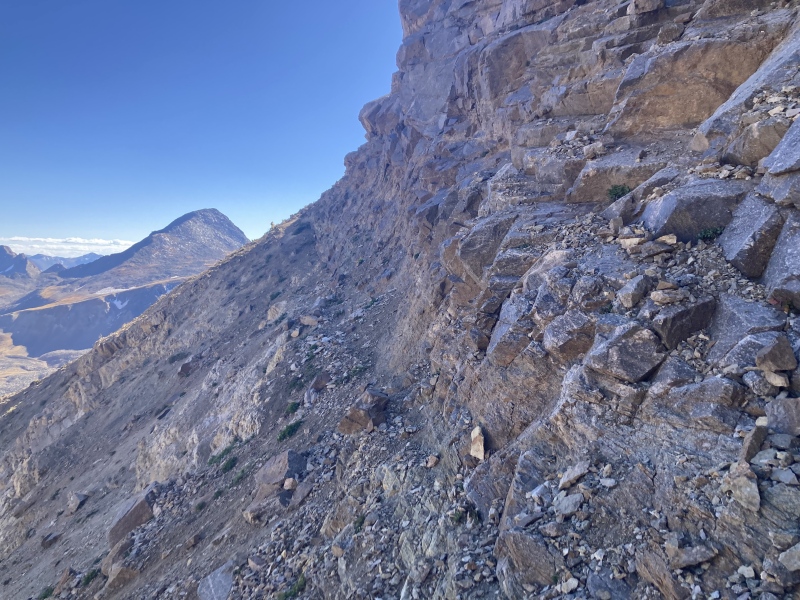
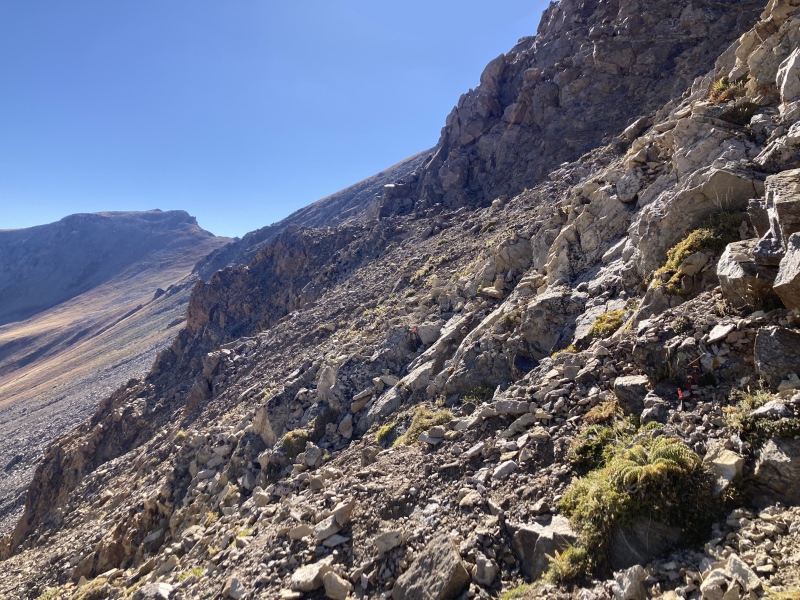
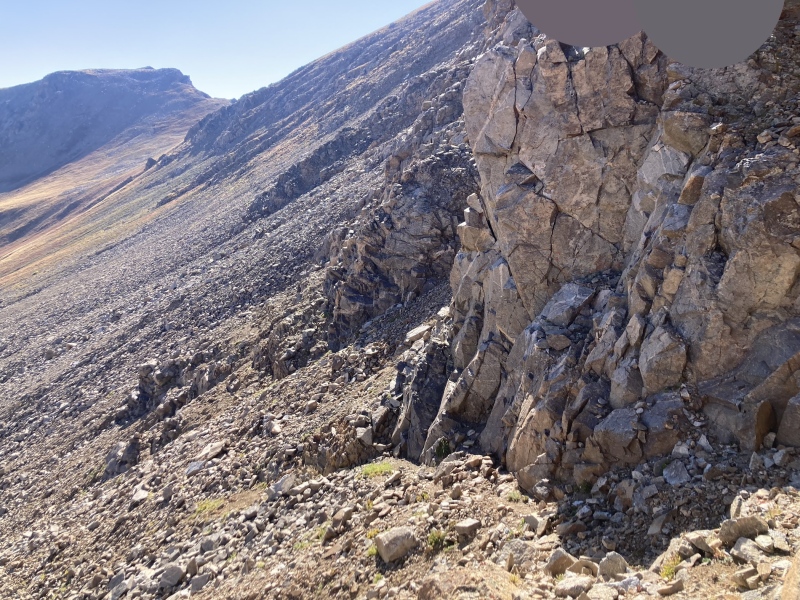
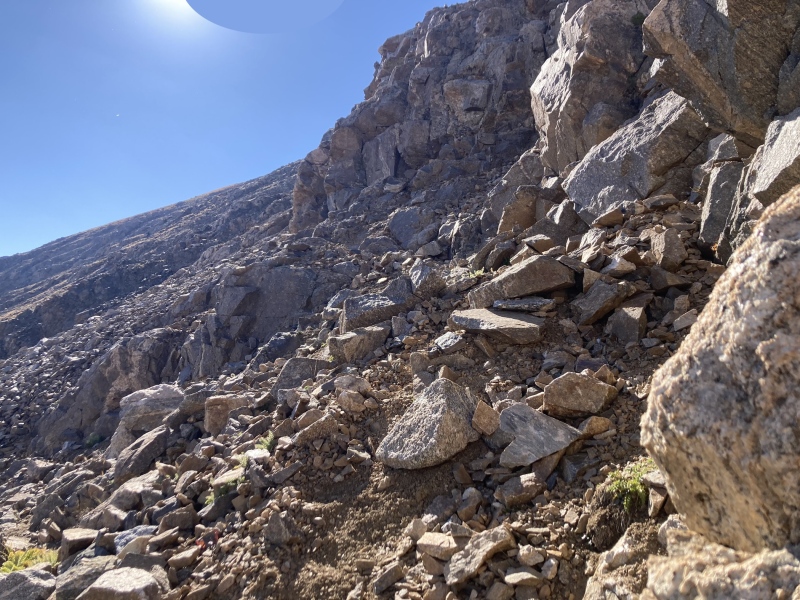
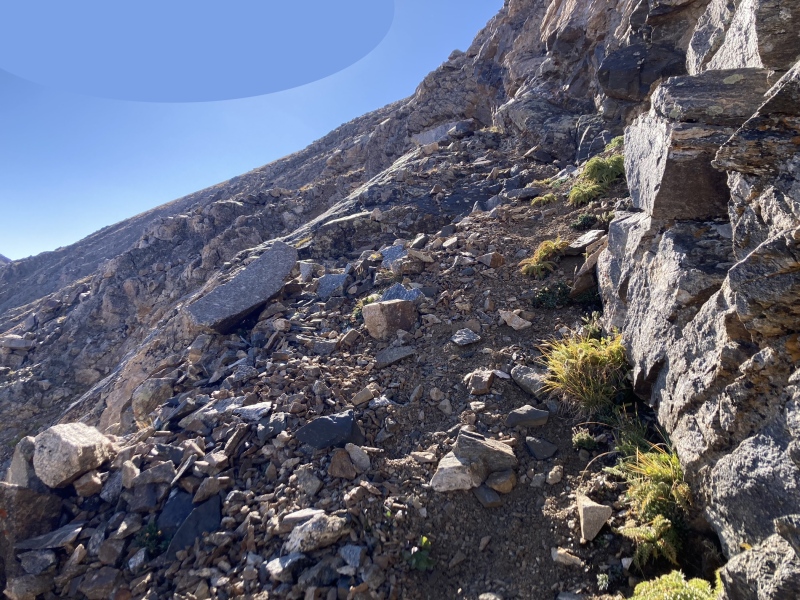
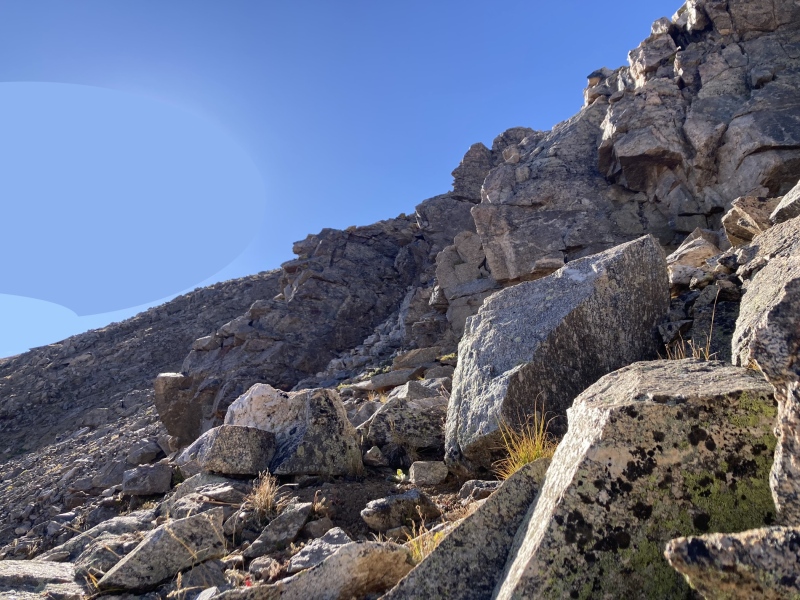
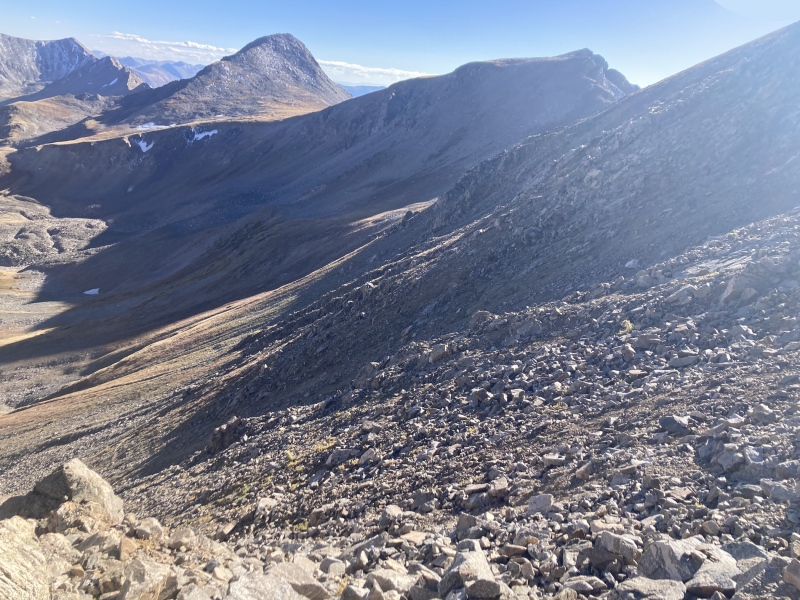
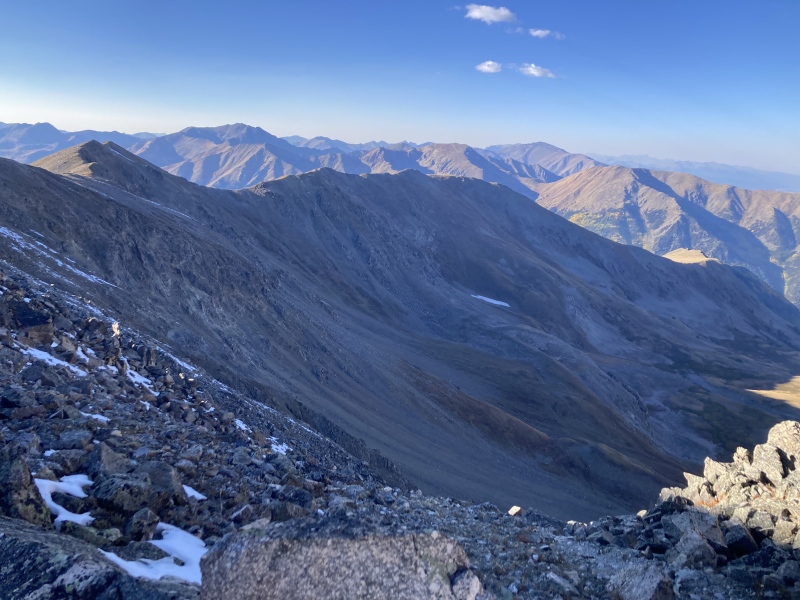
After not having a fun time bypassing the large bump before this, I was surprised to find the scree under the cliffs to be fairly stable and not that steep. The terrain is a mix of anchored rocks, gravelly dirt, loose talus, and grassy ledges. The cliff walls often provide a solid handhold over unsteady terrain. I only felt a little nervous on a couple steps above a steeper dirt chute, otherwise it really wasn't sketchy at all and felt kind of cool. The view to the south remained breathtaking and it felt unique for a 14er route treading under these monolithic ramparts. The following are pictures of the path from around each rock rib/corner, I stayed pretty much right next to the cliffs as much as I could:
I think the far end of this section had the loosest dirt chute.
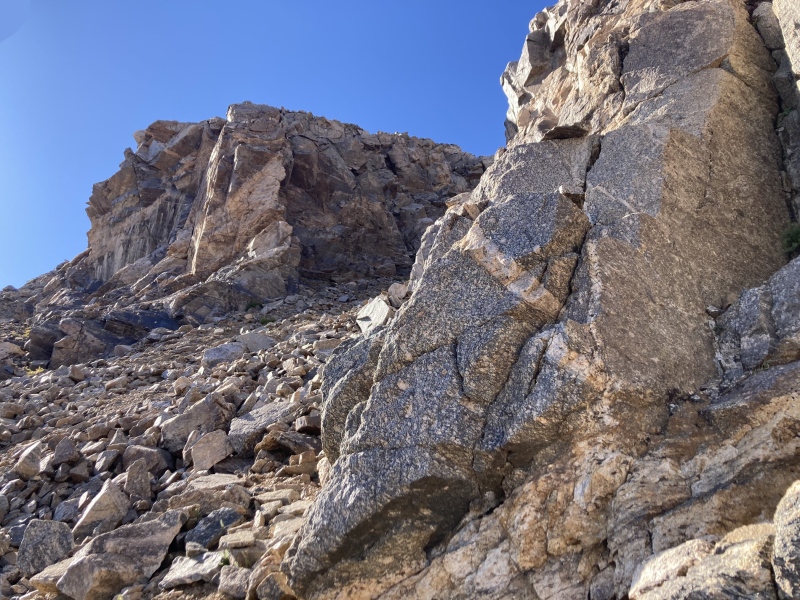
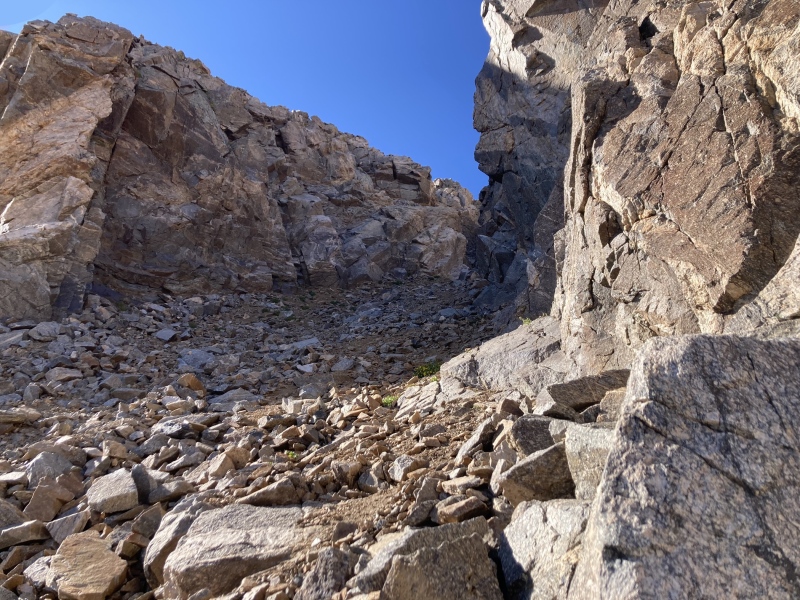
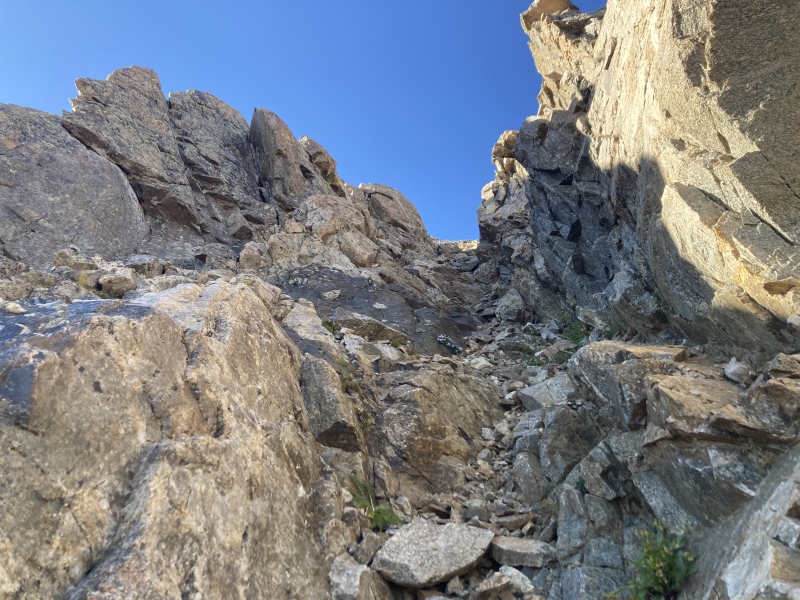
After a while the cliffs relent and degrade into rock ribs and gullies, and the scree slopes also lessen in angle. I passed one ravine with stark, canyon-like walls that I considered ascending but ended up passing--I was trying to find the rock rib formations for the gully that user leggaj5 successfully climbed in their trip report but couldn't ever match the pictures up. I think that canyon gully actually is the one that they clambered up, though. Next time I think I'd try going up that one simply because it looks cool and it tops out in the same area as the trench I ascended a bit further down. I don't think I would try ascending earlier than the canyon gully, however--the ribs & talus just looked too steep and junky before this.
Cliffs turning to rock ribs nowOpening of the cool canyon-like gully. The left rib of this gully has a bottle-opener shaped notch in the rock.Looking up canyon gully. It had some cream-colored rock in the middle up ahead.I passed the canyon gully and continued ascending around the rock rib.
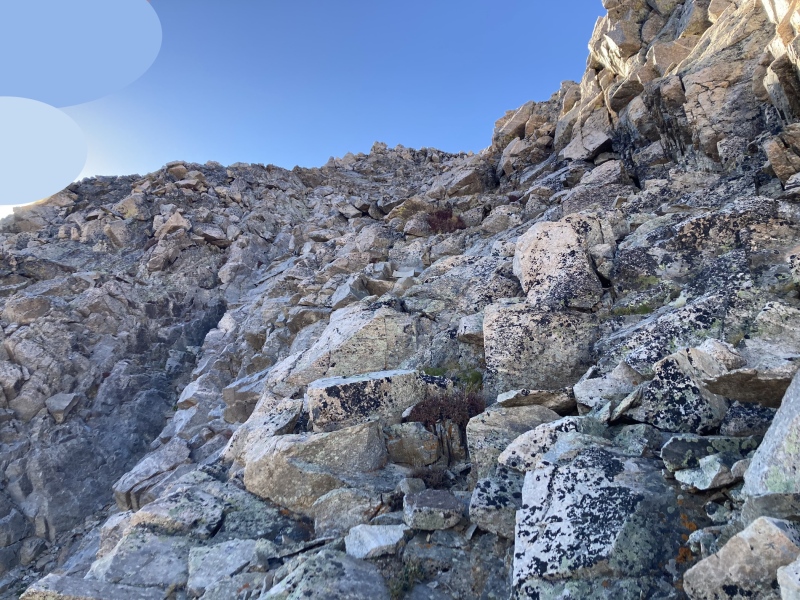
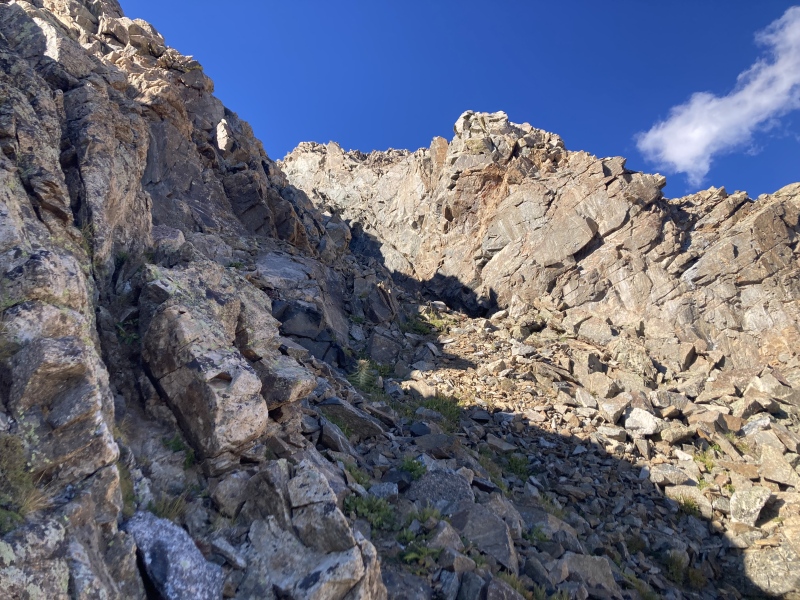
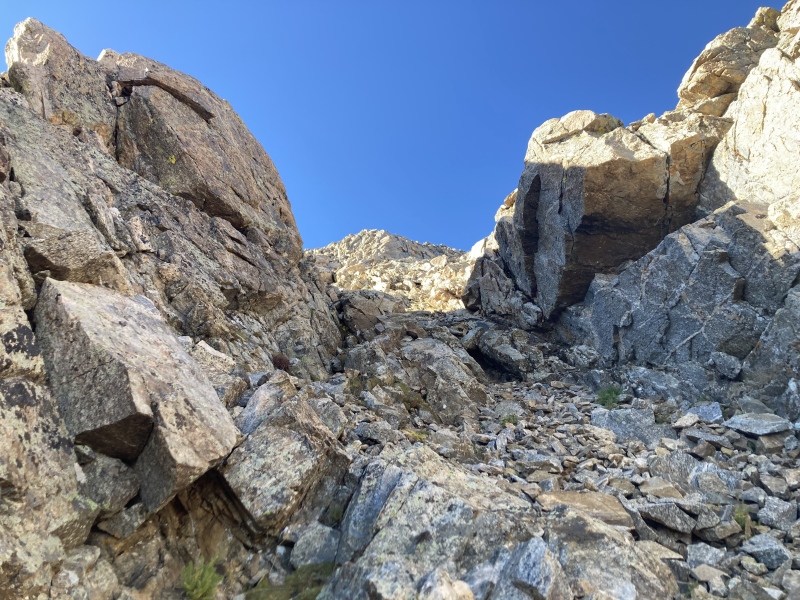
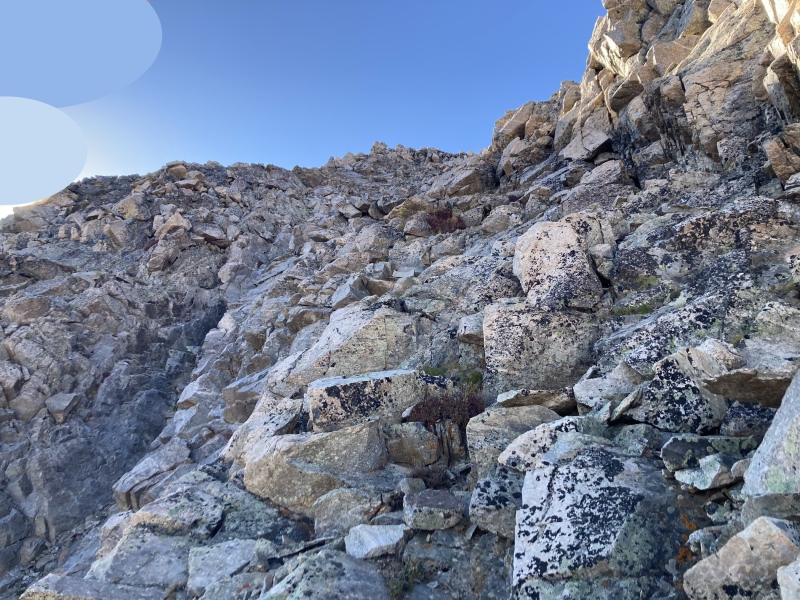
Very soon I came to what seemed to be the last rock ribs and gully for a while along the slope. The chute was narrow and tapered off to a square-ish window at the top. The walls appeared solid and there wasn't a lot of scree in the middle. It looked pretty good to me for an ascension point so I climbed up, alternating between the middle and sides for the easiest traction and holds.
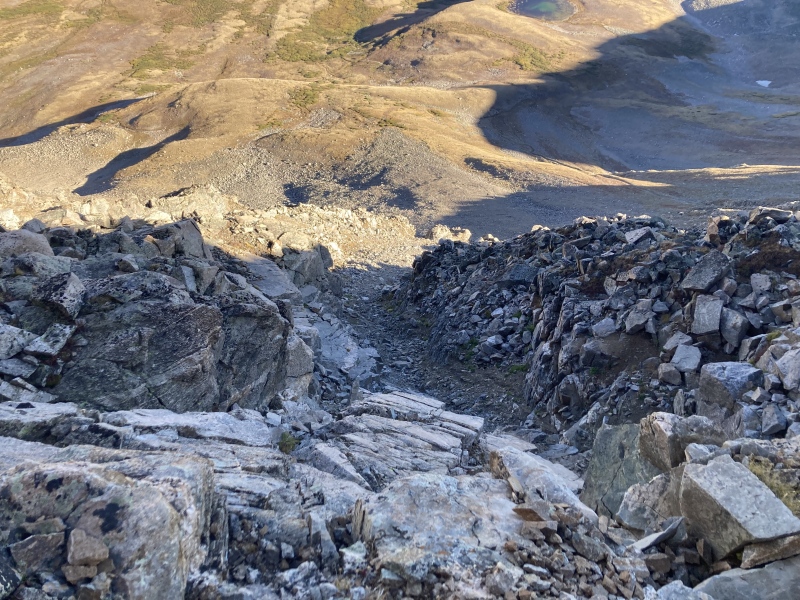
Last rock rib/left wall of gully is left of center here. There's a rock that kinda looks like a face profile atop the rib above and right of center.Looking up narrow gully at square window. Face-shaped rock formation visible again on left.Next to the left rock rib of the narrow gully looking back at the right rock rib. This right rib has that little tower formation at top.Taken from above--as you can see, there isn't much past this last left rock rib. There isn't a scree field this large before this--this gully is hard to miss!Topping out at the window. Believe it or not, that bump up there is the top of the summit ridge, so close!
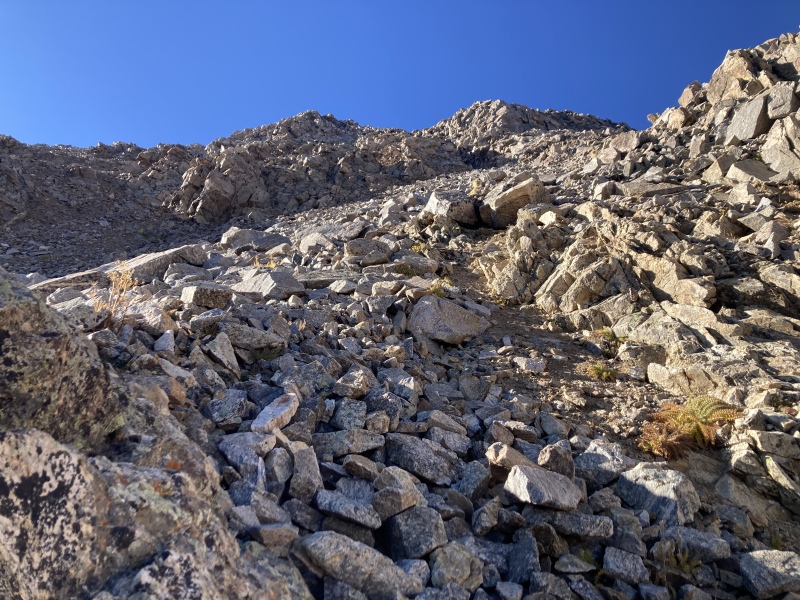
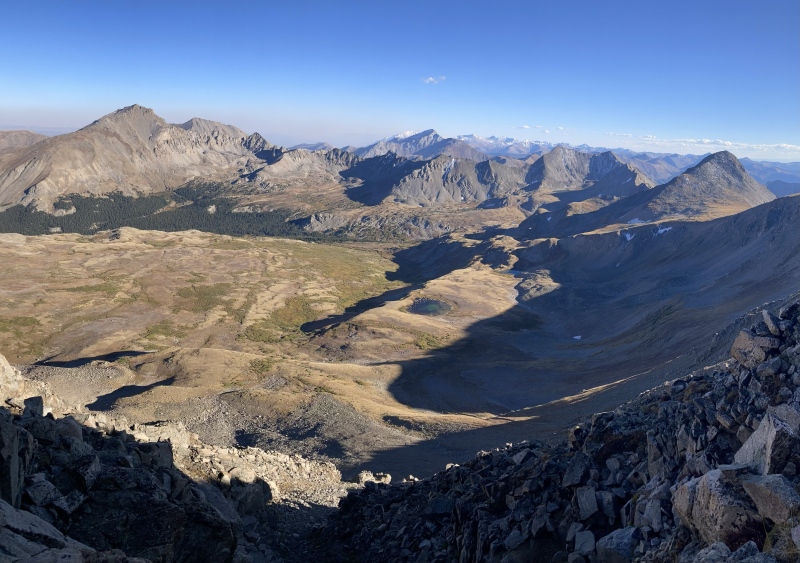
I was surprised with how quickly I was gaining elevation here. I really appreciate how class 3 climbing distributes elevation gain over my whole body and thus feels a bit easier than just hiking for miles up a trail. After topping out on the gully, the slope above opened up to a variety of options. I saw two bumps ahead of me but wasn't sure yet if those were the base of two more lower-angle rock ribs or the summit ridge itself. I decided to ascend the larger talus blocks on the right side of this open area while making my way to the bump ahead on the right. The rock was solid here, the larger boulders seemed pinned down well. The view to the south from up above here was still incredible!
Open area above gully with summit ridge bumps ahead. I went up the rocks on the right.Moving up rocks towards summit ridge bumps. Talus boulders are pinned down well here.
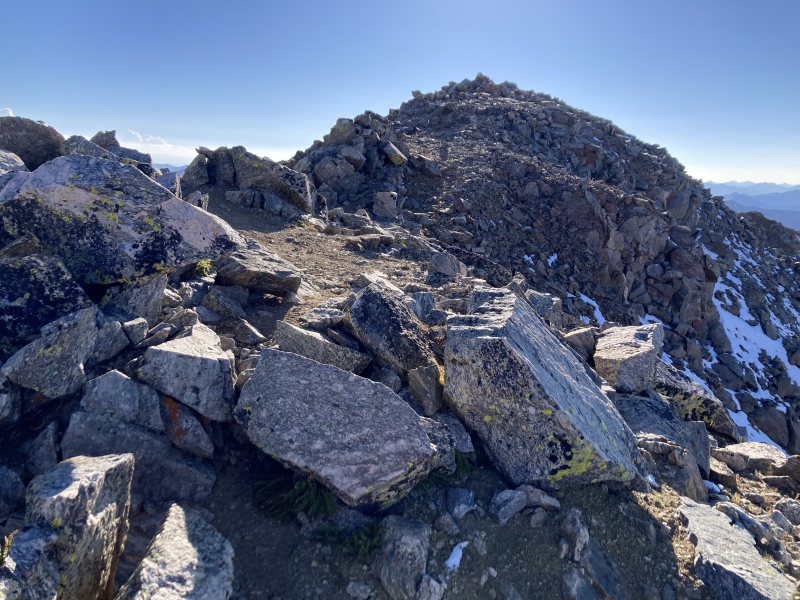
There's obviously looser rock in the open area, but some are anchored down among grassy patches--nothing really took me by surprise by moving underneath me. I decided to angle below and to the left of the right bump ahead so I could end up between both mounds. I was definitely getting the feeling now that those rock piles were on the summit ridge! There was a gash between these two bumps that that I took care while maneuvering over since a fall into it would have been consequential. Soon I topped out at the small saddle overlooking Missouri Gulch!
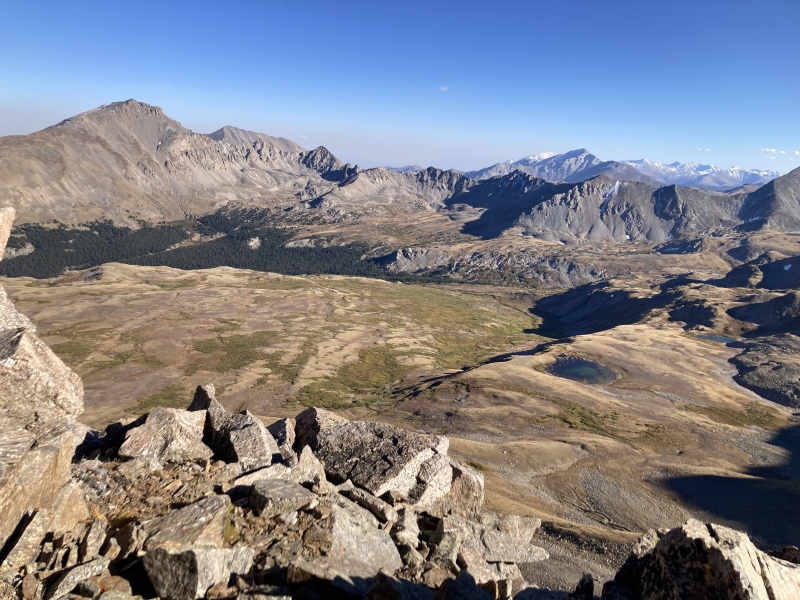
Skirting the right summit ridge bumpLooking down into the small gash between the two knobs. You can see the square exit of the narrow gully I ascended dead center of frame!Pano looking back. Emerald on the right looked like a cool 13er to climb someday!Above the class 3 climbing, heading between the two summit ridge bumpsTopping out over other side of ridge looking into Missouri Gulch!
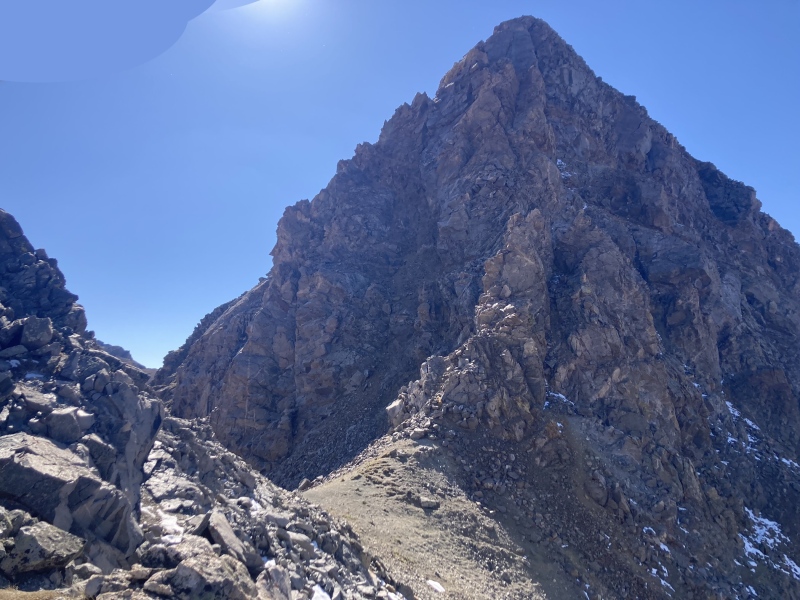
There were numerous social trails up along the summit ridge. I followed one atop the left summit ridge hump until I could see the summit proper. And that was that! The east ridge cliff skirt route was a success after all!
Summit up ahead!
I really enjoyed this route! Traversing along the bottom of the bluffs was pretty painless and didn't feel super loose, especially with my microspikes. The climbing up the gullies was engaging and solid--definitely not something worth relegating to my nightmares! If I tried this route again I think on the first section I would ascend & descend the large bump before the Missouri ridge headwall and try out the cool-looking canyon gully just for fun. Looking from above, that ravine opened up to the same low-angle talus area above the narrow gully I took.
I didn't return this way (came down the west ridge to check out the Clohesy Lake area), but I think this route would be feasible for descending as well. I would probably pass between the two bumps on the summit ridge like I did on the ascent then tread through the low-angle talus blocks on the upper slope until I reached the narrow gully. From there I might either climb down the gully or along the outside of the rock rib on skier's right. After that, I would traverse back to Elkhead Pass along the base of the cliffs.
There are already a few trip reports that detail descents of the east ridge, but they cut diagonally across the south face towards Elkhead Pass, either on small loose scree over huge drops or up and over gullies until they get cliffed out. These users seemed like they had some pretty sketchy experiences on this diagonal-cut high route--the descent down the route that I took appeared much safer and easier and doesn't have any unwelcome or invisible surprises.
I hope this ridge gets more attention, it was a unique, beautiful, fun, and safe route with lots of options and variations as well! The only real big crux of the day was on the way home getting stopped for construction at the Eisenhower tunnel at 10:30pm... and then waking up at 5:30am the next morning for work!
GPX route is approximate:
GPS Track(s) on Google Maps (made from a .GPX file upload):
Solid work on getting this ridge. I've always had a passing interest in climbing it based on others' reports. You gave me new interest. Killer shots too.
Nice work! I did this in reverse getting Missouri first and descending to Elkhead Pass skirting the east ridge to the south (this is my trip report for it). Looks like you took a harder line than I did, I probably lost too much elevation too early and while avoiding a lot of the more technical terrain of the towers I ended up in that loose scree earlier than I needed to after cliffing out. Still, I'll do that any day before unnecessarily regaining elevation by taking the standard route back and then up to Elkhead Pass to continue onto BelOx lol.
Thanks yall!! Andrew I actually stumbled upon your YouTube upload first & your report later, noted how you saw Monster5s options for the ridge as well. I actually thought your line was harder than mine, maybe it was GoPro distortion but the slabs before you got cliffed out & the downclimb after looked pretty exposed! I do see how you went up & over the gully I went up but it looks like it held a lot of snow for you.
I was wanting to do a linkup with Huron from Clohesy to make it MisHury Business but had to settle for this, especially since this title amazingly hadn't been taken yet!
Caution: The information contained in this report may not be accurate and should not be the only resource used in preparation for your climb. Failure to have the necessary experience, physical conditioning, supplies or equipment can result in injury or death. 14ers.com and the author(s) of this report provide no warranties, either express or implied, that the information provided is accurate or reliable. By using the information provided, you agree to indemnify and hold harmless 14ers.com and the report author(s) with respect to any claims and demands against them, including any attorney fees and expenses. Please read the 14ers.com Safety and Disclaimer pages for more information.
Copyright: Route information, text, risk factors, maps, GPX files, charts, photos, 14ers.com-created map imagery, flythroughs, and other content provided in this route description are copyrighted by 14ers.com and may not be copied, reproduced, republished, distributed, modified, or used to create derivative works without prior written permission.
Please respect private property: 14ers.com supports the rights of private landowners to determine how and by whom their land will be used. In Colorado, it is your responsibility to determine if land is private and to obtain the appropriate permission before entering the property.