
Home is behind, the world ahead,
And there are many paths to tread
Through shadows to the edge of night,
Until the stars are all alight.
J.R.R. Tolkien
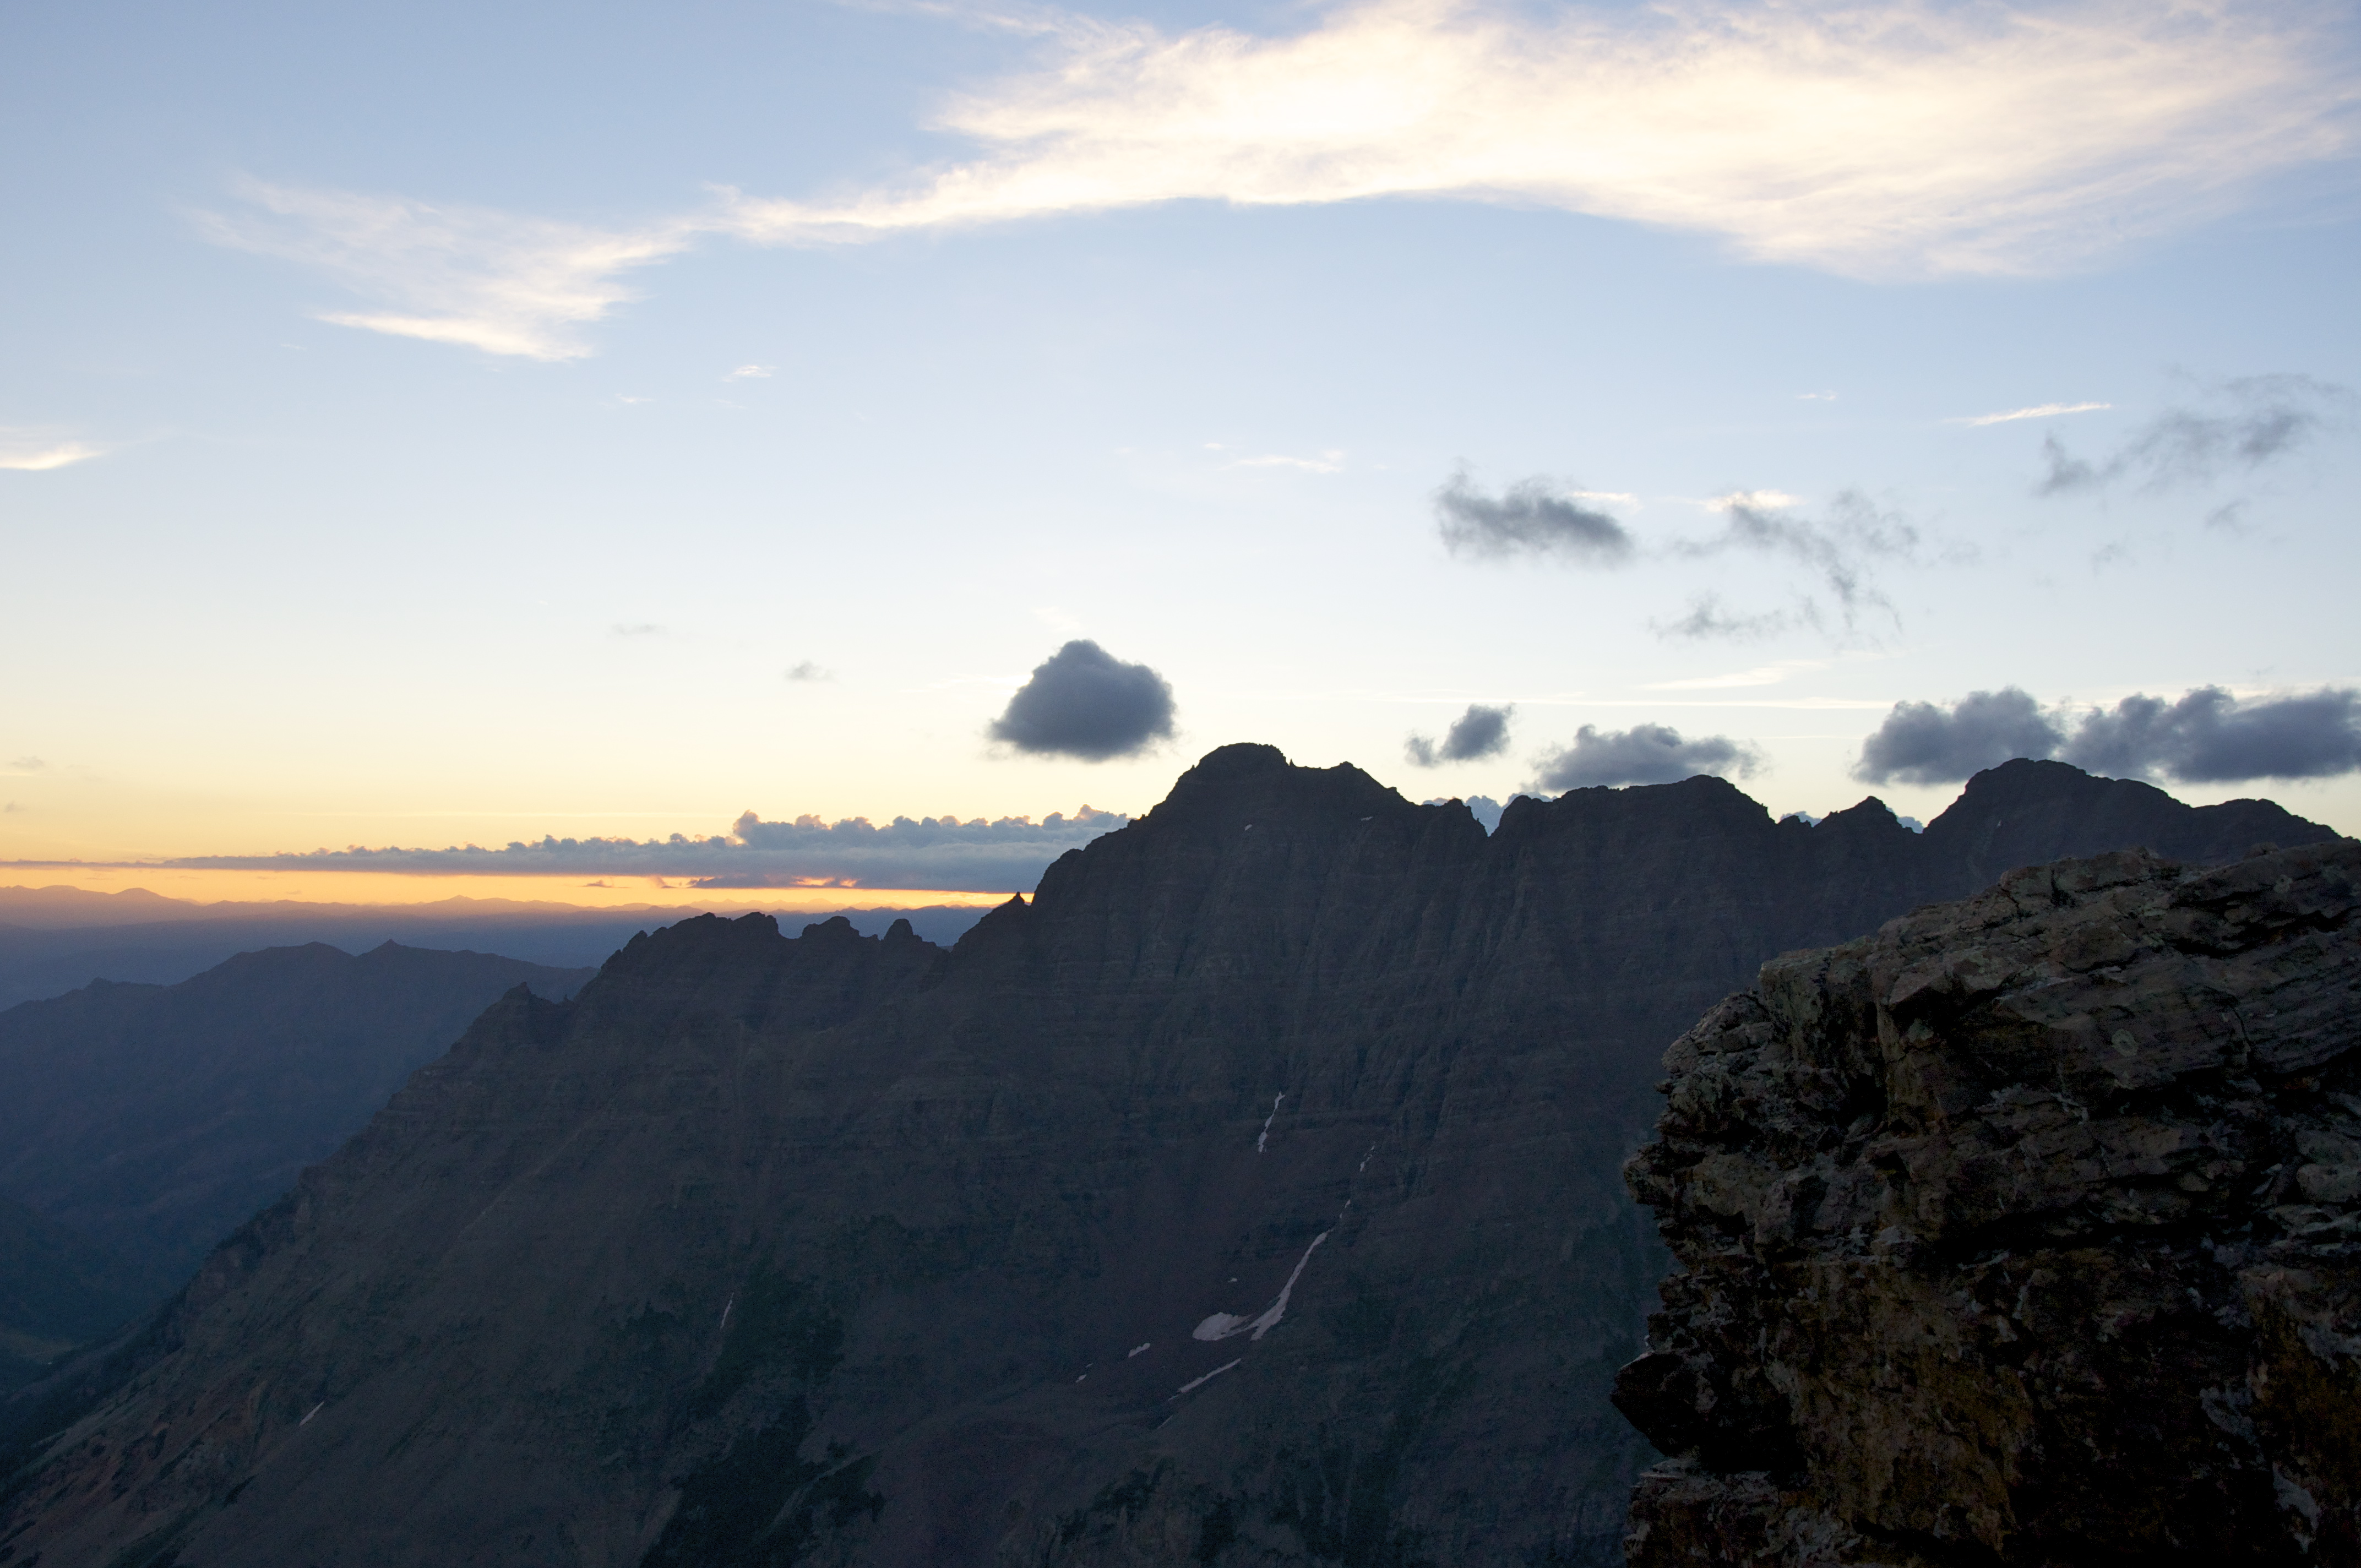
The Maroon Bells have been on my wanted list for a while. After a few unsuccessful attempts to schedule this trip over the past few years, the time finally came to climb these lofty, rugged peaks that have drawn so much attention from climbers and tourists alike.
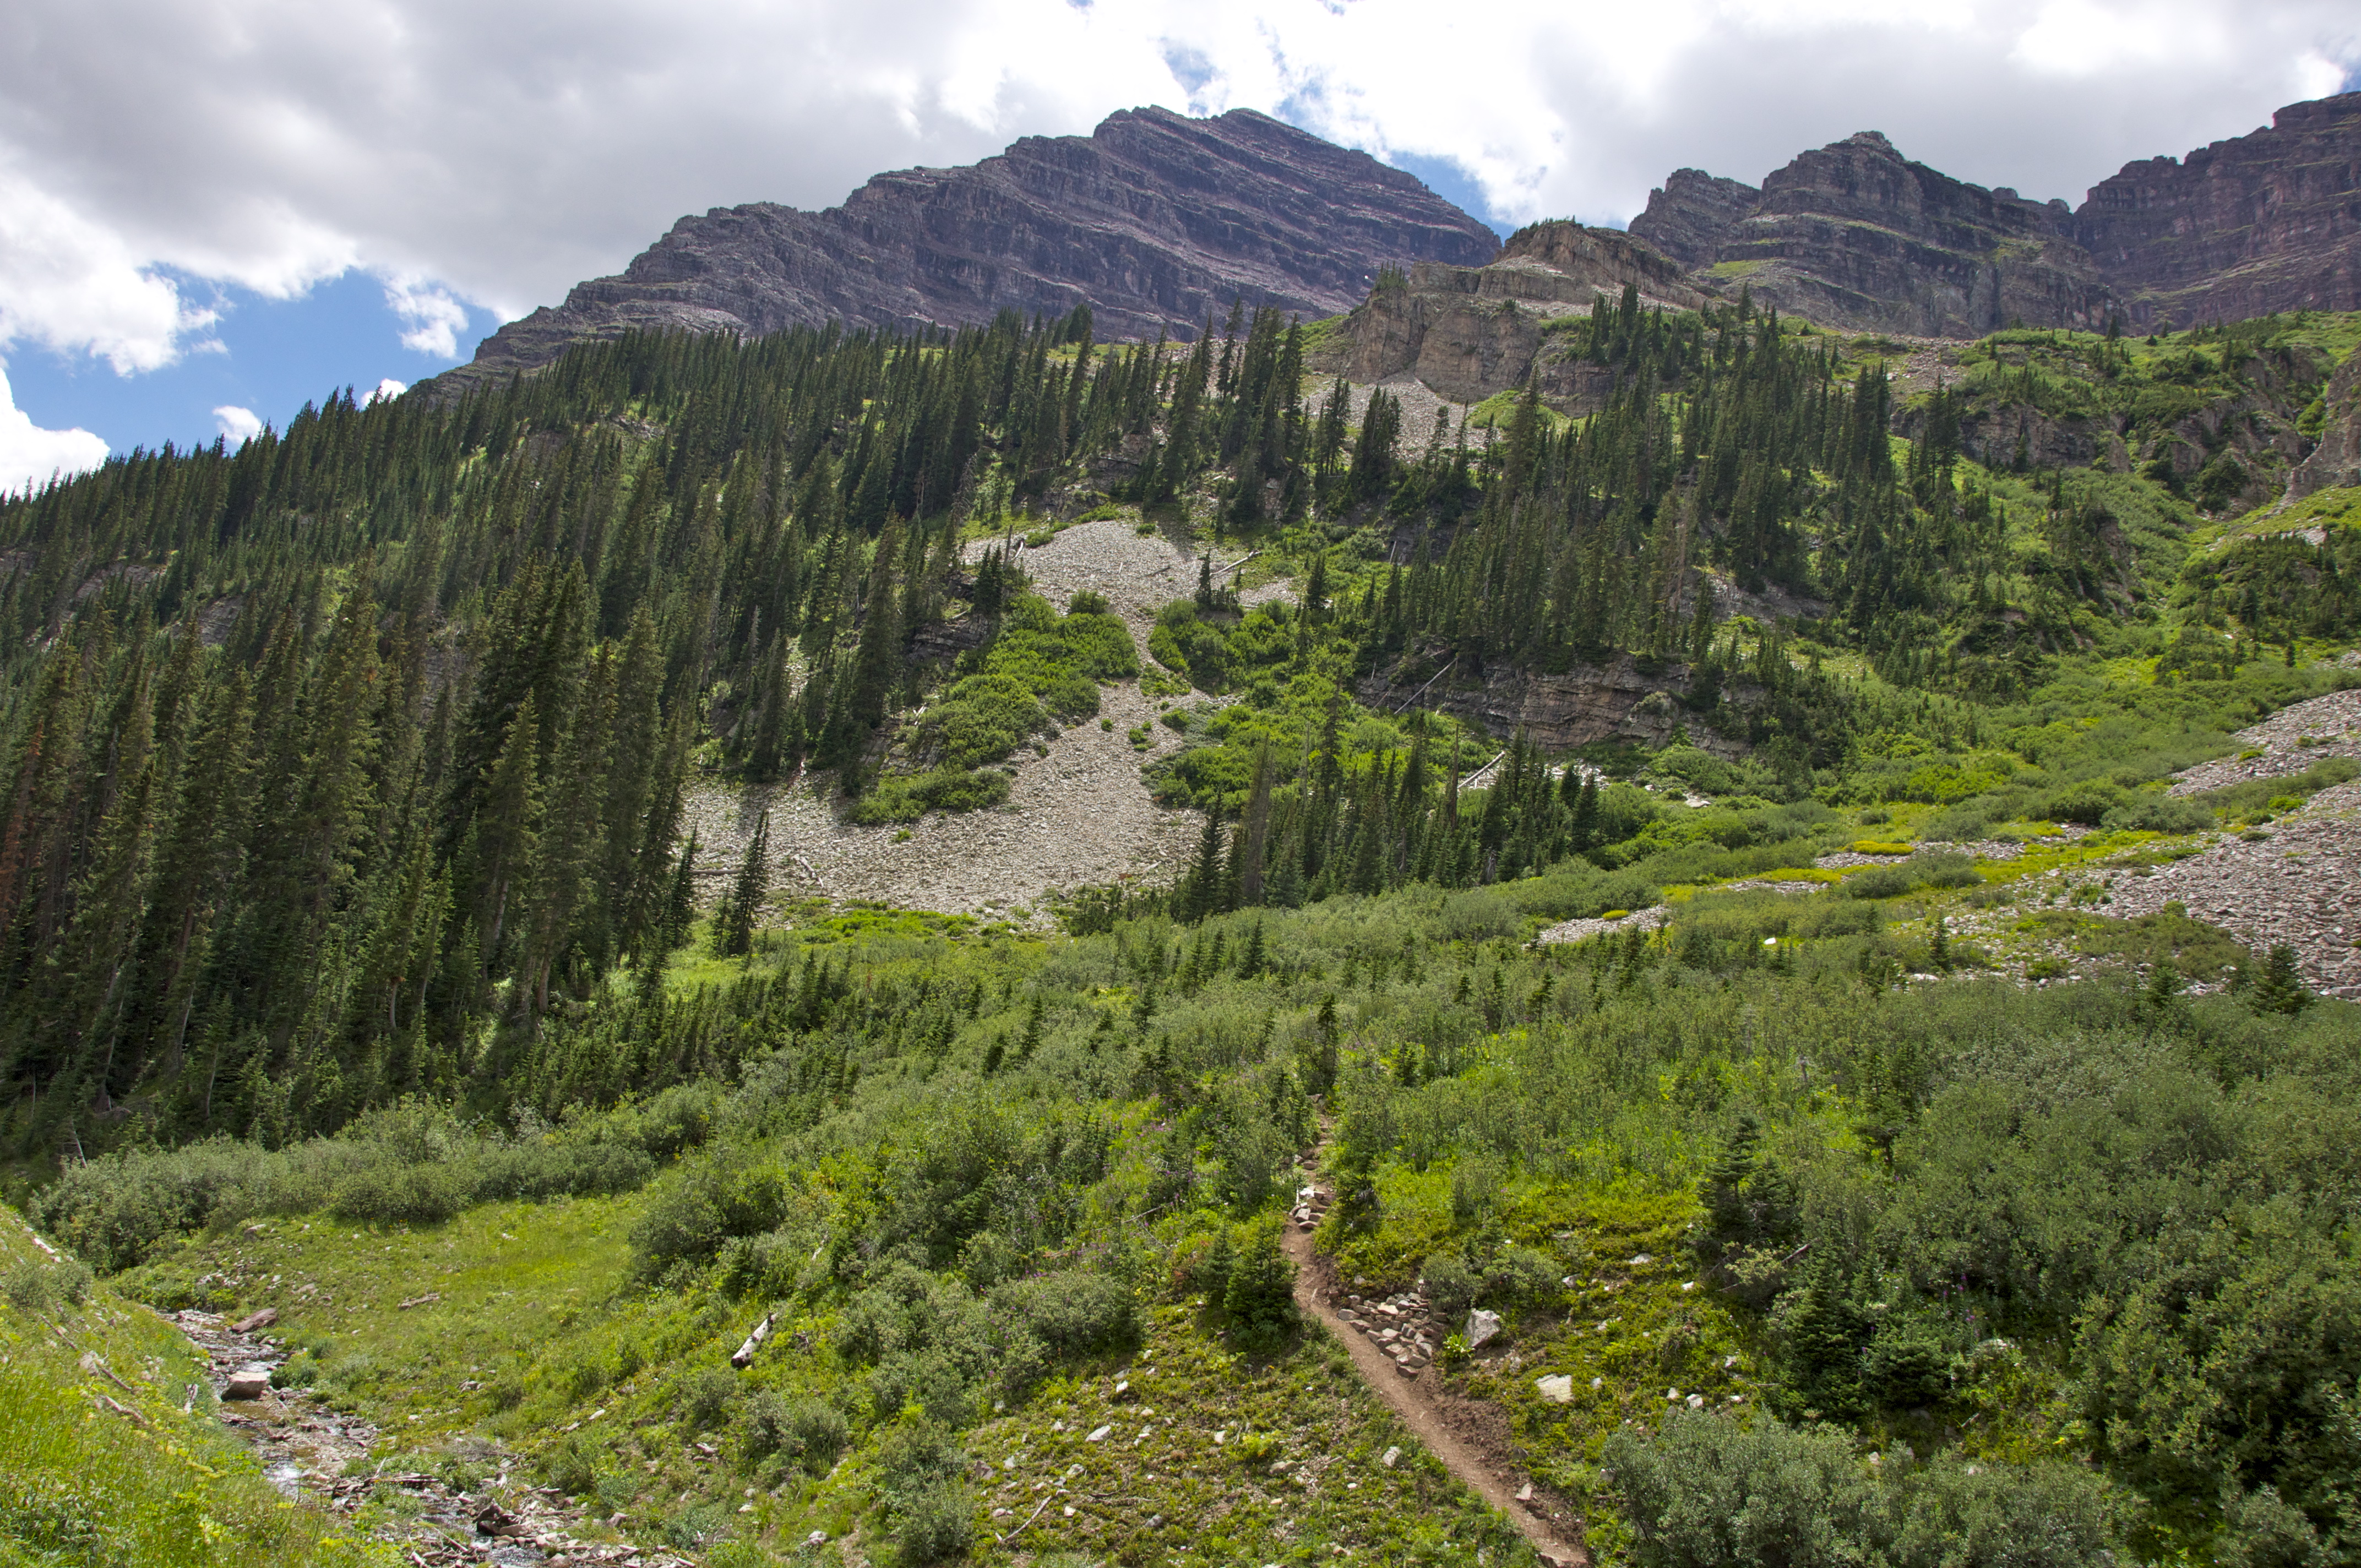
The first challenge was finding a place to camp for a few nights. After the previous week at Lake Como, we thought we were done with bear problems, but we soon found the reports that the Crater Lake campsites were closed down due to bear activity. We decided to try camping on the 82 south of Aspen, and despite the heavy popularity of the area and the Leadville 100 which was also taking place last weekend, we found a spot at the Weller Campground, about 40 minutes from the Maroon Lake trailhead. After a (very) short sleep, we got up at 12:30 and drove down to Maroon Lake. At 1:45, we started hiking under a beautiful, clear night sky.
A word of warning: Don't miss the turnoff to Crater Lake at the "Deadly Bells" sign! It's not an easy junction to miss but we somehow missed it and ended up on the scenic loop trail. We lost nearly 30 minutes just getting back on to the right trail. However, after this mistake, we were cruising up to Crater Lake and beyond that, to the bottom of South Maroon's massive 2,800' slope, which we reached at about 4:00. No joke, this slope is a huge effort - it took us nearly 2 hours to climb it and we were tuckered out once we reached the top! However, the views from up there were breathtaking.


After a good break, we took off around 6:20 from the saddle to tackle the upper difficulties of South Maroon. There was a lot of route-finding but most of the route was well cairned.


We were soon at the twin gullies. I agree with Bill's route description that this is a dangerous area. But we took it slow and careful, and were soon through this section.


The ledge that exits the twin gullies section:

After this, the terrain was more stable and got easier until the route reached the ridge crest.


Atop the ridge crest, we got our first sunshine of the day!


After the ridge, the route traversed one more time across the face and up some more jumbled terrain before the final ridge climb to the summit. This was a steep but enjoyable area with lots of fun scrambling!

Suddenly, a large cloud descended onto the mountain, and we were soon socked in. This, however, served to make it even more awesome!

On the final ridge:


We summited at 7:45, so 1 hour and 25 minutes from the saddle. Not bad!

Before long, the heavy clouds started lifting and we caught a view of North Maroon and the connecting traverse.


After re-fueling our energy for the next challenges, we started down-climbing the steep terrain off South Maroon toward the saddle.


The route briefly drops off the ridge and down a gully for easier access to the top of the Bell Cord, which is also the saddle. This gully wasn't as loose as expected and we were soon at the saddle.


Pyramid from the saddle:

After the saddle, the real climbing started in earnest. Right off the bat, we traversed a bit and climbed up a steep wall below the ridge crest. To keep this area at Class 4, we climbed halfway up the wall and traversed left again to find an easier line that continues to the top of the ridge.


Once atop the ridge crest, we got a closer look at the next challenges...


A bit more traversing and the second major difficulty towered above us. Now it's really getting good!


The crux of the second wall:

Up and over:

One thing I loved about this traverse it that it's difficult but short, so it's not grueling at all but keeps you using your hands. On top of the second wall, we saw the final major difficulty - a short but very steep wall with limited climbing options. This, in my opinion, was the true crux of the traverse.

We traversed left and found a few possibilities. I went all the way across and climbed up a dihedral on the left side of the picture below:

The dihedral was fun but very exposed, and went at a lower Class 5 with an awkward move around a boulder at the top. I gave the others a hand as they climbed a steeper option closer to the ridge crest.

Topping the third difficulty:

Whew! This area was tons of fun but also kinda scary.  After this, we had a bit more ridge traversing to do before the final climb to North Maroon. Along the ridge, we encountered a gap in the narrow ridge. It is possible to either jump this gap or drop into a small notch a few feet down and climb back up, depending on your comfort level. After this, we had a bit more ridge traversing to do before the final climb to North Maroon. Along the ridge, we encountered a gap in the narrow ridge. It is possible to either jump this gap or drop into a small notch a few feet down and climb back up, depending on your comfort level.


One more traverse before the final climb:

We soon reached the base of the final climb to North Maroon. Morale was high as we successfully finished off the Bells traverse!


South Maroon and the traverse from the summit:


The traverse took us just over 2 hours, which we definitely needed to get through the difficult sections. This was one of the most fun climbs I have ever done. The traverse is quite short - probably about 1/4 mile - and the crux sections are challenging but not very sustained. I definitely want to repeat it sometime!
Back down North Maroon:


After a difficult descent off North Maroon, we enjoyed a few moments at Crater Lake.

The classic shot from Maroon Lake:

At 4:00 on Sunday morning, we were back on the trail with the goal of getting Pyramid Peak. Despite stiff and sore muscles from the big day before, we didn't feel too bad as we climbed up the big slope to the large amphitheater below Pyramid.

We reached the bottom of a 1,000' gully that leads to the saddle and slogged up. It was steep and loose in areas but not too bad.

At the saddle:

From here, the route gets more challenging but is well marked by cairns.
Cliff traverse:

"Leap of Faith":


We were soon at the base of the green gully. We met up with another group of climbers, some of which were 14ers.com members Bill (WildLobo71), Jenny (SilverLynx), Ryan (RyGuy), and Nicole (14erAddict) - my apologies to those of you whose usernames I have forgotten! This group was kind enough to let us join them, and together, we started figuring out the safest way up the green gully.

In a few minutes, one of the scarier experiences I've had in my climbing career unfolded. Three or four of us had traversed up and across to a relatively safe area on the other side of the gully, and Bill and the other 2 men were on their way up when a climber from above foolishly decided to start descending. In just a few seconds, the descending climber knocked loose a barrage of rocks that cascaded down the gully, straight toward the people climbing the gully. We watched, horrified, as rocks pelted the climbers who were stuck in the open. One of the guys in the gully was hit hard in the arm and Bill got nailed in the backpack by a larger rock. Fortunately, his pack got the brunt of the impact, but he was clearly shaken up and said that his ears were ringing. Let me say this: it's not worth endangering the lives of other climbers just because you want to get down sooner. The green gully is a dangerous area.
After this, we were all shaken up quite a bit, but continued on. After some more tedious climbing up the loose rock of the green gully, we traversed left and on to the ridge crest. Here, the rock got a lot more solid and it didn't take long to reach the dramatic summit of Pyramid Peak!

On the summit, we met some more climbers, including Noel (Cookiehiker) and a few fellows named Mike. Noel was awesome and pulled out cookies for the group to enjoy! Thank you Noel - those cookies were amazing!

John on the diving board:

A big weekend's work accomplished:

Pyramid was a lot of fun but there were also some scary moments. I want to commend Bill for his leadership and calm, focused attitude, even after getting nailed hard by rockfall. He stayed in the back of the group - even of us 3 - and helped everyone make it up successfully. His wise advice and encouragement was a huge help while climbing this mountain. Despite the scary sections, however, I would definitely climb Pyramid again. All three of the 14ers, Pyramid and the Maroon Bells, were the most unique mountains I had climbed, and I think we all want to come back soon. Thanks for reading!¬¬
|


