Download Agreement, Release, and Acknowledgement of Risk:
You (the person requesting this file download) fully understand mountain climbing ("Activity") involves risks and dangers of serious bodily injury, including permanent disability, paralysis, and death ("Risks") and you fully accept and assume all such risks and all responsibility for losses, costs, and damages you incur as a result of your participation in this Activity.
You acknowledge that information in the file you have chosen to download may not be accurate and may contain errors. You agree to assume all risks when using this information and agree to release and discharge 14ers.com, 14ers Inc. and the author(s) of such information (collectively, the "Released Parties").
You hereby discharge the Released Parties from all damages, actions, claims and liabilities of any nature, specifically including, but not limited to, damages, actions, claims and liabilities arising from or related to the negligence of the Released Parties. You further agree to indemnify, hold harmless and defend 14ers.com, 14ers Inc. and each of the other Released Parties from and against any loss, damage, liability and expense, including costs and attorney fees, incurred by 14ers.com, 14ers Inc. or any of the other Released Parties as a result of you using information provided on the 14ers.com or 14ers Inc. websites.
You have read this agreement, fully understand its terms and intend it to be a complete and unconditional release of all liability to the greatest extent allowed by law and agree that if any portion of this agreement is held to be invalid the balance, notwithstanding, shall continue in full force and effect.
By clicking "OK" you agree to these terms. If you DO NOT agree, click "Cancel"...
Snowmass Mountain (14,092 ft) Via the West Slope Route
March 14-16, 2014
21.5 miles RT, 6100' gain
From 0.25 miles past Marble
Participants: Nate Hughes, Danny Gilbert
Having done a little bit of research on this route prior to heading out I can say that winter information on Snowmass is pretty scarce. Kiefer has a report on Summit Post that is good, but for the East Face Route. SarahT has a good report for the West Slope Route on her website 13ergirl.com that was very helpful. Not normally a trip report kind of person, I figured this was probably worth documenting since I know I would have liked to have had a little more info myself.
Approach to Crystal City
Nate and I had been planning a longer trip this winter for some time. After considering a few peaks, mostly Holy Cross, we decided that Snowmass would be a good choice. I found out this winter that I really want to get a splitboard. I also found out that splitboards are out of my price range. Having a splitboard on Snowmass would probably be a bummer so while I save up this peak makes sense. Deciding on the route took a little while. I was more inclined to go for the East Face, since that's how we did it in the summer, but the headwall at the end of Snowmass Lake gave us pause. That face is unavoidable and if the snow was unstable we would have to turn around. The West Slope is typically windblown, and all things being equal with the approach Dawson describes it as "probably safer". In the end, we sided with Dawson and it didn't hurt that Sarah had also decided to go that way.
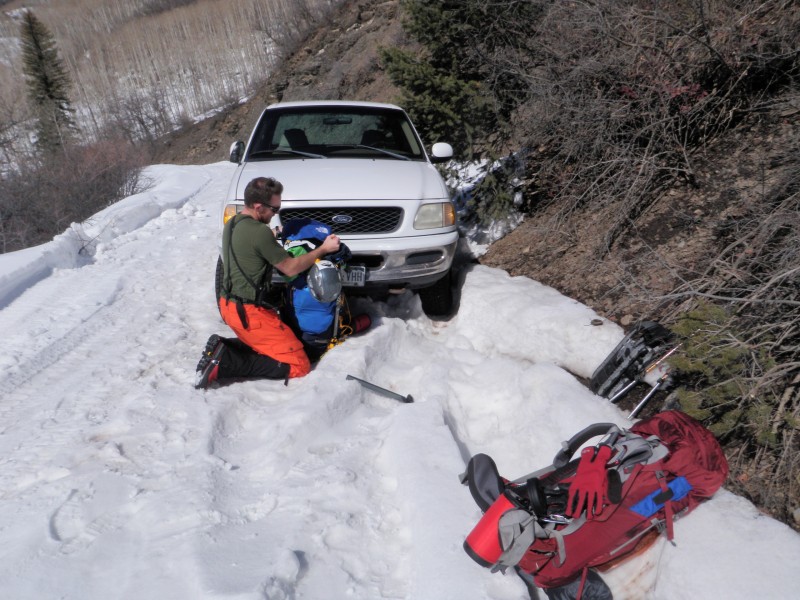
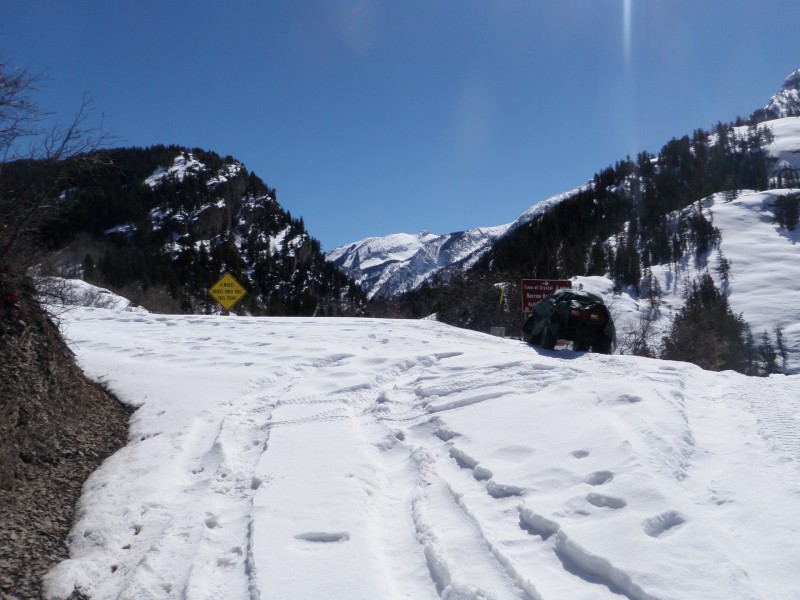
The road from Marble was in OK shape and we were able to drive all the way to the Lost Trail Rd/Crystal City Junction. Right at this junction however a truck (below) was stuck and blocking the road enough so that we couldn't get to a reasonable parking place. We tossed our packs out of my truck here and retreated most of the way back to Marble to park. This was around 12:30 PM.
Gearing Up Crystal Junction
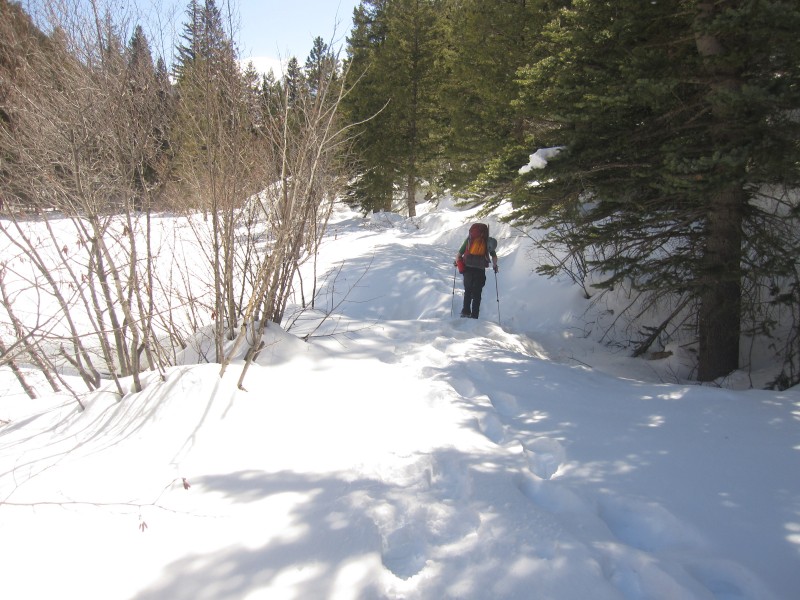
After retrieving our overly heavy packs we headed off toward Lizard Lake.
Descent Toward Lizard Lake Lizard Lake Nate at Lizard Lake
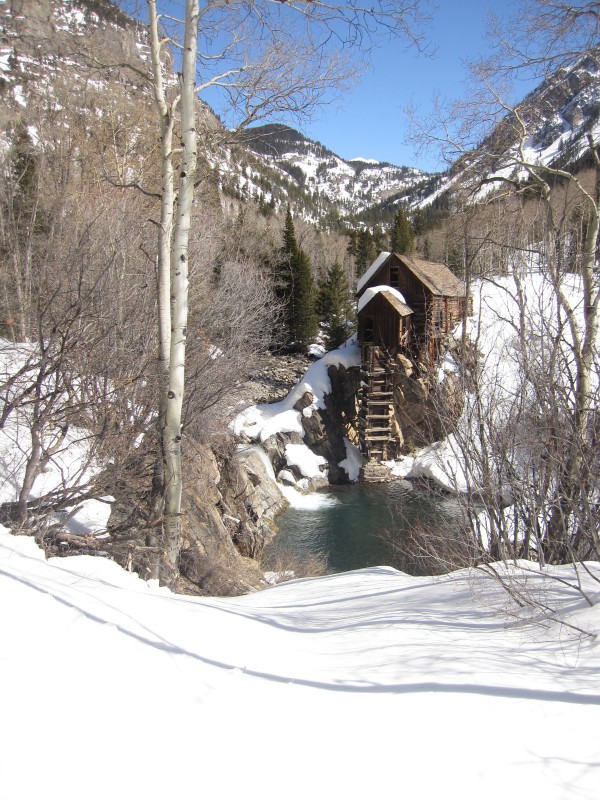
Crystal City
We had good weather, and were making good time on a fairly well traveled snowshoe trail. We made it to Crystal City some time around 2:45 PM.
The Famous Crystal Mill Crystal City
We stopped here briefly to sit at a picnic bench on some guy's porch reasoning we probably weren't going to have any chairs for a while. We also found a clothes hanger here that Nate was able to use to repair is shovel handle. Since Nate's shovel is mostly around to save me, I was stoked. After our rest, we continued on to the summer TH. After Crystal City the terrain became a bit more unfriendly and our pace slowed.
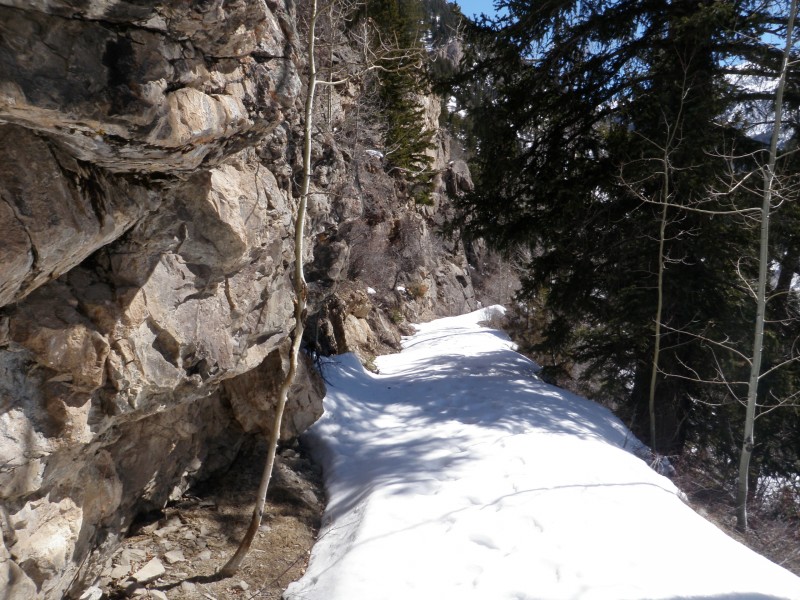
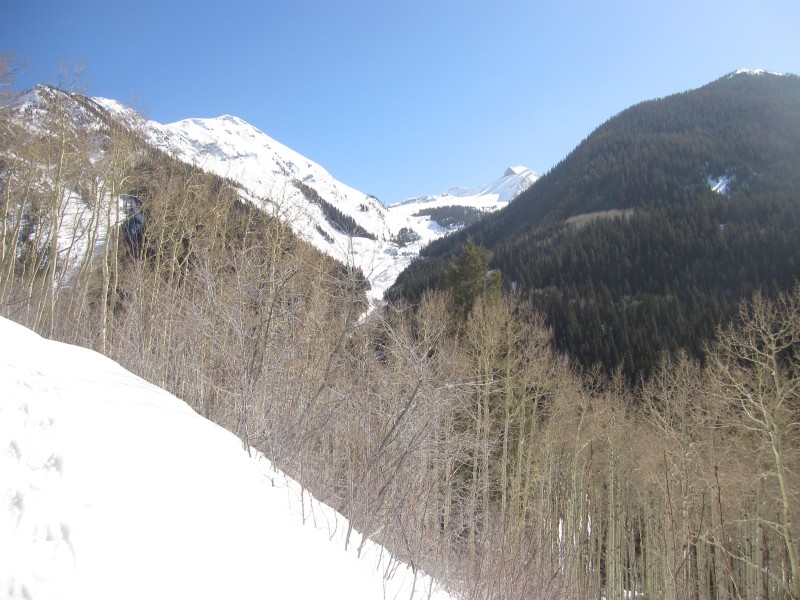
Heading to Geneva
Ascending out of Crystal City Heading to Summer TH 01 Heading to Summer TH 02 Heading to Summer TH 03 Heading to Summer TH 04
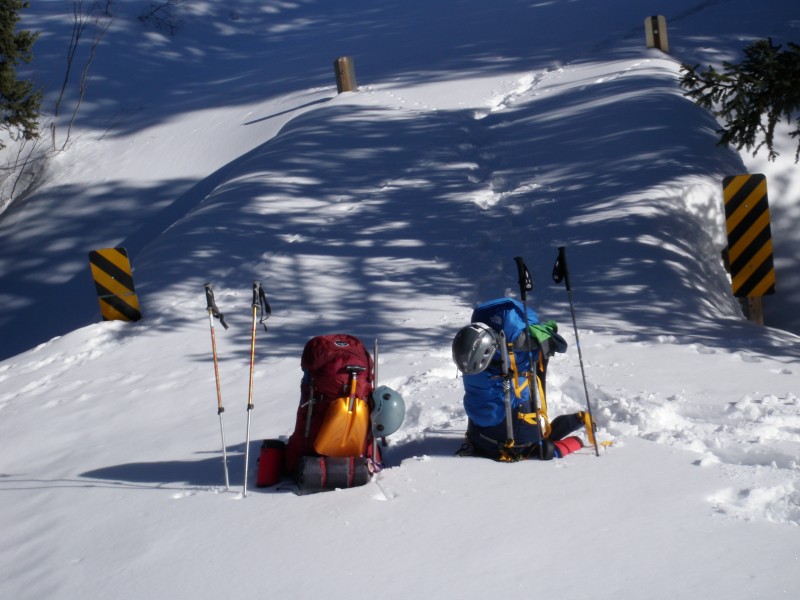
We stopped at this bridge near the summer TH to explore.
Packs
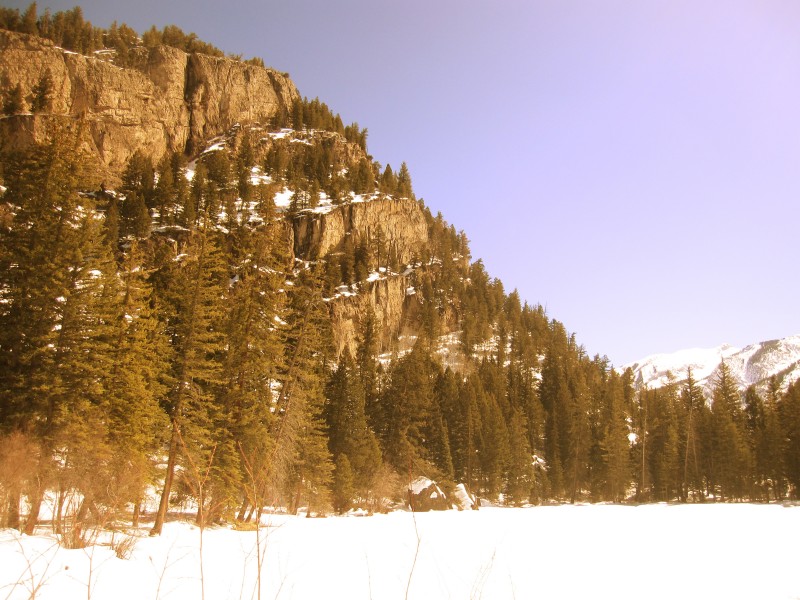
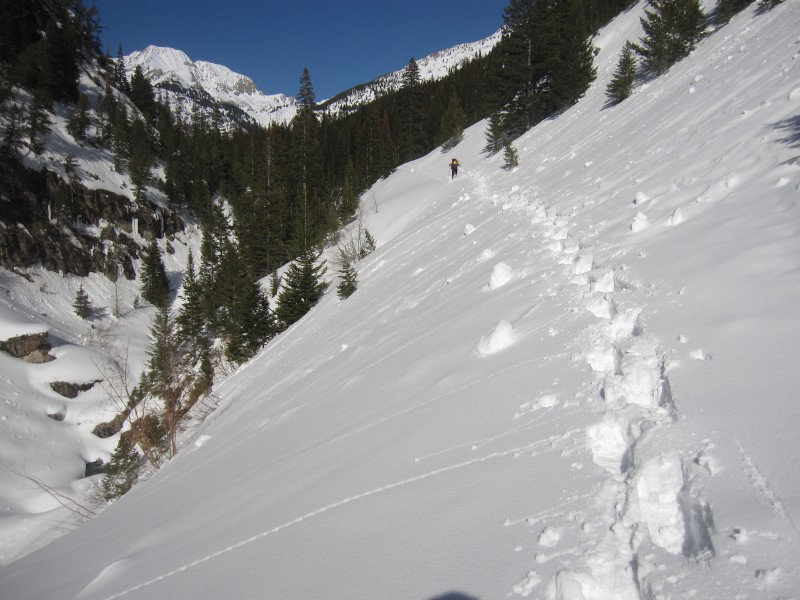
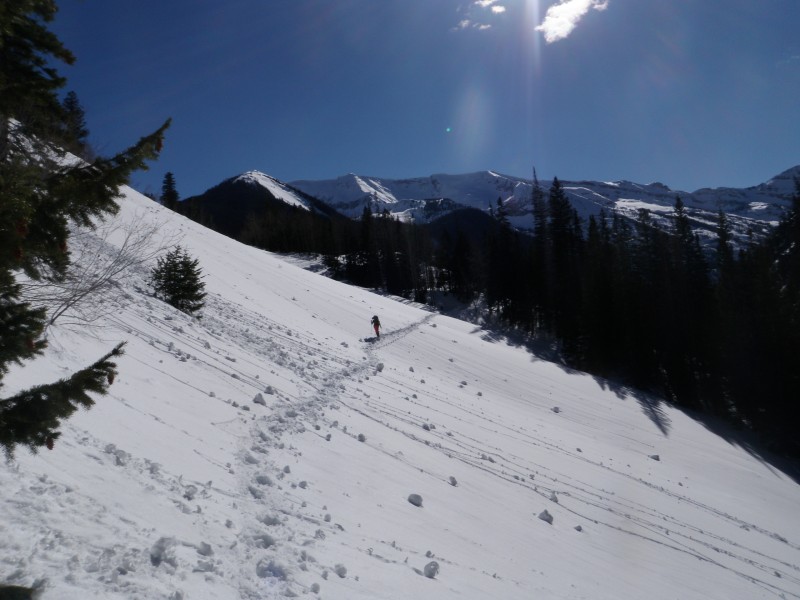
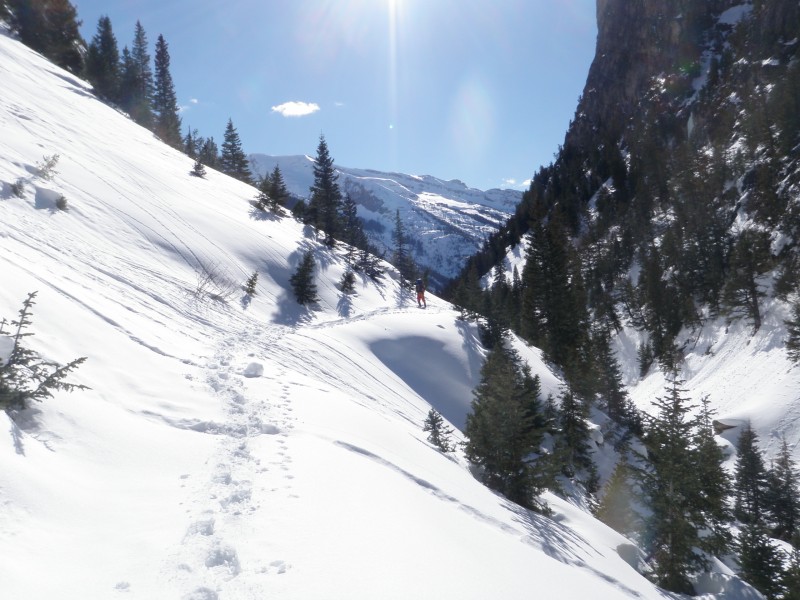
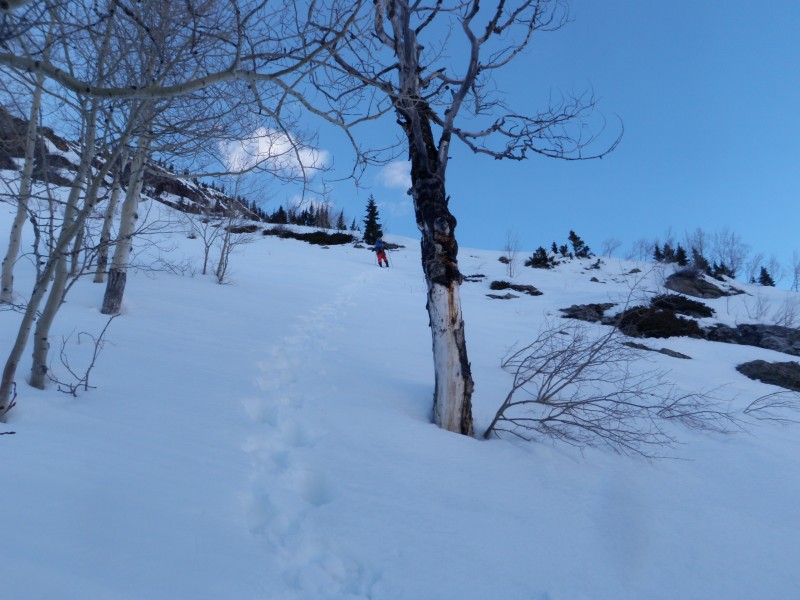
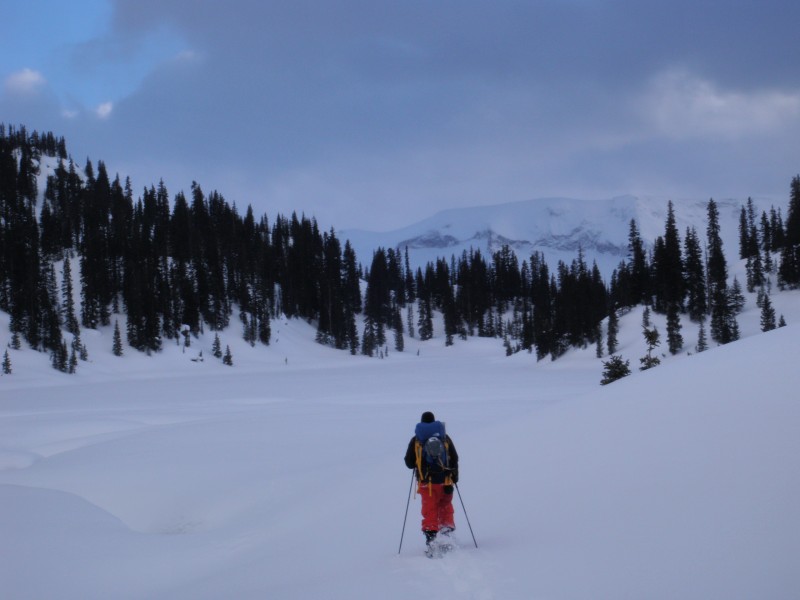
Continuing on toward Geneva lake we started to gain some elevation.
Breaking trail to Geneva Lake
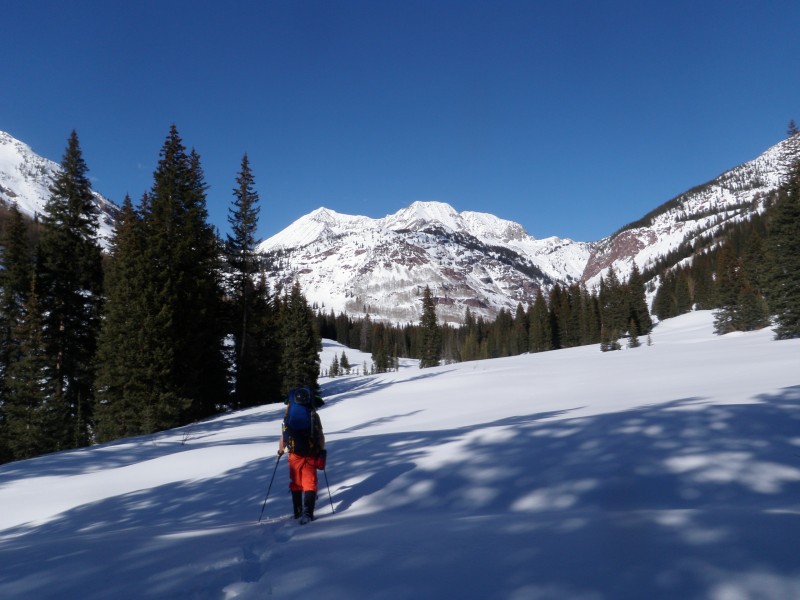
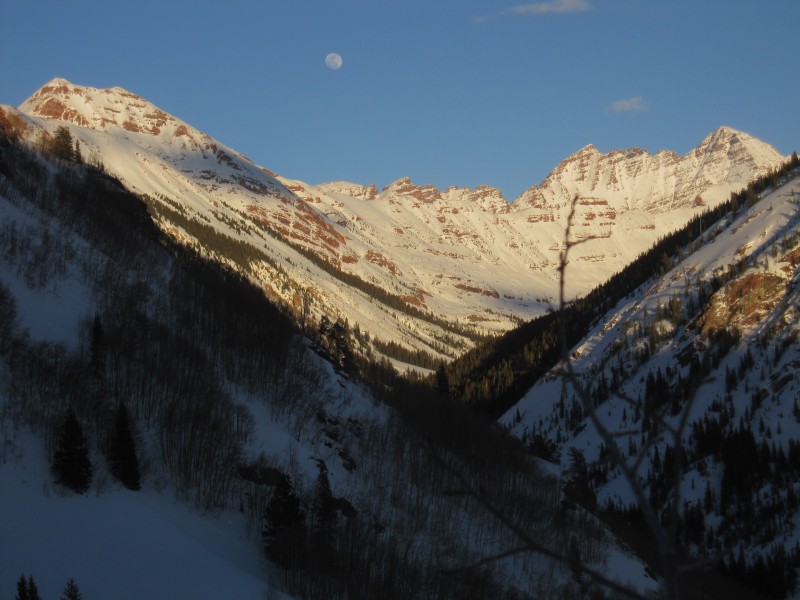
We had a great view of the Bells.
The Bells
From this point forward the trail breaking began to get much more difficult. The terrain started getting steep, and the snow started getting deep. We also lost the sun. Neither of us took any pictures of this section, probably too tired to really care at that point. Both of us were pretty frustrated that it was taking so long to get to Geneva having figured we would get there with plenty of time to set up camp and break trail to Snowmass. We continued to traverse and ascend through deep powder until finally we caught a glimpse of the lake. We ended up a little off route and ascended a bit too far but thankfully it was a clear night and a full moon so we managed to get our bearings. We got to Geneva and discussed camp sites. After setting up the tent hastily with bad results on a previous trip we had promised ourselves to spend a little extra time selecting a location. Too tired to head to the North end of the lake, we found a cluster of trees on the south side that offered some protection from the wind and began construction. Nate cooked dinner on his MSR and shortly after I passed out with my headlamp on.
Summit Day
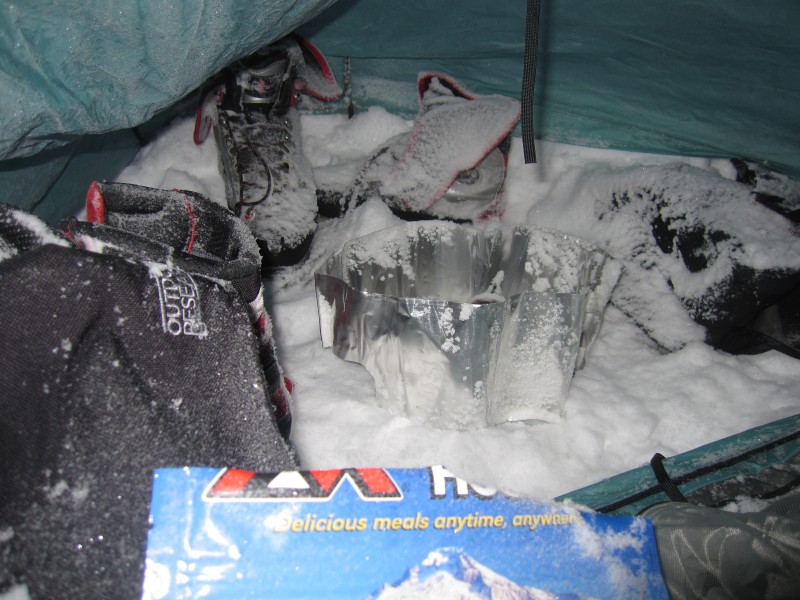
Around 4AM a storm rolled in. Around 5:30AM my alarm went off. Around 7AM we decided to wake up. Having a 3 season tent that weighs just over 2 lbs means sometimes the inside of the tent is similar to the outside of the tent.
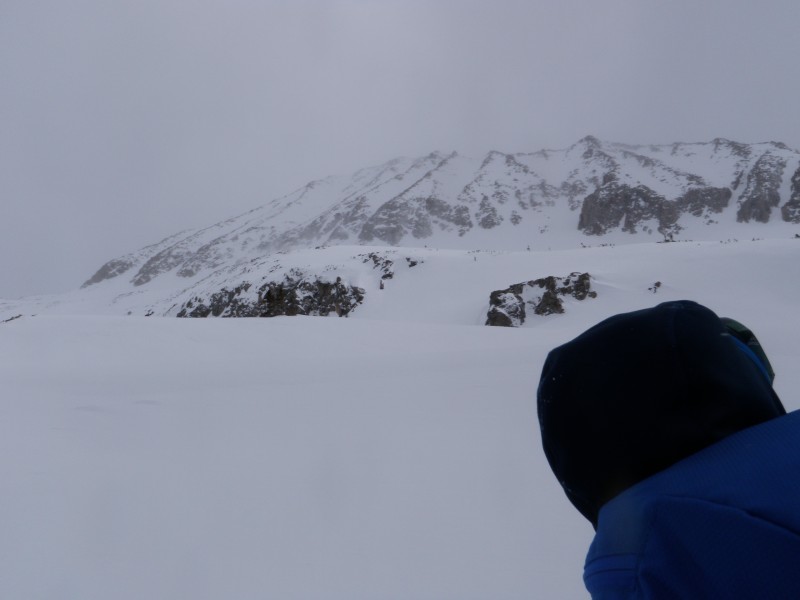
Morning View
The weather wasn't so great. We knew a storm was going to hit though, so we weren't surprised. With wet slabs a major concern having it below freezing for our entire summit day was probably the best we could hope for and we had plenty of expensive clothes that made us look like mountaineering studs.
Knowing we were not going to be interested in stopping all that often we opted to cook some breakfast and slam a few calories. We had a jetboil vs. MSR duel, and the MSR killed it as it so often does. I was pretty bummed. I think about this all the time. Having watched a documentary of the first 8,000m winter ascent and seeing plenty of jetboils I am convinced it is a great stove - but for the life of me I cant get the damn thing to perform in cold temps. I bought the special "4-season" fuel mix and kept it in my bag all night. It kicked ass for a bit, but then eventually the fuel got cold and it stopped working. If anybody has any suggestions, that don't involve a science project or water filled Tupperware apparatus I would love to hear them. Sarcastic "Just buy an MSR" comments are of course welcome.
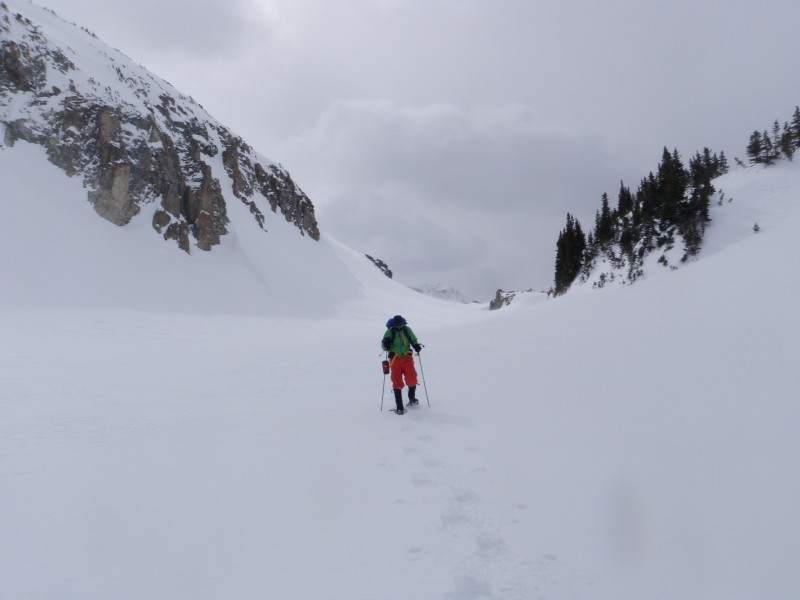
We departed from the tent around 8AM (I think). The Geneva lake area was covered in snow. It took us a bit to get to the base of Snowmass and our route was a little inefficient but overall it wasn't that bad. For my part I retreated into my gear and thought about my wife, and my kids.
Heading Up toward Snowmass 01 Heading Up toward Snowmass 02 Heading Up toward Snowmass 03 Nate heading up from the lake
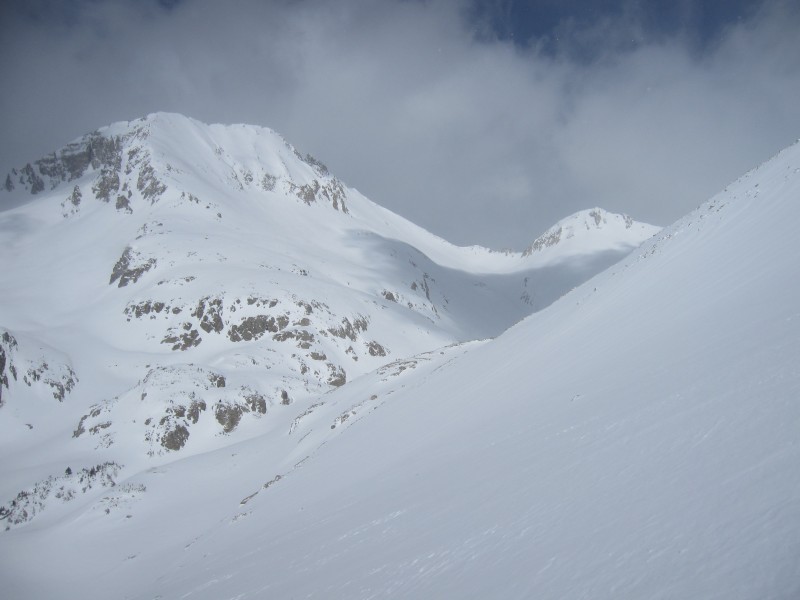
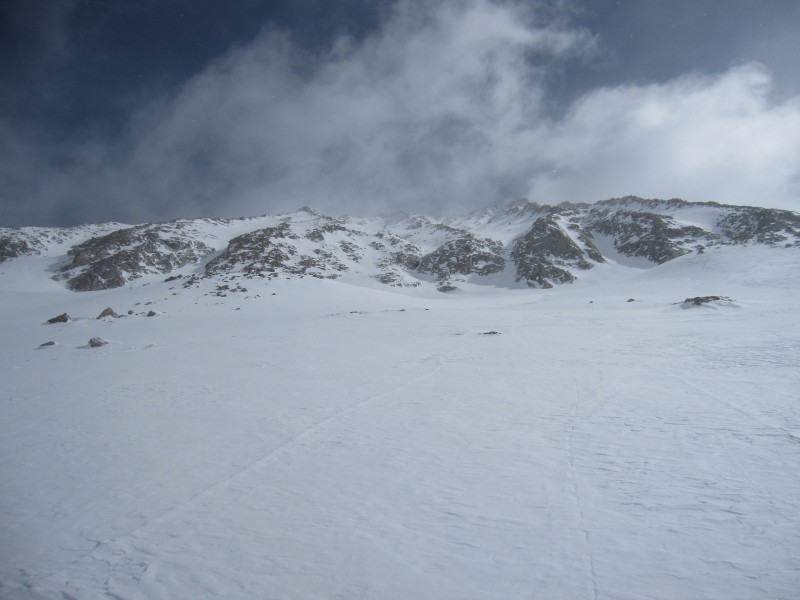
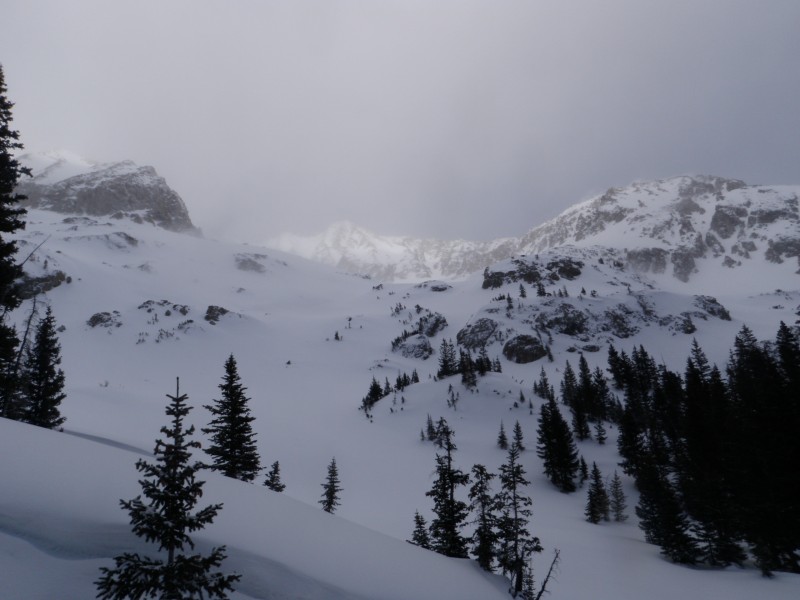
Upon reaching the base of Snowmass we began to feel optimistic that we had it in the bag.
First View of the West Slope From the Base
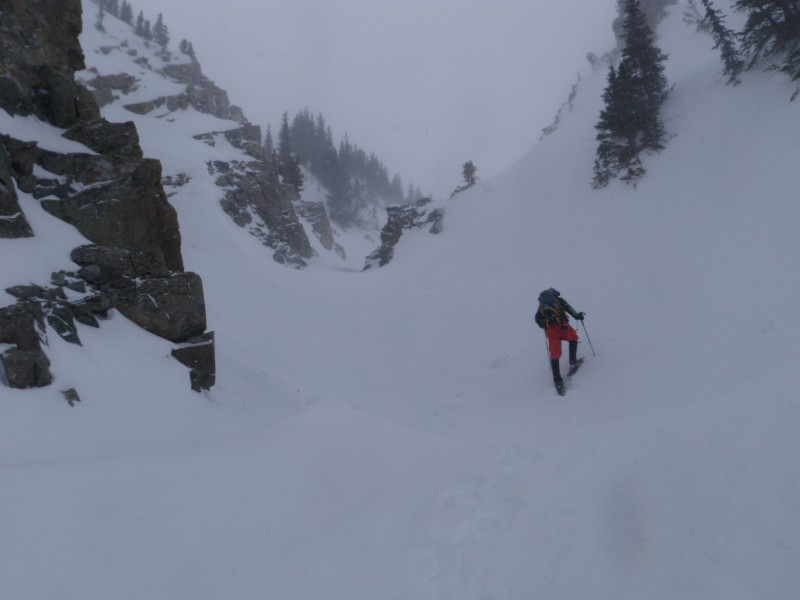
We paused and considered routes for a bit, opting to follow a snow gully toward the climber's left. This seemed to be the easiest line, at least to start since it didn't require any serious climbing. This gully was also just South of a sizable rock rib with a mostly continuous line to the summit ridge which we liked because we didn't know what to expect with the snow. We continued on right up to the rib in snowshoes and then, as we removed our snowshoes the storm intensified significantly. Visibility become a concern. We had been on trips where this was a problem for us in the past, One time wandering around completely lost on Shav/Tab for hours. Neither of us wanted that. The lure of the summit can be pretty powerful though, and we had sufficient equipment to deal with the situation so we opted to continue, with the caveat that we would carry our snowshoes to avoid searching for them later in a white out. Since I can do sooo many freakin pull-ups I didn't really mind too much about the extra weight. Nate, who can't do as many pull-ups as me was a trooper throughout.
This is another section of the trip for which neither of us took any pictures. They wouldn't have been very good anyway. We did manage a glimpse of Cap at one point that lasted for a few minutes but then it was back to a few nearby rocks and white.
The snow gully proved very difficult, so we opted to mostly stick to the rib. When we did occasionally need to go through snow it was a chest deep energy sapping bummer. One thing I am thankful for though, we didn't really have any issues with loose rocks. We continued at a snails pace to the ridge. Just having it in a single sentence like that doesn't really do it justice though, that part took forever. We popped up about 500' or so to the North of the summit so we had to traverse the ridge for a bit. Two locations gave us some trouble. Since I don't have pictures and my descriptions would suck I will just say there is exposure up there and some commitment is required.
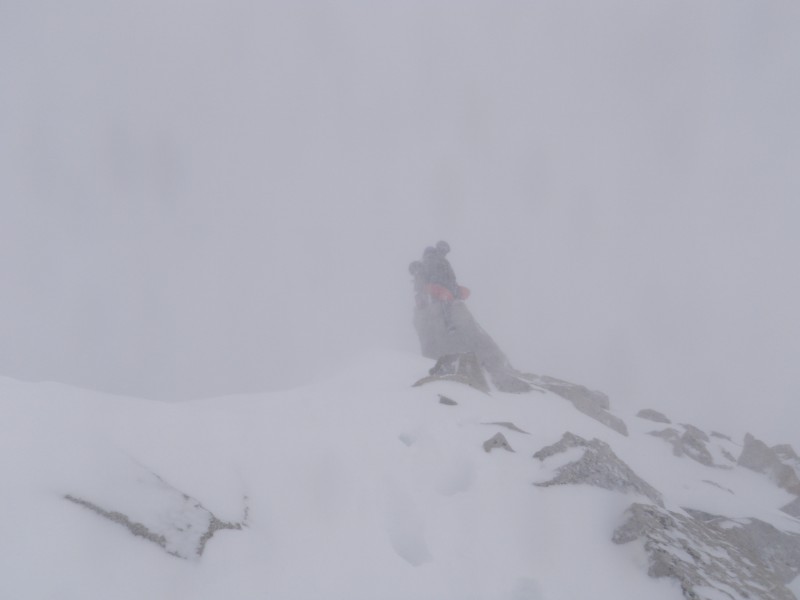
Finally we reached the top:
Summit
Heading Home
For the descent we opted to go strait down from the summit, not wanting a second go with either the ridge traverse or the rock rib. This was a good call. It took us around 4 hours to climb the face, and only 45 minutes to descend it.
Descent 01
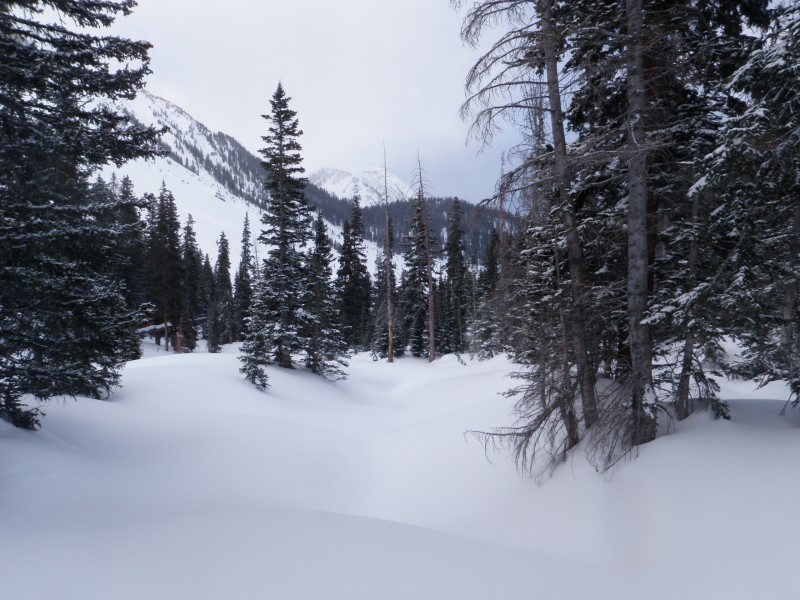
We put snowshoes back on and descended through the trees to camp in ever improving weather.
Descent 02 Geneva Lake Looking back at Snowmass
We got back to camp at around 6:45PM. Not wanting to sleep on the ice bed we had formed the previous night we decided to pack up and head for Crystal City. By the time we were on our way, the sun was setting but the skies had cleared and the moon was full.
The descent from (and technically the ascent to) Geneva requires a traverse on a slope over a cliff. This slope is steep enough that on the way up we decided to go one at a time in case of an avvy. On the way down with 4" of fresh this slope was really slippery. We decided to get our ice axes out, which was a good call because more than one self arrest was made - not easy with 80L of gear and snowshoes on...
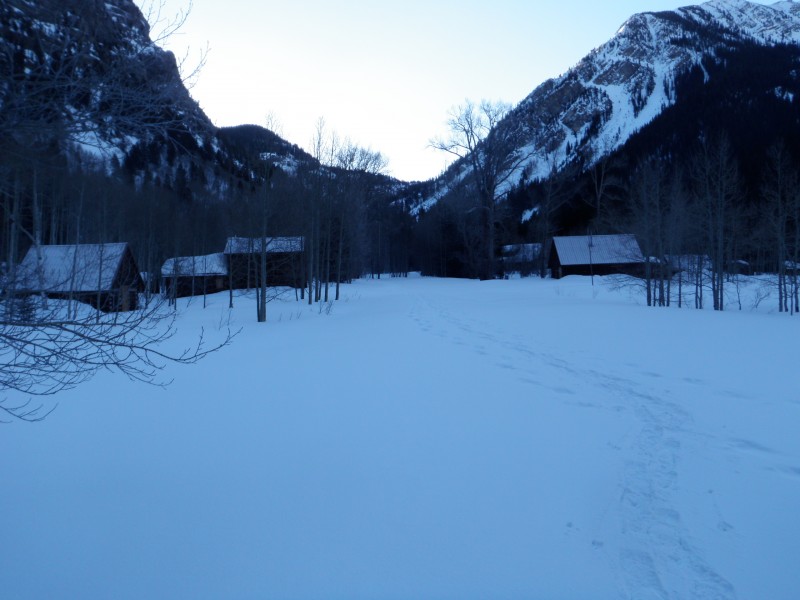
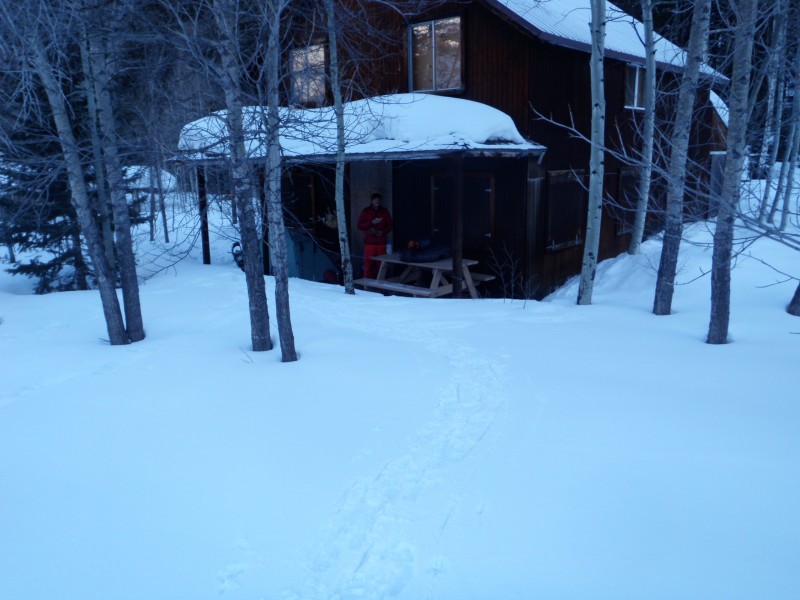
Eventually we got back to Crystal City and camped on that same guy's porch.
Camp
The hike out the next day was uneventful and in pleasant weather.
Thumbnails for uploaded photos (click to open slideshow):
Congrats on pushing through to the summit, that's a tough route.
Not saying a jetboil is the best, but it works for me. Has to be a Sol for starters. My method, and yes it is more work than a white gas stove or maybe even an MSR. I always use the smallest canisters, 7oz, because they warm up faster and easier than the larger sizes. I warm them on my lower abdomen under the base layer, only takes 5 minutes or so. Leave one there while using the other. After a liter or two switch canisters. If the flame starts to sound low, I move the entire setup setting the canister on my leg, wrapping my hands around the canister. I move my hands above the flame when they get cold, then back down to the canister. This all works fast, no need to sit there staring at a weak flame for hours. I also make sure no snow or ice ever touches the canister and use an insulated pad under it when on the snow.
I like it because of the convenience. You have to use it for awhile to understand, although at times I have considered switching back to white gas. One liter an MSR will win, 3 liters, maybe not with my method which does not work with an MSR I've been told. I may have to race Greg again. :D
it's a lite setup and can be taken along on the summit pitch for safety or melting more snow if you run out of water during the hike back. I've always thought it would help tremendously if benighted on a winter hike. Fortunately I've never had to find out.
Dsunwall - thanks for the advice, I'll try that out. I might be doomed already though, because I have the flash. Incidentally have you looked at the Juele? Might be a better solution... Still ISO though.
Boss Man - called me out, damn. You are correct, I think the gain was probably 6,100 ft. The gps tracks on google earth said 9000 so I went with it, figuring it was pretty hard after all. Probably should have checked that info against reality...
Every time we passed by an overhanging tree branch or some other feature Danny would stop and do a ton of pull ups. Each time adding 23” or so to his gain. It got pretty old...
oh man that is perfect, I was hoping they would make a jet boil that uses an inverted canister. well not quite perfect it is twice the weight but might be worth it. Inverted uses the liquid ISO which is preheated by the burner so the canister can be cold without limiting the output. I am getting one.
only 3 oz less than a Helios,which is also inverted, but I think smaller so might pack easier. http://www.thegearcaster.com/the_gearcaster/2013/07/jetboil-joule-group-cooking-system.html
Dsunwall - if you get the Joule, let me know how you like it. It's not just twice as heavy, it's twice as $$. If it is faster than an MSR, worth every penny and ounce.
Ali - the present day Danny very nearly got stuck in parallel to the white ford which is how I knew you couldn't pass it. Should probably just start taking my honda to trail heads. Also, I think 4 hours is generous, was more like 6. Interestingly enough, on the return the white ford was gone, and having seen just how stuck that it was I actually think it was removed with a snow cat...
Great job out there, Abe (the climber formerly known as Ali) and I kept glancing at Snowmass wondering how the trip was going. On the other side of the pass the storm moved in fast, but cleared up quickly.
”[W]e had plenty of expensive clothes that made us look like mountaineering studs.” Perfect. And to actually be able to use said clothing for their intended purpose, even better!
Luke - I can't believe you hang out with that purple rain bastard.
jmanner - You may not remember but I believe Nate and I saw you on our way out from climbing Capitol last June. Regarding stamina I don't know how Nate feels but for me Snowmass in winter over 3 days was easier (stamina wise) than day tripping Capitol in June. For a real hardcore dude, check out I Man's recent report for the guy that day tripped Cap in winter...
JosephG - Thanks for reading. Since the intended purpose of those clothes is mostly to look like a stud, mission accomplished. I don't even like to remove my ice axe from my pack, because it looks cooler there.
I just saw your comment. I remember you guys super well, you gave us great advice for getting over K2 and we (stupidly) didn’t head it. Then a thunderstorm hit us at 6:30 am... We both have talked several times about how impressed we are/were that you guys did Capitol in a day, in spring.
Caution: The information contained in this report may not be accurate and should not be the only resource used in preparation for your climb. Failure to have the necessary experience, physical conditioning, supplies or equipment can result in injury or death. 14ers.com and the author(s) of this report provide no warranties, either express or implied, that the information provided is accurate or reliable. By using the information provided, you agree to indemnify and hold harmless 14ers.com and the report author(s) with respect to any claims and demands against them, including any attorney fees and expenses. Please read the 14ers.com Safety and Disclaimer pages for more information.
Please respect private property: 14ers.com supports the rights of private landowners to determine how and by whom their land will be used. In Colorado, it is your responsibility to determine if land is private and to obtain the appropriate permission before entering the property.