Download Agreement, Release, and Acknowledgement of Risk:
You (the person requesting this file download) fully understand mountain climbing ("Activity") involves risks and dangers of serious bodily injury, including permanent disability, paralysis, and death ("Risks") and you fully accept and assume all such risks and all responsibility for losses, costs, and damages you incur as a result of your participation in this Activity.
You acknowledge that information in the file you have chosen to download may not be accurate and may contain errors. You agree to assume all risks when using this information and agree to release and discharge 14ers.com, 14ers Inc. and the author(s) of such information (collectively, the "Released Parties").
You hereby discharge the Released Parties from all damages, actions, claims and liabilities of any nature, specifically including, but not limited to, damages, actions, claims and liabilities arising from or related to the negligence of the Released Parties. You further agree to indemnify, hold harmless and defend 14ers.com, 14ers Inc. and each of the other Released Parties from and against any loss, damage, liability and expense, including costs and attorney fees, incurred by 14ers.com, 14ers Inc. or any of the other Released Parties as a result of you using information provided on the 14ers.com or 14ers Inc. websites.
You have read this agreement, fully understand its terms and intend it to be a complete and unconditional release of all liability to the greatest extent allowed by law and agree that if any portion of this agreement is held to be invalid the balance, notwithstanding, shall continue in full force and effect.
By clicking "OK" you agree to these terms. If you DO NOT agree, click "Cancel"...
| Report Type |
Full |
| Peak(s) |
Maroon Peak - 14,163 feet
|
| Date Posted |
07/26/2012 |
| Date Climbed |
07/18/2012 |
| Author |
CHWitte |
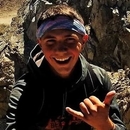
| Beautiful Southern Maroon Bell |
The Maroon Bells were our (dad, brother, and I) objective for this trip and they proved to truly be quite the objective. On Wednesday, July 18, 2012, we planned our 1st 14er of the trip to be Maroon Peak. We had just arrived in Colorado on Tuesday and enjoyed a nice hike up Mount Royal in Frisco and then up to Victoria Peak further up the ridge. So, we felt acclimated enough to do a 14er at that point. We drove from Frisco to the Bells trailhead late Tuesday night, arriving close to 11:00 PM. We slept (in all reality you just lay there) in the back of our Ford Explorer for a few hours before we woke up at 2:45 AM and were on the trail by 3:00 AM.
For some reason we made a stupid rookie mistake and missed the trail sign for Crater Lake and hiked right on by Maroon Lake which we corrected very quickly after looking at Back Country Navigator. It's not always easy following a trail in the dark with a head lamp sometimes.  Anyway, we were well on our way and made it quickly up to the trail junction where the West Maroon trail breaks with the Snowmass Trail for North Maroon Peak. Anyway, we were well on our way and made it quickly up to the trail junction where the West Maroon trail breaks with the Snowmass Trail for North Maroon Peak.
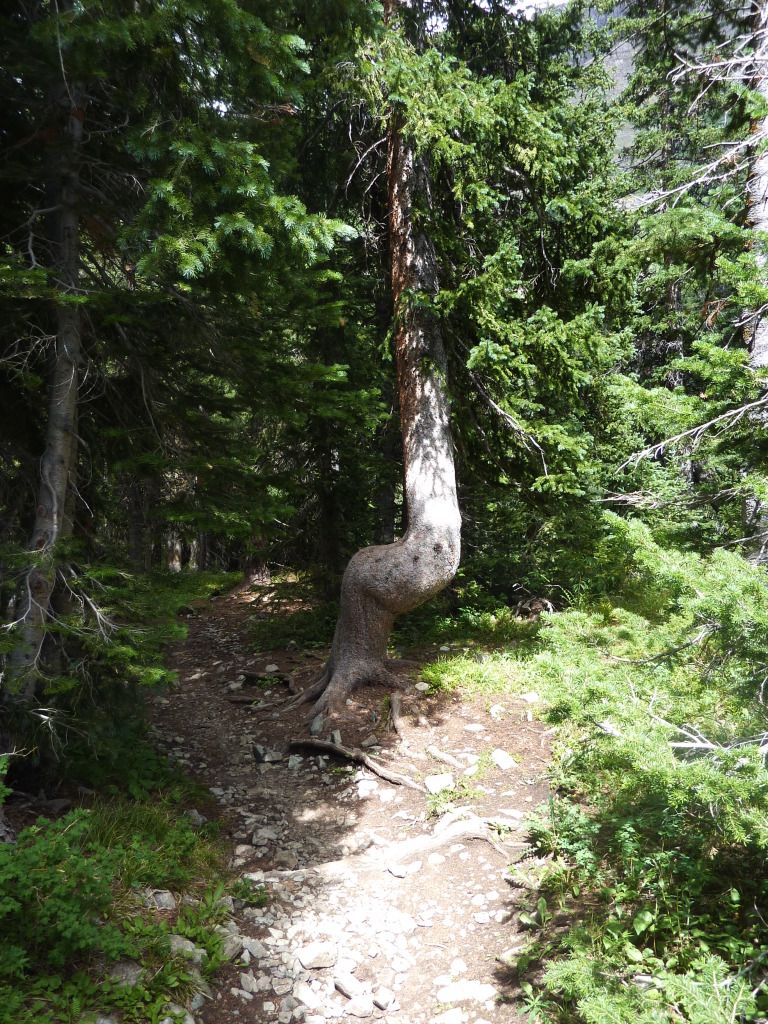
Next objective, the trail junction for the West Maroon Trail and the Maroon Peak Trail. We arrived there at sunrise and so we were ready to hit the 2800 foot slope with plenty of light. If you are not actually looking for it you may miss the break off because the trail looks like someone made it to head to a campsite or something given how steep and ridiculous it looks. Just remember it is about 50 feet beyond the crooked tree. See picture:
Like I said, the trail starts out STEEP and even has a nice class 2+ maneuver to get you going at the top of this 15 foot pitch. You'll enjoy it even more on the way down. Here is a picture:
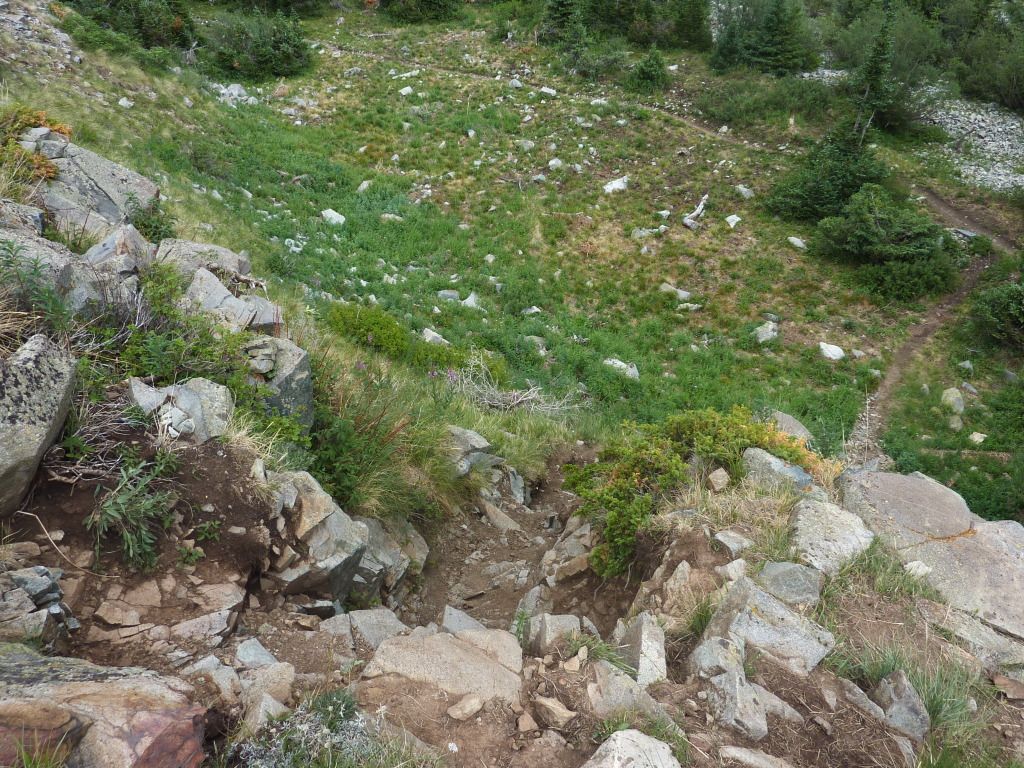
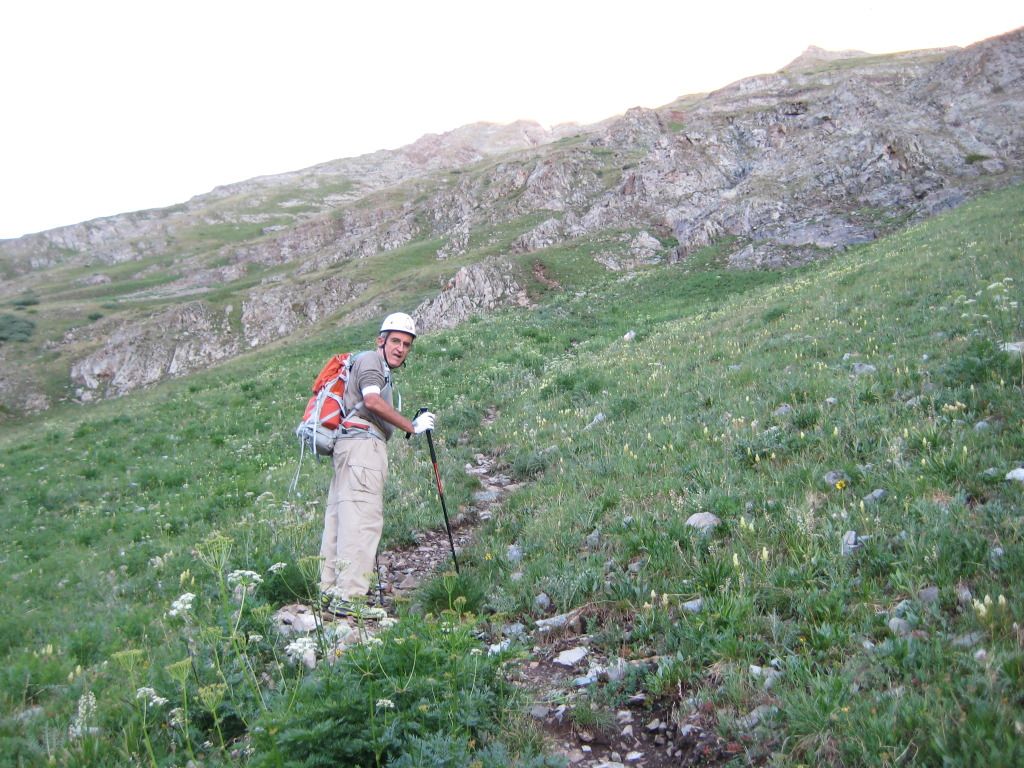
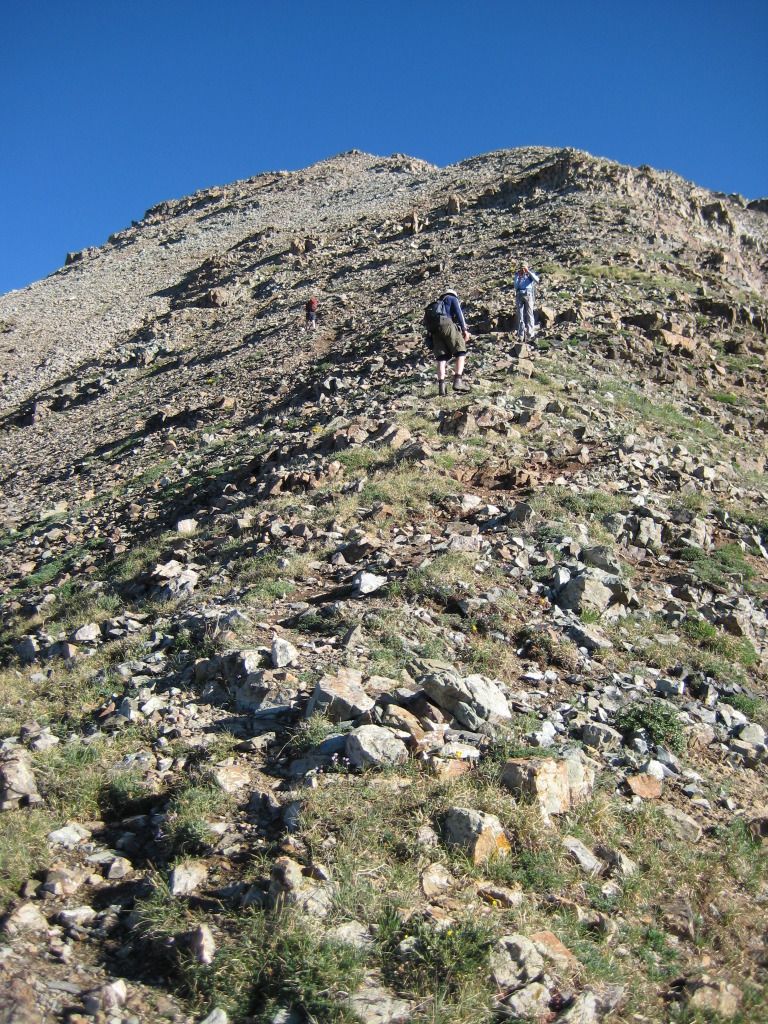
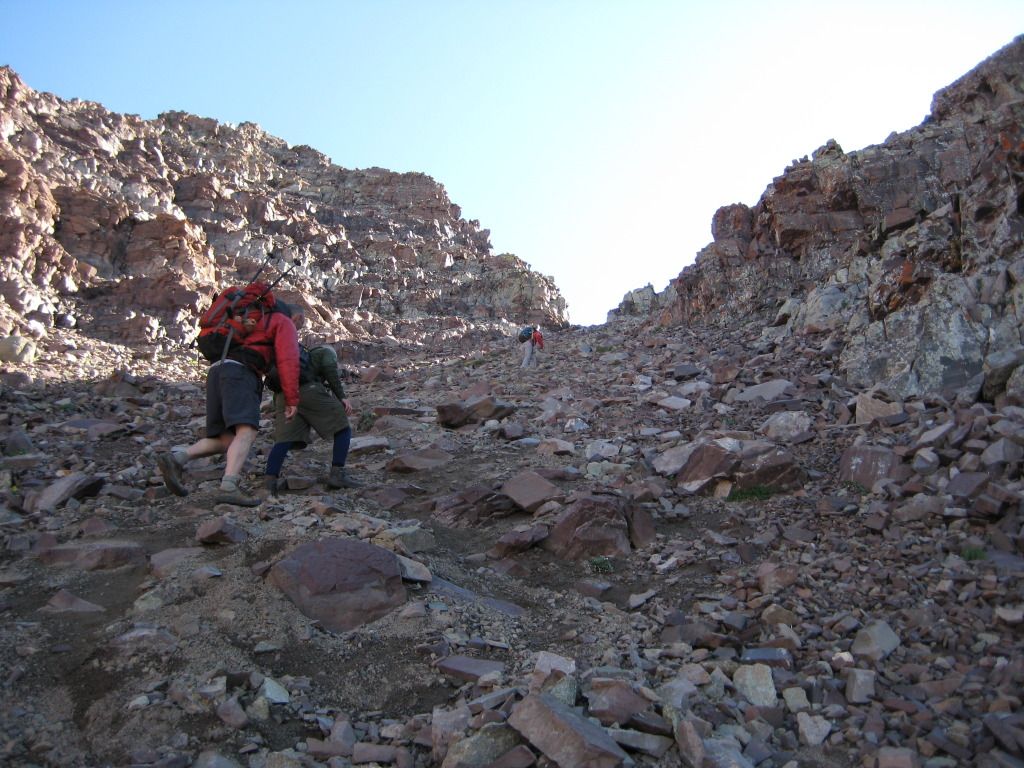
Once you get above this steep start, the trail mellows out briefly before you start the brunt of the 2800 feet elevation. Prepare yourself for this as it is not easy and it is not short. You will continue to go up for a very long time. This is what it looks like:
And this...
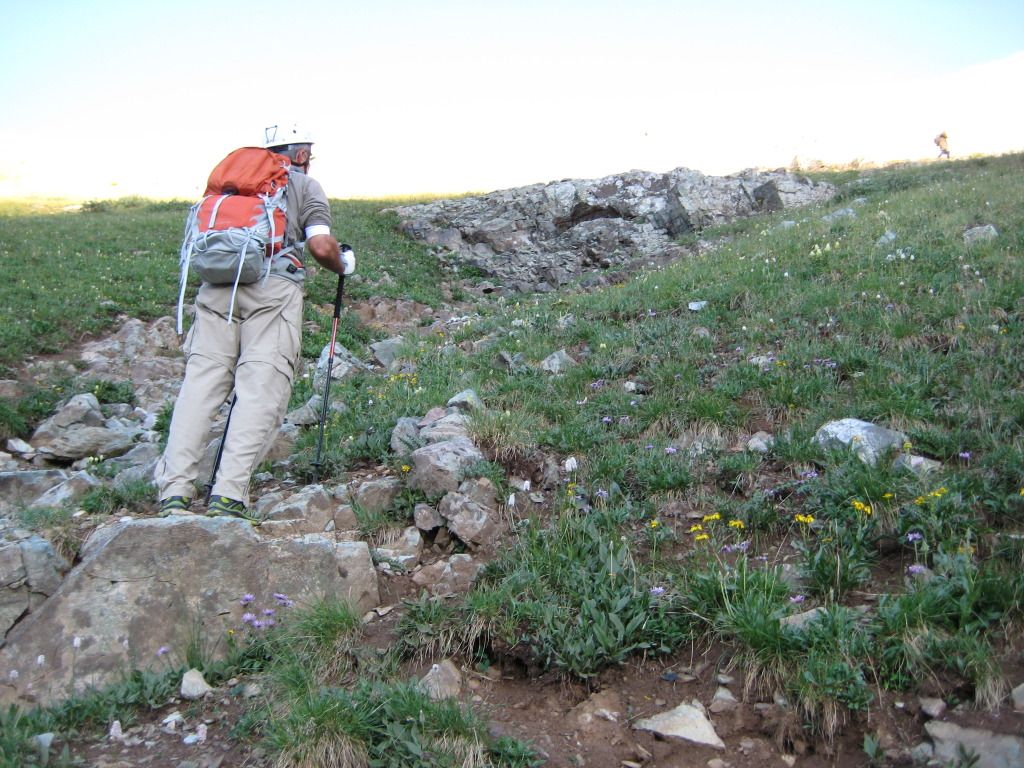
And this...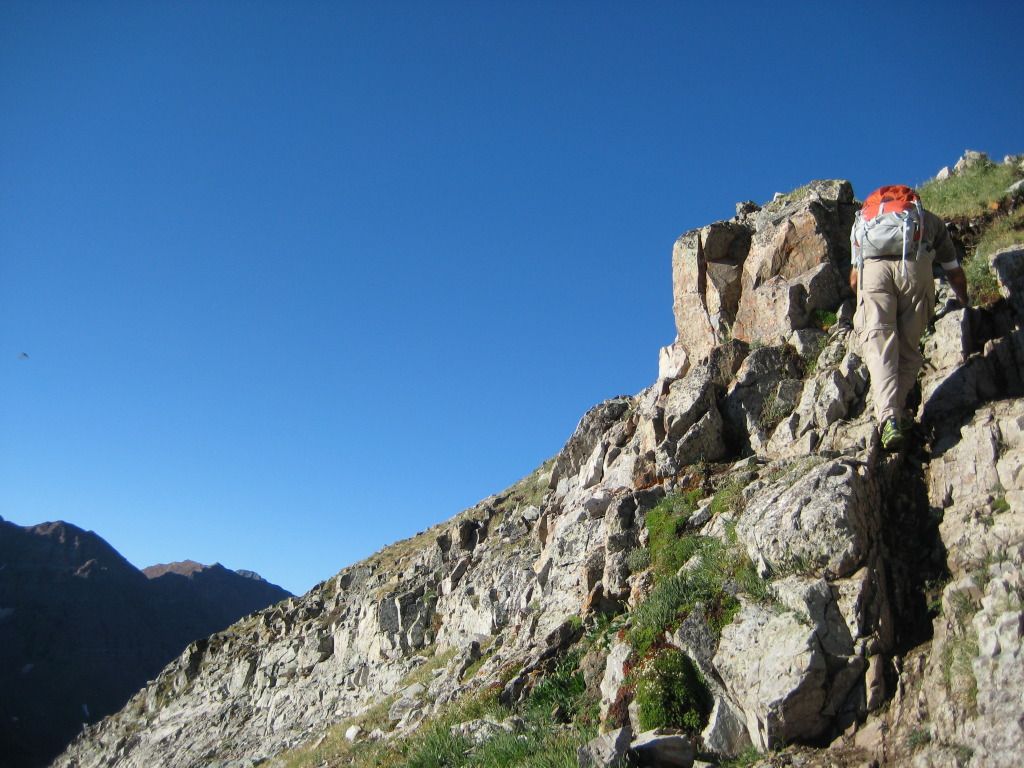
And this...
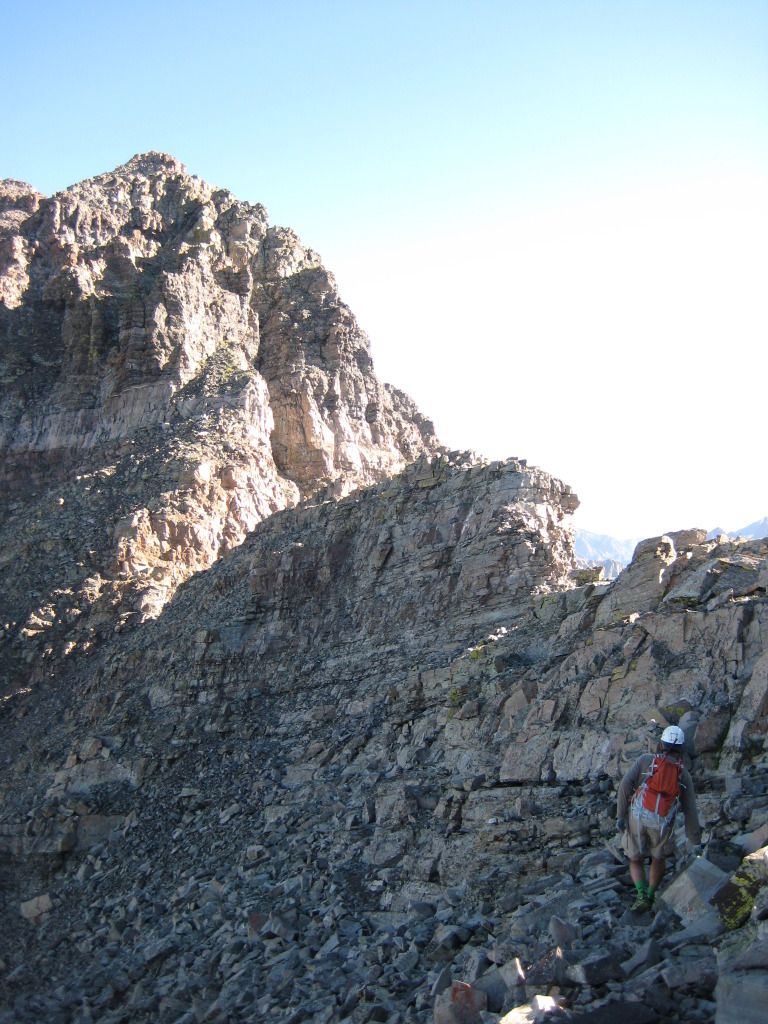
Route finding begins to deteriorate the higher you get and there are multiple ways to make the ridge. We ended up following a pretty nice trail that switchbacks all the way over to the "end" of the ridge on the south side. The reason I say that it's the end is because you'll know when you can't go any further over. This gave us a little bit easier of an ascent up the ridge given that it is less steep than then notch route and has less scree. Here is a picture of the end of the ridge, still climbing to make the top of the ridge:
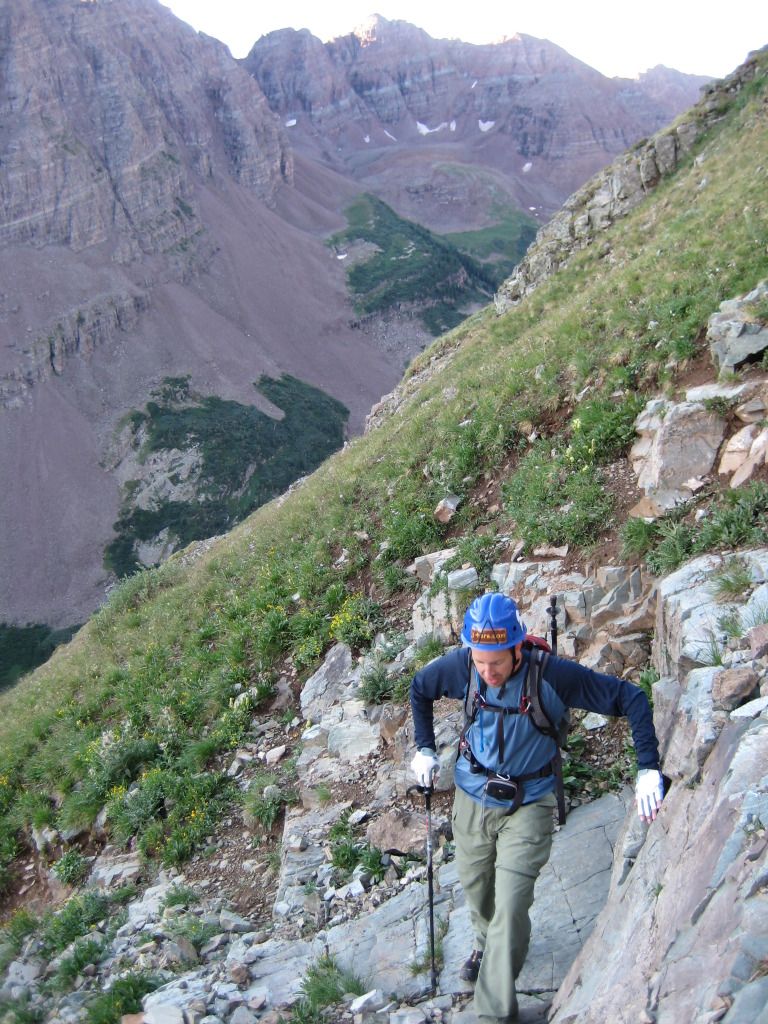
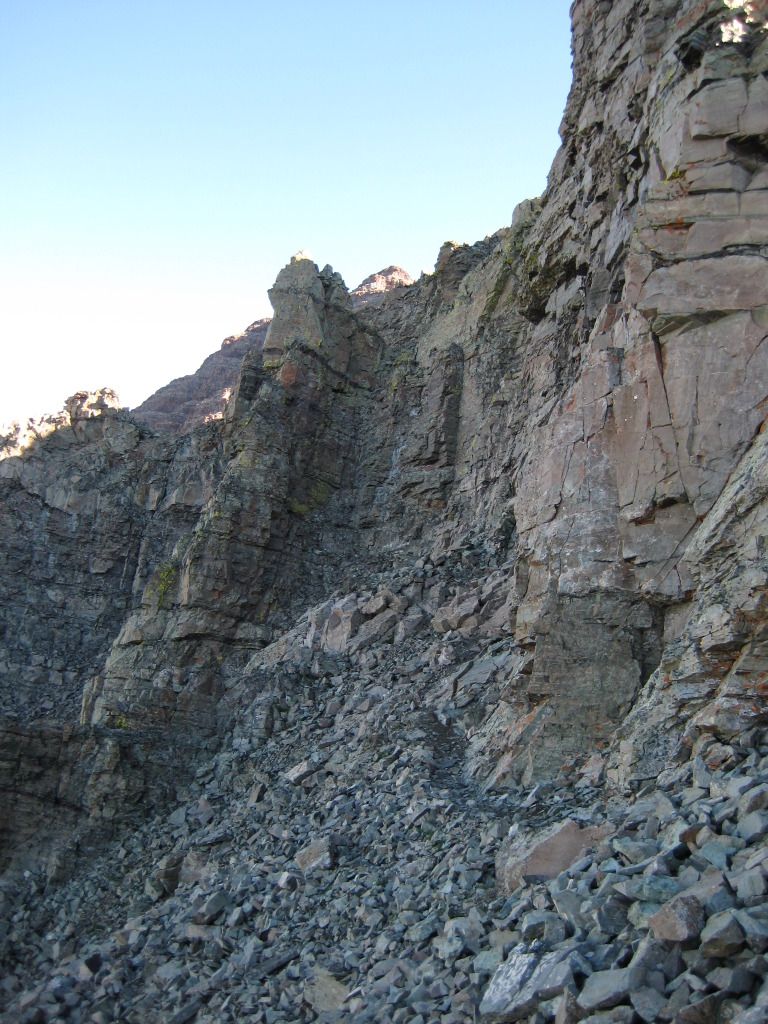
Once you reach the top of the ridge (13,200), the 2nd half and the more difficult half of the hike begins. Here is what you see:

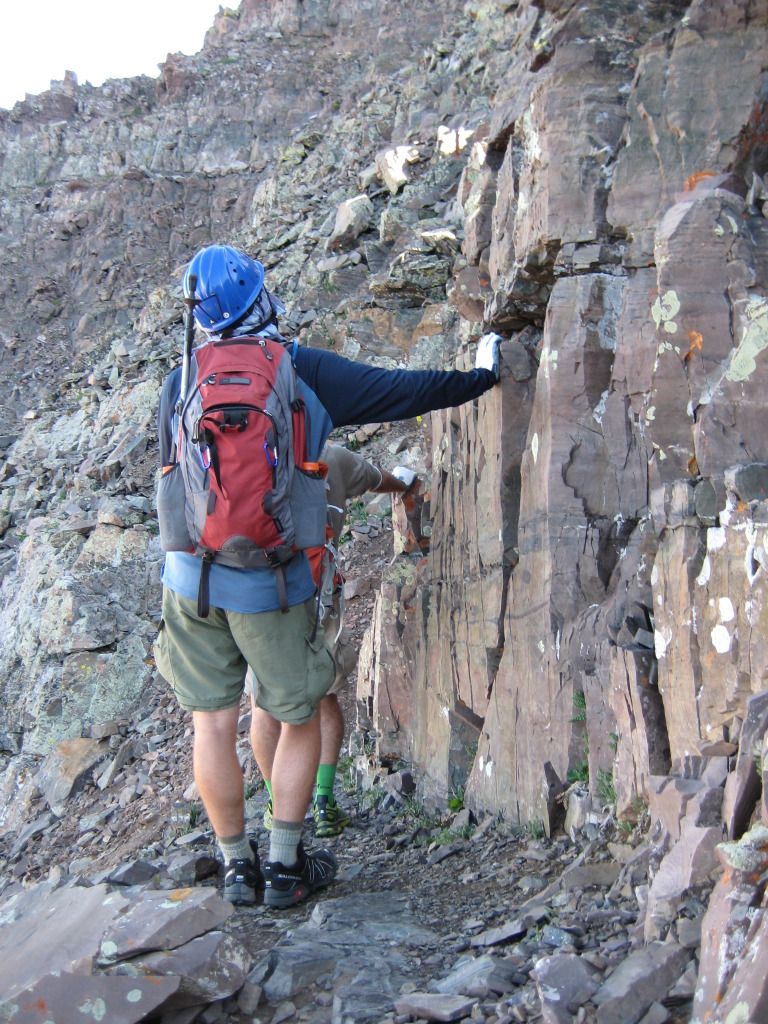
The climb begins with some short ledges as you head toward this:
Don't make the mistake like I did of thinking you will have to climb the yellow rock chimney seen straight ahead of you. The chimney you will climb is over to the right once you get just below the yellow rock chimney. The chimney is actually a fun climb and not difficult.
Once you get to the top of this chimney, you turn left and have another short chimney to get out of the cliff area you are in. Here is some video of this one:
After this, you head back into the ledges which takes you across the mountain for a while as you head toward the first gully choice. Here is what you see coming out of the chimney area:
 Here is my brother and dad taking their first glances of this gully: Here is my brother and dad taking their first glances of this gully:
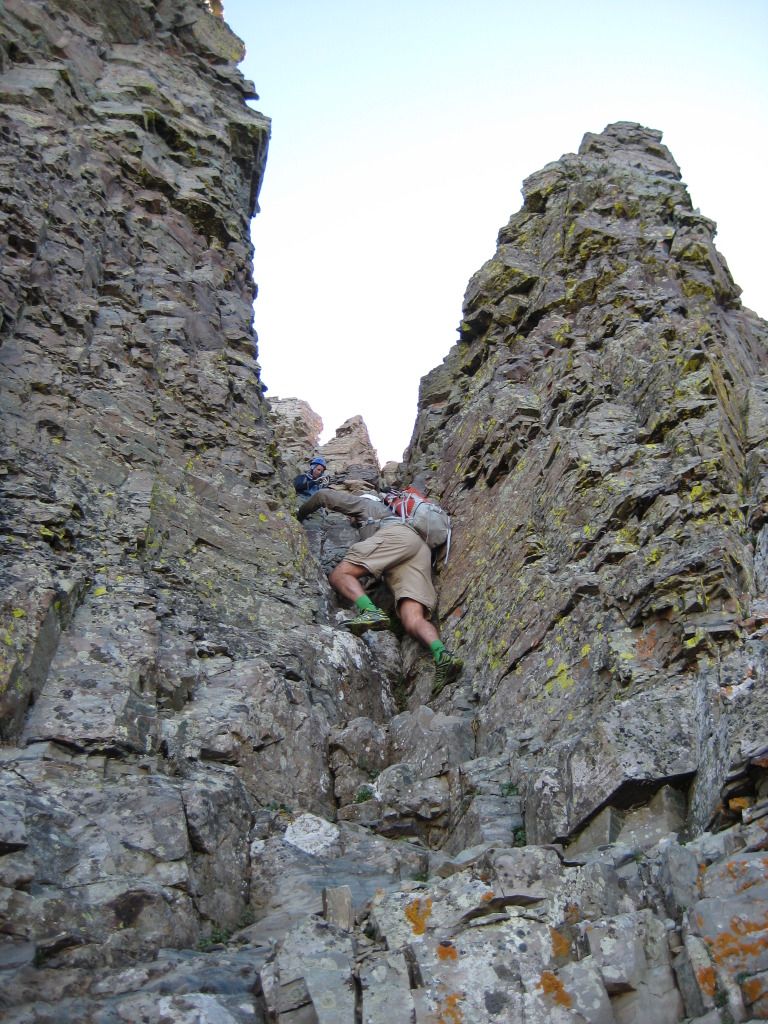
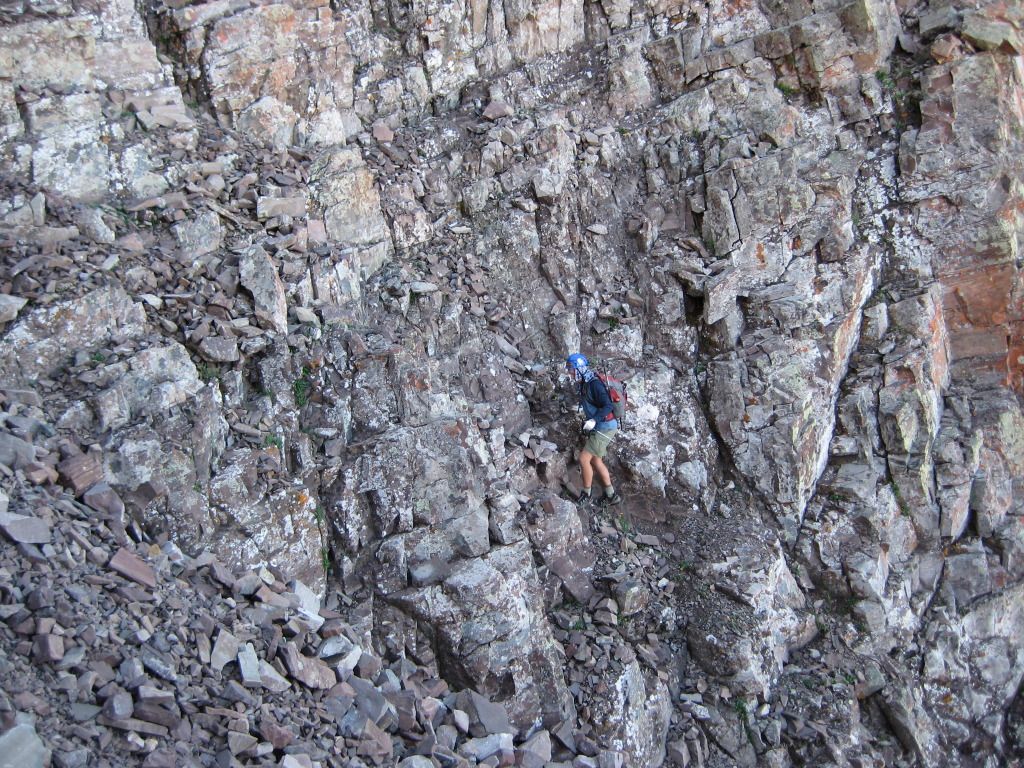
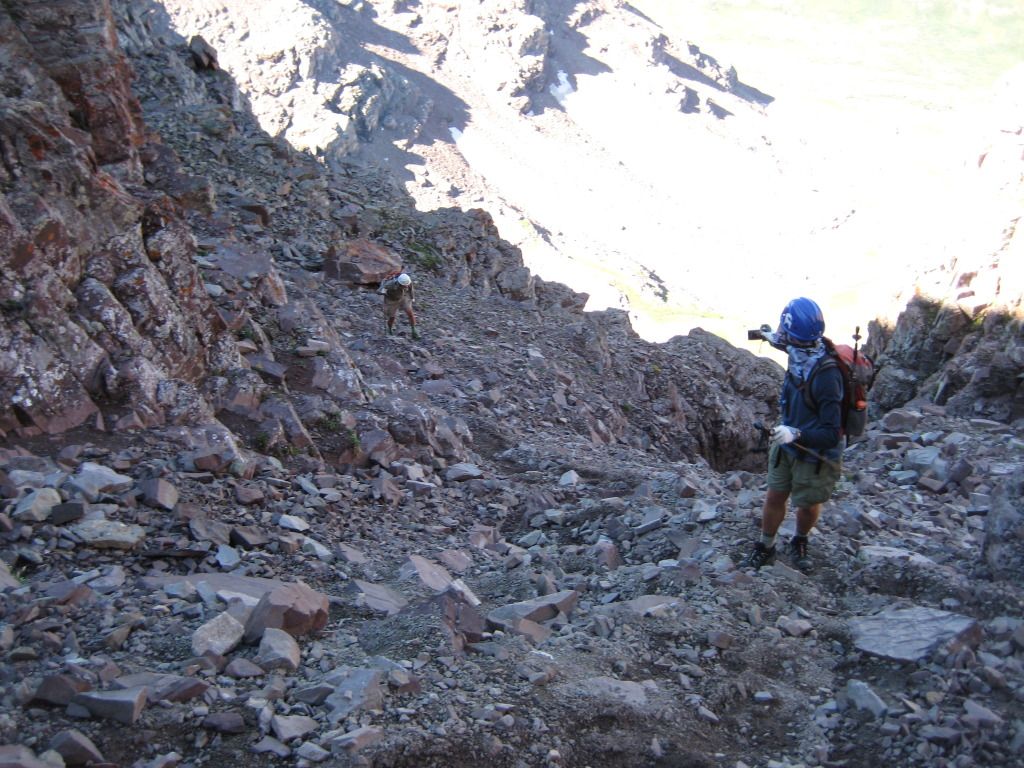
Once you reach the gully options, you have a choice of two. We took option 2, also known as the one to the far left. You can take the first option and then cross over high up and just traverse across the top but we found the 2nd option better. This gully is step and quite dangerous. There is some exposure and many opportunities to kick rocks down. We entered the gully announcing our presence and left the gully announcing we were leaving in case anyone was behind us given the rock fall danger. Here is a picture looking up the gully:
Here is some video at the bottom of the 2nd gully:
My brother decided to go high on the right side of the gully (some pretty good rock) but I would advise staying to the left as there is better rock over there. Here is him on the right:
Once you get to the top of this gullly, you will turn left and head over some more ledges. Watch this video and you will see it all:
However, after this gully, you have a lot more steep ledges to cross until you reach the big gully. You will also go around a few of what I call "ribs" which take you out to a point and then bring you back in:
Next objective is the big gully which is of course wider than the previous gully but it is just as steep and is mostly scree and talus compared to the near all talus/rock wall of the first gully.
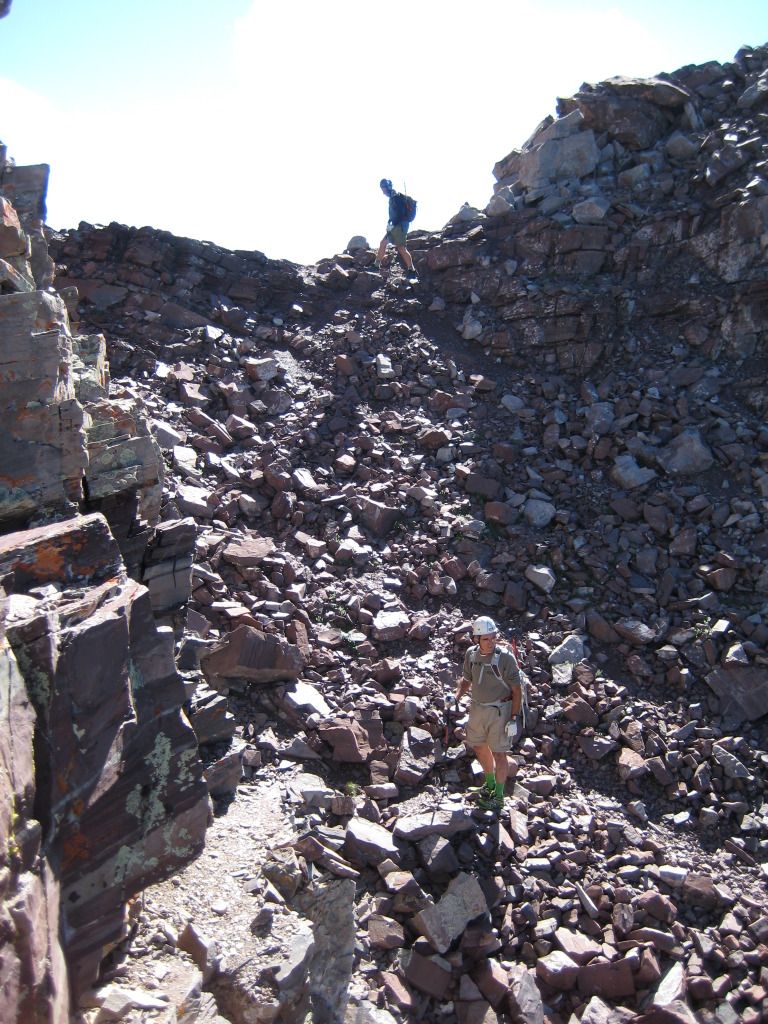
As you are heading to the top of the big gully, you will see a notch at the top. Here is a photo going up the big gully and down the big gully:
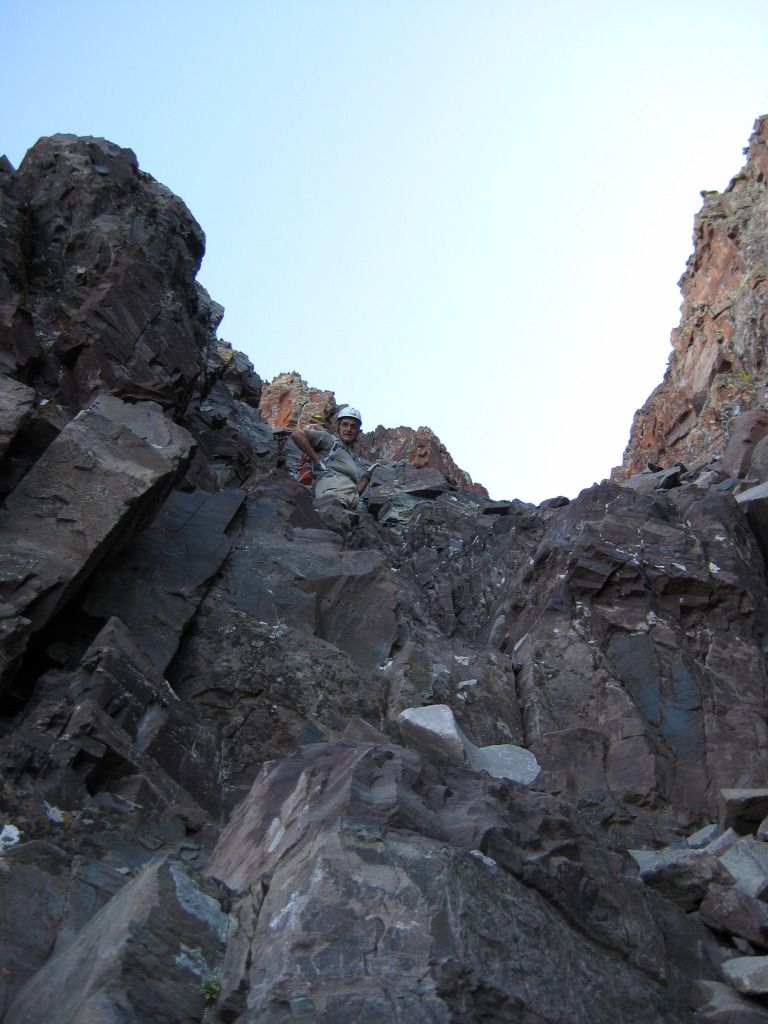
You will not go through the notch but rather turn left once again just before the notch onto some very steep rock ledges to get out of the gully and back onto the heart of the mountain. There are some cairns marking the turn left. Here is some video to give you a better idea at the top of the large gully:
Here is a picture taken while I was standing on the ledges leading out of the big gully, looking at the notch (where my brother is) which you do not go higher to...
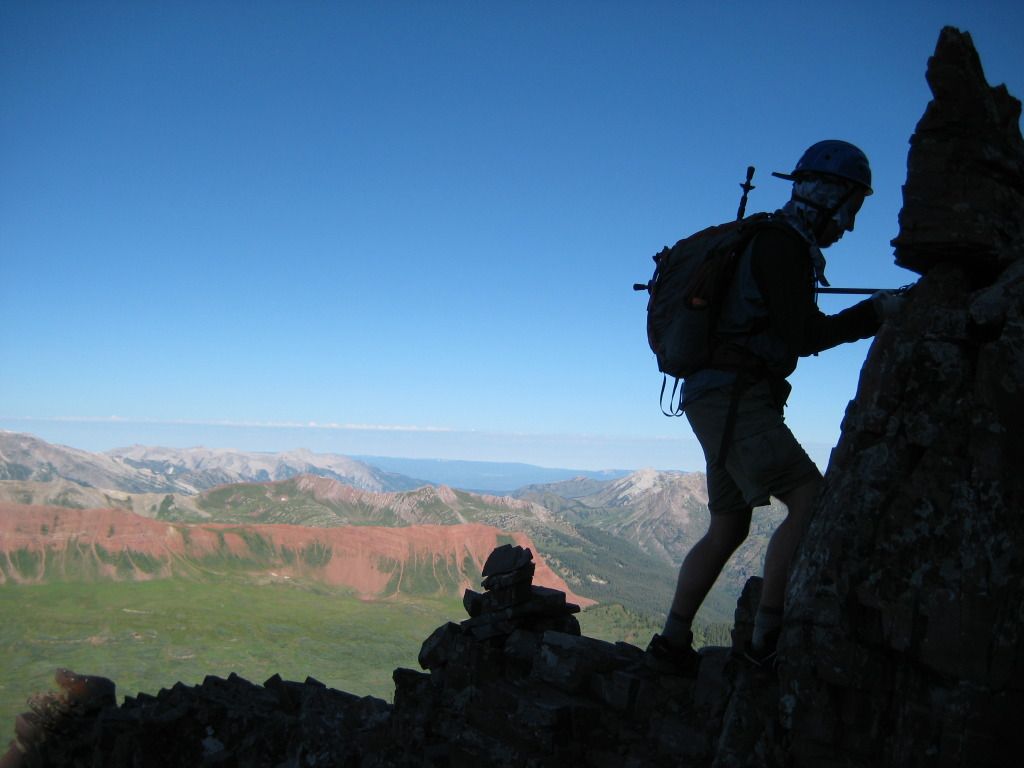
After the big gully, you continue up mostly below the ridge on some steep rock and ledges. Here are some videos of this:
Finally, you will gain the top of the summit ridge with only 100 or so feet to go. Here is a video of this portion:
Here is another video about halfway up the summit ridge after gaining it:
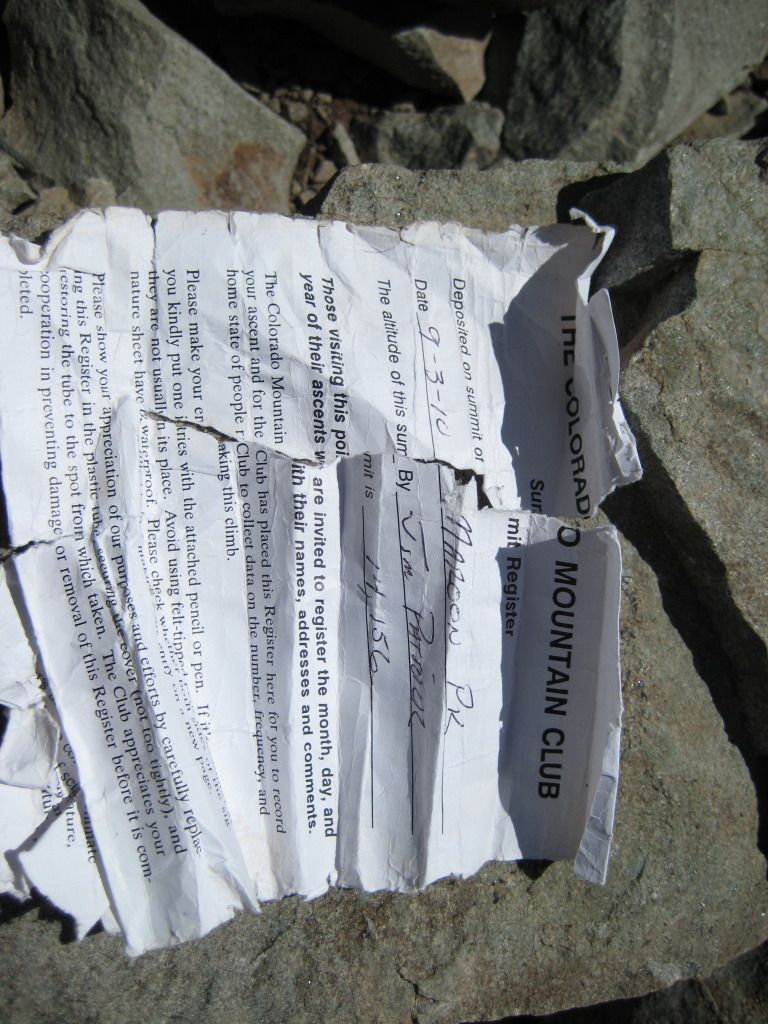
Once you get to the top, you have some great views and a chance to sign the registry:
Here is the summit panorama of Maroon Peak:
The climb down is just as difficult especially going through the gullys. Please be mindful of those individuals below you when you are descending the first gully as this one is steep, narrow, and full of loose rocks that will tumble down on the people below. It is not quite as bad as the Crestone Peak Red Gully or Little Bear Hour Glass, but it still is a hazard.
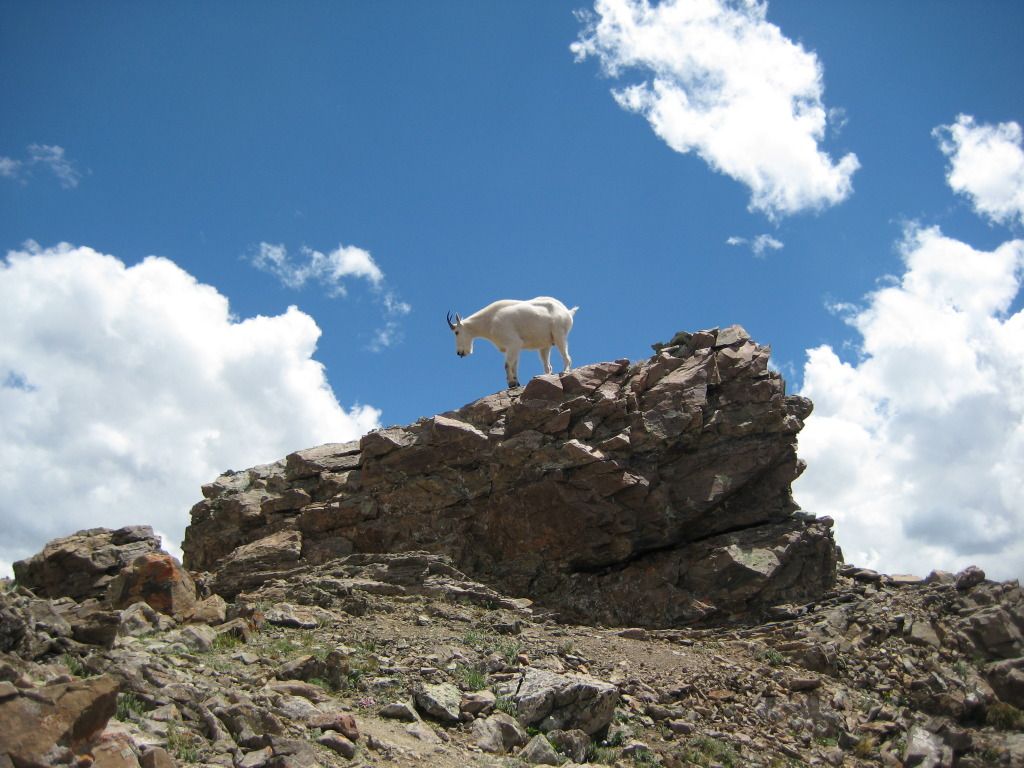
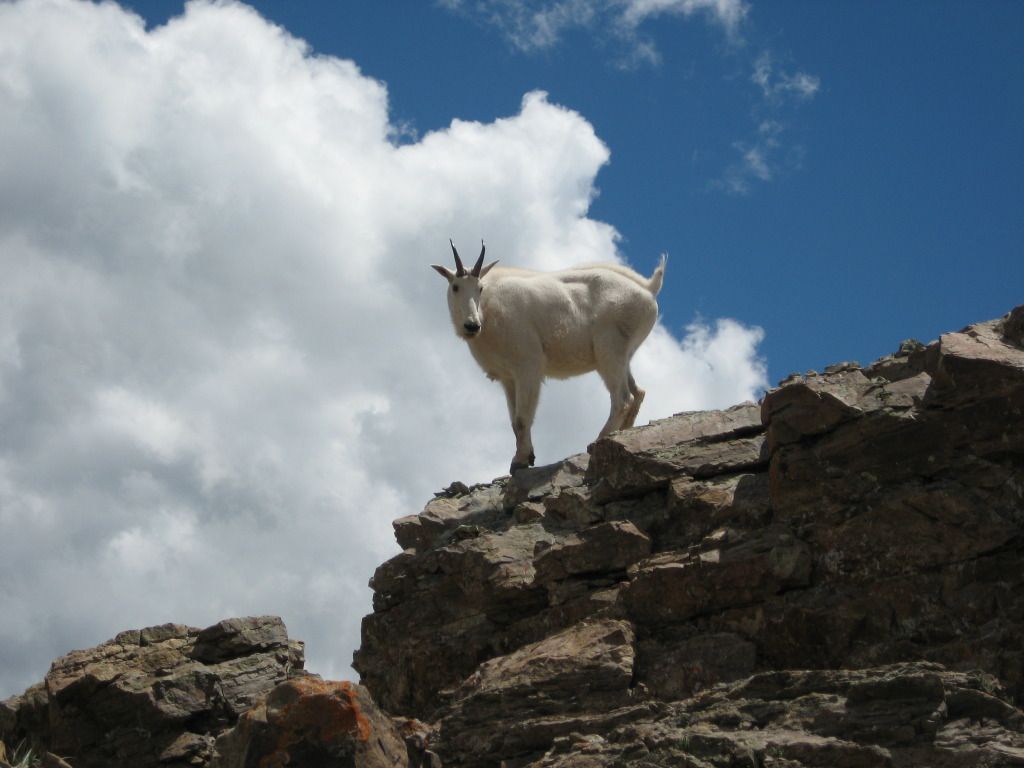
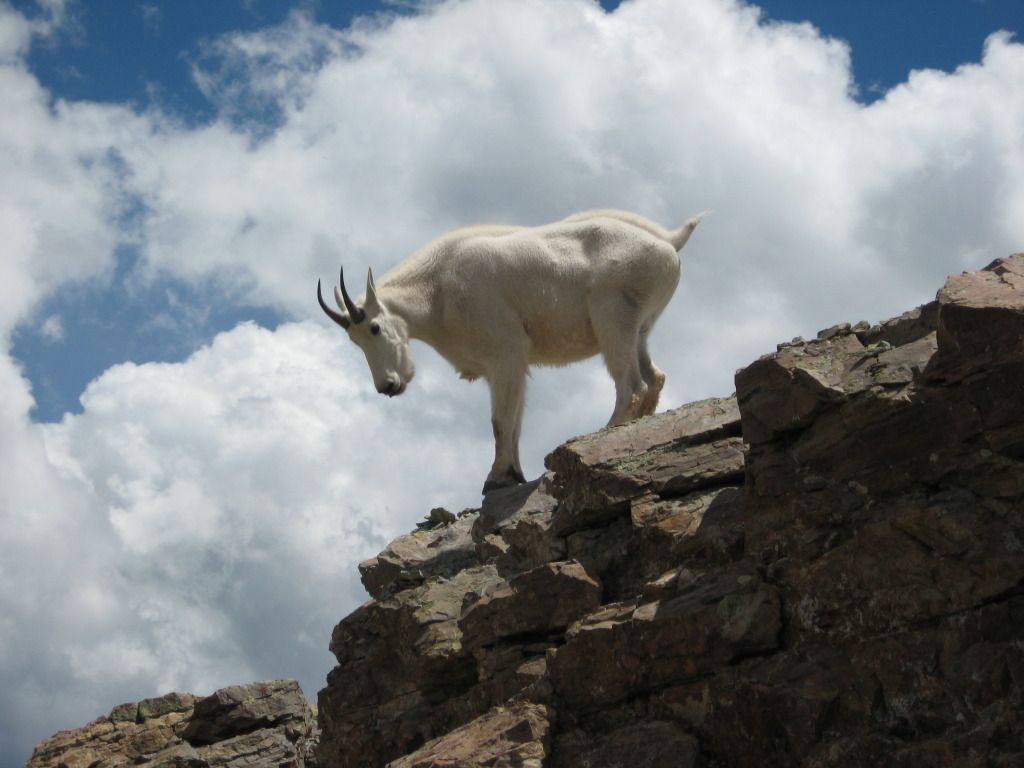
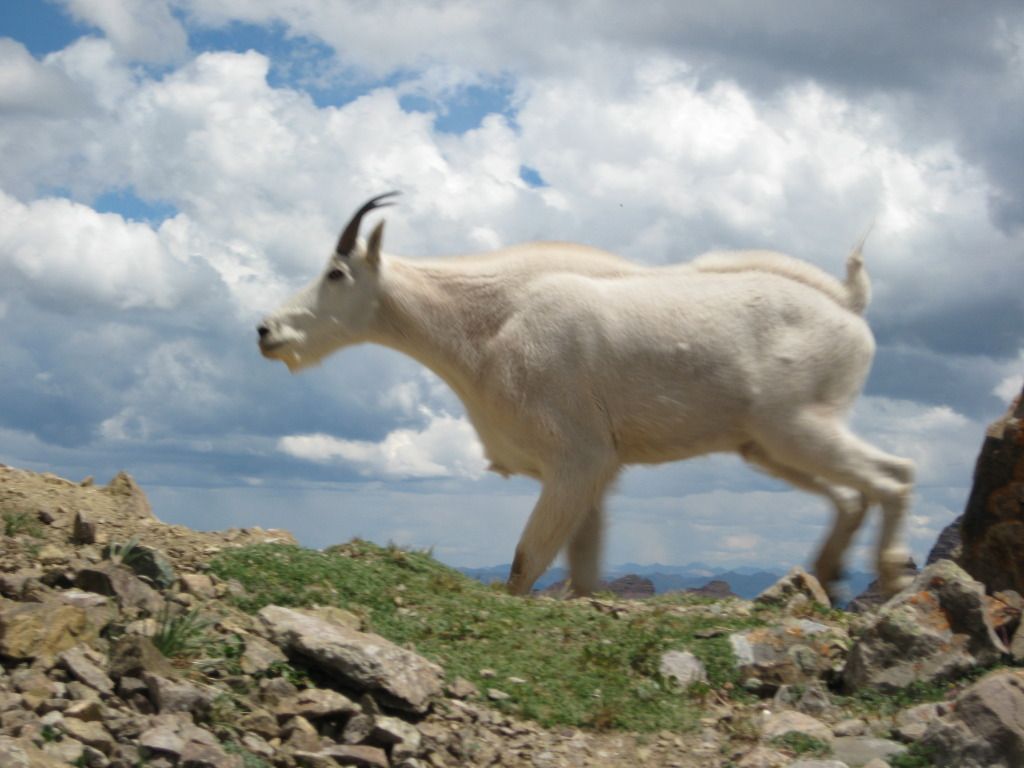
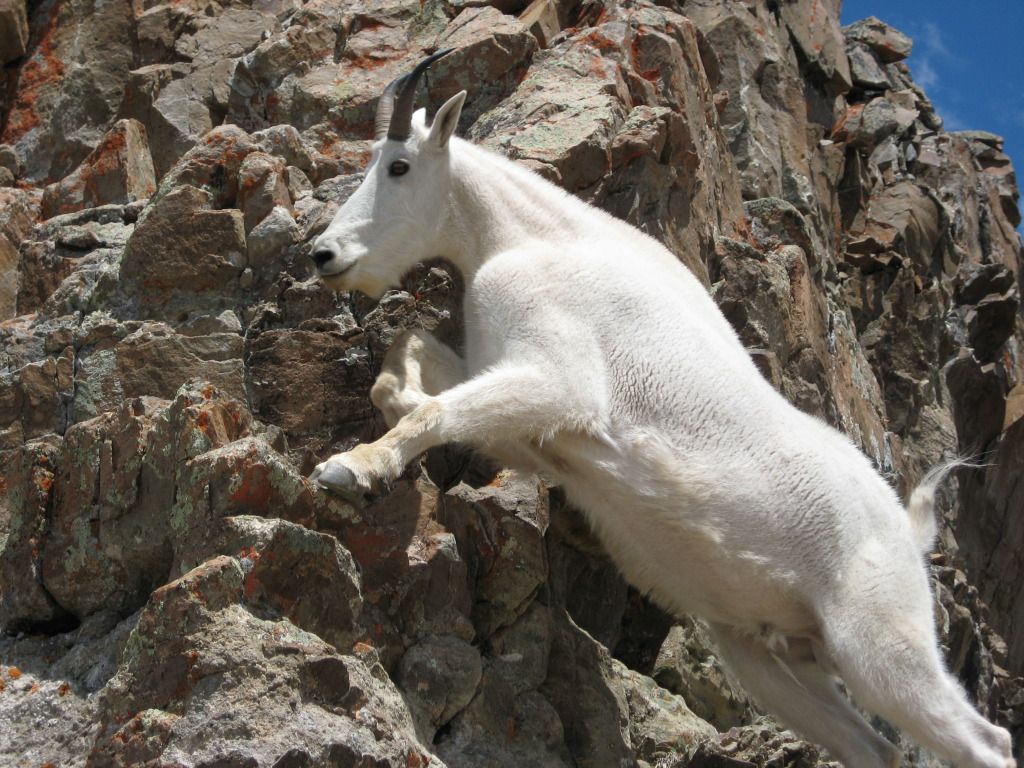
Once we made it back down to the bottom of the ridge, we saw a goat coming up:
The trek down the 2800 feet to the bottom of the valley from the ridge is NOT FUN and will take a toll on your feet, knees, and legs. Again, be careful as there are some very steep parts and there is still danger of falling a long ways if you get careless and lazy. I hope this provides a better idea of what you will face on Maroon Peak. Send me a message if you have any specific questions about the climb. I can answer them or I will refer them to our route finding expert and Back Country Navigator expert, Mark (my brother) who also has a trip report just posted yesterday on this peak.
|
Caution: The information contained in this report may not be accurate and should not be the only resource used in preparation for your climb. Failure to have the necessary experience, physical conditioning, supplies or equipment can result in injury or death. 14ers.com and the author(s) of this report provide no warranties, either express or implied, that the information provided is accurate or reliable. By using the information provided, you agree to indemnify and hold harmless 14ers.com and the report author(s) with respect to any claims and demands against them, including any attorney fees and expenses. Please read the 14ers.com Safety and Disclaimer pages for more information.
Please respect private property: 14ers.com supports the rights of private landowners to determine how and by whom their land will be used. In Colorado, it is your responsibility to determine if land is private and to obtain the appropriate permission before entering the property.