| Report Type | Full |
| Peak(s) |
Snowmass Mountain - 14,105 feet |
| Date Posted | 08/27/2011 |
| Modified | 02/09/2012 |
| Date Climbed | 08/26/2011 |
| Author | DanielL |
| Snowmass's Spectacular S-Ridge |
|---|
|
Snowmass Mountain (14,092') Route: "S" Ridge Ascent, West Face descent Elevation Gain: 4,600' Difficulty: Class 4 Weather: Pretty much completely overcast for the whole climb In preparation for the Crestones traverse that my sister and I are planning for next week, we wanted to do a Class 4 route that wasn't quite as serious, but would be a good warmup. So, we decided to attempt the S-ridge of Snowmass Mountain. I figured that it is probably the most stable way up Snowmass, so we planned to drive up to Lead King Basin on Thursday the 25th and hike to Geneva Lake, where we would set up camp. On Friday, we'd climb the mountain, take down camp, and return to Denver. A couple of friends came with us, and they brought their CRV in hopes of making it all the way to the trailhead. However, the difficulties started on the 4WD road. We set out from Denver at 12:30 on Thursday and got 2 miles past the junction for Lead King Basin, but we got stuck on a rocky section and decided to stop there. 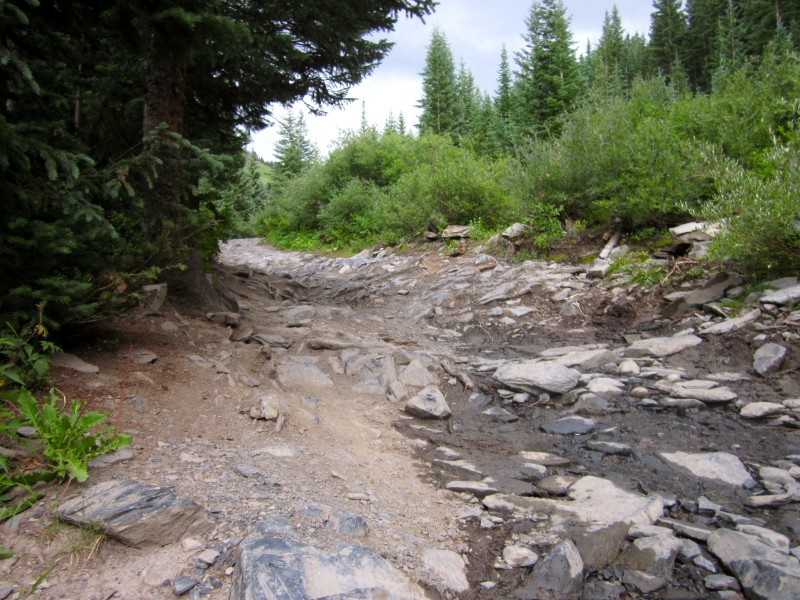 It was 5:45 pm and we had 4 miles of hiking to get to the trailhead, and an additional 1 1/2 with 1,300' of elevation gain to get to Geneva Lake. We started hiking up the road, but at the start of the first switchback after a road junction, we discovered a trail that cuts off some of the road and regains it after a bunch of switchbacks. We started on the trail, although we were cautious about if it was actually a shortcut or not, but it was. 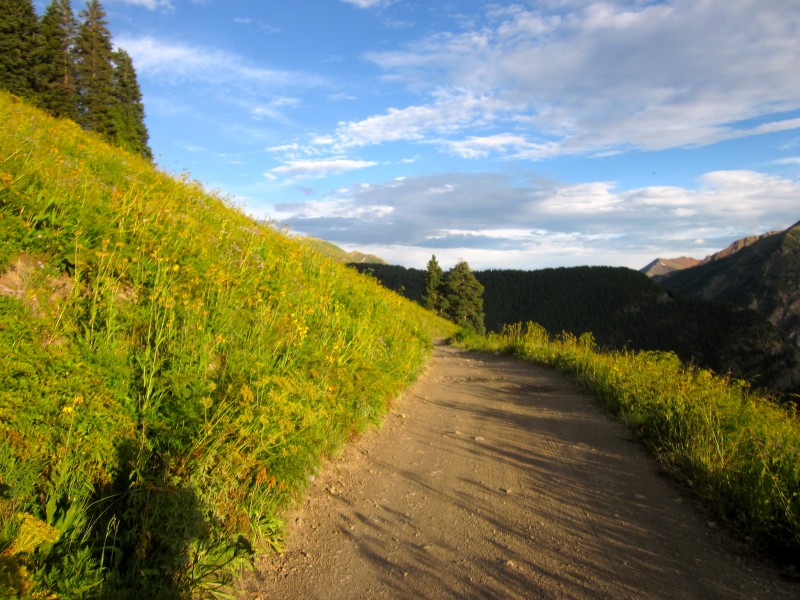 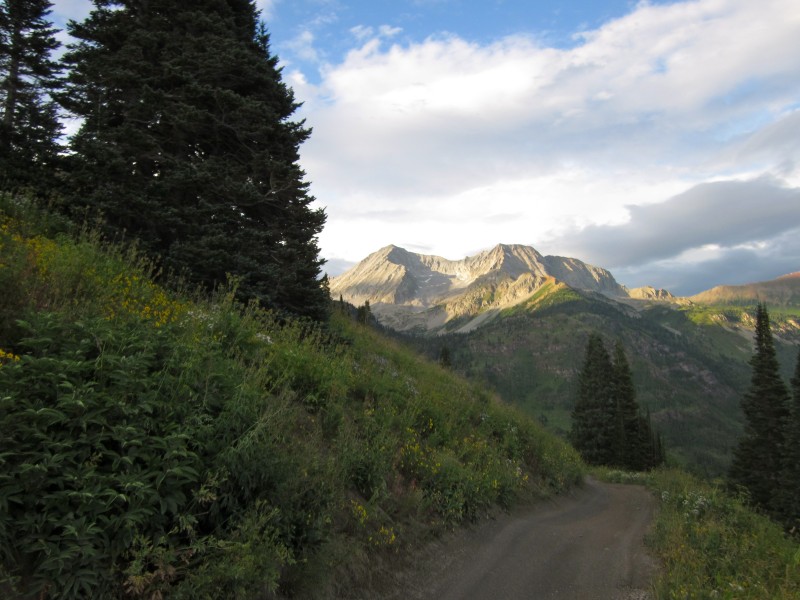 The road goes to the top of a ridge at about 10,600' and then descends all the way to the valley below Snowmass. We noticed that we were at about the same elevation at this point as Geneva Lake, so instead of descending to the trailhead and ascending back up again, we could just cut across the slope and hit the trail just below the lake. However, this was a HUGE mistake! We didn't see all the valleys and streams between from our angle, and we were losing precious daylight - plus, it had obviously rained earlier in the day, and the foliage is extremely high in this area, so we slipped plenty of times and couldn't see where we were stepping. We ended up spending tons of time crossing nasty, wet terrain and having to cross streams with steep sides of loose dirt and rock. By the time we had got past the second of three or more gullies, it was getting dark. We had to descend all the way back to the valley to relocate the trail. We hit the trail at about 9:00 and eventually decided to return to the trailhead and find a decent camping spot. We did find a great spot close to the trailhead, and set up our tents and made a fire in the dark. It felt so good to be done hiking and roasting hot dogs over the fire, although we spent more time heating and attempting to dry our socks and shoes! We were somewhat successful, however, although not entirely. We finally got in our tents at 11:45. However, I started out freezing cold from being wet for so long, and after sleeping until 2:00, I woke up feeling horribly dry and thirsty. There was a water bottle right by my head, but it was empty from the water being used to put out the fire. Sigh. I laid awake until 4:00 and finally got one more hour of sleep. We got up at about 5:15 am, and started hiking just after 6:00. We made it to Geneva Lake and got our first close-up view of Snowmass and our route. 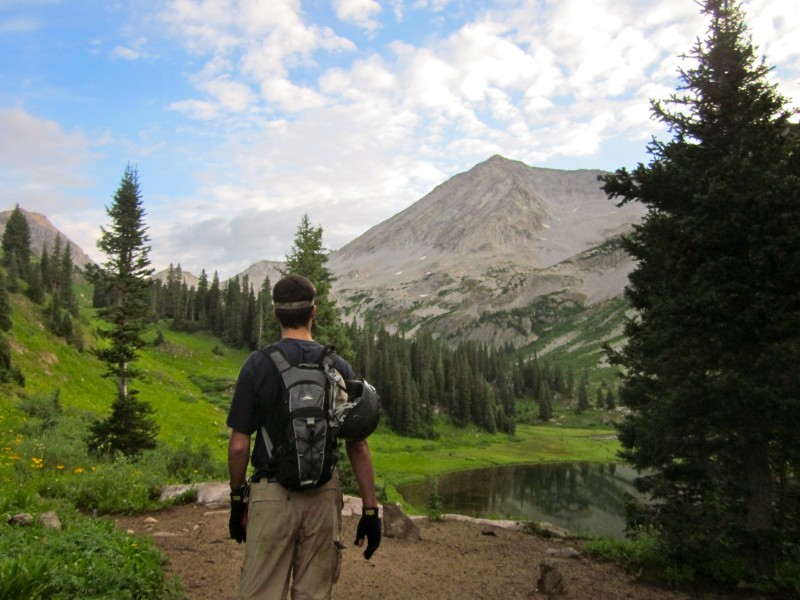 We kept hiking, remembering to stay left at the trail junctions between Geneva Lake and the headwall below Little Gem Lake. We hiked up the headwall and reached the lake. At this point, to climb the S-ridge you want to leave the trail and descend to a stream, and ascend a rocky gully to the slope below the two gullies that gain the ridge. 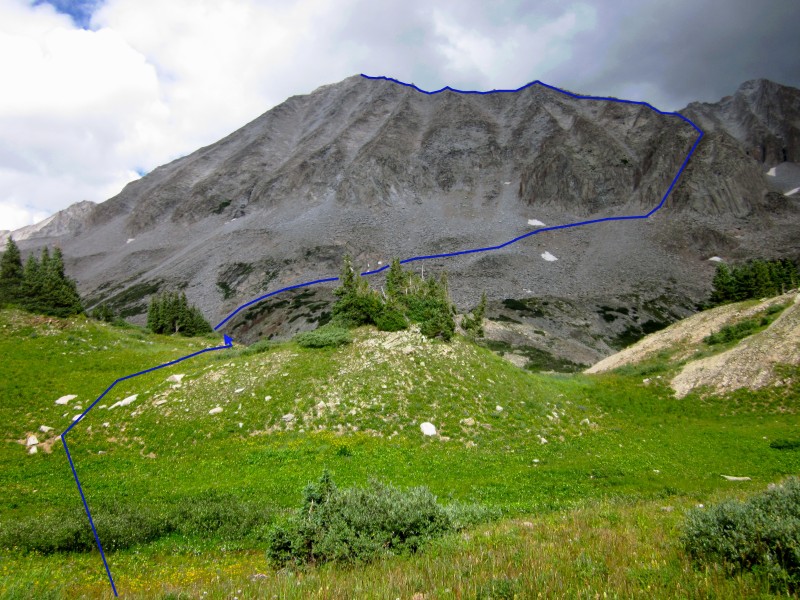 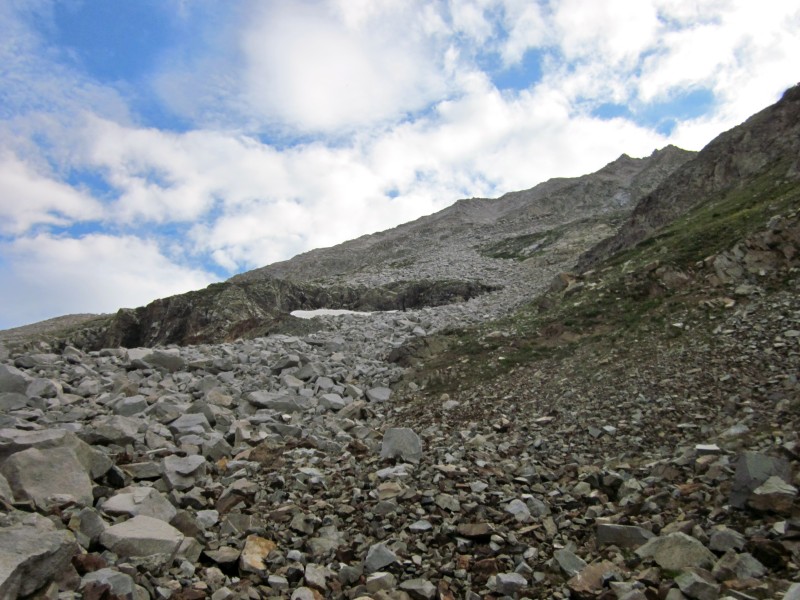  We climbed up the gully to the right, on the far side. It was steep and loose, and about 400' of elevation gain. We put on our climbing helmets and carefully ascended, sticking to the sides as much as possible, where there was more scrambling but stabler rock. 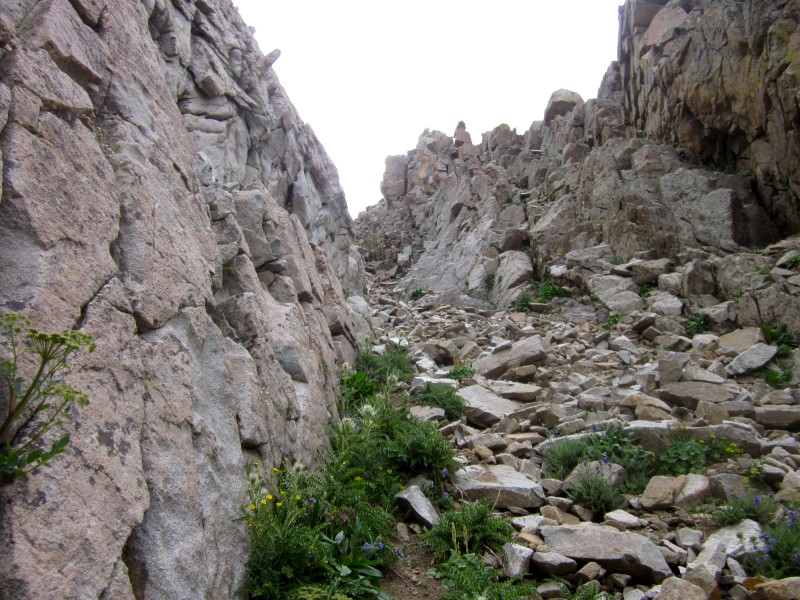 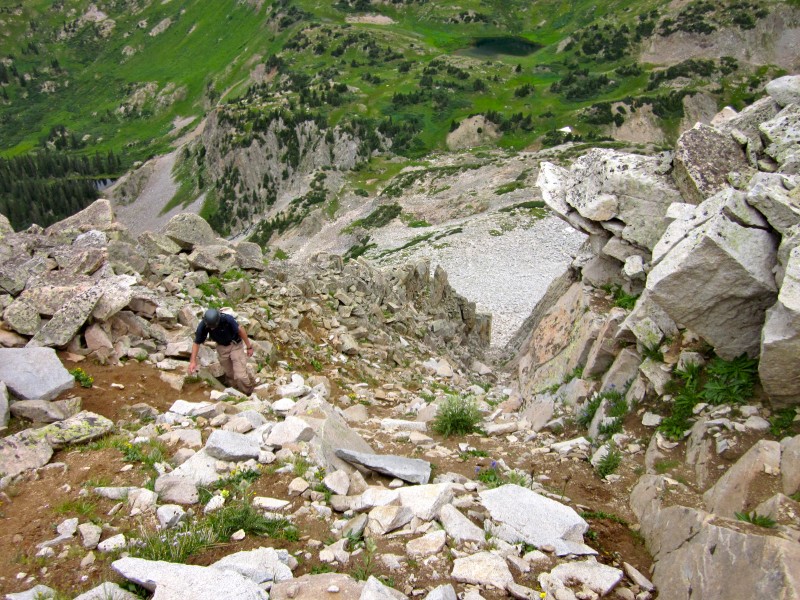 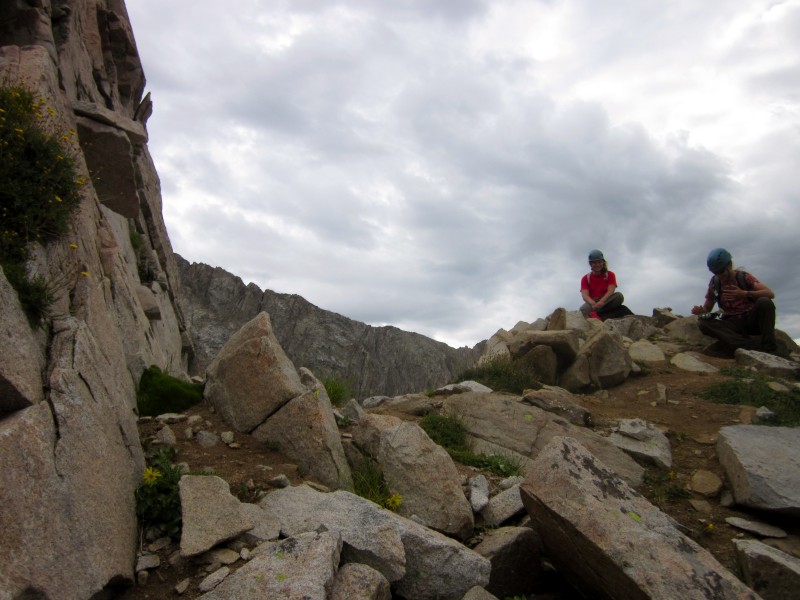 Finally, at just before 10:00, we crested the S-ridge, and then the real fun began. Everything we had been waiting for on this route was in front of us. The ridge crest at this point is 12,600' and the climb to the summit was 1,500' of elevation gain. The ridge is obviously separated into three portions, one for each curve of the "S". The first section was 850' of steep elevation gain, and the most physically challenging for us, although the difficulty didn't exceed Class 3. 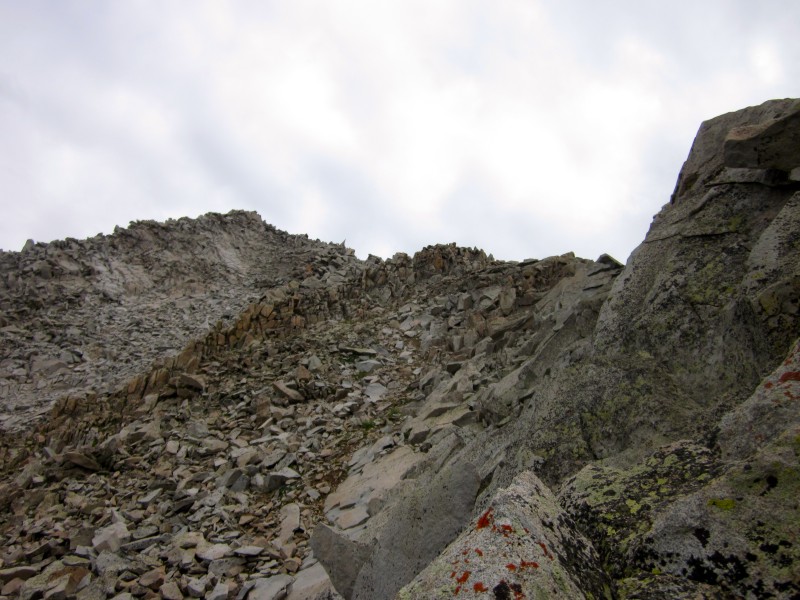 If you look closely at the picture above, you should be able to see the distinctive blade rock near the top of the bump. We stuck to the ridge almost the whole time, and when we reached the blade rock we dropped to the left side just a bit, and quickly regained the crest at the top of the bump which marks the end of the first section. We avoided dropping off of the crest too far, as the rock got really loose down lower, but on the crest it was quite stable - sure, there are enough loose boulders to keep you careful, but not anything unusual as long as you stay to the ridge proper. 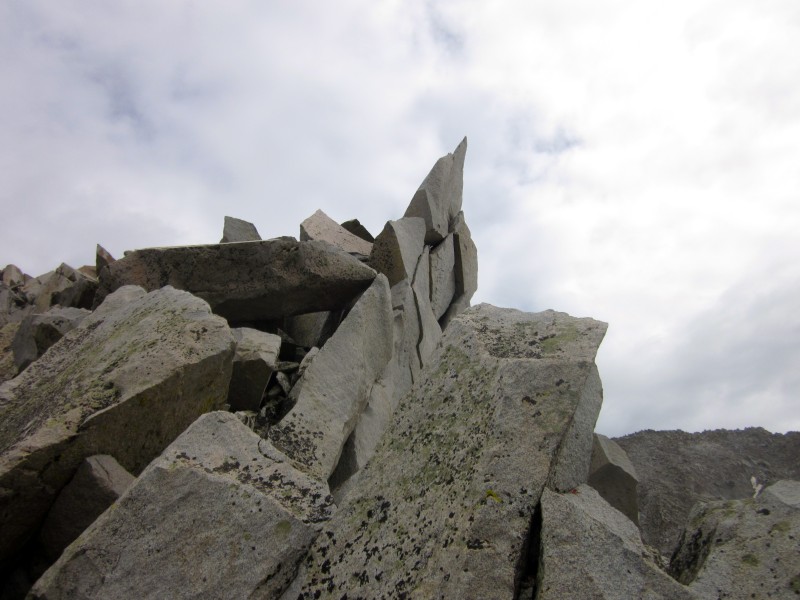 Soon we were at the top of the first section and we had a good view of the remaining 900' to the summit. 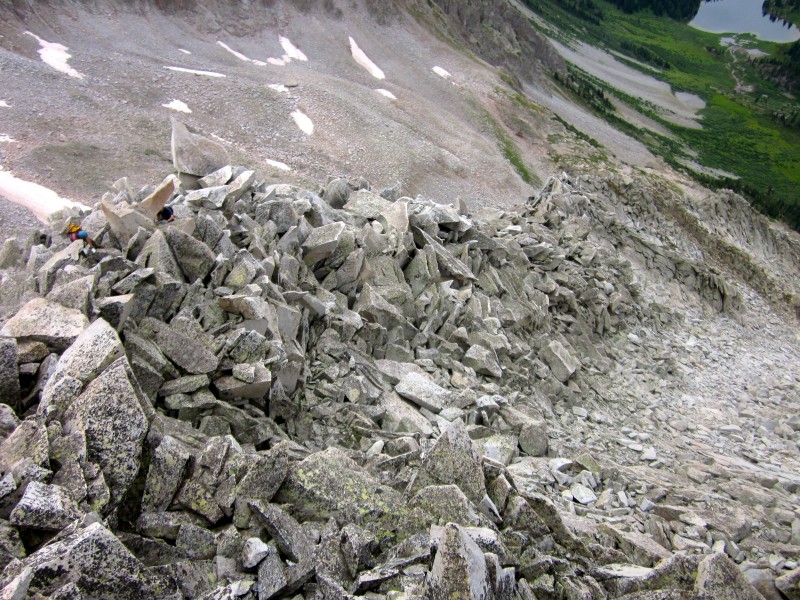 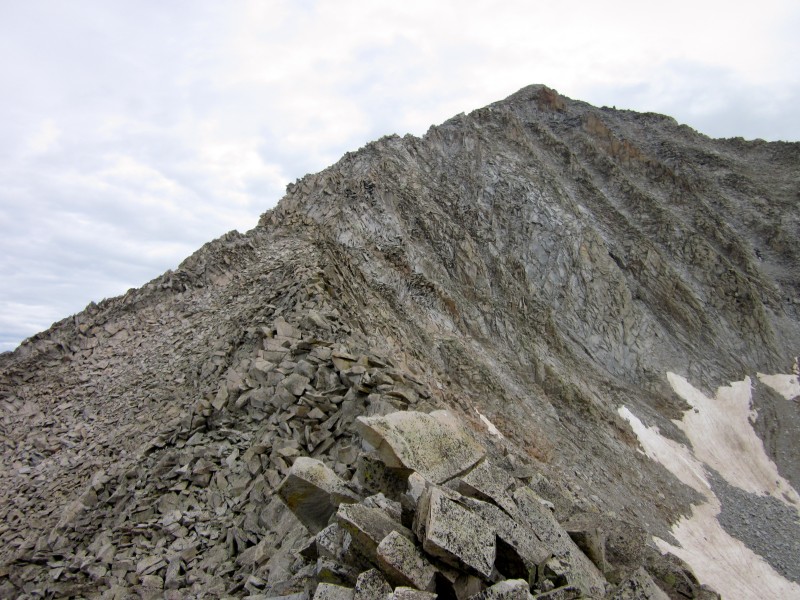 The second section is comparatively flat, but it isn't just walking - there are continuous big boulders that keep you scrambling. There are a couple of bumps along this section, but nothing major. We puttered along and soon reached the base of the third and final section of the S-Ridge. 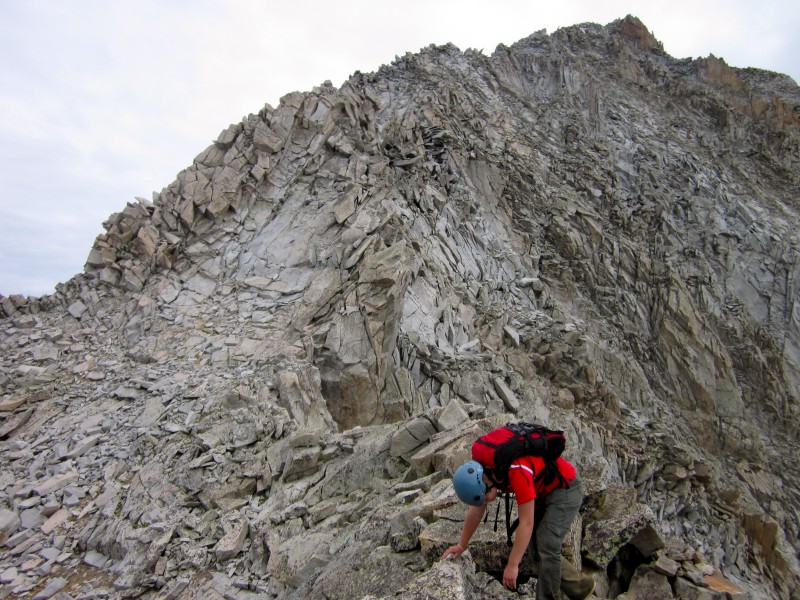 At the start of the third section is a 75' pitch of Class 4 climbing; this, in my opinion, is the crux of the route, although some of the climbing above this section was close to the same difficulty, and much more sustained.  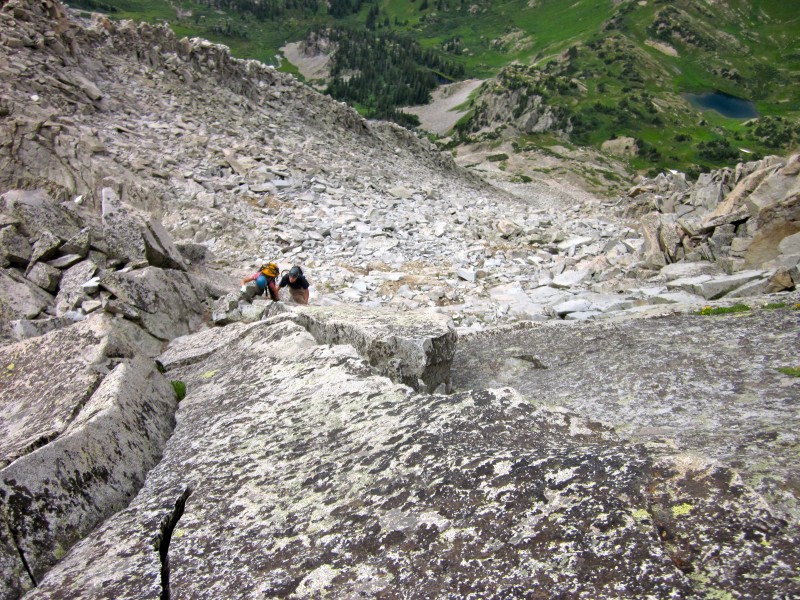 Above the crux, we had to drop to the right side of the ridge and traverse around an exposed, steep and narrow point on the ridge. 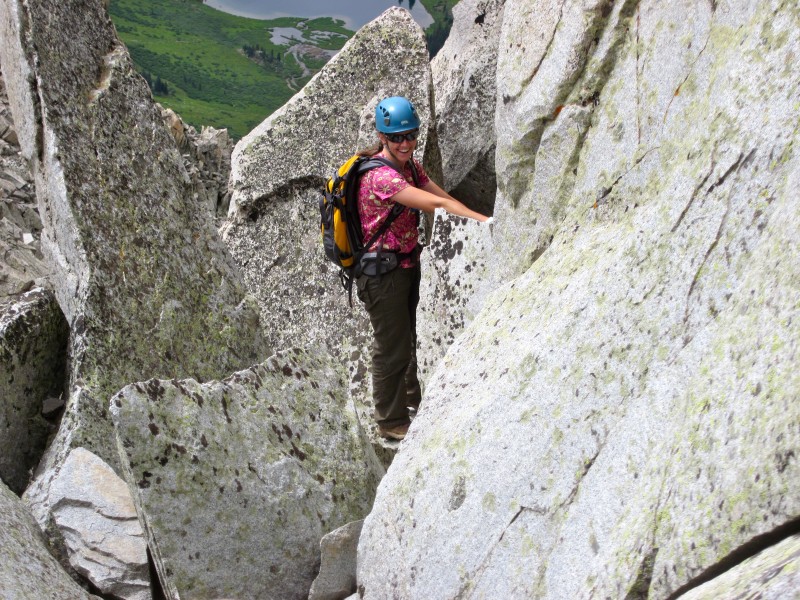 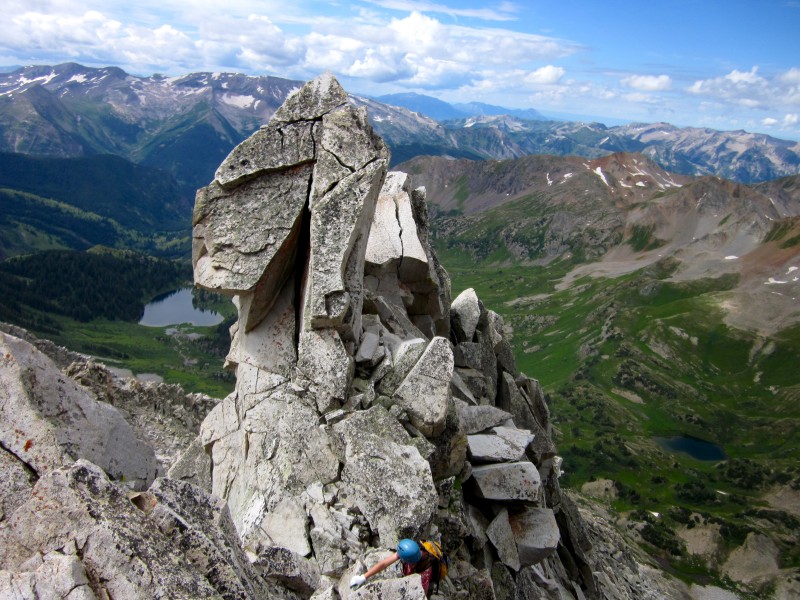 We traversed to the left side of the ridge in the above photo. Above this area there is a lot more excellent Class 3 scrambling, with the occasional Class 4 move. This third section of the ridge was my absolute favorite of the whole route; it seemed like the awesome scrambling just kept going on and on! We were having a blast, and the summit was really close. After the traverse and ridge crest, there is one more bump to be climbed before the summit pitch comes into view. This area was also a ton of fun. 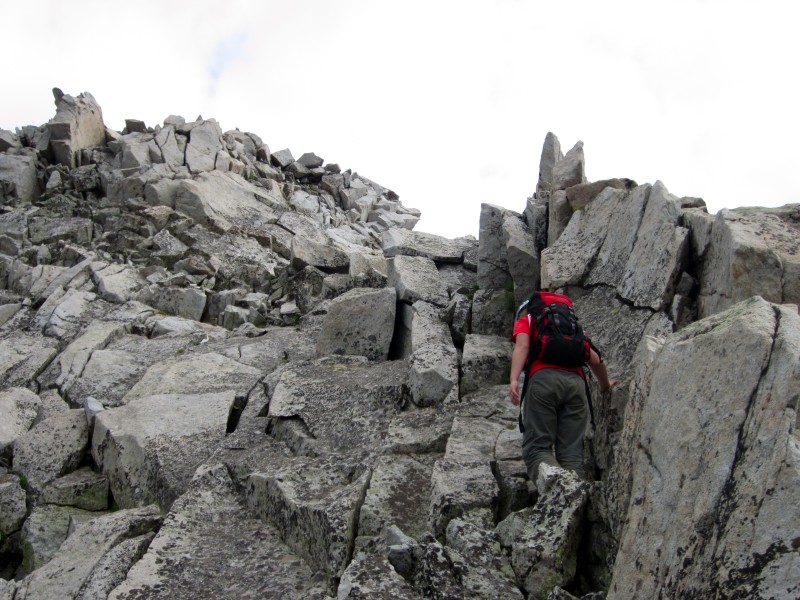 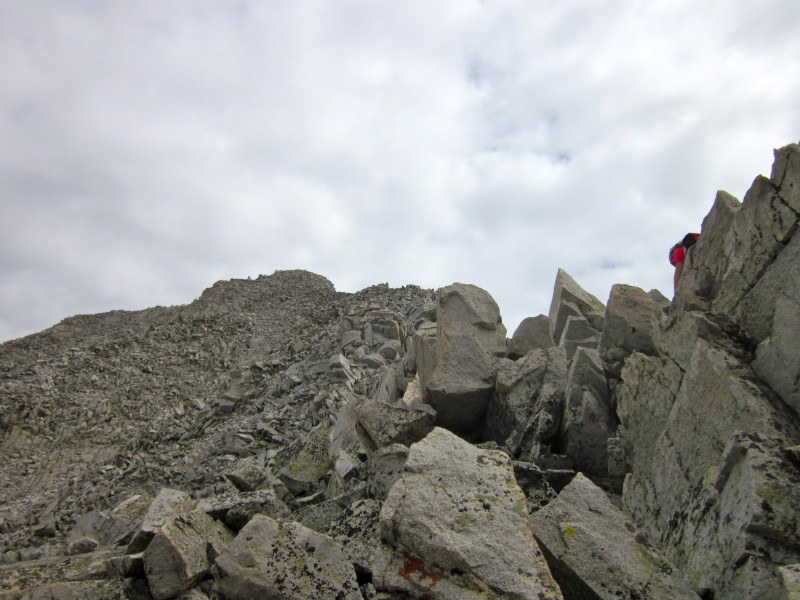 The final 100' or so to the summit is scree and smaller rock. Although we were somewhat disappointed at reaching the end of the extremely fun scrambling, reaching the summit was very exciting! We got to the top at about 12:00, a little under 6 hours from the trailhead.  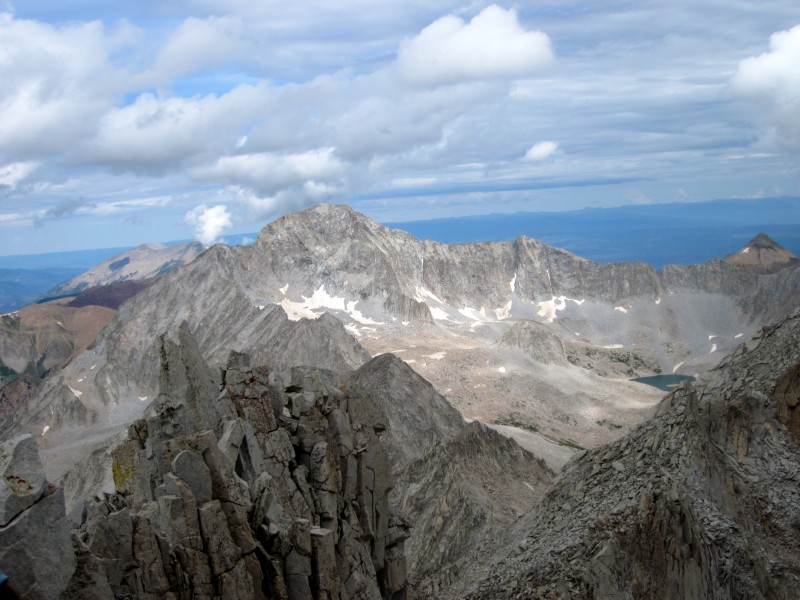 Due to sketchy weather conditions, we spent little time on the summit, and started to descend the west side. I have heard plenty of nightmare stories about this route, but a very helpful trip report I read a few weeks ago led us to a decently stable way down; this route descends down the ridge to the right of the main gully. It is a pretty long descent of continuous Difficult Class 2 and Class 3, but we were grateful for how much stabler this route was than we had anticipated finding in the gully. 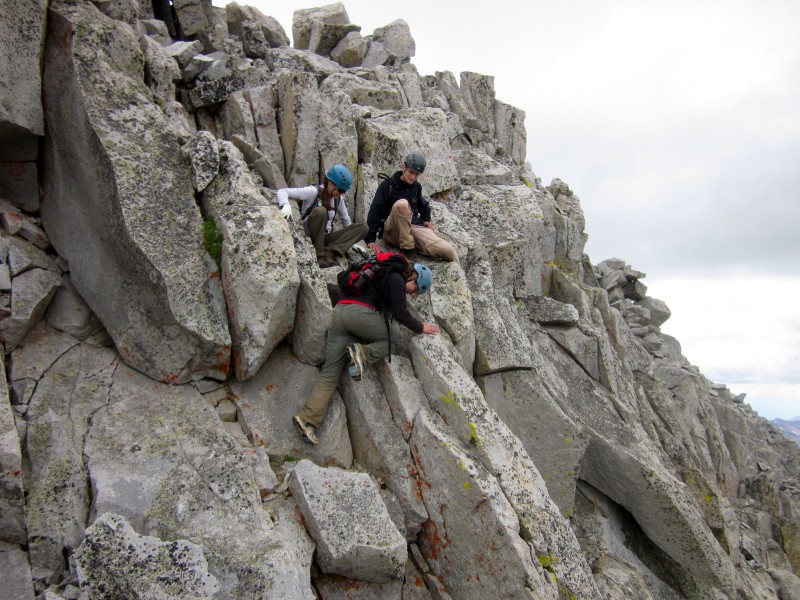  It was somewhat more difficult to descend the final part of the ridge where it ends near the bottom of the main gully than the terrain higher up was, as it gets quite a bit steeper for a little while, but we crab-walked our way down. Afterwards, the terrain eases and there is a trail. 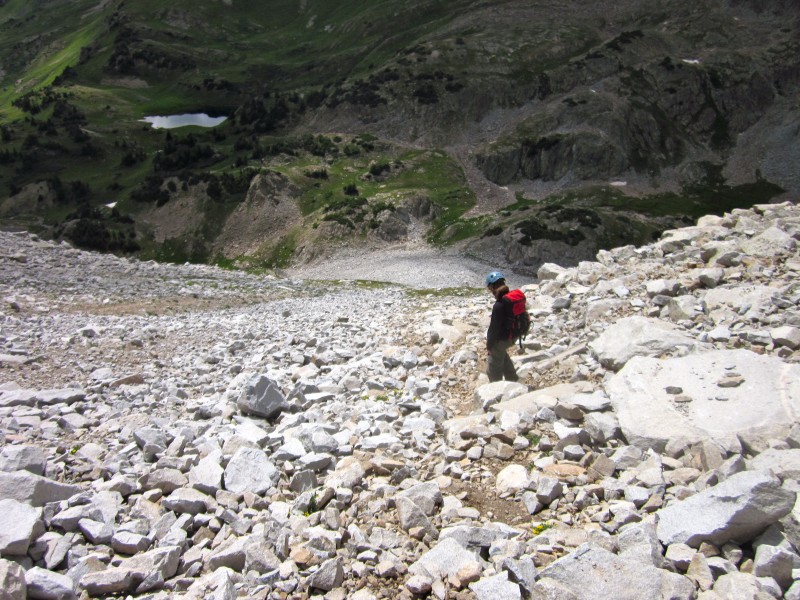 Soon, the rock was replaced by thick, green grass as we approached the stream at the very base of the mountain. 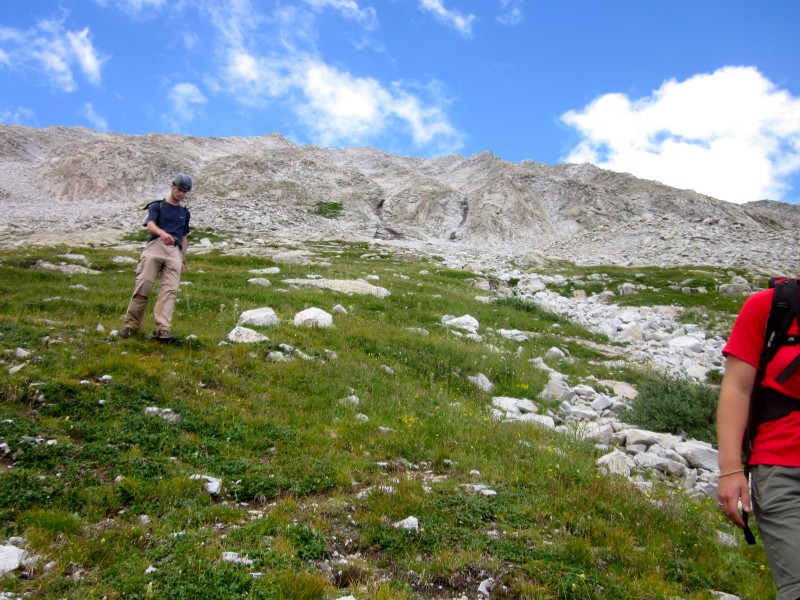 We crossed the stream and regained the short slope to the trail at Little Gem Lake. From here, we took a short break and then briskly walked all the way down to the trailhead.  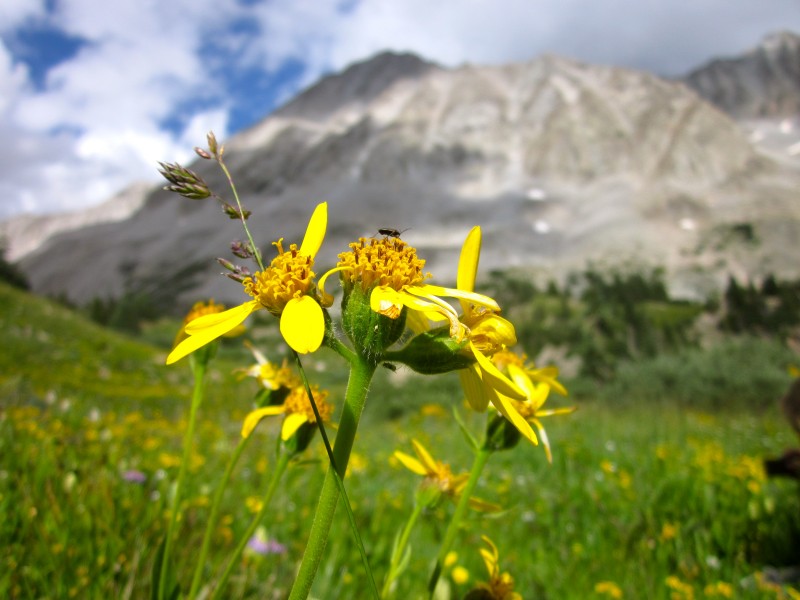 We got back to camp and started taking our tents down. We were lamenting the fact that we would have to hike all the way up the switchbacks and on the long road for 4 miles. However, a very kind guy who was camping at the trailhead for the night took us in his red Ford Ranger all the way up the switchbacks and a long ways after that! From where he dropped us off, we hiked down the road for a bit until we located the shortcut trail and took this all the way down until we regained the road. From here, it was just a few minutes of hiking until we got back to our car! 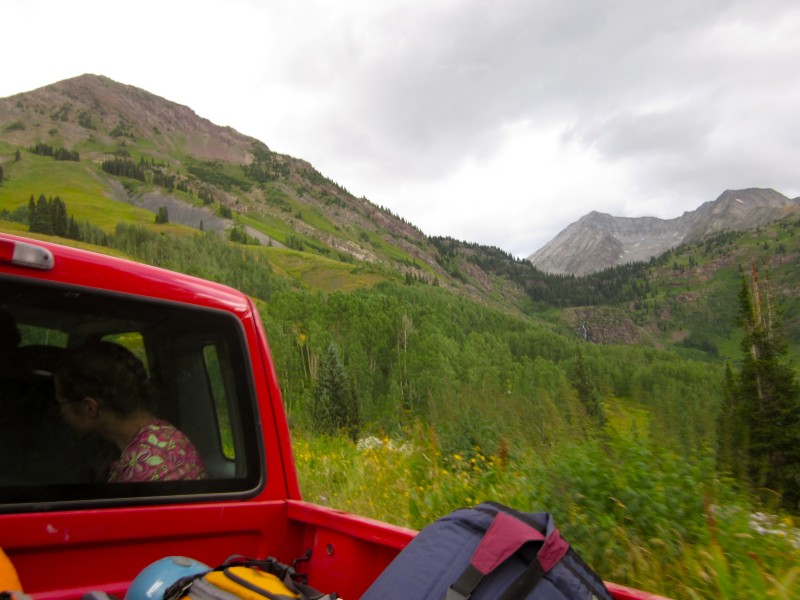 All I can say is - this route is a true classic! The approach to the ridge took a while and is a lot of elevation gain, but once you get on the S-ridge, it's an absolute blast! Thumbnails for uploaded photos (click to open slideshow):  Where we stopped and why")
 Rounding the bend before the top of the final switchbacks")
 Our first view of Snowmass, with the S-ridge in full view.")
 Snowmass from Geneva Lake")
 The route from the junction, taken on the descent")
 Looking up the gully")
 Climbing to the base of the twin gullies")
 Looking up at the start of the gully")
 Looking down the gully from just below the ridge crest")
 Cresting the S-Ridge")
 The first section of the S-Ridge")
 The blade rock - it's about 20 feet tall")
 Looking down the first section")
 The remaining route")
 At the base of the third section with the crux ahead")
 Climbing up the crux")
 Looking down from the top")
 Traversing under the ridge")
 Back on the ridge crest")
 Climbing up to the next point on the ridge")
 The final summit pitch")
 The summit!")
 Climbing down the west and probably wrong side of the summit ridge")
 Capitol Peak from the summit")
 Descending the ridge to descender's right of the gully")
 Easier terrain below the main gully")
 Near the stream")
 At the top of the slope - all down hill from here!")
 Flowers along the trail")
 One last look at Snowmass from the back of the truck")
|
| Comments or Questions | |||
|---|---|---|---|
|
Caution: The information contained in this report may not be accurate and should not be the only resource used in preparation for your climb. Failure to have the necessary experience, physical conditioning, supplies or equipment can result in injury or death. 14ers.com and the author(s) of this report provide no warranties, either express or implied, that the information provided is accurate or reliable. By using the information provided, you agree to indemnify and hold harmless 14ers.com and the report author(s) with respect to any claims and demands against them, including any attorney fees and expenses. Please read the 14ers.com Safety and Disclaimer pages for more information.
Please respect private property: 14ers.com supports the rights of private landowners to determine how and by whom their land will be used. In Colorado, it is your responsibility to determine if land is private and to obtain the appropriate permission before entering the property.


