| Report Type | Full |
| Peak(s) |
Mt. Adams - 13,937 feet |
| Date Posted | 08/03/2010 |
| Modified | 10/12/2012 |
| Date Climbed | 07/10/2010 |
| Author | jdorje |
| Mt Adams, via Willow Creek |
|---|
|
(Note, this is a report from some weeks ago; I've had it sitting around for a while.) Following my trip up 13546 the previous week, I knew my next climb had to be to return and climb Adams. Unfortunately 70% of the way was duplicated from that climb; I could have gone up the South Crestone route too but I felt that would be significantly steeper up to the saddle. Next time that's what I'll do though. Total distance: 11-14 miles Elevation gain: 5300-5500' Up to the saddleThe route up to the saddle is straightforward, and covered in my previous report. Suffice it to say, I didn't find any particularly better way to do it this time and actually got even more off track when I cut up from the lake too soon then made the grave mistake of cutting left around a rock instead of right. One difference, however, is that the flowers were even more in bloom. 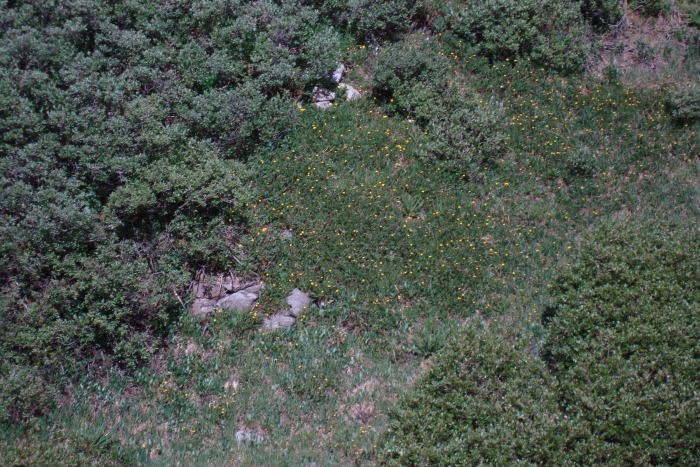   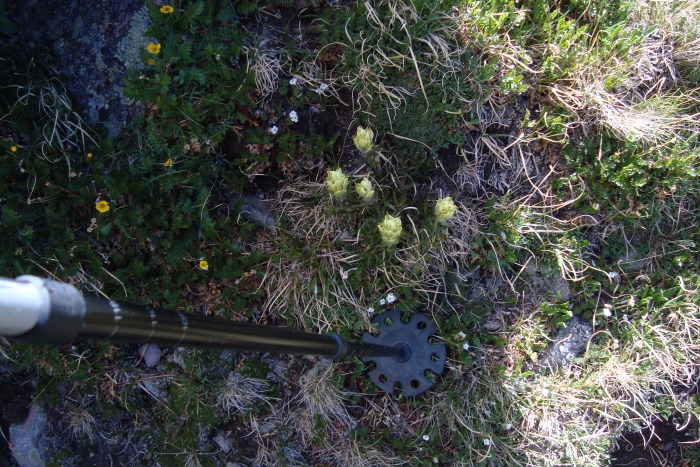  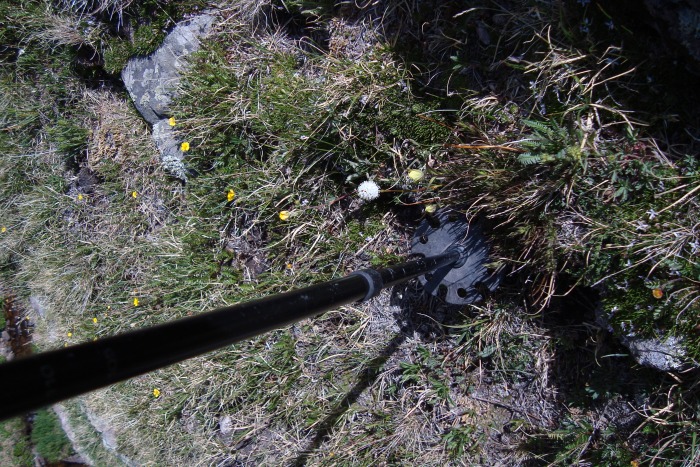    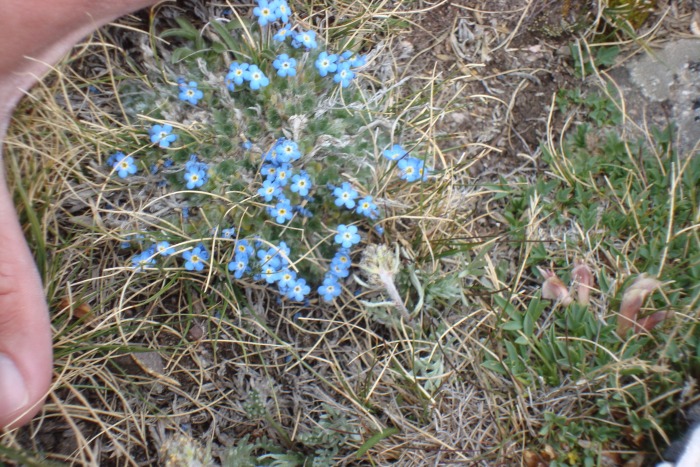 The above is just a fraction of the types of flowers I saw...many of the pictures I took ended up out of focus with my low-tech digital camera. As I walked through the upper basin I really found myself tiring out; I'd taken the trek up to the lake and to this point a bit too fast and hit a minor wall once it came time to start with the serious uphill. But after snapping a bunch of flower photos (usually with my hiking pole in the frame to give scale) I carried on and arrived at the Adams-13546 saddle. Ridge to the summitNow, here's where things became tricky. Right at the start there was a tiny scramble to get out of the saddle and up over a block of rock guarding the ridgeline; this might have been avoidable by walking right of it but I didn't bother. From there I followed an intermittent trail for a while as it trekked up through the tundra.  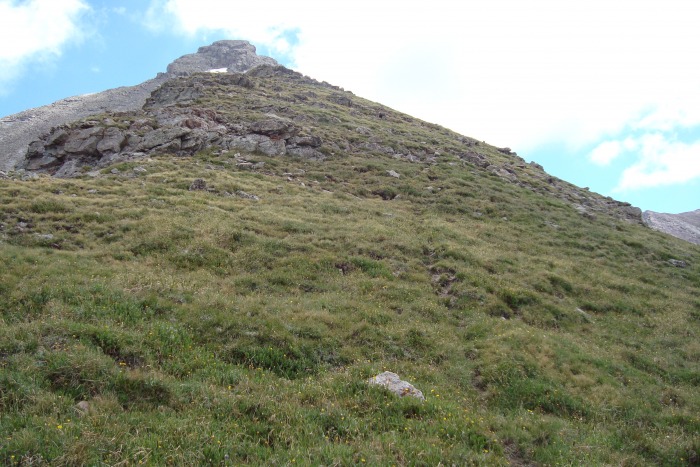 At some point this trail disappeared though, and I went with my instinct and stuck up pretty close to the ridge. All the trip reports say "it's a class 2+ if you stick on the ridge or a class 2 if you stay to the right", but what they don't say is that "stay to the right" means potentially hundreds of feet to the right. I stuck on the grass just to the right of the ridge, and eventually got funneled up onto a rock and had to make a short but rather exposed scrambling move to get over it. There's some serious exposure on the north side of the ridge, especially higher up. 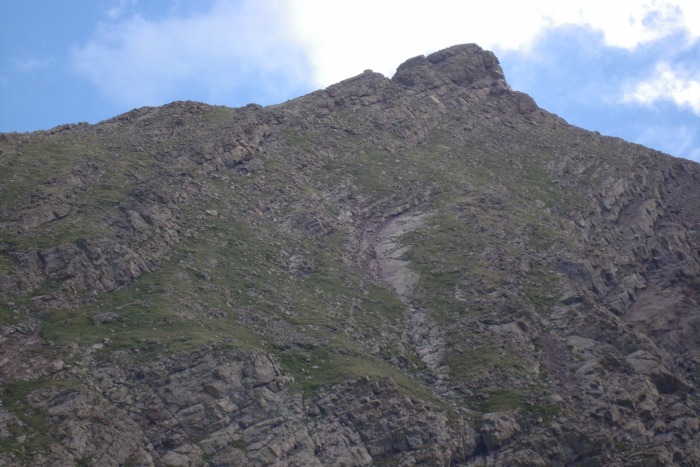  Above shows my approximate route up along the ridge, and back down below the ridge. Taking the ridge route wasn't particularly challenging but it did surprise me with the exposure and a couple scrambling moves needed to get past it in a few spots; I simply didn't expect this before the summit cap. The views both north and south were fantastic though. Eventually I made it back onto the tundra "below the ridge" and continued up. From down below this appears to be quite rocky but once up there I found it to be at least half grass. 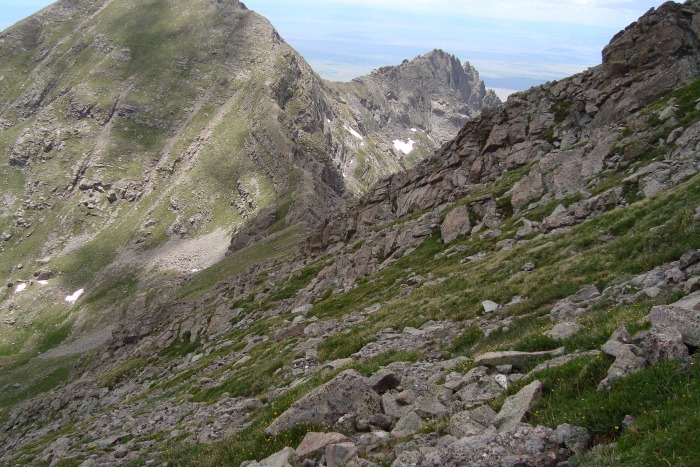 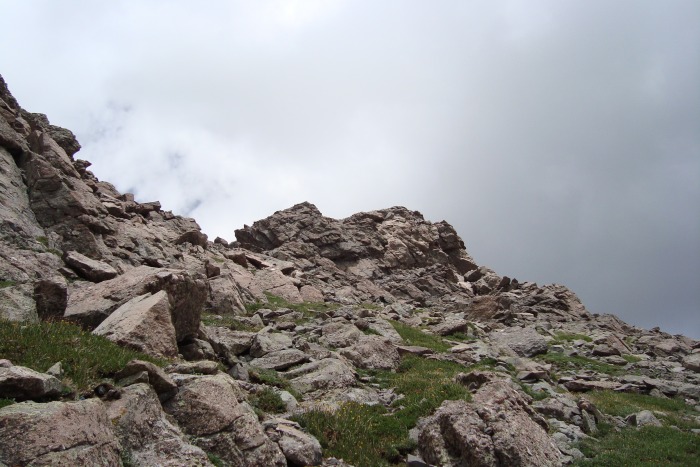 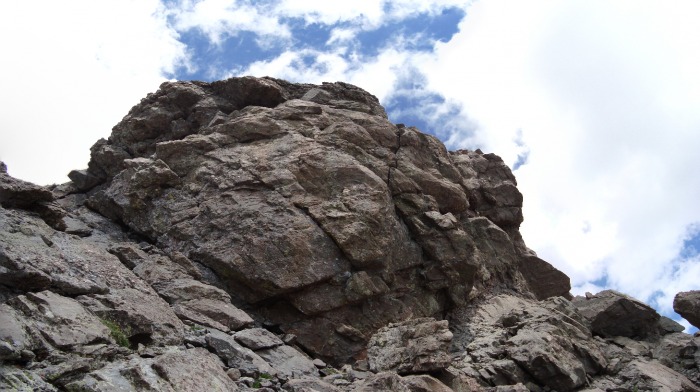 The summit cap was a different story. Just about every trip report shows the route bringing you directly up underneath the summit block, and I was waiting for this. But I guess I went a bit more right up the tundra after coming down off the ridge, and ended up bypassing it and coming up underneath the gully that leads around the summit block. This gave me some momentary confusion as it looks quite similar, but I soon realized that I should just go straight up to my left from where I was. The gully here had no real exposure and wasn't particularly steep, but it was legitimate class 3. Then at the top of the gully, the route goes straight up the ridge with significant exposure on the north side, and a borderline-class-3 move is required to get out of the gully and continue up the ridge. I recall in one trip report, some teenagers said "our parents wouldn't let us climb a 14er so we went up Adams instead". Parents everywhere need to do their research: the scrambling and exposure on the last 150' of this mountain are surely greater than anything found on the standard routes of most 14ers. Also, there were no cairns anywhere on the route. Anyway, after this gully climb and cutback, it was a very short scramble and hike up to the summit. 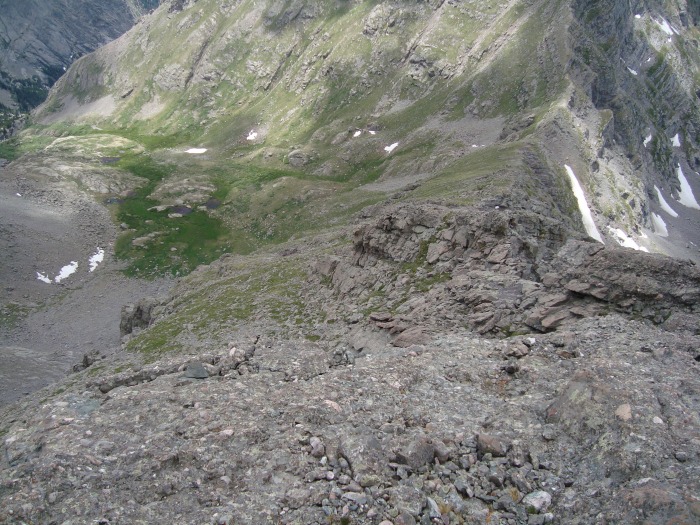  The summitThe summit was really small. Actually there was a little ridge running more or less east-west, but the actual summit was about 15 feet higher and was just a few rocks piled together (I'd call it a cairn but the rocks were a bit too big, plus that would make it the only cairn I saw all day). Two people could hang out on it together, if they were REALLY good friends. Fortunately today there was just me. I sat around for quite a while watching a bird (raven?) soaring. Without flapping his wings once, he rose from hundreds of feet below me to thousands of feet above. Most impressive.  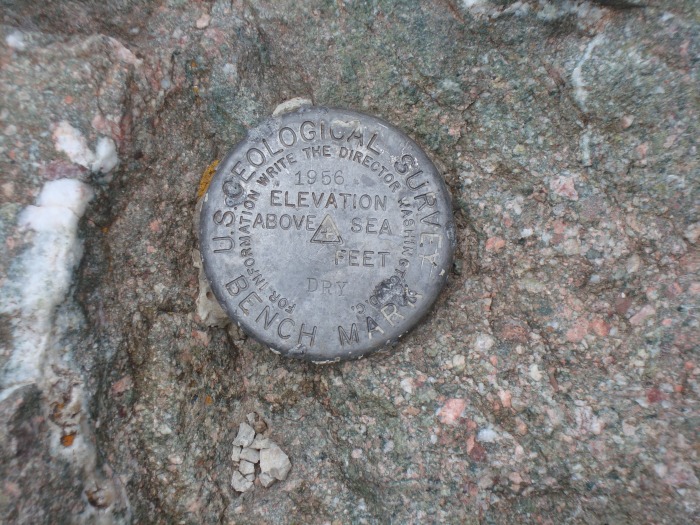 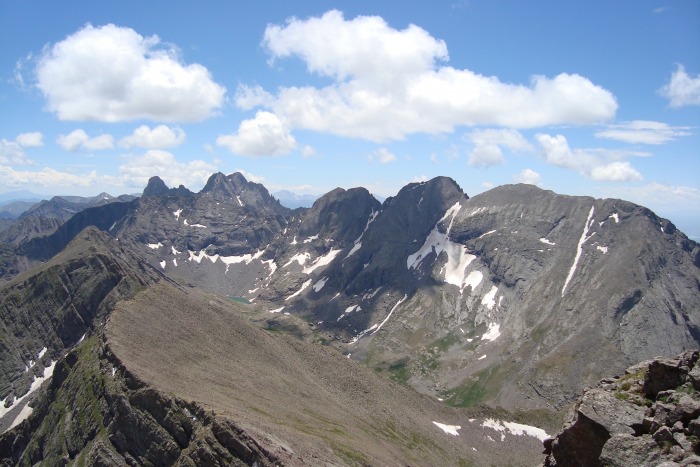 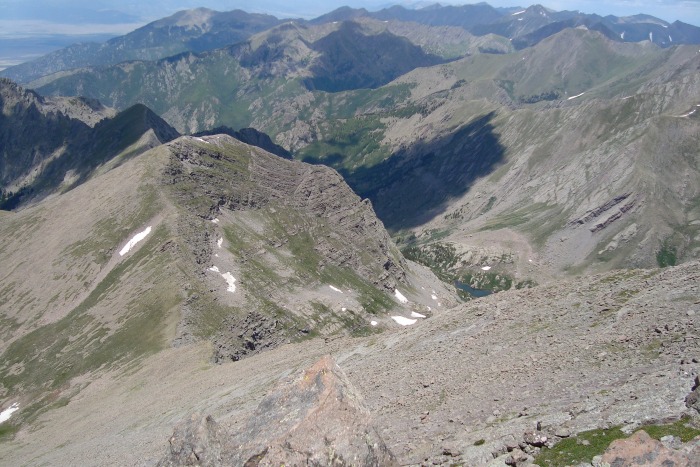 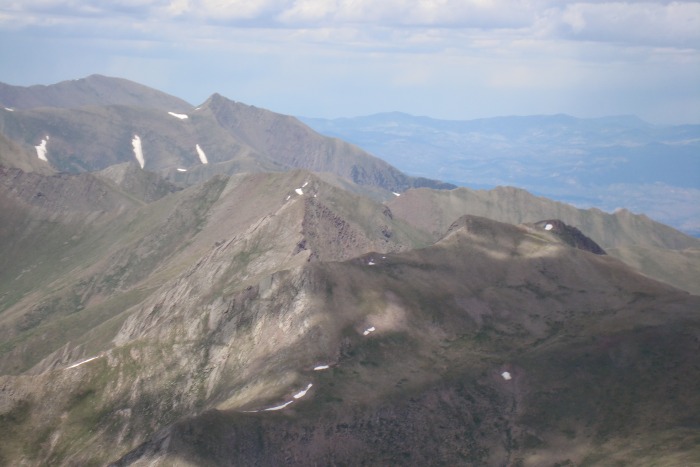 DescentNot much remains to be said about the descent. I followed a track more along the grass down to the saddle; in fact many of the pictures from above were actually taken on the descent. In hindsight, sticking to the ridge on the way up and staying below it on the way down was probably the way to go. From the saddle to the lake and thence to the trailhead all went smoothly. 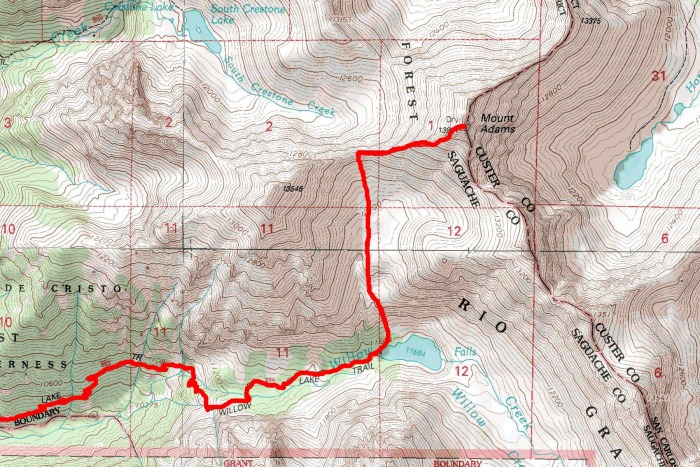 Thumbnails for uploaded photos (click to open slideshow):  This is pretty much what the whole mountain looked like.")
 Closeup of a little yellow flower. I believe this is an alpine aven.")
 Different little yellow flower cluster")
 White flower bud")
 White flower with yellow center")
 White dandilion-like flower")
 White flower cluster")
 A bunch of violet ones")
 Bunch of little red ones")
 And the upcoming route: saddle up to the summit")
 Closeup of the summit cap. The workaround is visible here as it cuts up to the notch.")
 Looking straight up the ridge line")
 Some tiny blue flowers (further up)")
 The mixed tundra/rock well below the ridge is what I stuck to on the way down.")
 Here's the same image, with my approximate route.")
 Low-res 360 degree panorama from the summit")
 This thing looked old.")
 90-degree panorama showing the gully up the summit block. Not steep but the rock was smooth.")
 Nearing the summit cap, looking up")
 Nearing the summit cap, looking down")
 The ridge on top of the summit cap, looking down. Right in front is the")
 Close-up of Comanche Peak, Spring Mountain, with Spread Eagle in the background. The view to the north was poor since all th")
 From the ridge looking up to the top: an easy walk")
 Obligatory 14ers shot. Not pictured: Humboldt.")
 Nice view of N Crestone Lake with a bunch of peaks in the background.")
 Very approximate topographic route")
|
| Comments or Questions | |||
|---|---|---|---|
|
Caution: The information contained in this report may not be accurate and should not be the only resource used in preparation for your climb. Failure to have the necessary experience, physical conditioning, supplies or equipment can result in injury or death. 14ers.com and the author(s) of this report provide no warranties, either express or implied, that the information provided is accurate or reliable. By using the information provided, you agree to indemnify and hold harmless 14ers.com and the report author(s) with respect to any claims and demands against them, including any attorney fees and expenses. Please read the 14ers.com Safety and Disclaimer pages for more information.
Please respect private property: 14ers.com supports the rights of private landowners to determine how and by whom their land will be used. In Colorado, it is your responsibility to determine if land is private and to obtain the appropriate permission before entering the property.


