Download Agreement, Release, and Acknowledgement of Risk:
You (the person requesting this file download) fully understand mountain climbing ("Activity") involves risks and dangers of serious bodily injury, including permanent disability, paralysis, and death ("Risks") and you fully accept and assume all such risks and all responsibility for losses, costs, and damages you incur as a result of your participation in this Activity.
You acknowledge that information in the file you have chosen to download may not be accurate and may contain errors. You agree to assume all risks when using this information and agree to release and discharge 14ers.com, 14ers Inc. and the author(s) of such information (collectively, the "Released Parties").
You hereby discharge the Released Parties from all damages, actions, claims and liabilities of any nature, specifically including, but not limited to, damages, actions, claims and liabilities arising from or related to the negligence of the Released Parties. You further agree to indemnify, hold harmless and defend 14ers.com, 14ers Inc. and each of the other Released Parties from and against any loss, damage, liability and expense, including costs and attorney fees, incurred by 14ers.com, 14ers Inc. or any of the other Released Parties as a result of you using information provided on the 14ers.com or 14ers Inc. websites.
You have read this agreement, fully understand its terms and intend it to be a complete and unconditional release of all liability to the greatest extent allowed by law and agree that if any portion of this agreement is held to be invalid the balance, notwithstanding, shall continue in full force and effect.
By clicking "OK" you agree to these terms. If you DO NOT agree, click "Cancel"...
| Ormes Buttress: A Taste of Alpine Climbing |
Ormes Buttress
Alpine Rock, Grade III, 5.6
Descent of Ellingwood North Ridge
5 hours on the face, 14 hours car-to-car
Rack:
C4 Camalots .3-2
Hexes 6-9
Tricams pink to brown
Nuts 5-11
5 doubles, 3 singles, 5 quickdraws
54 meter rope
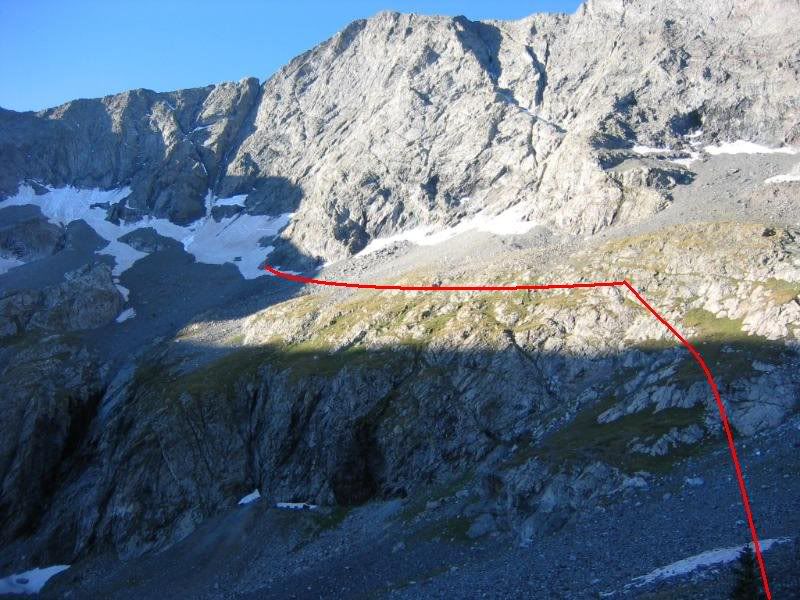
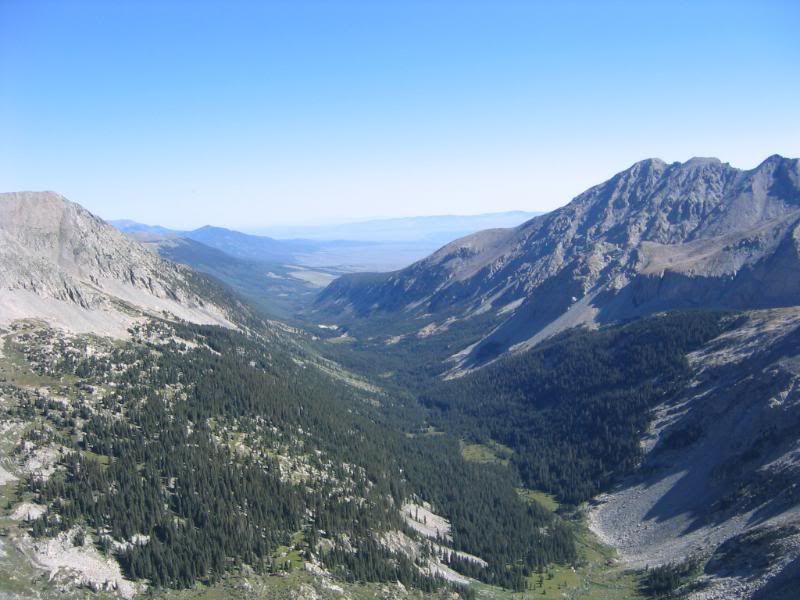
On the morning of August 23, 2008, Jordan White and I left the Huerfano trailhead on a beeline for the Ormes Buttress on Blanca's northeast face. It would be our second alpine route of the summer together and a step up in complexity from our Ellingwood Ledges outing. We followed the Lily Lake trail to a major west trending switchback around 11,600 where a bushwhack traverse across unstable talus and grass slopes led us to the base of the route.
Here is a pic showing the approach after leaving the path:
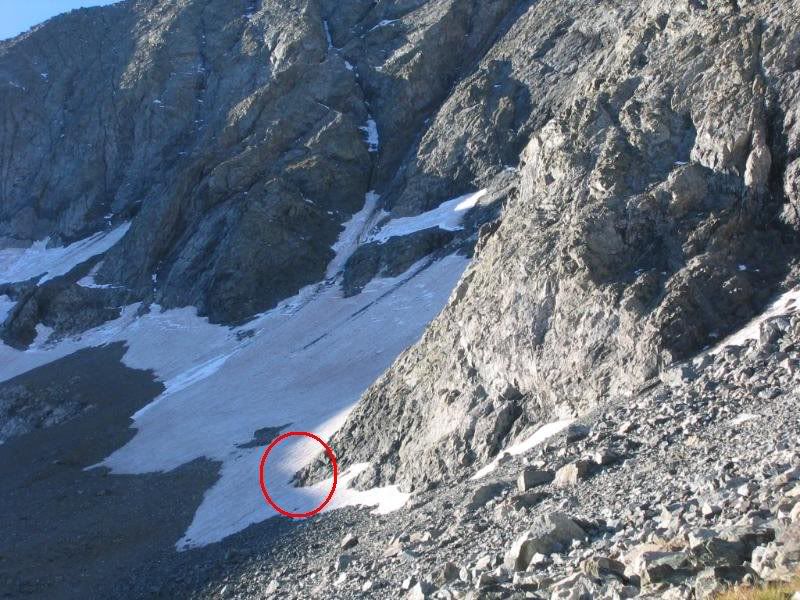
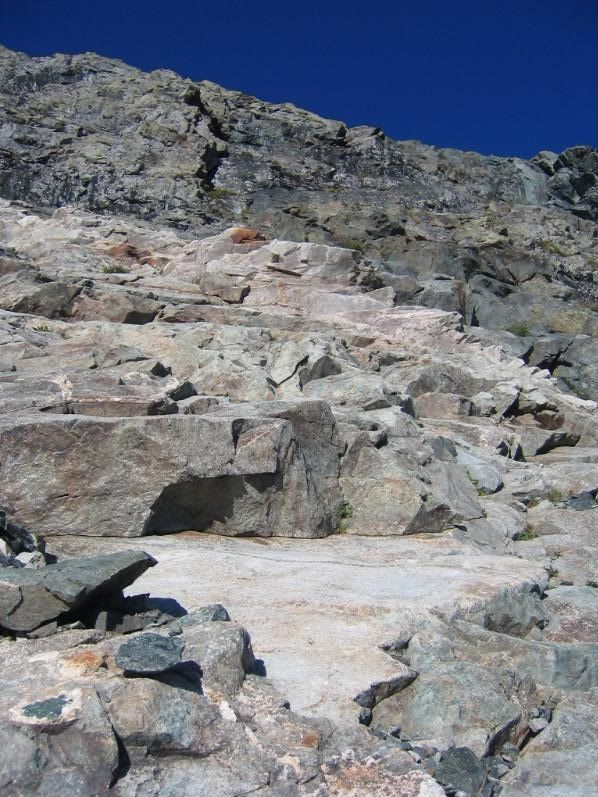
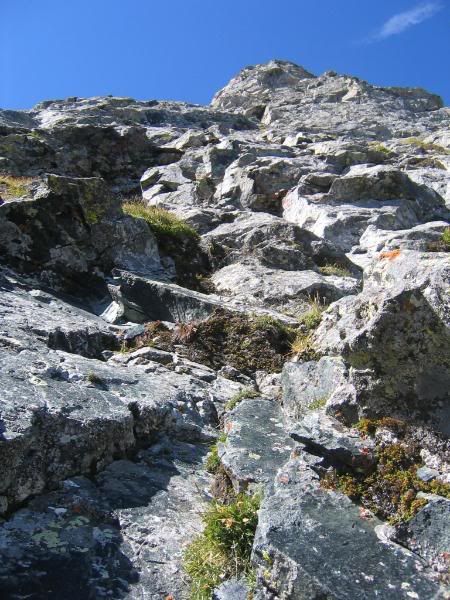
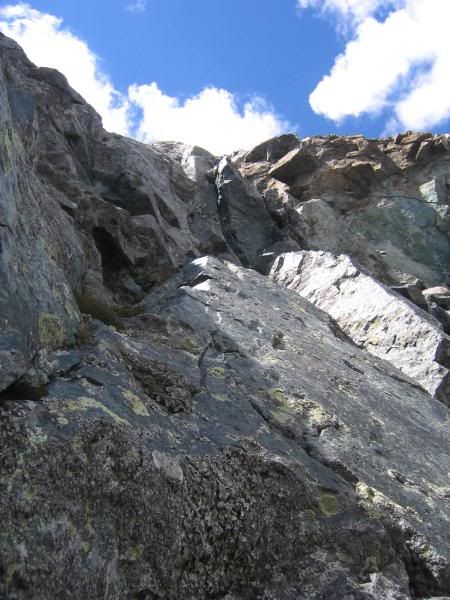
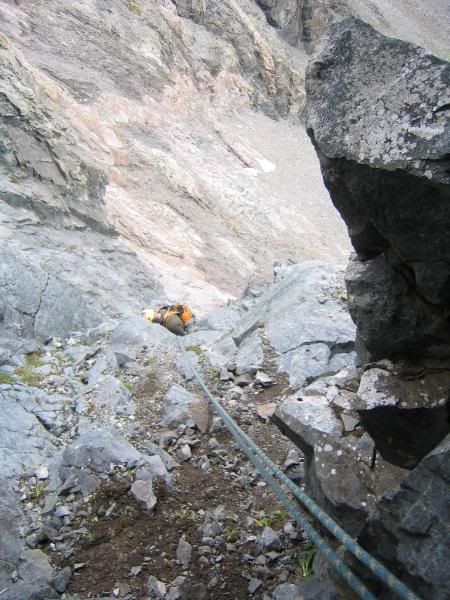
The start of the route:
And our route up the face:
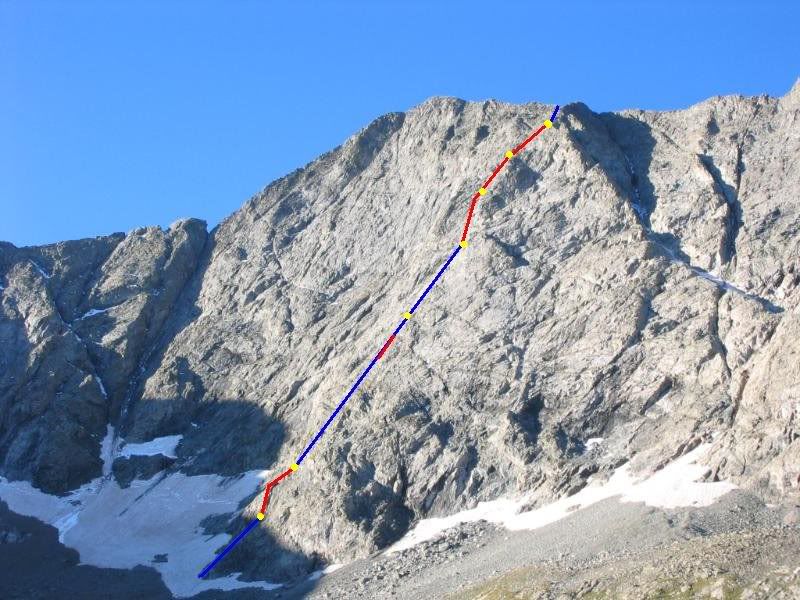
The blue is easier terrain which was either 3rd classed or simuclimbed. The red denotes more difficult sections. Yellow dots are belay stations.
A tail of a permanent snowfield guards the start of the route, which coincides with the lowest reaching rock of the North Face. We kicked firm steps into the neve and stepped onto rock.
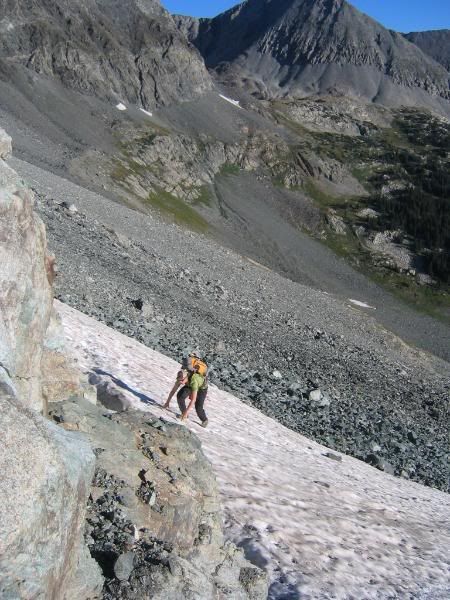
The first pitch was class 4:
After around 100 vertical feet, the climbing steepened into class 5 terrain. A wide ledge provided for a fine place to rack up and flake the rope. After examining the terrain above, I opted to use a crack system leading to a small roof for the first pitch. It was immediately apparent upon getting into the climbing that protection would be a problem. Tumbling moss, off width cracks and unstable granite were the norm. I thought to myself that I should have used the easier terrain to the right.
After 50 feet I found some reasonable pro on a tower to the left of the dihedral so headed that way.

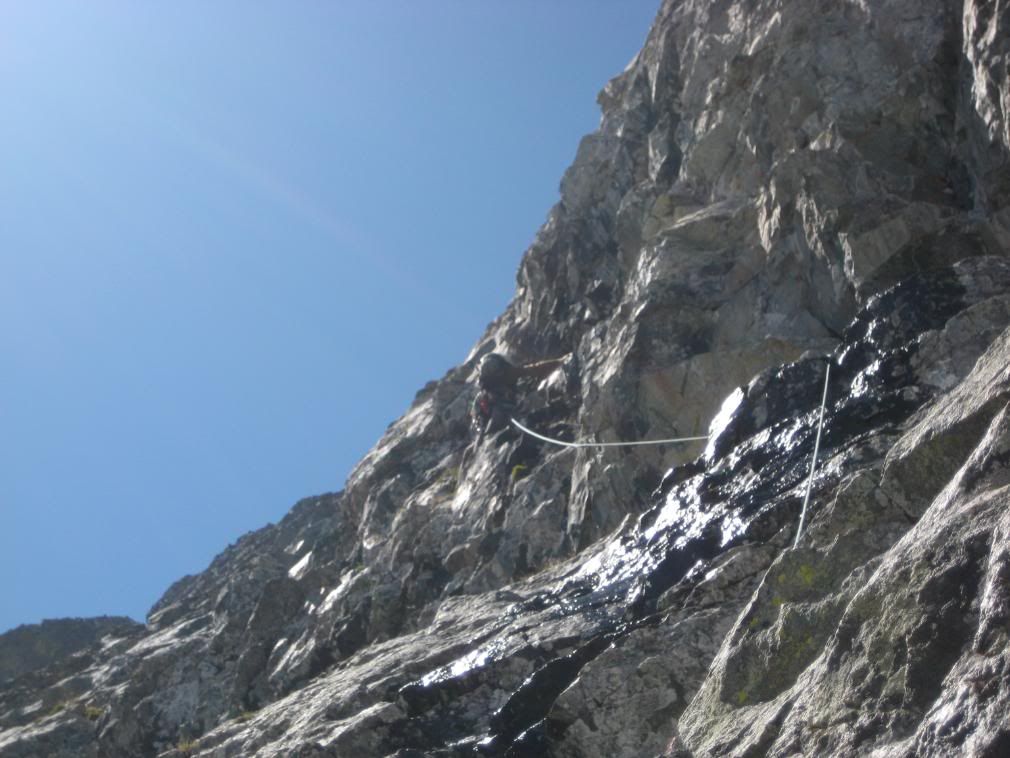
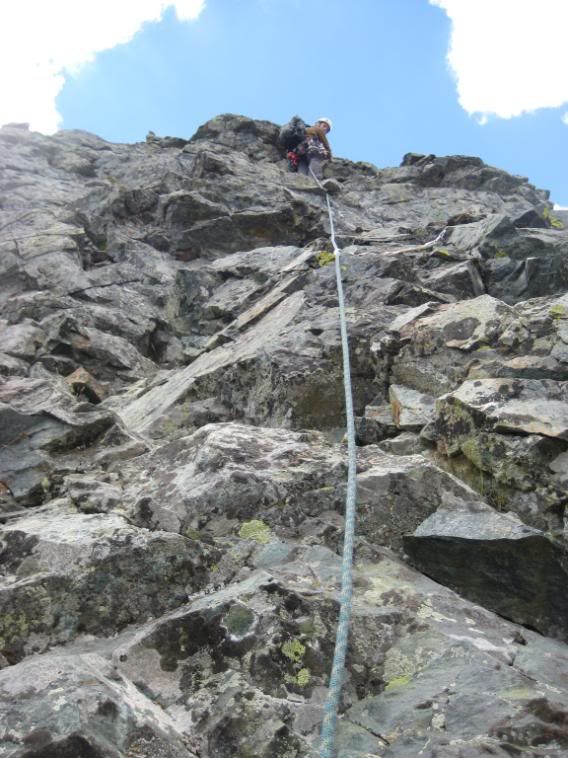
After climbing the tower for several 5.6 moves, it seemed to be teetering under my feet. I turned a corned back into the dihedral and traversed under the junky roof to where I could finally turn some solid moves up onto a ledge above. A nice belay anchor was found after Jordan simu-climbed with me for 20 feet.
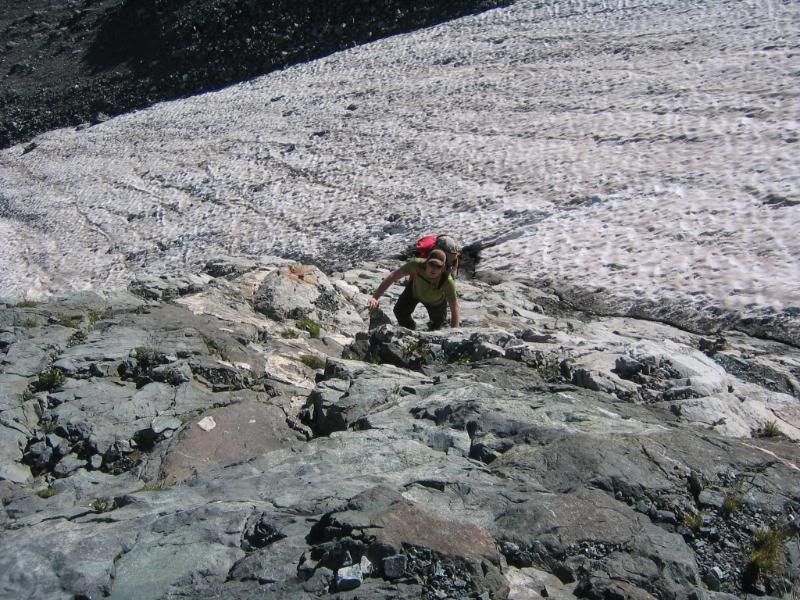
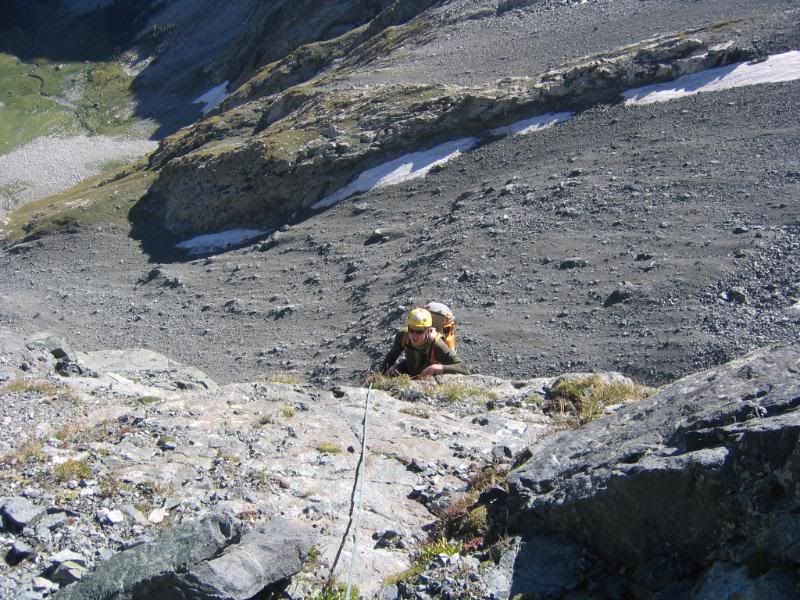
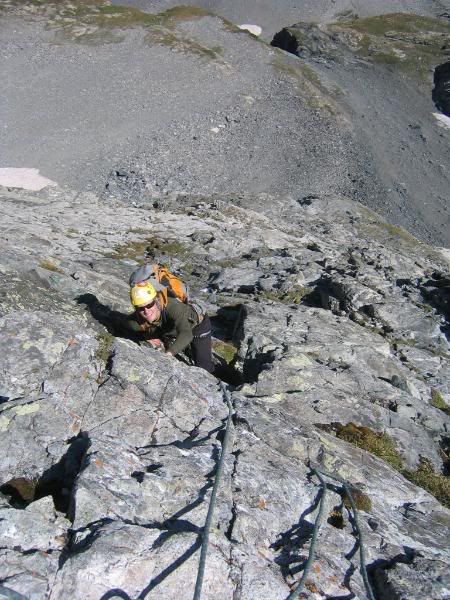
He cleaned the route quickly as only a few placements were possible in the rotten rock. Jordan finishing the first pitch:
The next bit of climbing started out with better rock:
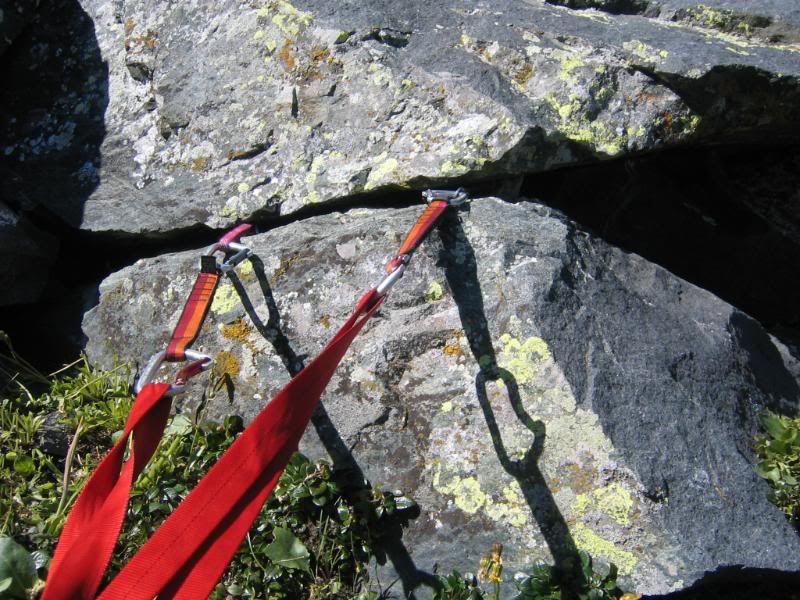
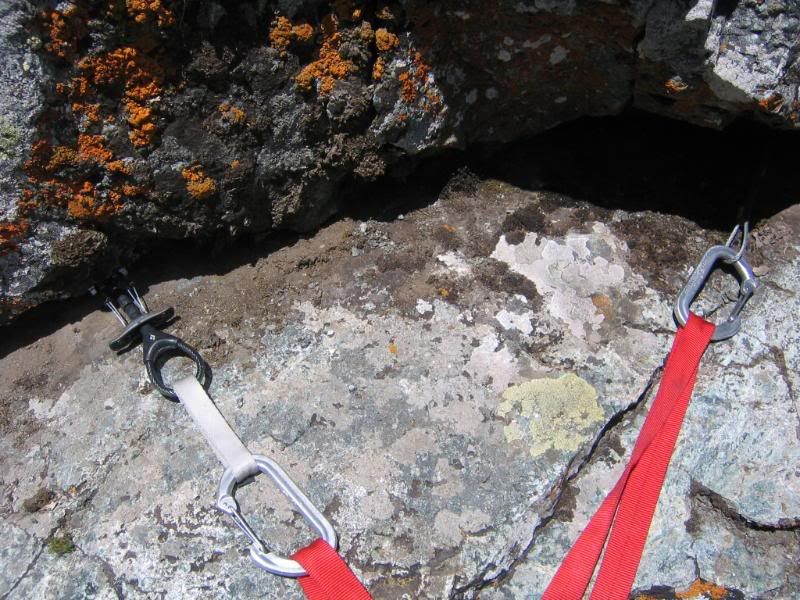
We simul-climbed for several hundred feet until I ran out of draws. The climbing through here was class 4 and low class 5 with about 40 feet of fun 5.5 left leaning flake through a bulge. I clipped two separate repel bailing stations from previous parties which Jordan was able to clean. The bounty was 4 carabineers, several decent sewn slings and two large nuts. A solid anchor was found:
The view of the Huerfano Valley provides a great backdrop on this climb:
The next pitch was sustained low class 5 up to a bulge in the buttress. Alpine climbing conditions to the max!
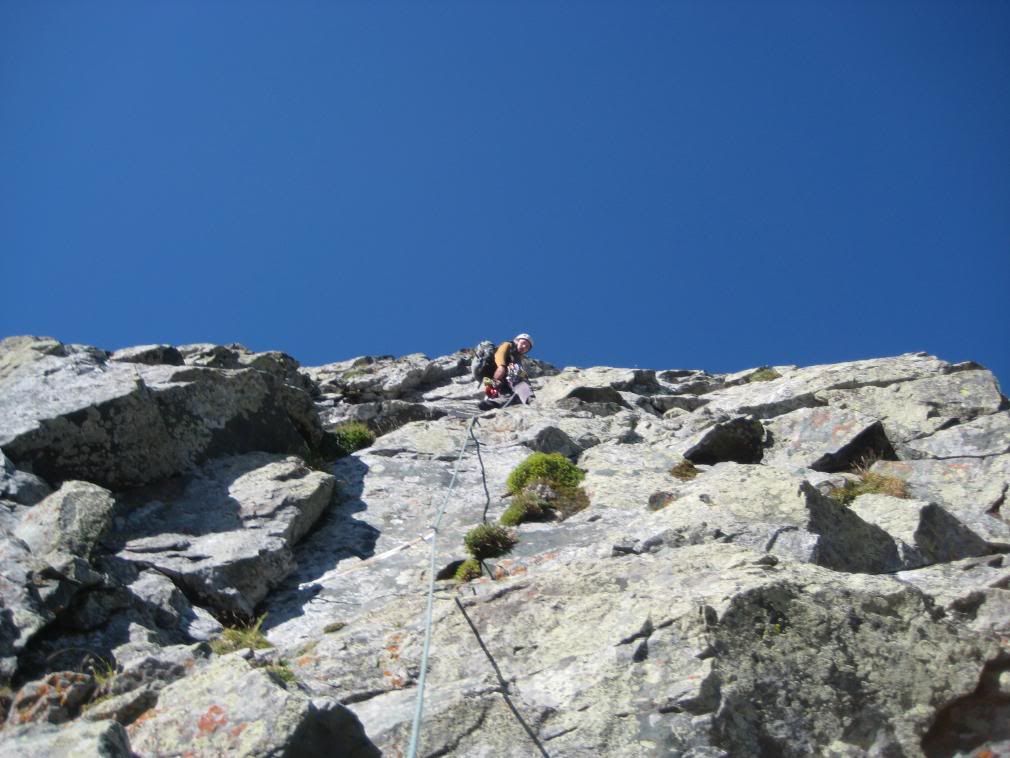
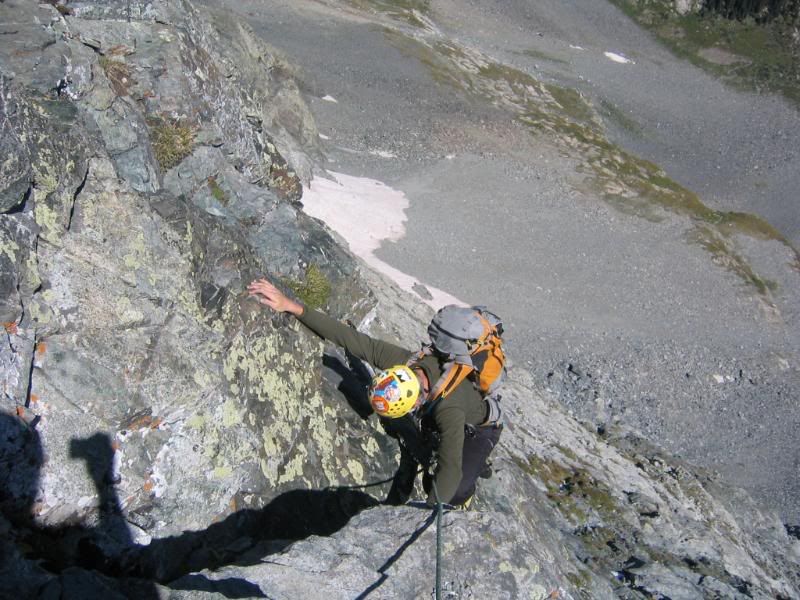
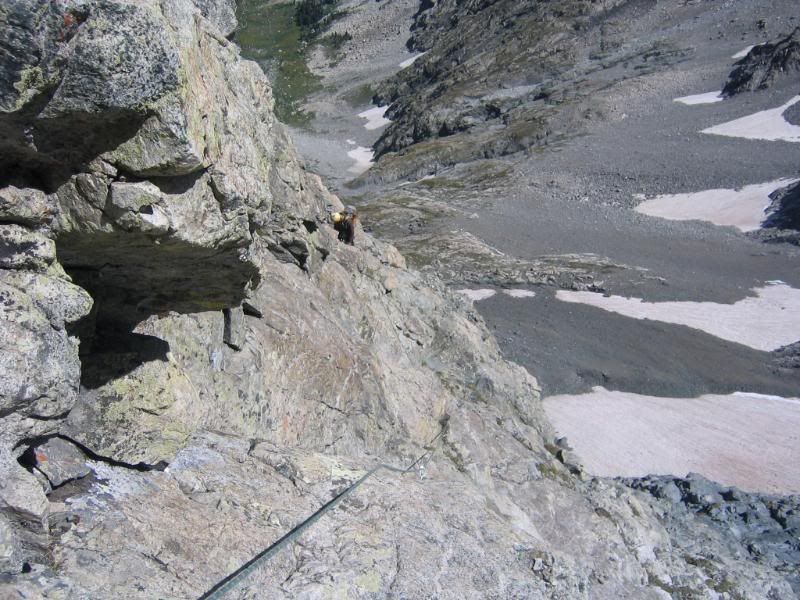
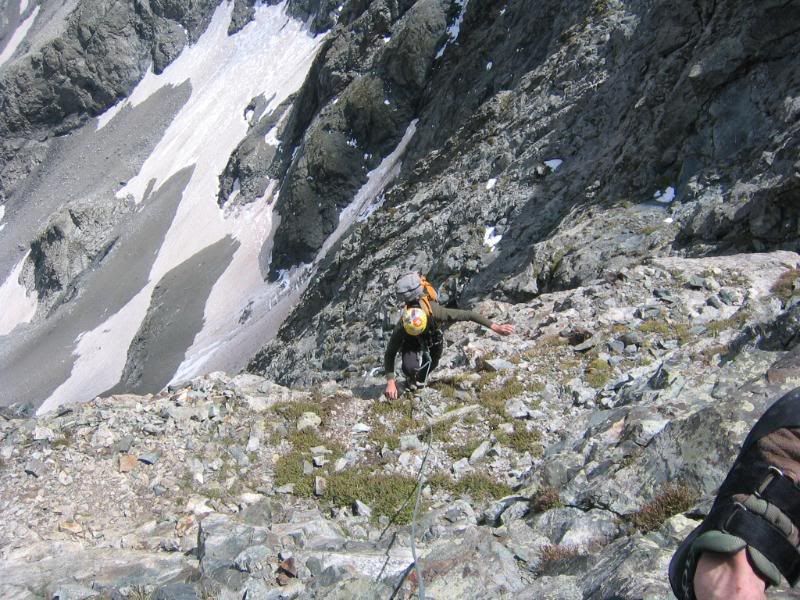
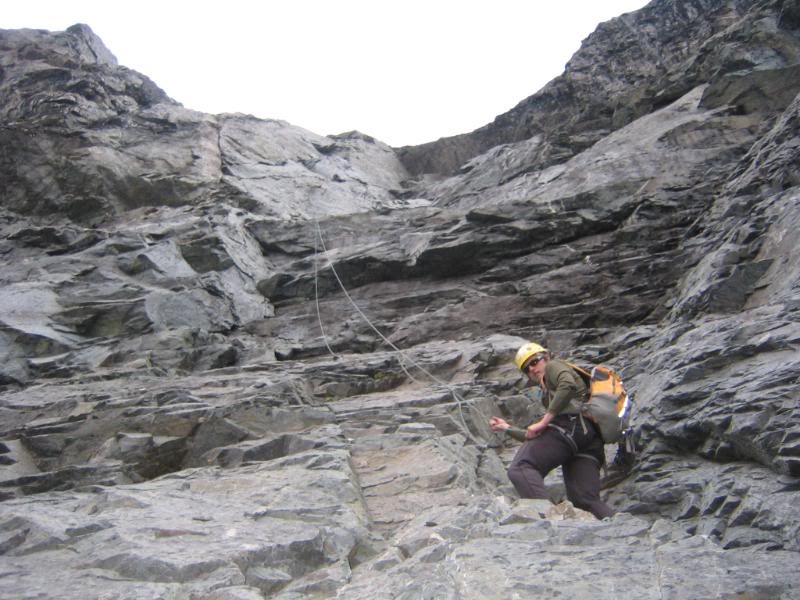
We once again simul-climbed until I found a good anchor below more interesting terrain. Jordan toward the end of this pitch:

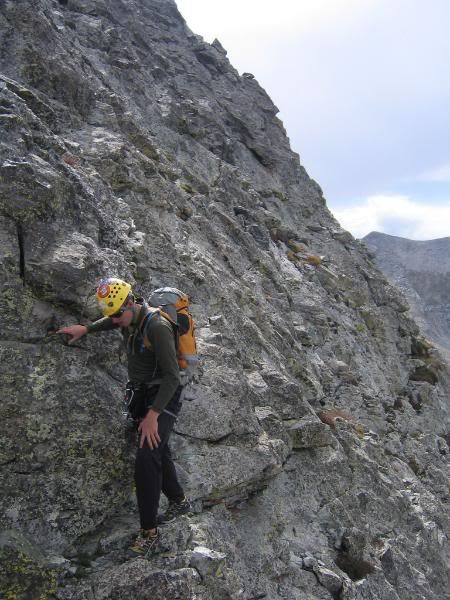
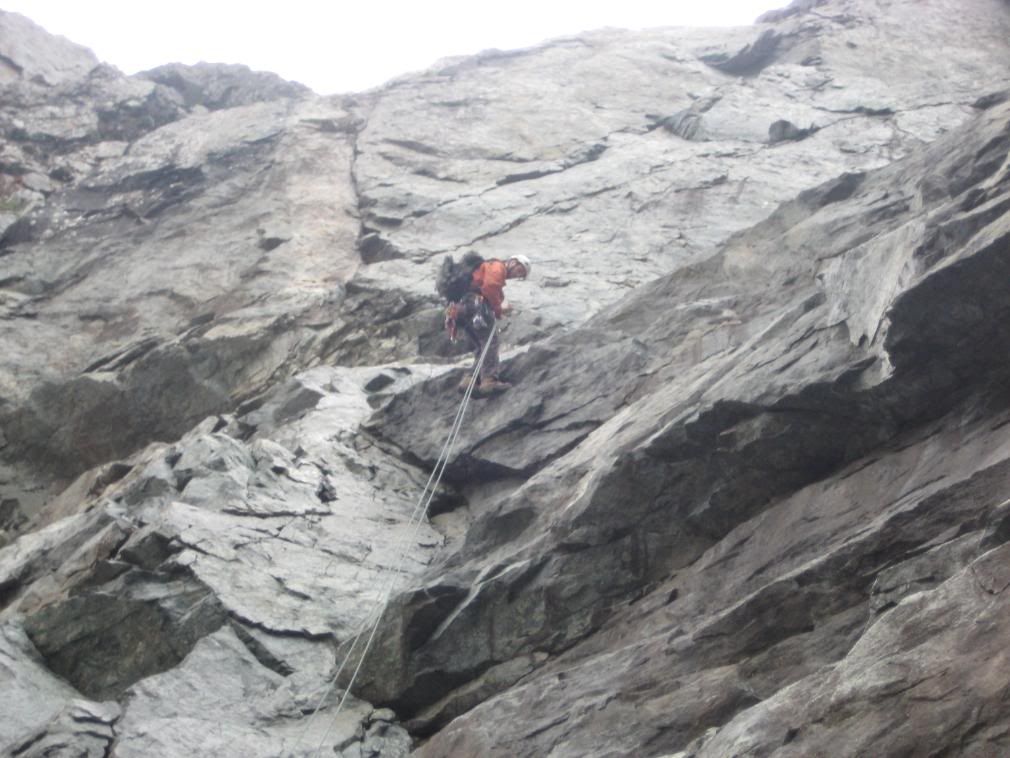
The next pitch was decision time. Head directly up the buttress or stay left and avoid the more difficult climbing using slabs, dihedrals and ledges. I opted to go left as the quality of the rock to this point didn't instill confidence in finding adequate pro on 5.7/5.8 terrain. Perhaps the buttress direct would have more solid rock, but I wasn't in the mood to test it. So I headed across a wet traverse.
This was some serious 'nervous climbing' through here as every hold seemed to want to fall out of the wall. Footholds were often towers of sopping wet moss. I ended up run out 70 feet in this junk, an interesting test of focus. Finally a solid ledge was attained and some decent protection found. With a bit of simul-climbing we met our next belay stance:

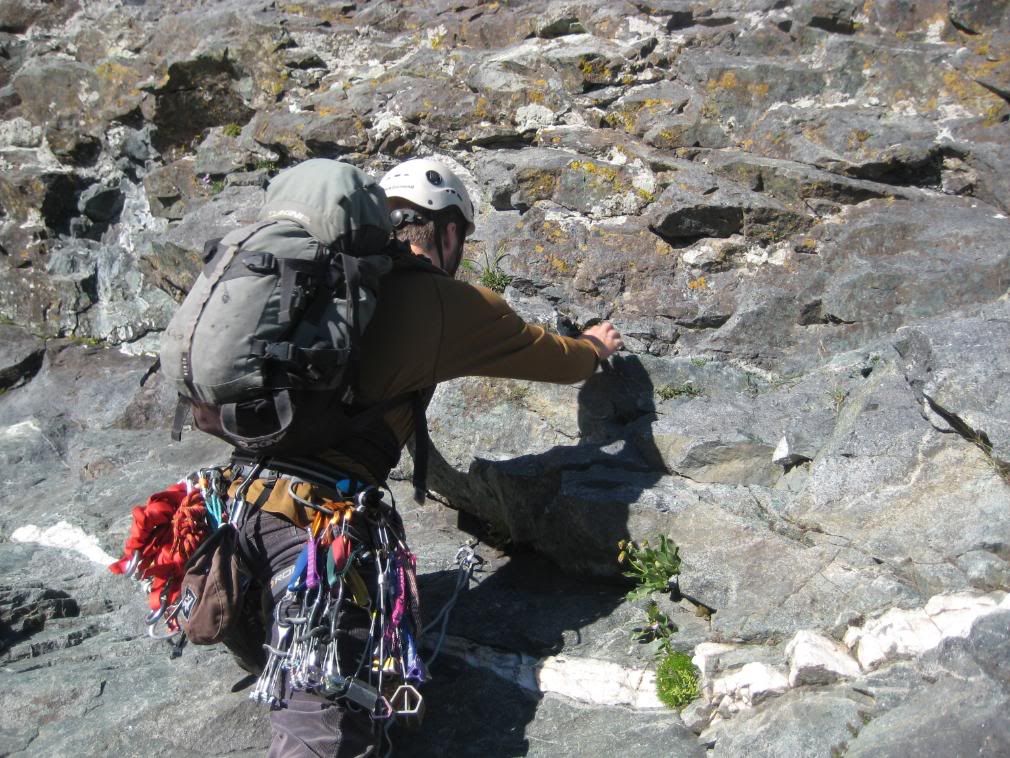
Continuing the left trending climbing, I found better rock on the next pitch.

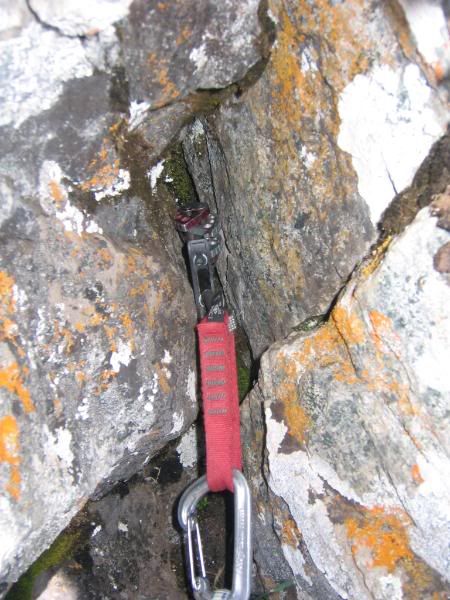
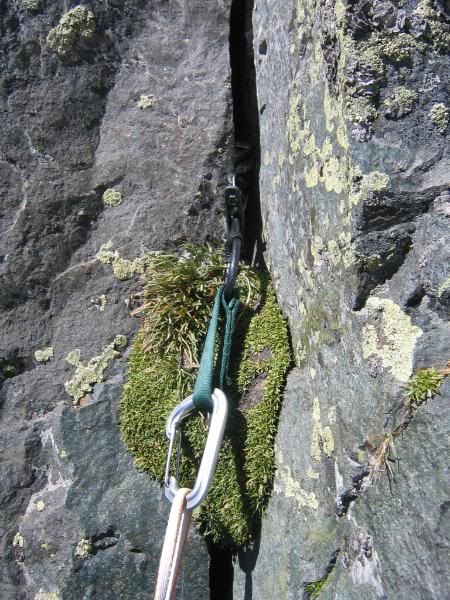
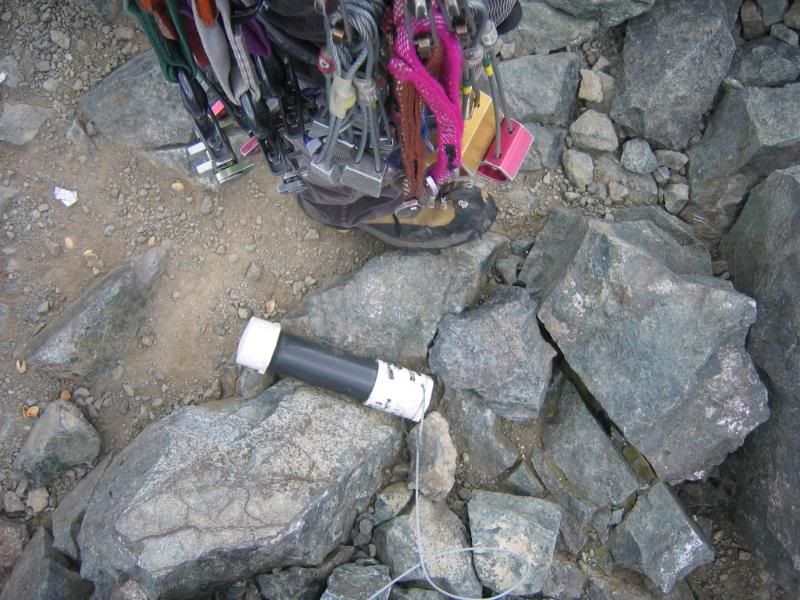
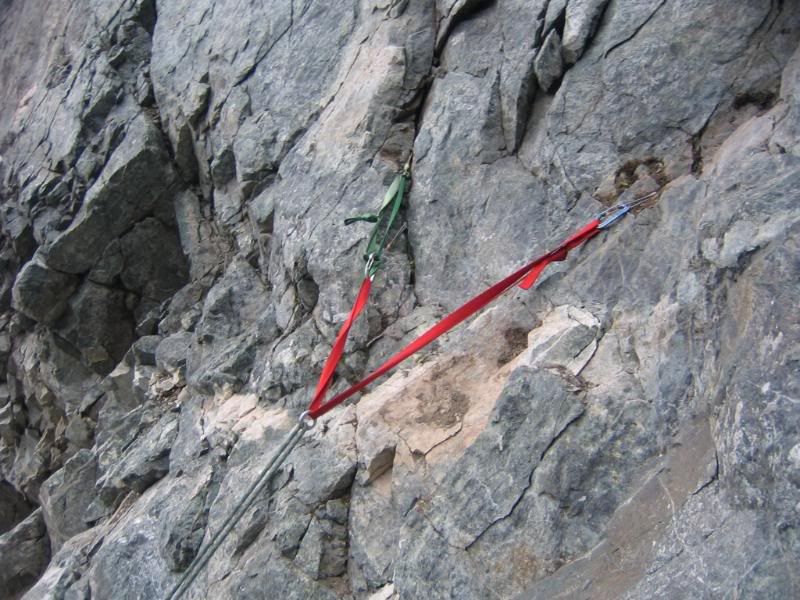
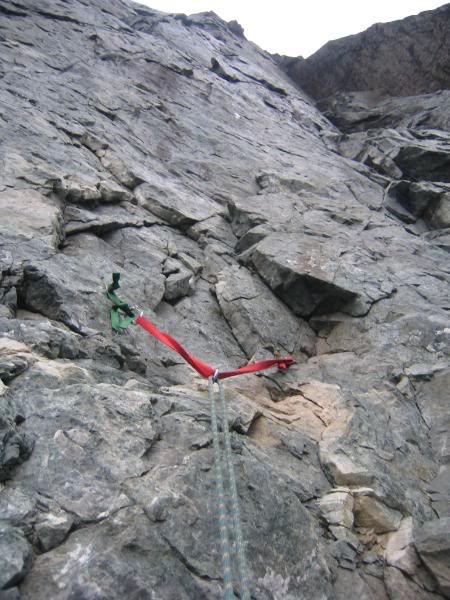
The protection was still sporadic. Despite the face having plenty of fractures and features, everything is so loose very few places are available for trustworthy placements. Throughout the climb I feel I averaged a piece every 50 feet. This is what it looks like when you finally find something worth sticking a cam in:
I employed some serious dirt and rock removal to set this anchor:
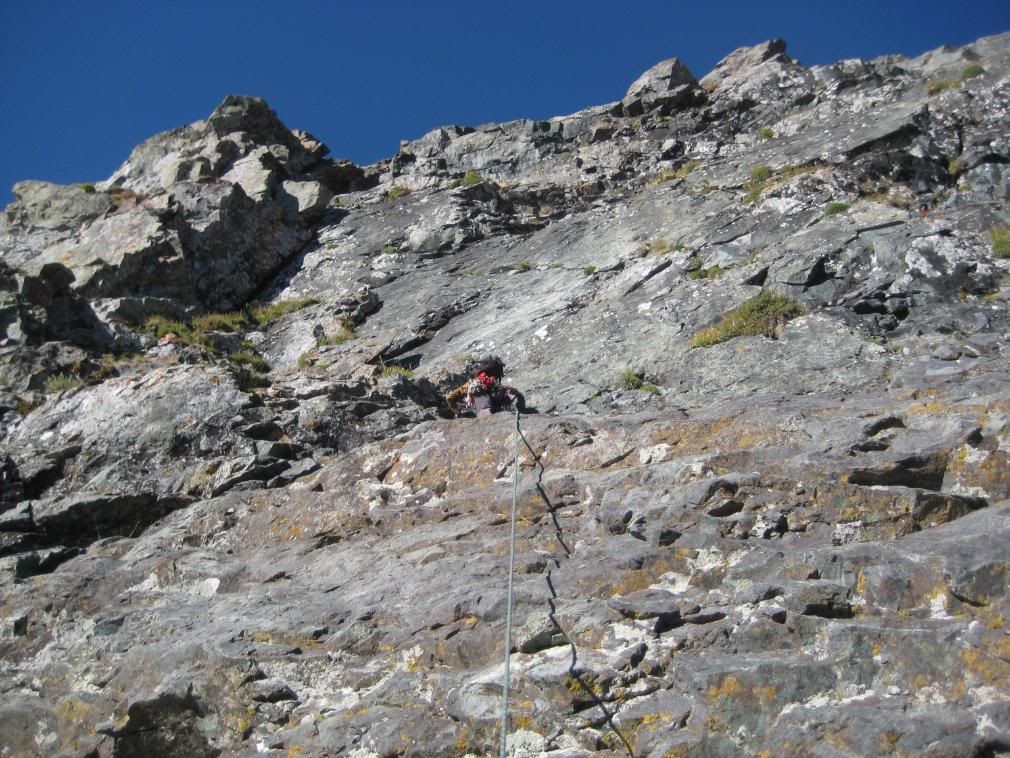
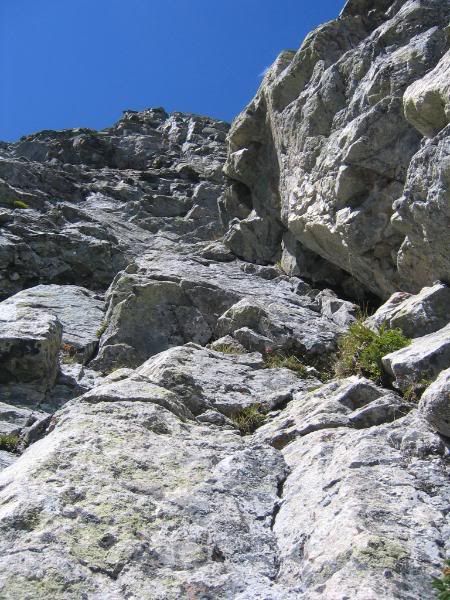
The next pitch continued the trend of the last, class 4 gully scrambling with several class 5 steps:
A wide ledge was found and the summit ridge in site. Jordan topping out on the final sustained climbing of the face:
We could have jumped on the ridge at this point to finish in class 4 terrain, but why? A final 40 feet of easy class 5 was much more fun...
...which ended on the crest of the buttress:

The face took us 5 hours. Although the climbing is not difficult, finding protection and solid holds is tough and time consuming. The loose wet rock makes it a dangerous place. Several carpet bombs of rock fall were unleashed upon the route below us. Don't climb this route beneath another party and protect your belayer!
We plodded on up to the summit of Blanca:
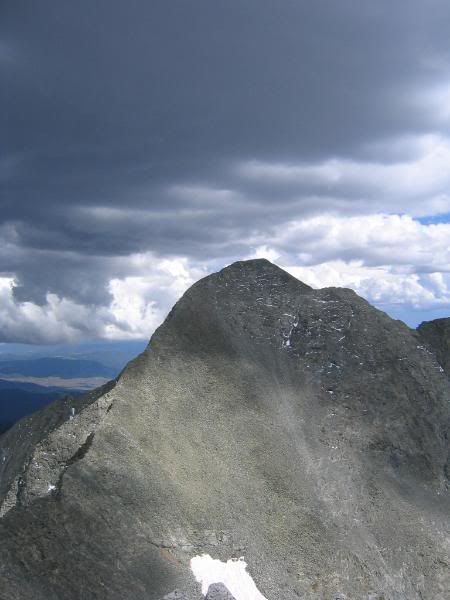
Weather was building to the east over Lindsey making our traverse over to Ellingwood a hasty one. Blanca from Ellingwood:
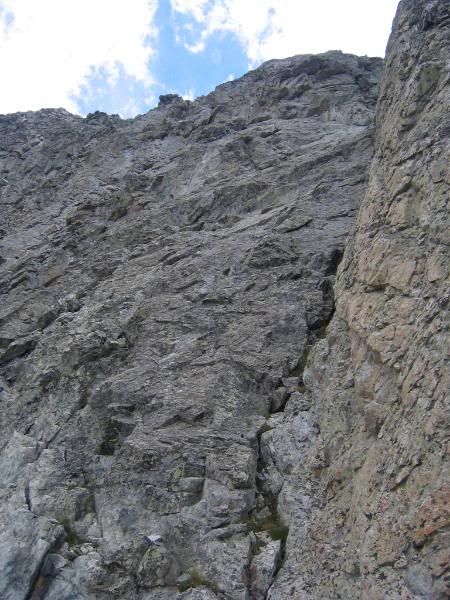
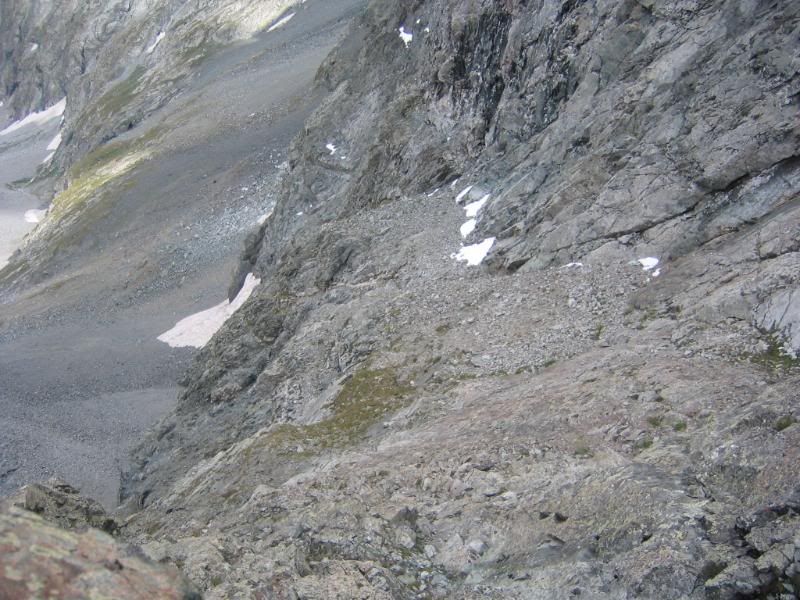
Our decent route of choice was the north ridge, which if navigated correctly earns a 5.0-5.2 rating. No good description of this route exists and Roach's description of this route is flat out wrong. The upper section of the ridge is class 3. Not until the final drop onto the long notch filled saddle does the terrain go class 4/5. Down climbing rubble filled ledges on this section of ridge demanded carful moves.

Looking back up at this terrain:
I intentionally kicked off large boulders which teetered in front of me to avoid a potential squash from above. Upon reaching the first gap in the saddle, we spied a ledge heading back to the right under the Ellingwood north face.
A description of this descent on mountain project reads:
"Follow the north ridge from the summit of Ellingwood Peak to a gap in the ridge at 13,200 feet. From the gap, descend down to the right or east. Look for the path of least resistance. Eventually, cliffs will force you to go even further to the right or east to find a low angled traverse that leads back to the talus slopes beneath the cliff band along the bottom of the north face of Ellingwood Peak."
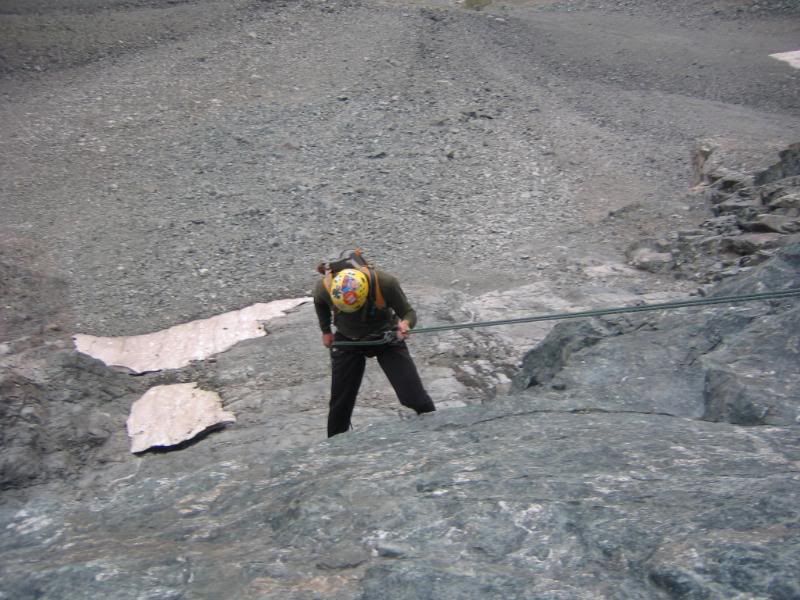
Unfortunately this is really confusing/bad beta. We dropped down off the ridge...
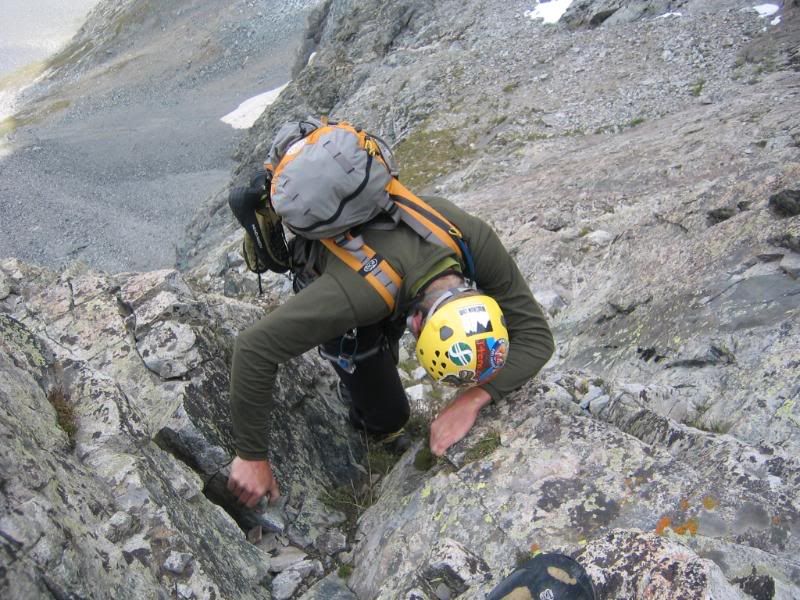
...and followed the wide low angled traverse from the gap for several hundred vertical until cliffs forced us back to the left.
After down climbing stiff class 4 terrain we were clearly above a vacancy. Our first rappel took us into a reasonably comfortable alcove. The second rappel was an interesting one. Jordan headed out first...
...but upon meeting an overhanging drop with the rope ends dangling in mid air he jumared back up to me. Our situation looked precarious at this point. If we couldn't find another rappel station we would have to climb back up to the ridgeline, which would require at least one belayed pitch of rock climbing and then a long ridge run over several high 13ers in a lightning storm. It was worth another look.
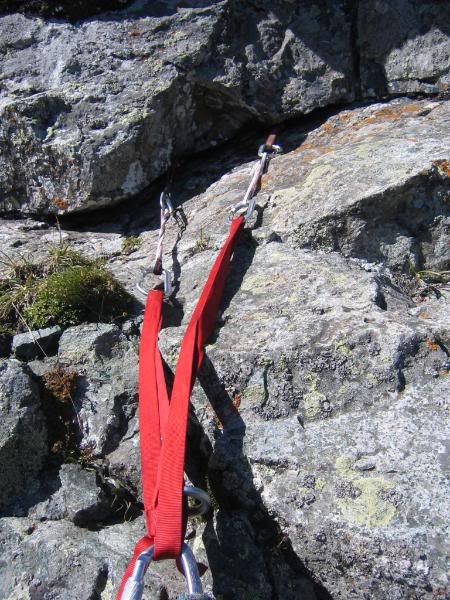
I jumped on rappel and luckily upon peering diagonally out over the cliff face I saw a 10 inch ledge above potential protection yielding vertical cracks. It was a demanding rappel to lower diagonally down the vertical face without swinging out into space, but I managed to make it just as the knots hit my ATC. A quick nut placement and I got off the rope for Jordan's turn. He seemed somewhat shocked by the task at hand when he peered over the precipice but handled it quickly without question. Now I had to find more placements to ensure a safe and final rap. This involved tearing at the cliff face like an angry lion. I easily remove 100lbs of rock trying to find solid pro. A nut tool came in handy to scrape out dirt filled slots. Eventually I got three nuts into two different structural sections of the cliff, a look at this anchor:
Jordan headed out.
My turn:
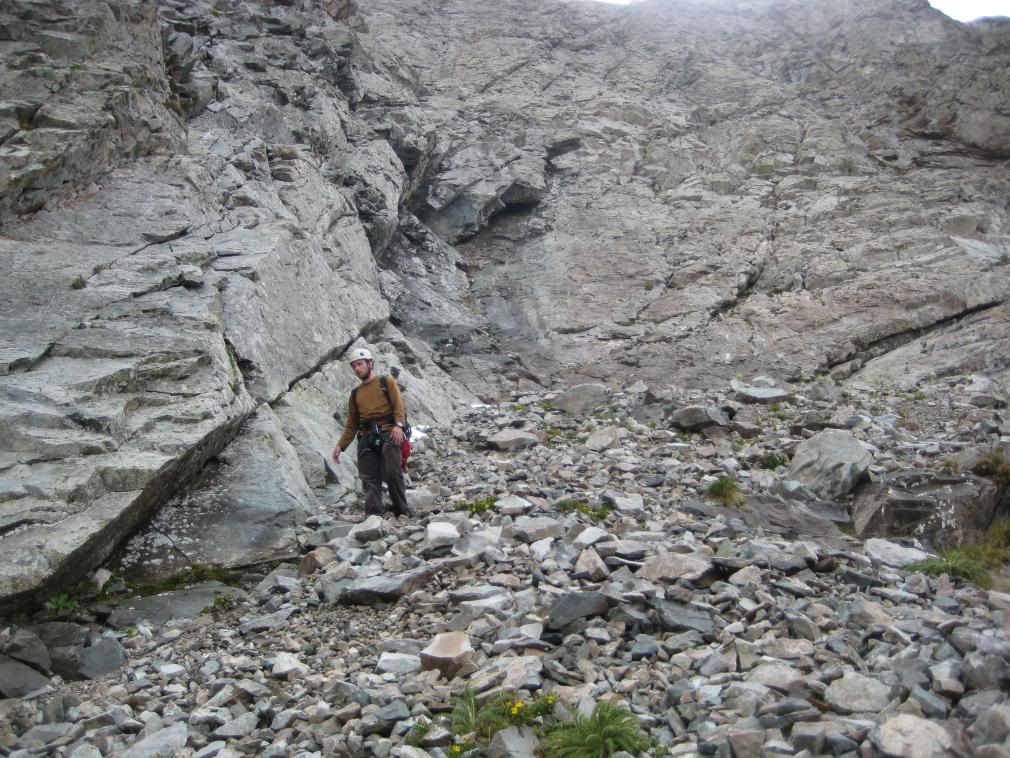
We were finally on 4th class terrain again, and not a moment too soon as the rain began to fall. Another 100 feet of down climbing and we met terra firma. Looking back up at the difficulties on our descent:
Our route down, the green box is the terrain which looks to possibly hold a low class 5 route:

We spread out while heading to tree line to avoid a single strike double killer. I gazed back up at the terrain to the saddle and might have spotted a potential low 5th class route far to the climber's right of our ridiculousness (green box above). A jog back to the truck was in store to spare our loved ones any unneeded additional worry.
In my opinion, bad beta is never an excuse to make a mistake in the mountains, but it sure is annoying. You are ultimately responsible for your own decisions despite what someone suggests in a book or on the internet. Be prepared for an epic on this route, or better yet, just descend Blanca's south ridge to the Hamilton Peak saddle and then cross over to the Huerfano Valley.
Here is a link to Jordan's trip report:
http://www.elksandbeyond.com/86/
|
Caution: The information contained in this report may not be accurate and should not be the only resource used in preparation for your climb. Failure to have the necessary experience, physical conditioning, supplies or equipment can result in injury or death. 14ers.com and the author(s) of this report provide no warranties, either express or implied, that the information provided is accurate or reliable. By using the information provided, you agree to indemnify and hold harmless 14ers.com and the report author(s) with respect to any claims and demands against them, including any attorney fees and expenses. Please read the 14ers.com Safety and Disclaimer pages for more information.
Please respect private property: 14ers.com supports the rights of private landowners to determine how and by whom their land will be used. In Colorado, it is your responsibility to determine if land is private and to obtain the appropriate permission before entering the property.


