| Report Type | Full |
| Peak(s) |
"Lackawanna" - 13,826 feet Unnamed 13645 - 13,645 feet Casco Peak - 13,905 feet French Mountain - 13,942 feet Frasco Benchmark - 13,885 feet |
| Date Posted | 09/25/2025 |
| Date Climbed | 09/10/2025 |
| Author | MMAfightingClimber |
| Lackawanna Grand Tour (Triple Centennial) |
|---|
|
Alright so this trip report will cover linking 3 centennials in 1 trip and 2 unranked peaks! I clocked 14.5 miles and 6000 (subtract 500ft and 2 miles for my beanie search) I’m surprised this route hasn’t been done more often as it’s not super difficult in terms of route finding, rock fall, physical difficulty and exposure. I will also tell the experience I had losing AND finding my favorite beanie on the trail!
UP TO 13,645 and Lackawanna
The route starts at the N fork creek trailhead. You’ll start the first quarter mile on a wide trail of which you turn right at a huge boulder, this takes you to the big creek crossing. I was able to rock hop and not have to talk my shoes and socks off. Bill has a nice route description of this portion of the route but for the sake of the trip report I’ll offer my two cents and input.
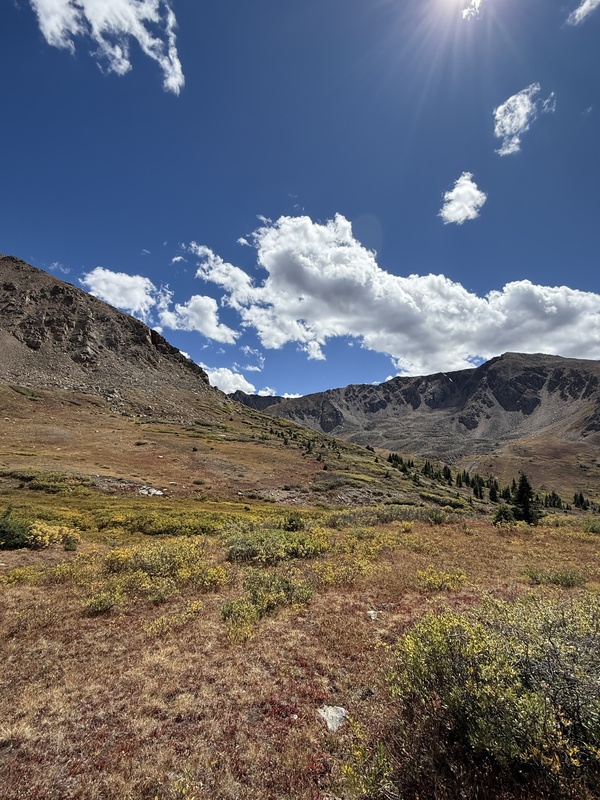
After the creek crossing, you’ll basically follow the trail to treeline. The hardest route finding of the day was here on this trail. It’s not particularly difficult but the trail is not maintained and is overgrown in many spots. there’s a couple spots with literally trees beginning to grow in the trail. Sometimes the trail completely disappears. When this happens I deviated from the trail for short bits and went directly up the slope till I caught the trail again. This is really simple to do if you have the GPX from Bill middlebrooks route description. So while the route finding isn’t 100% straightforward, you always know where you’re generally going and the trail shows back up when you need it to. There’s also 7-10 down trees to navigate around on the trail as well. About a mile or so in, I started to get really hot, so I took my beanie off, trying to make good time, I didn’t take my pack off to stash my beanie, I just stuffed it in my pocket. Remember those down trees I told you about? I had guessed It must have fell out when I went under one. Totally distraught and considered turning back after realizing my favorite beanie was gone (this beanie has been everywhere with me) and I’d never see it again. I decided to reluctantly continue—it was especially difficult after not turning around when a storm swath came through and dumped a little rain and grouple.
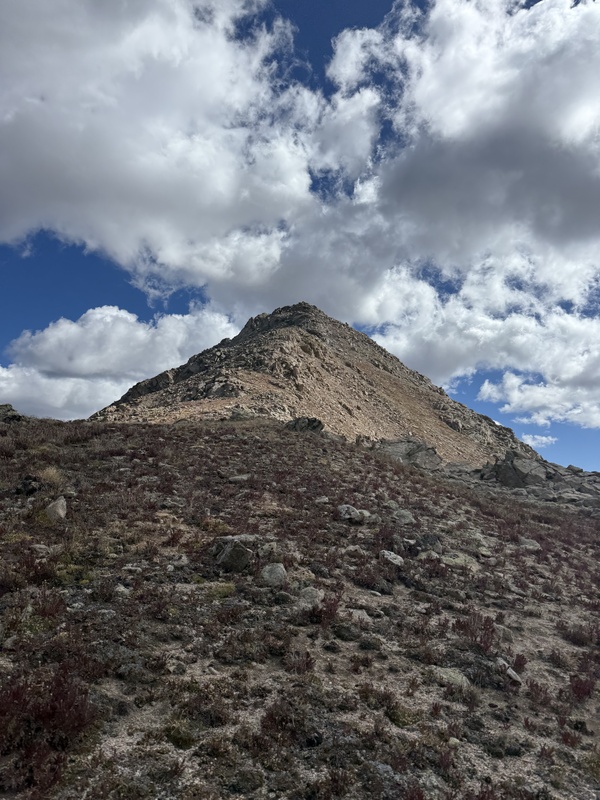
Once at treeline the route has you contour to the south before heading up, I thought it was easier to just go straight up the talus to the ridge. From there it’s a simple stroll the summit of UN 13,645. The route to Lackawanna is super easy, just head down to the open area and back up the peak to the east. Billie route also covers this. Not much else to add for this part!
LACKAWANNA TO CASCO:
Okay, so after summitting Lackawanna you’ll turn around and head back toward that open space you came up. Heading west back to this point you’ll see a hill to your right in between 13,645 and Lackawanna. Turn right if heading back from Lackawanna (left if coming from 13,645) and the top of this hill will start the easy traverse over to casco.
This part looks like it’ll be physically tough but it’s really not too bad and doesn’t have much of any scrambling on it.
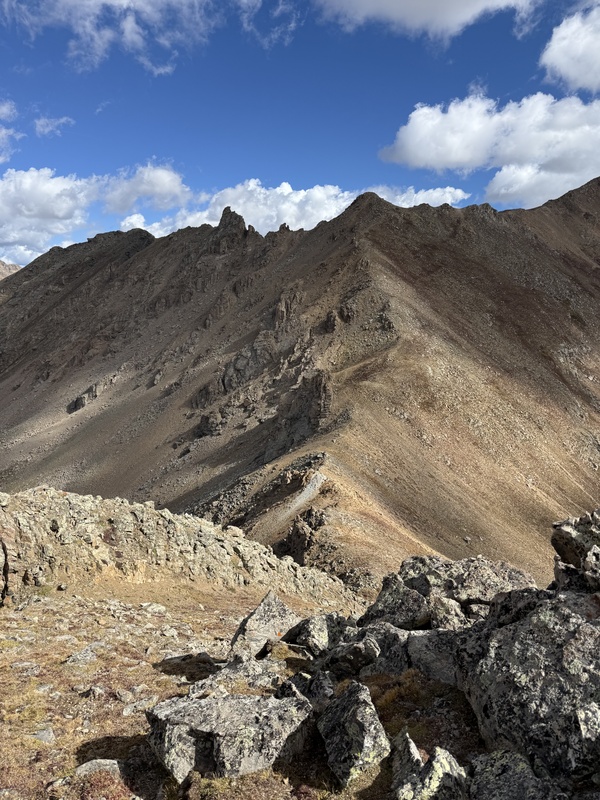
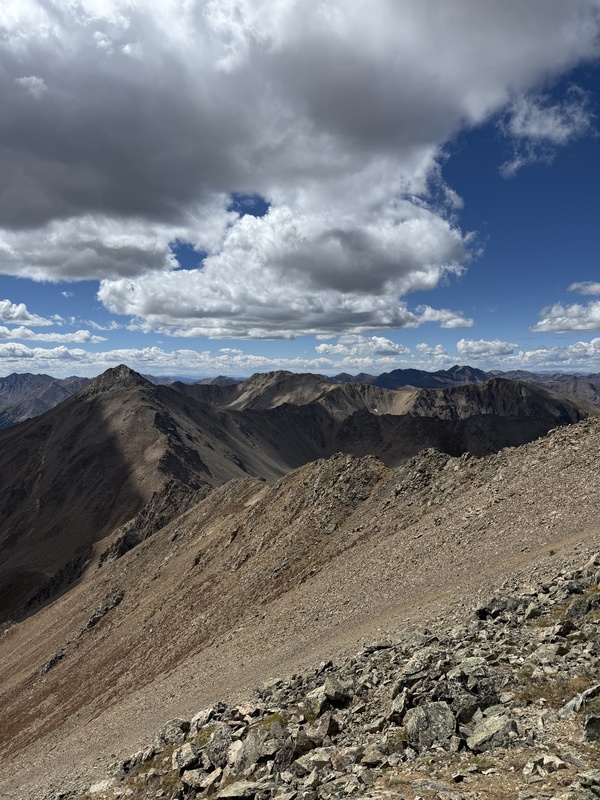
On the initial part you’ll want to stay high on the right and follow the small bumps till the ridge contours to the left. From here you’ll drop down even further to the ridge low point of 12,900 and begin the push up casco.
You have several options to tackle to 1000ft push up casco. I just went straight up the ridge and DID NOT contour to the right. None of the section is technical so I figured it was best to just get to the top and get the elevation gain out of the way and not side hill (side hilling is always best avoided lol).
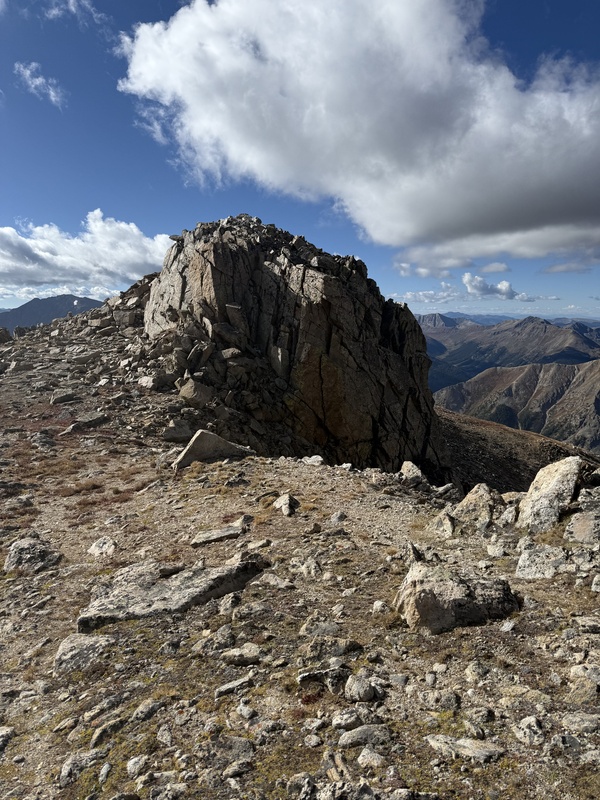
Once you get on the final ridge push to casco, there’s some class 2 maybe class 3? Scrambling till you hit the summit.
CASCO TO FRASCO:
So this part I think is the most difficult of the day. This section of ridge has less gain and more scrambling but it felt a little long and probably more difficult after being close to 5000ft of vertical climbing into your day.
Initially off the ridge, you can just head straight down the ridge proper, or it looks like you can head down to your right to bypass the ridge—but I don’t think this is necessary.
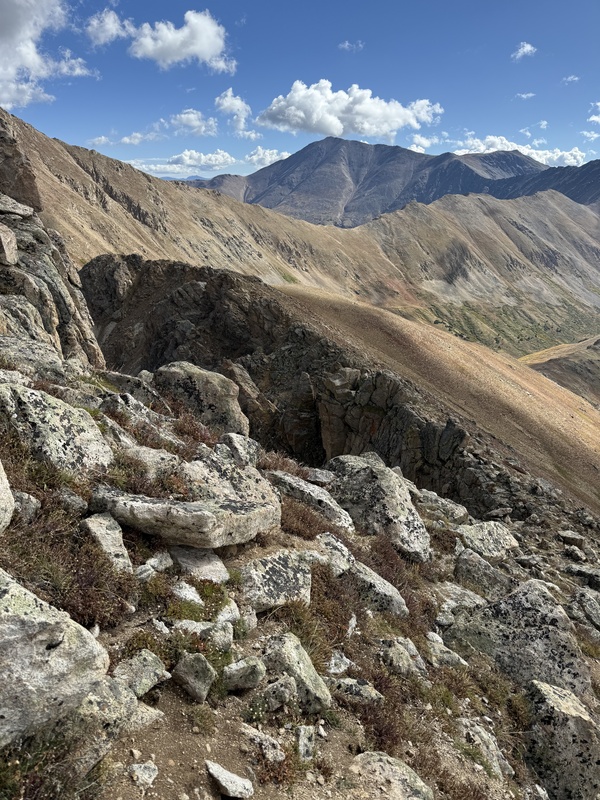
You’ll head straight down to the ridge low point around 13,3000ft and head up to Frasco. The route finding looks like it will be difficult but it’s pretty easy. There’s a couple cairns here and there and a couple times you do drop maybe 10-15 feet below the ridge. You could stay ridge proper but for efficiency purpose it’s probably best to just drop off when needed. There is some loose rock here and some scrambling but I found it to have no exposure or difficult moves. I guess you could call it class 3 but it’s pretty simple. Everyone’s tolerance is different. I’m sure most people going for these peaks are fairly experienced at this point. And if so, you’ll find the route navigation to be pretty cake. You’ll encounter a couple of small towers toward the summit and it’s a simple up and over. I wish I could provide more detail for exact towers and navigation but it was all pretty straightforward. You will come back to this ridge for your descent (about 0.2 miles from the summit of frasco). More on that later.
FRASCO TO FRENCH:
The easiest part of the day is here, just a simple hike down to the saddle and a simple hike back up.
FRENCH BACK TO FRASCO AND BACK TO CAR:
Once on French, head back to the summit of FRASCO—not casco. This part maybe has 300ft or so of elevation each way. It’s pretty quick. Once back on frasco benchmark, head back on the ridge as if you were going all the way back to casco. To get off the ridge to the west you have two options:
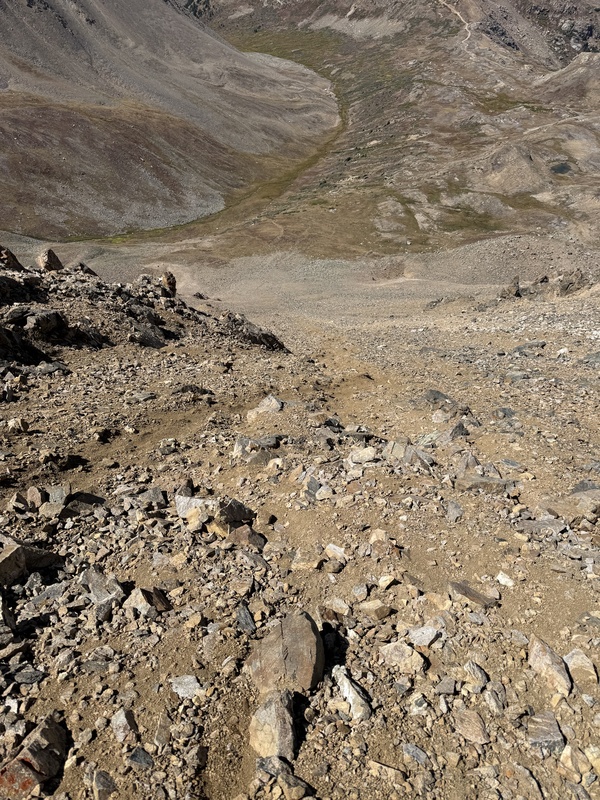
I opted for option 1. I really just wanted to get down so I could eat a fat lunch. So I descended 0.2 of a mile and down the 900ft slope down into the basin to the west. Fear not, This part was actually really fun. Yes it’s loose, and has lots of scree, you can kind of surf the rocks and dirt and take way less shock to your legs cuz it almost carries you down. It didn’t feel dangerous in my opinion. You’ll definitely see my dirt path I created from the rocks sliding down where I went. I’d personally suggest to just follow me dirt path all the way down to the grass in the basin below. Option 1 also requires less of a detour and doesn’t land you so far back in the basin either. It’s only another half a mile or so max but when you’re 5 mountains deep all you can think about it eating Otto’s in fairplay(thank me later on that food suggestion).
Once at the talus the bushwhack appears like it’ll be miserable but it’s not. I stayed a few hundred feet above the creek above the willow and entered them when I finally had to. There’s a lot of willows but you’ll see there’s almost always a reasonable path through them and I even found a moose trail for nearly a half mile before crossing back over the creek.
For the creek crossing, there’s tons of easy places to do it. I crossed about 100 vertical feet above where the gpx from Alex henes went so I could like back to the trail to find my favorite beanie I lost earlier in the day.
I went back to the trail at about 11,500 and continued all the way to 12,000ft before I gave up on the idea of finding my beanie and assumed a squirrel found a new sleeping back.
As I descended I remembered I went off the trail directly to the ridge a couple times and decided to head down toward my car to a spot where I deviated from the trail. To my amazement … there it was. Sitting in all its glory, my legendary beanie that I’ve walked out to several fights wearing, climbed some of the hardest mountains I’ve done while wearing… and there it was… waiting to warm my head again for future adventures. I kid you not, I have never been more excited on a 13er/14er climb than this moment!
Anyway back to the route, once you cross the creek, it’s a simple choose your own adventure to get back to the trail and subsequently back to the car.
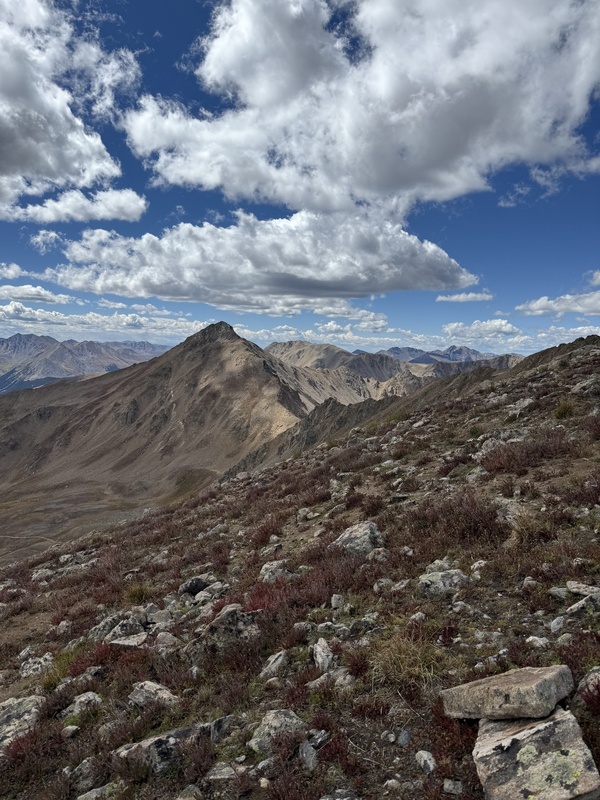
Thumbnails for uploaded photos (click to open slideshow): 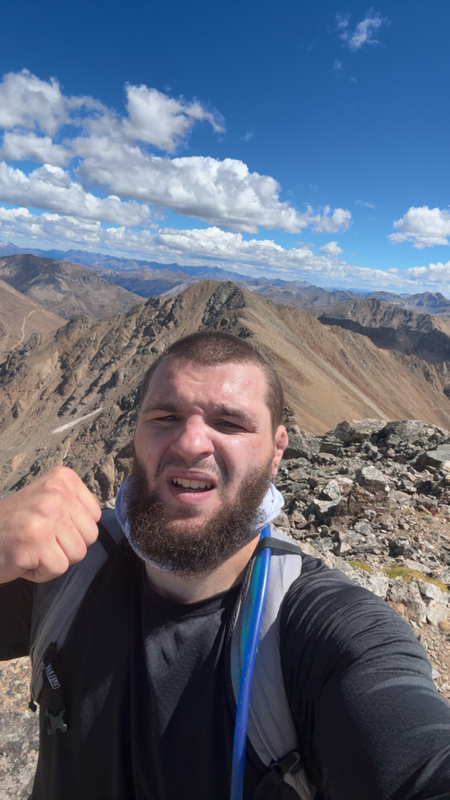
|
| Comments or Questions |
|---|
|
|
Caution: The information contained in this report may not be accurate and should not be the only resource used in preparation for your climb. Failure to have the necessary experience, physical conditioning, supplies or equipment can result in injury or death. 14ers.com and the author(s) of this report provide no warranties, either express or implied, that the information provided is accurate or reliable. By using the information provided, you agree to indemnify and hold harmless 14ers.com and the report author(s) with respect to any claims and demands against them, including any attorney fees and expenses. Please read the 14ers.com Safety and Disclaimer pages for more information.
Please respect private property: 14ers.com supports the rights of private landowners to determine how and by whom their land will be used. In Colorado, it is your responsibility to determine if land is private and to obtain the appropriate permission before entering the property.