| Report Type | Full |
| Peak(s) |
South Lookout Peak - 13,420 feet Unnamed 13702 - 13,702 feet Gravel Mountain - 13,596 feet Ohio Peak 12,681 US Basin Summit 12,600 |
| Date Posted | 08/22/2025 |
| Date Climbed | 08/18/2025 |
| Author | ReginaThomas |
| Additional Members | Kiefer, bergsteigen |
| South Lookout Peak - Full Value Class 4 for 40 |
|---|
|
South Lookout Peak (and friends) - Full Value Class 4 for 40 Peaks Hiked/Climbed: Ohio Peak – 12,681’ (CO Rank #876) - 08/15/2025 US Basin Summit – 12,600’ (Unranked) - 08/15/2025 Gravel Mountain – 13,596’ (Unranked) - 08/17/2025 Unnamed 13,702 – 13,702’ (CO Rank #146) - 08/17/2025 South Lookout Peak – 13,420’ (CO Rank #308) - 08/18/2025 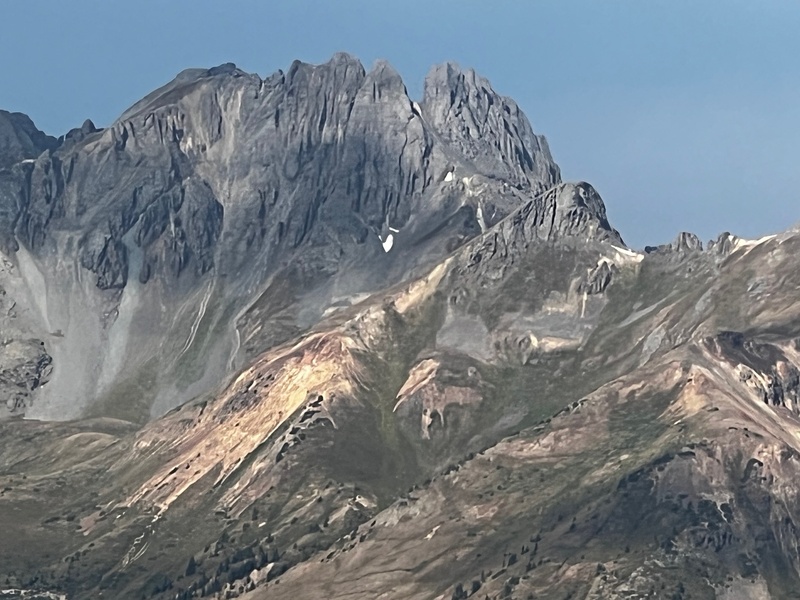
As the years have gone by, I have quickly learned that for my birthday plans I not only need a Plan A, but also a Plan B, and sometimes even a Plan C. Having a mid-August birthday often means the monsoons arrive as an early birthday gift, and require flexibility. I turned 40 this year so I was hoping for some spicy class 3 and 4 peaks. I got my wish and then some with South Lookout Peak. One year I hope to say we were successful with Plan A, but this year was not the year (AGAIN), and surprisingly, Plan B ended up far eclipsing Plan A. Of course, now you are probably wondering what Plan A was. Plan A involved spending 4 days up the middle fork of the Cimarron, my parents were coming to stay with Kaiah, and we would spend Friday through Monday scrambling/climbing in one of the more rugged areas outside of the Weminuche. After setting camp the plan was to scramble/hike the two unnamed 13ers in Porphyry Basin ending the day with El Punto. Day 2 would have began with the peak I was most excited for, Heisshorn and ended with a loop over the two unnamed 13ers between Heisshorn and Coxcomb Peak. The plan for day 3 was Coxcomb and Redcliff, followed by packing out, driving the rougher road to West Fork and scrambling Fortress prior to heading home early for dinner in Montrose. As the weekend got closer the forecast went from a manageable 40% chance of PM storms to 90% chance of AM storms on both Friday and Saturday. My inner German stubbornness almost won out, but the conditions definitely would not have been ideal to say the least for such involved peaks, and no one likes to be tent bound all night while it rains. Due to the deteriorating forecast we pivoted to plan B. We figured that even with a 90% chance of storms we could sneak up and down 12er Ohio Peak, especially with the starting point being over 12,000’ on US Basin Road. We even would have time to get home and take my mom up to Palisade with us for a relaxing afternoon of wine tastings. While my primary goal is still 13ers, Ohio Peak was the last peak I needed to complete the long ridge between Abrams Mountain and Anvil Mountain. The highlight of the weekend would not have occurred had we not hiked Ohio Peak that Friday morning. The familiar drive to the summit of Red Mountain Pass went quickly and soon we were reaching the northern turn for Red Mountain #3 road. While Red Mountain #3 road is gated, the US Basin road turns right just before the gate and heads steeply up to the west shoulder of US Basin Summit prior to descending toward the Brooklyn Mine exit across from the Ophir Pass turnoff. The US Basin road is steep in spots with a few tight switchbacks, but is not overly challenging and Kiefer made short work of reaching the pull out we parked in. Kiefer shouldered the backpack and we headed up the tundra directly for US Basin Summit’s high point. After parking at 12,200’, we attained the 12,600’ high point quickly and trotted off toward Ohio Peak. There was fresh elk poop EVERYWHERE, but sadly we never saw an elk on our quick journey. 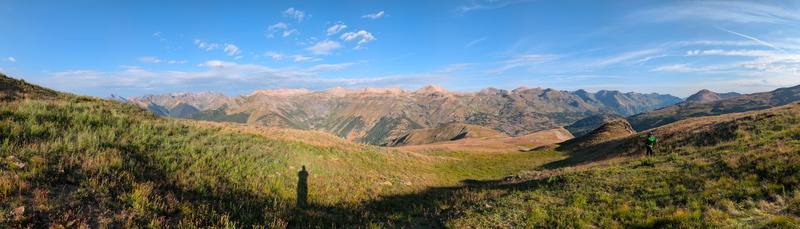
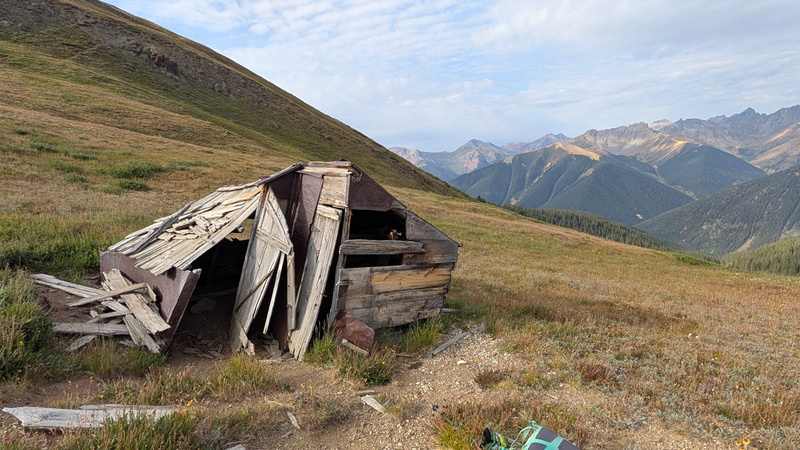
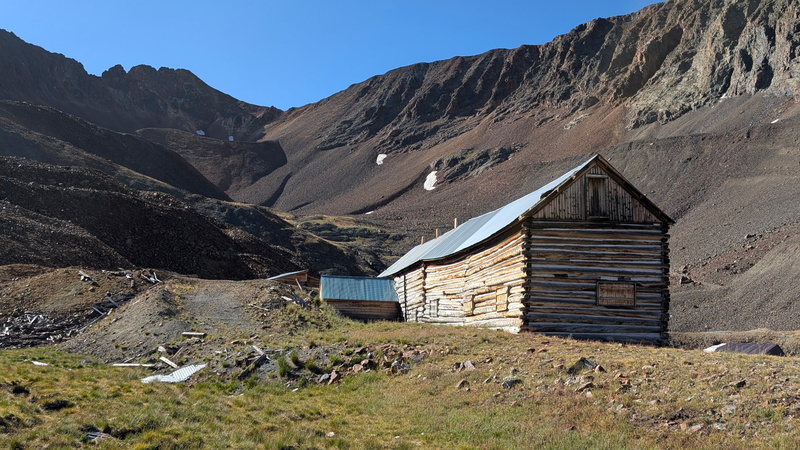
Descending from US Basin Summit has a small rocky area, but this can be avoided by angling right on the grass. We descended through the rocky area, and while a bit loose, was easy and direct. Ohio Peak has an old miners cabin along the ridge, so after a quick stop to explore we headed up the game trails to the summit. As you get closer to the summit the terrain becomes rocky, but there is a use trail all the way to both the false summit, and the true summit. 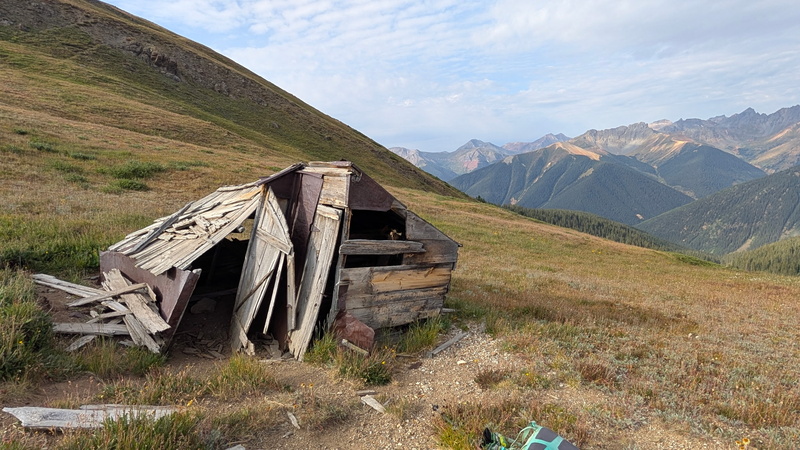
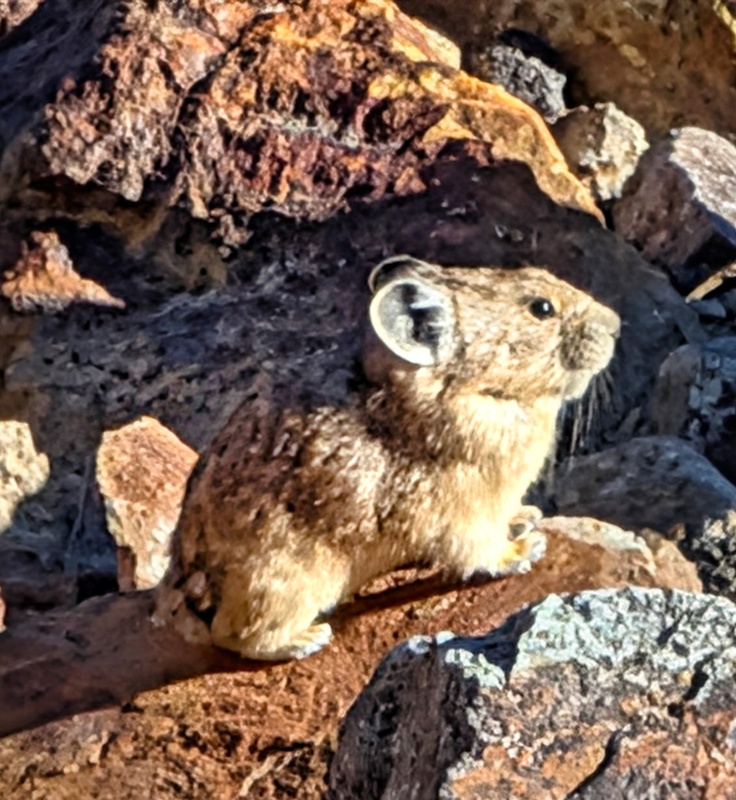
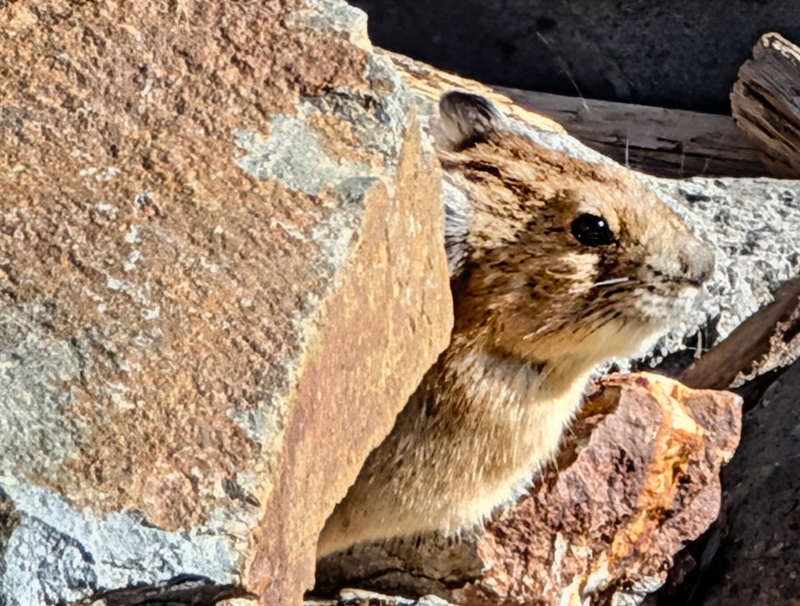
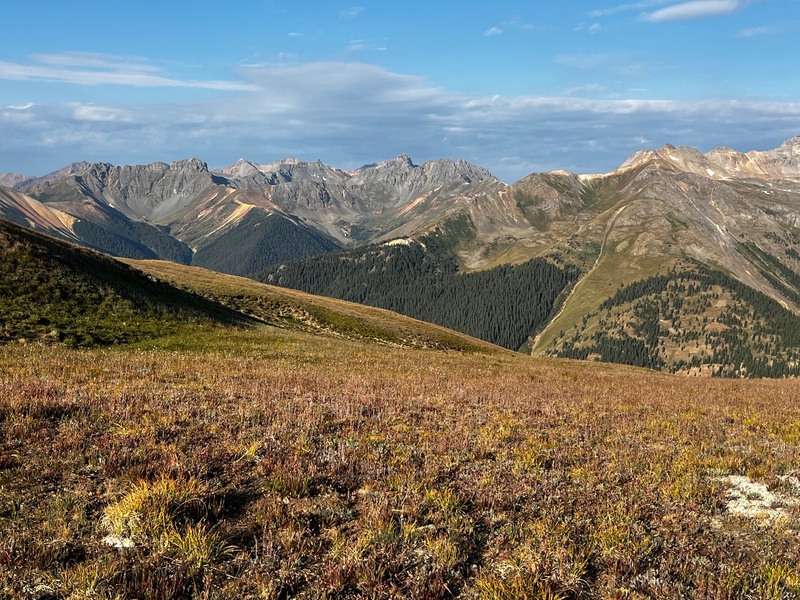
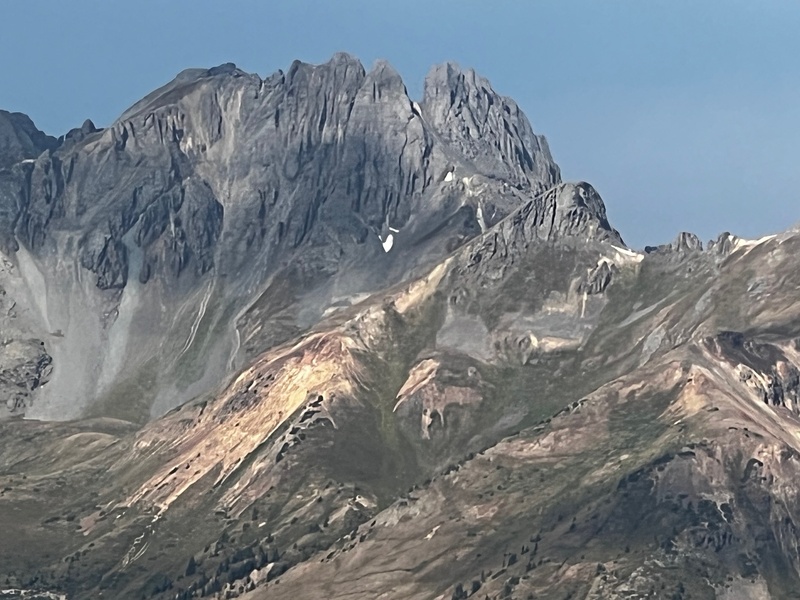
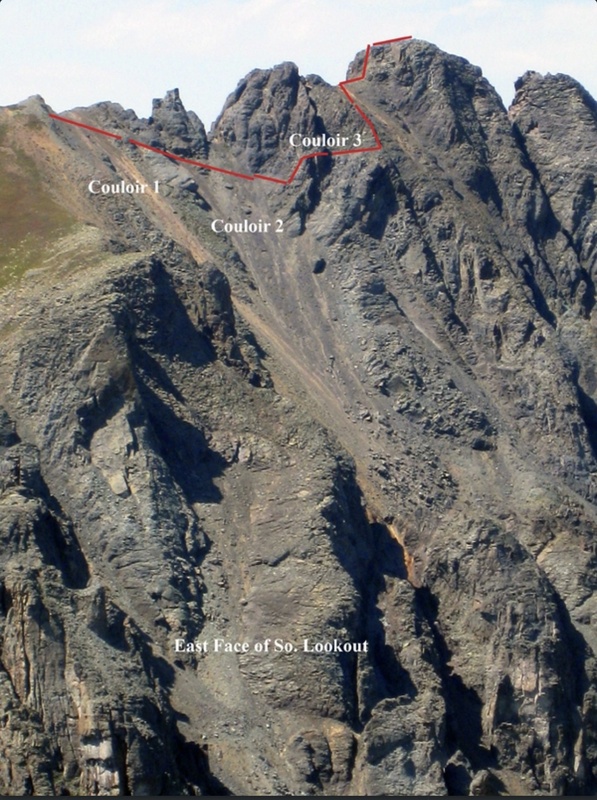
So far the weather was still holding, so we found comfortable rocks to sit on, enjoyed the views around us, and watched the cutest piklet gathering his or her hay for the upcoming fall/winter months. As we snacked the views of South Lookout Peak almost directly west of us smacked me in the face. We had a direct view of the hardpan gullies used to access the summit ridge. From other trip reports, I knew South Lookout Peak is a great peak to climb after a rainstorm, so the hardpan softens up making the steep crossing safer and suggested to Kiefer against my better judgment that this might be a good weekend to climb South Lookout. Kiefer was interested but didn’t know much about the peak other than it terrified me, so we agreed to look at it more when we returned home. The bulk of this report will focus on Kiefer, Otina and my ascent of South Lookout Peak. 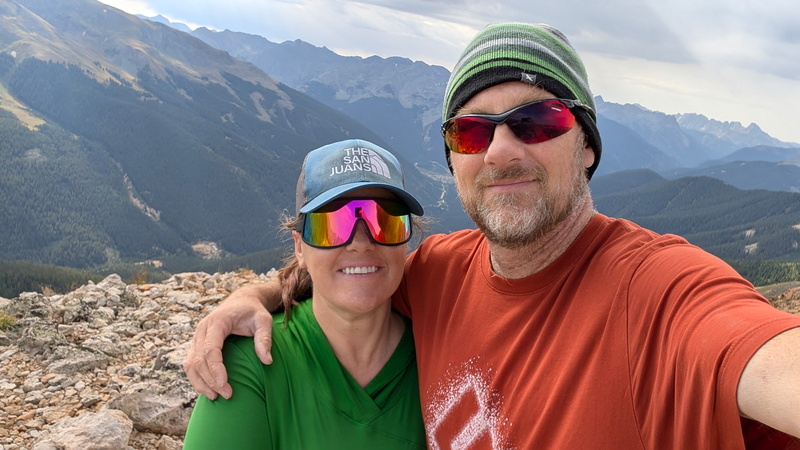
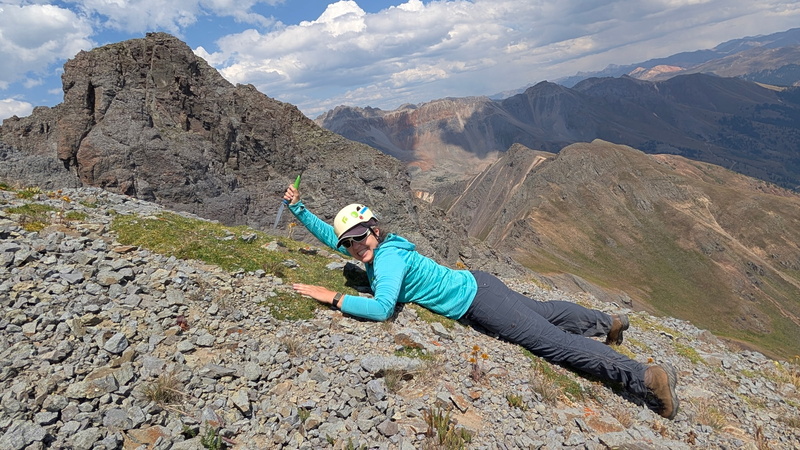
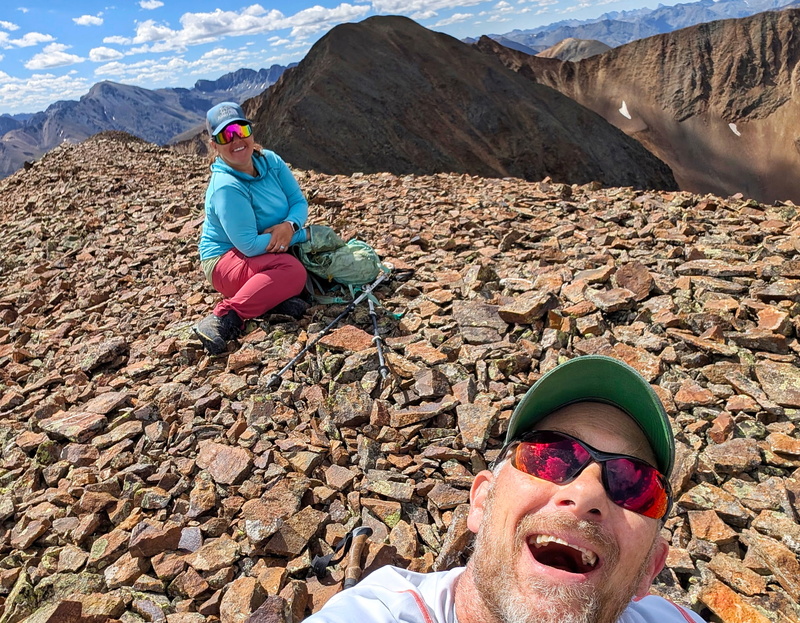
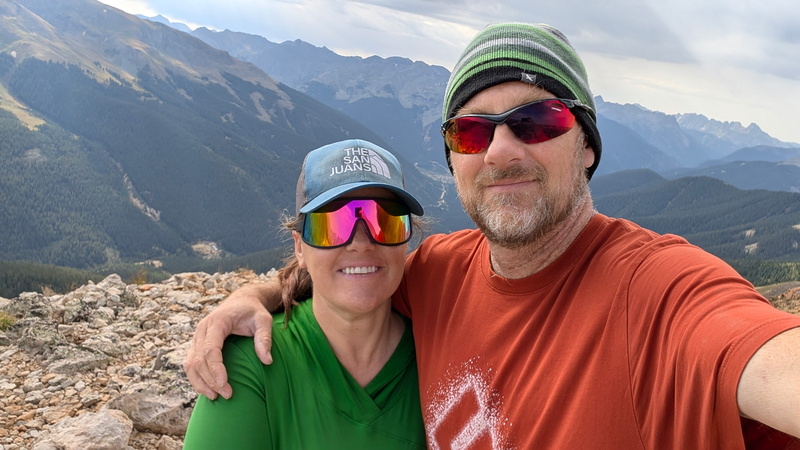
Our stay on Ohio Peak was fairly short-lived, however we did remember to take a summit shot, which for some reason has been a struggle this year. On the descent we were pleasantly surprised to find additional game trails to follow which allowed us to expedite the short descent further by skirting US Basin Summit to the south. We hit the road just south of the truck and after an easy walk were on our way home to Montrose, and off to Palisade. We enjoyed a relaxing afternoon at Talon Wines and headed home for dinner. 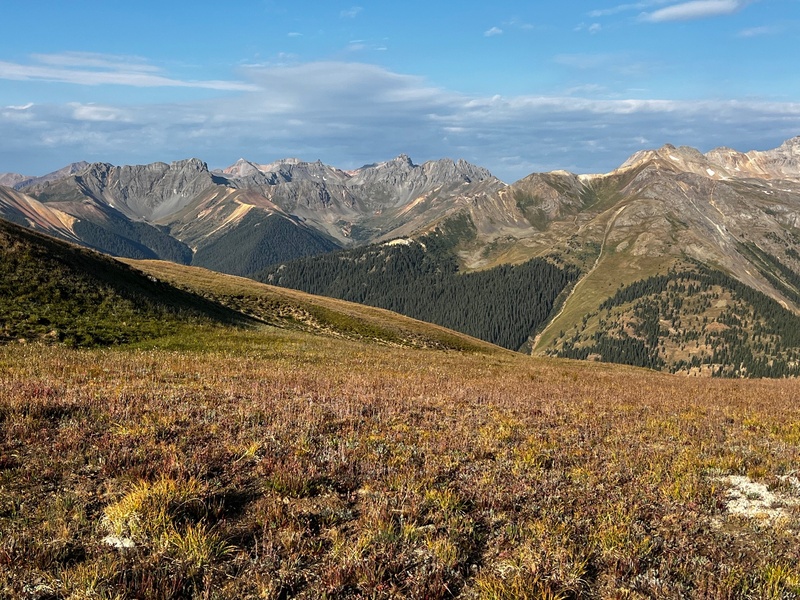
We decided to skip hiking peaks on Saturday and spent the day with my mom. She and I took Kaiah for a long walk before the heat of the day and went to the Montrose Botanical Gardens while Kiefer rested and worked on his website. When we returned home I started digging into trip reports for South Lookout Peak, and taking screenshots of any and all pertinent information. Our plan for Sunday was originally to scramble the West Buttress of Snowdon Peak, but we changed plans to hike Gravel Mountain and Unnamed 13,702. These two peaks may not be what most people (I am most people) would consider exciting, but the completion of these peaks meant we would NEVER have to drive Engineer Pass again. In addition, a road leads to 12,000’ at the Golconda Boarding House and would make for another quick day in the event the weather turned. Last but certainly not least, this meant we had time to stop at Sportman’s BBQ in Lake City on the way home for their AMAZING chicken sandwich. We got up at the unholy hour of 3:30 AM knowing we had a long drive ahead of us to reach the Golconda Boarding House where we would start our hike. We reached Lake City and without a care in the world began the drive up Engineer Pass Road. 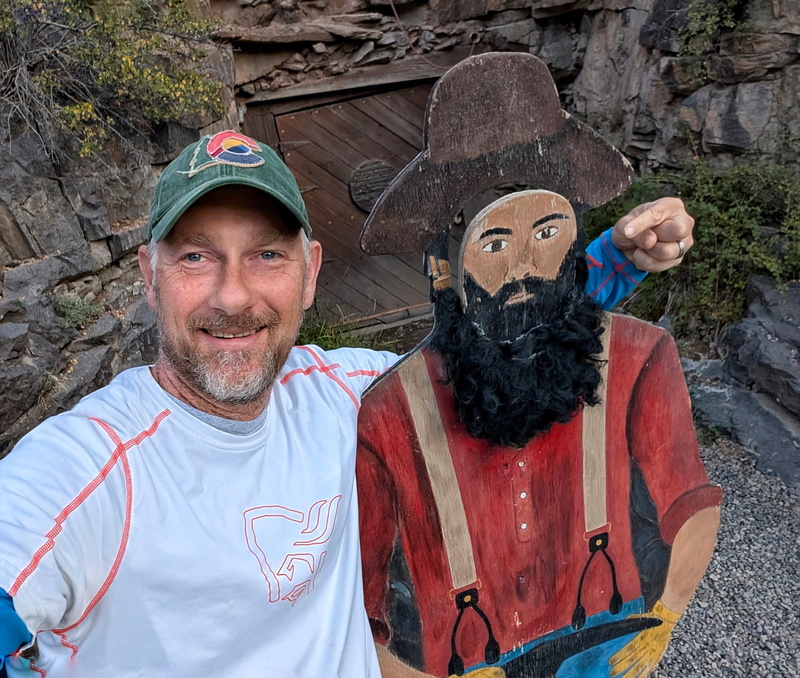
In our sleep deprived state, neither of us thought to check the gas gauge on the truck until I asked Kiefer how much gas we had prior to heading up the last two steep and rocky miles to the mining area. We had a quarter tank, which while more than plenty to return to town from where we were, it might have been pushing it if we added on the steep climb to the mining area. Suddenly our easy day of 2.2 miles round trip and 1500’ of gain, turned into 6.5 miles and 2600’ of gain. 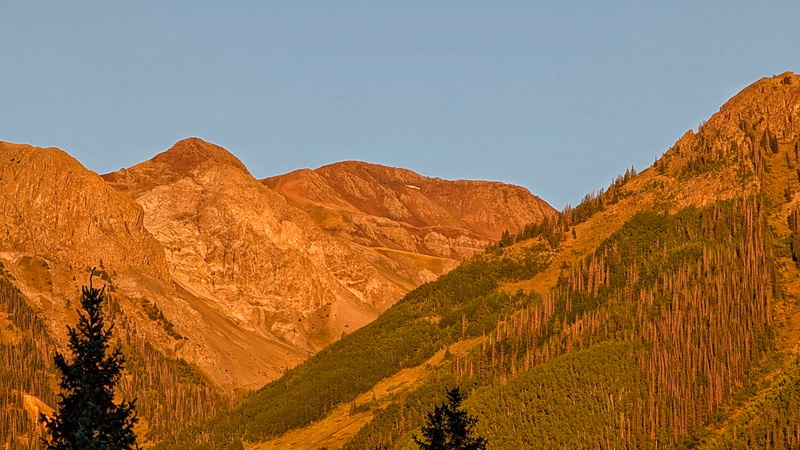
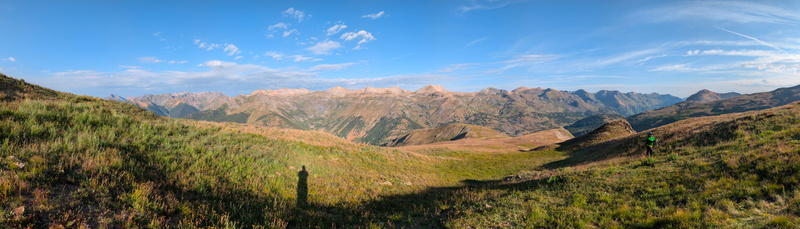
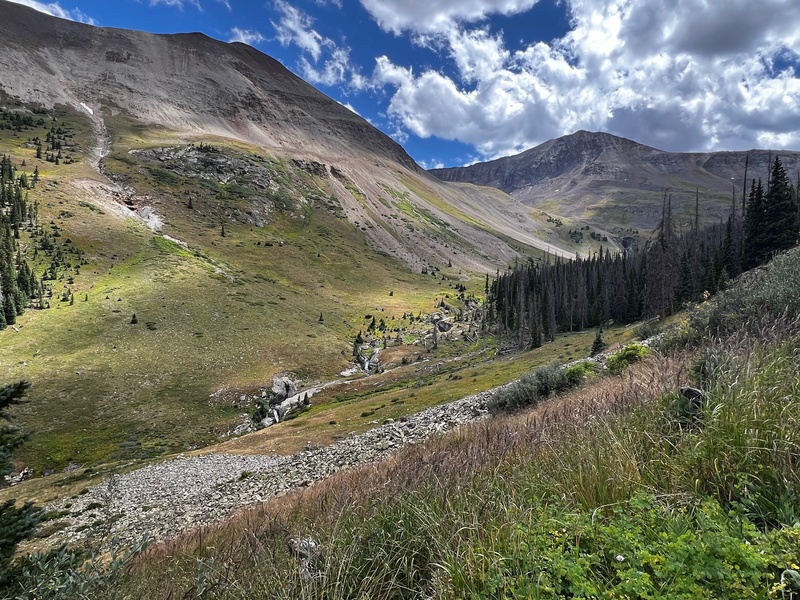
After a bit of grumbling we began the walk up the road, continuing to hope that we’d find some obstacles the truck couldn’t have handled (we didn’t). No one particularly loves road walks, and we are no exception to that rule, but this road was BEAUTIFUL. The creek below had cascading waterfalls, pikas were running around and barking, and time passed quickly. 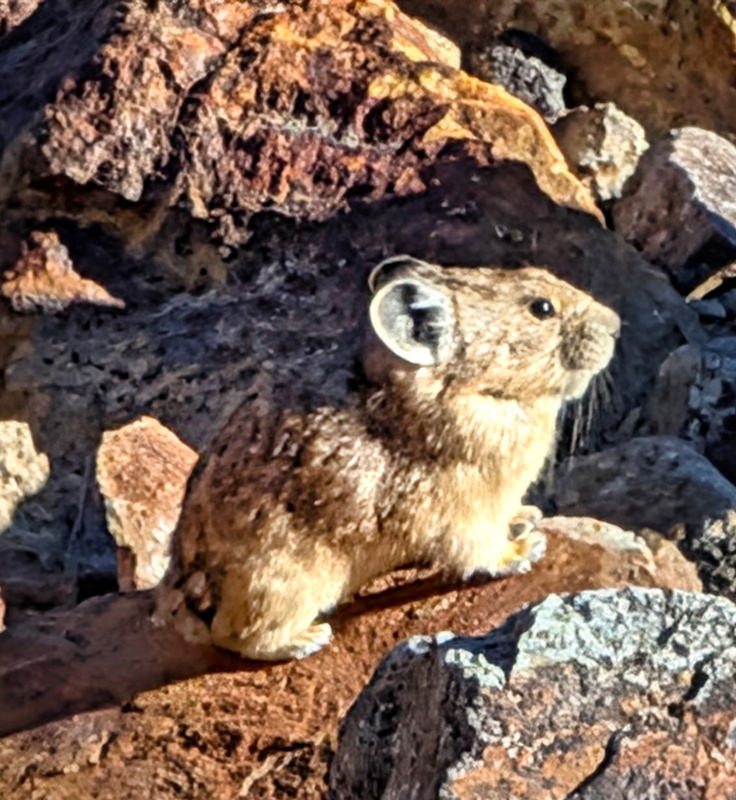
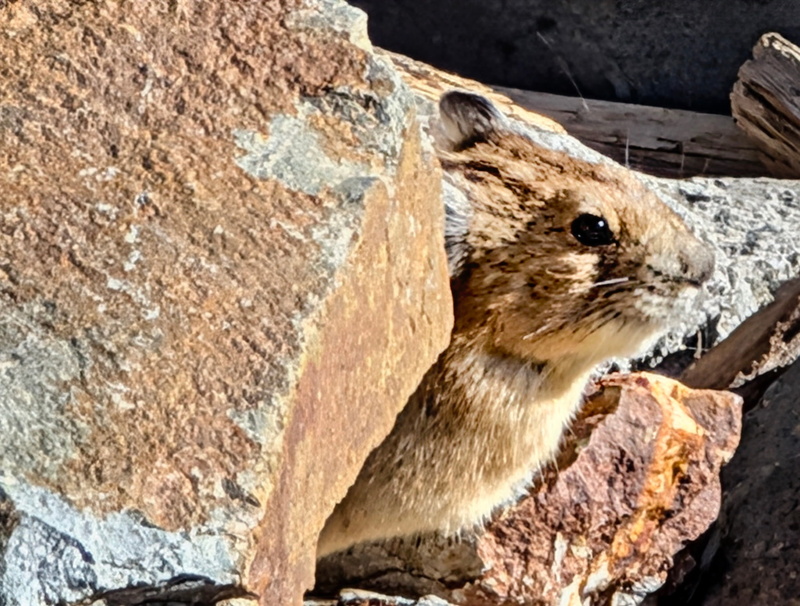
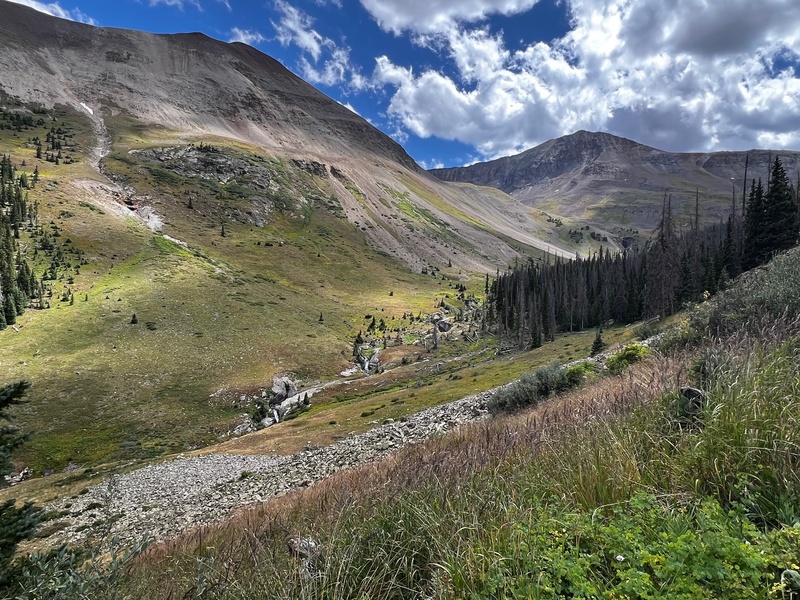
Sooner than I expected we reached the boarding house. Kiefer was taking pictures of a cute and curious pika, so he missed the 8-10 marmots running around in the tundra by the boarding house. If you do plan to drive up here, ensure you have marmot protection… They were everywhere. 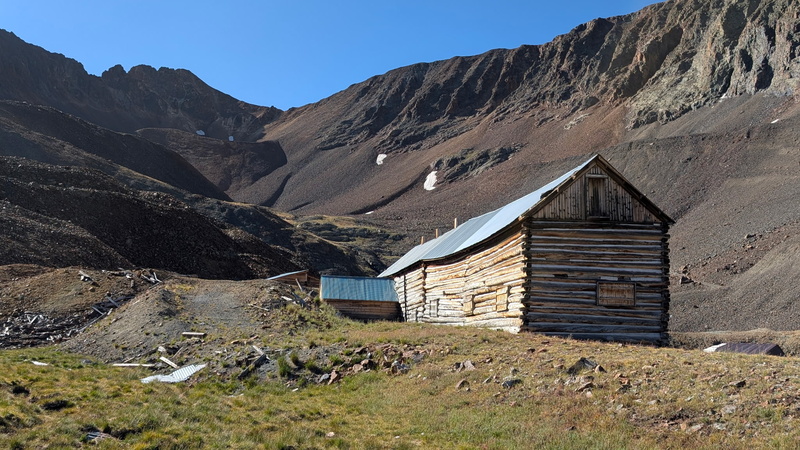
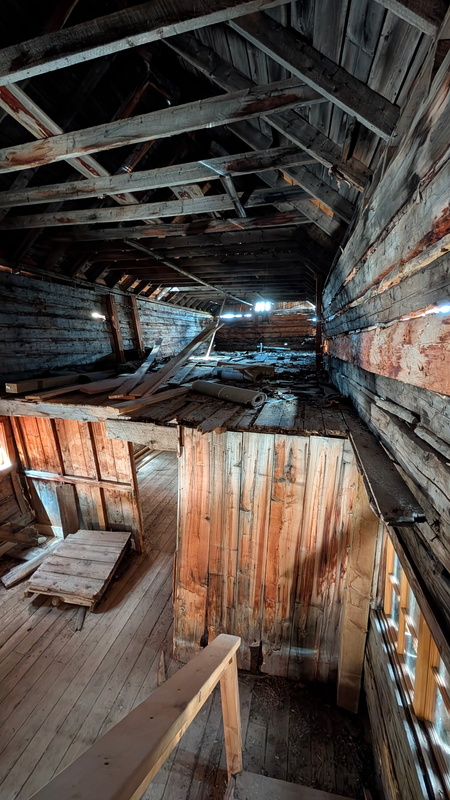
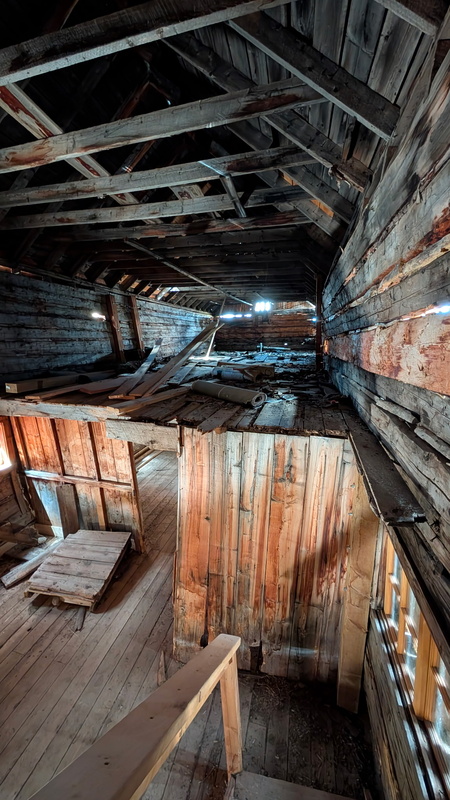
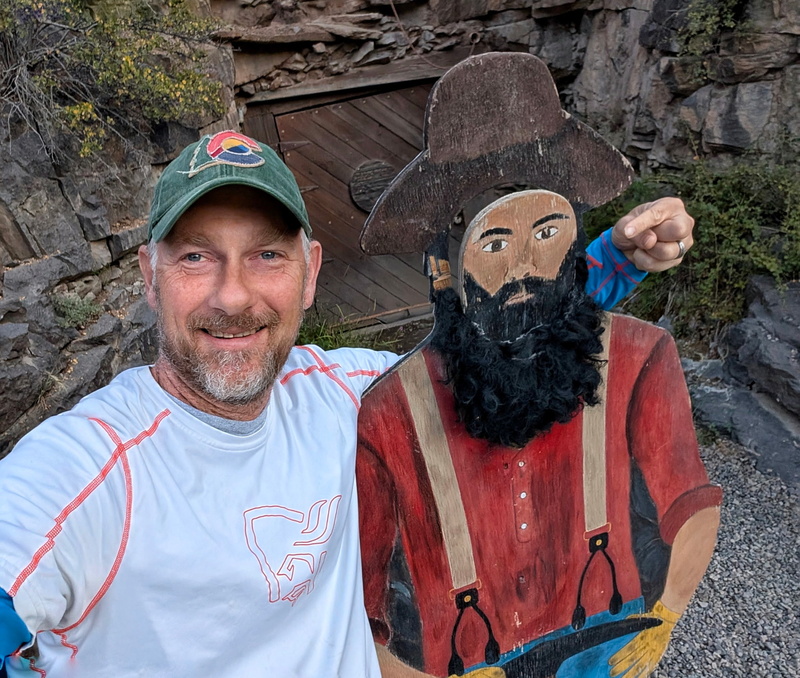
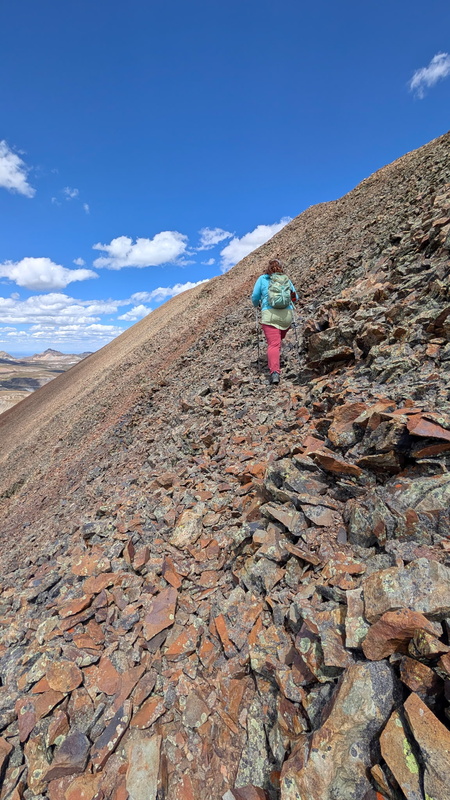
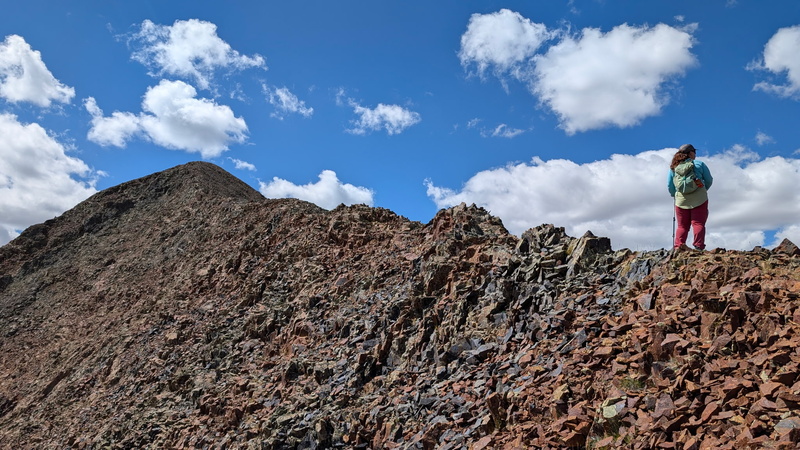
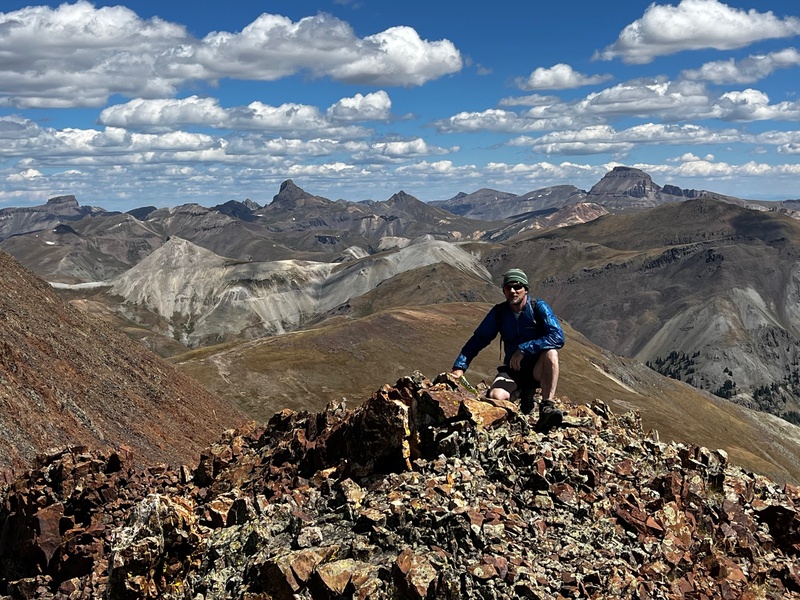
The boarding house has been lovingly restored and was in quite good condition for its age and its location where it gets hammered by the elements. We stopped to take our first break in the boarding house prior to getting to the meat of the day, the STEEP rocky hike up Gravel Mountain. The trail begins just North of the boarding house and is obvious. There is a use trail all the way to the summit of Gravel Mountain; find it and you will have a much more enjoyable summit. The beginning of the use trail is hard to spot, as it simply looks like a scree slope leaving the tundra. Kiefer built a cairn marking the turn which hopefully will help anyone who is headed up in the near future. If you don’t find the initial slope, the best advice I have for finding the social trail is to stay on the tundra as close to the ridge crest as possible, and you should pick up the trail through the rocks. While the route to the summit of Gravel was steep and rocky, the trail made progress relatively easy, and after hiking Precipice Peak two weeks before, we both have a new definition of steep, so neither of us found it that obnoxious. The short section of one step up, two steps back even made me chuckle to myself about the "San Juan dues collector", but it sure was nice on the way down. The use trail skirts the summit of Gravel by ~15 feet. Gravel may be unranked, but it is worth the summit. You won’t see the summit on my GPX track since I only recorded on GAIA for the descent, but the views were nice, and it was a great place to take another break prior to continuing along the ridge to 13,702’. We also texted my parents, so they weren’t worried about us being gone longer since they were expecting a 2.2 mile round trip hike. Kiefer also texted Otina, and invited her to join us for South Lookout Peak the following day. 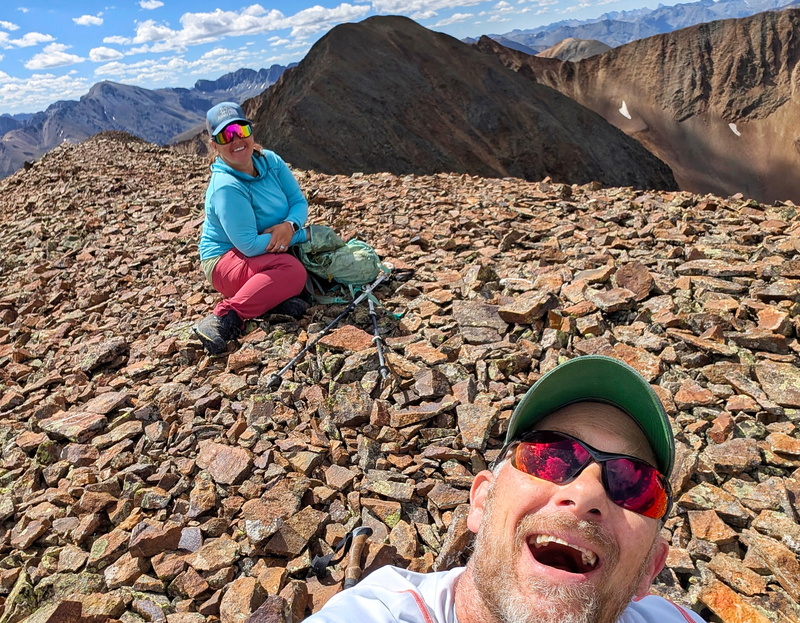
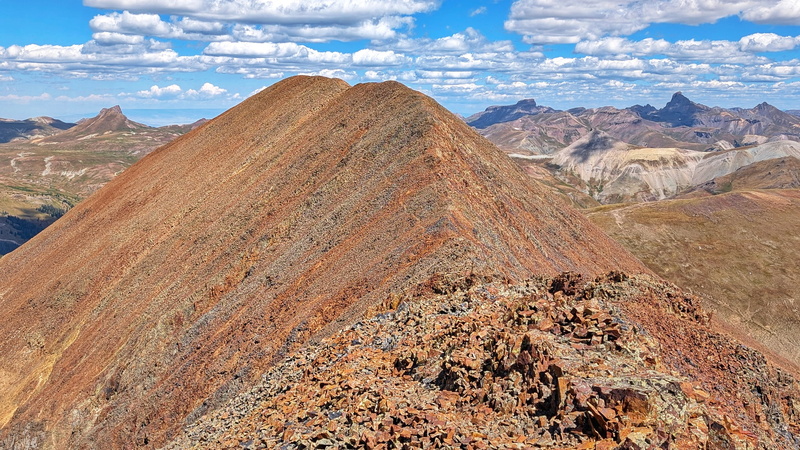
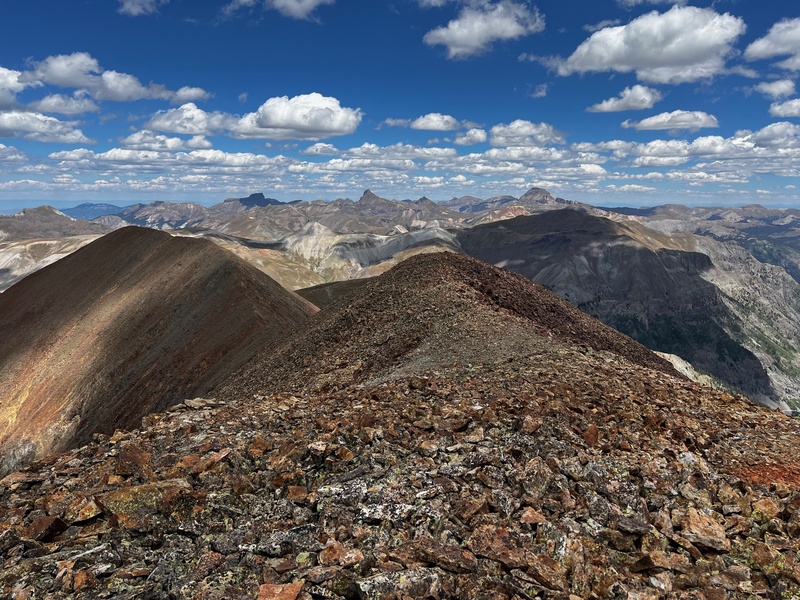
We descended off the summit of Gravel back to the use trail, and continued along the rocky path all the way to the false summit of 13,702’. The trail narrows, but extends all the way to the summit and progress was swift and straightforward. 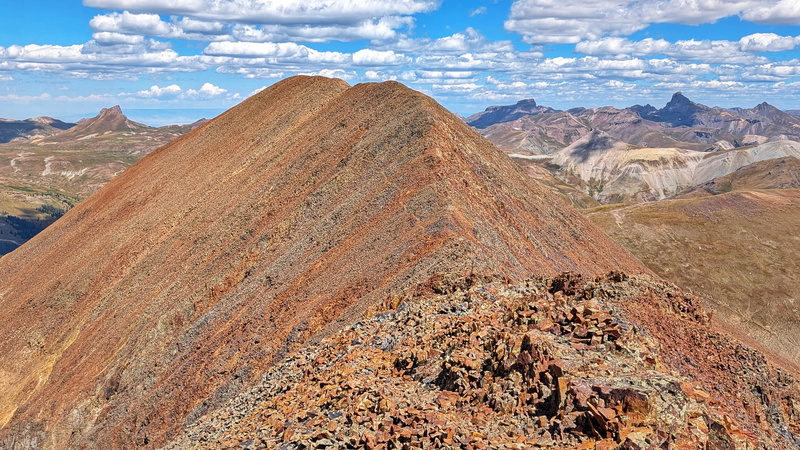
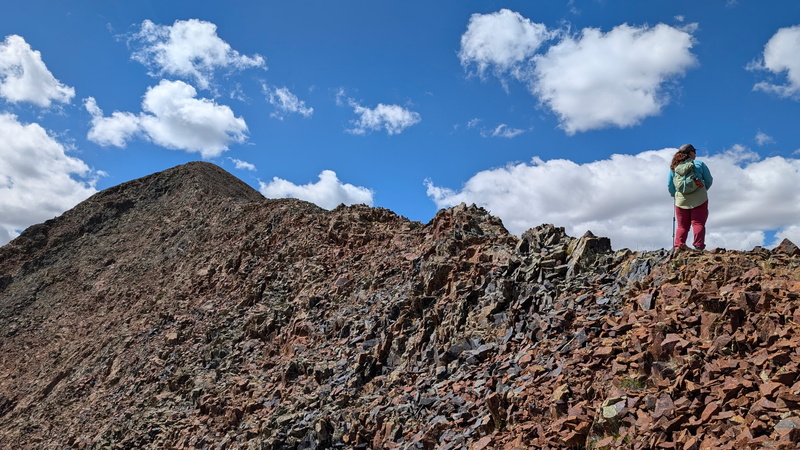
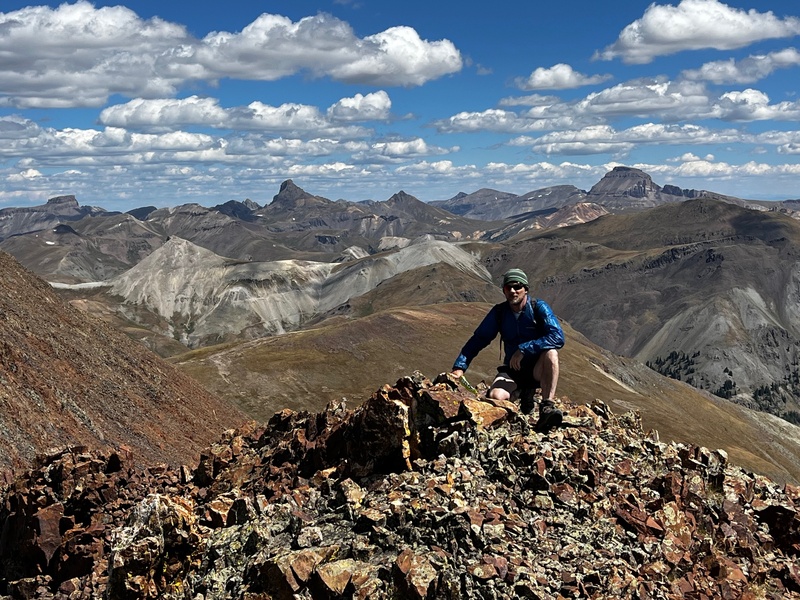
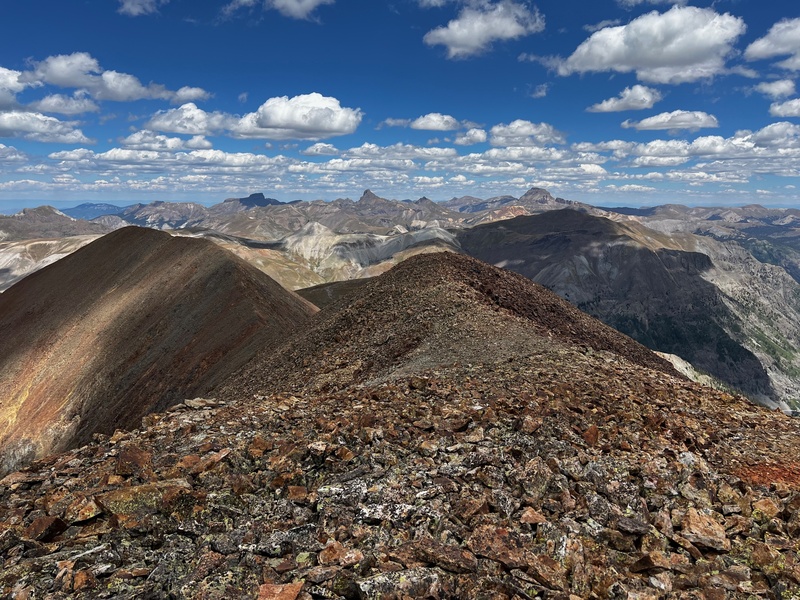
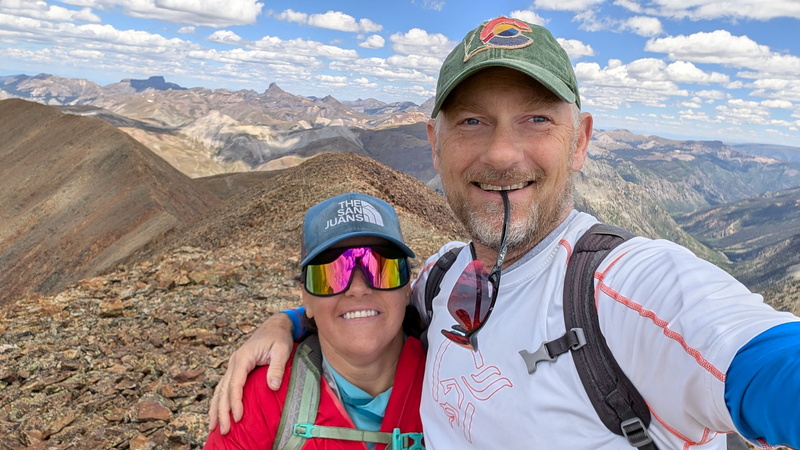
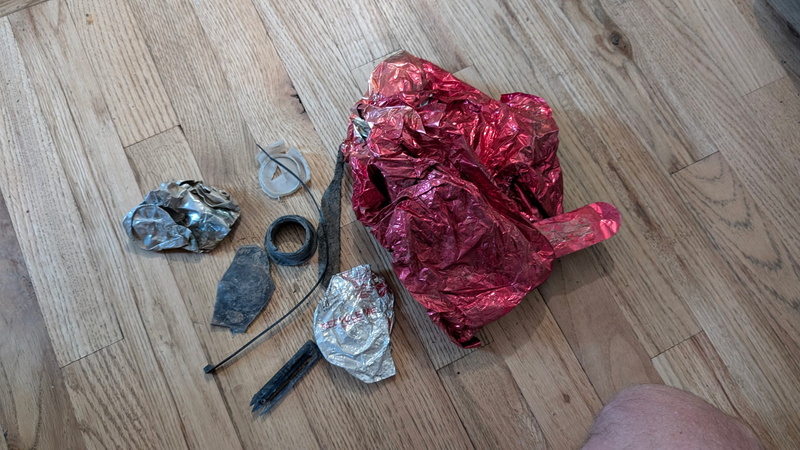
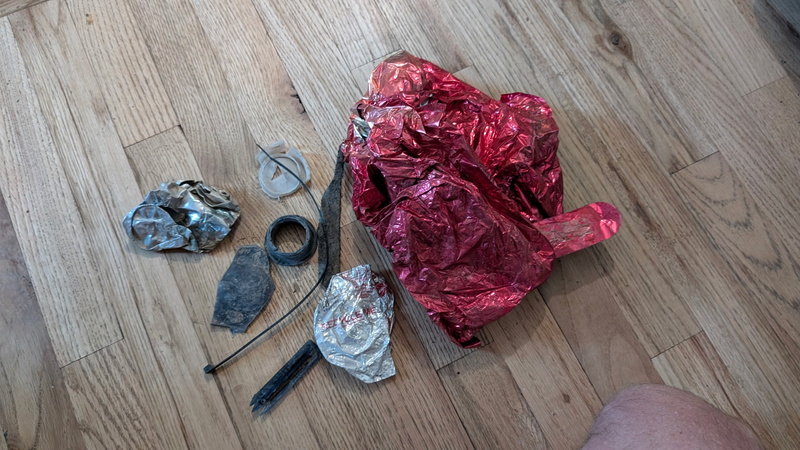
To descend, we simply reversed course, skirting Gravel this time, and headed back down the use trail to the boarding house, where it was time for another break prior to the 2 mile walk down the road to the truck. I poked around the boarding house a bit, enjoyed some snacks, and we headed down the road. The descent to the truck took just over an hour, but required multiple stops to pick up trash which we packed out with us. Please PLEASE practice leave no trace, whether you are in the mountain community, or the off-road community. 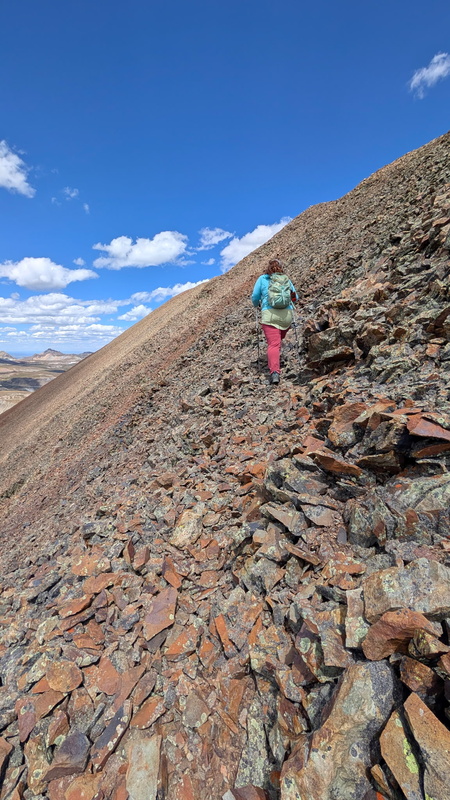
We drove down the road, thankfully with gas still in the tank, we waved a good bye to Engineer Pass, and reminisced about our adventures. Even with the extra 4.2 miles we hiked, we were down in plenty of time to stop for a chicken sandwich, and I can confirm it was just as delicious as usual. Otina had gotten back to Kiefer, and confirmed she was headed down and would love to join us for South Lookout Peak. South Lookout Peak is what the meat of this report will focus on. There is minimal information on the route we took, and there are no trip reports utilizing this route. The route description can be found on www.climb13ers.com, and the Cooney’s photos were invaluable at keeping us on route. I am going to provide more beta, and share our experience with this spicy, dangerous, and also quite fun peak, but first a little background. 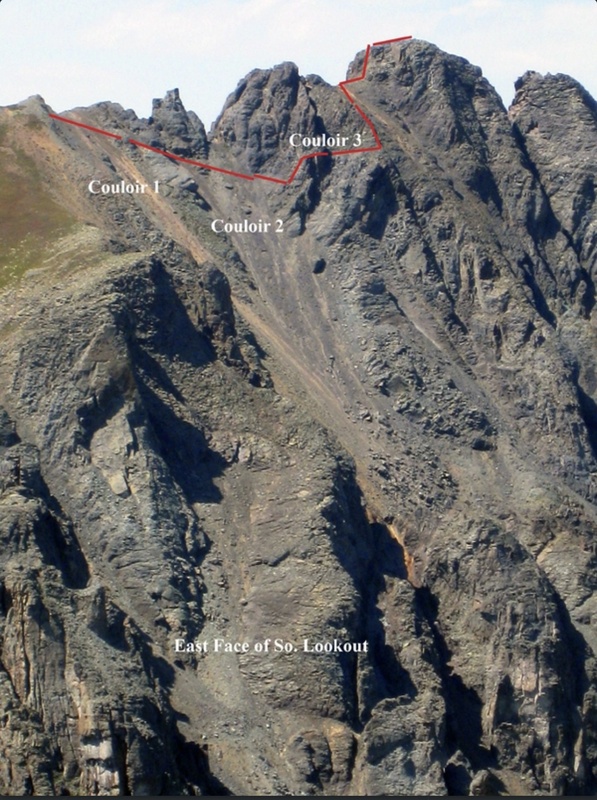
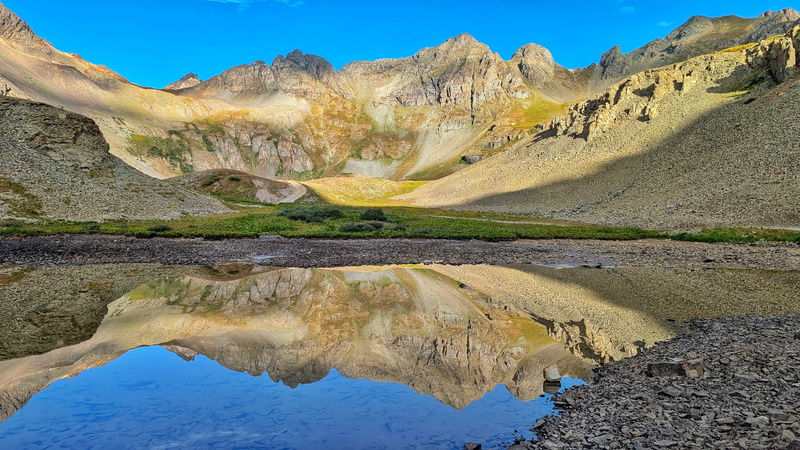
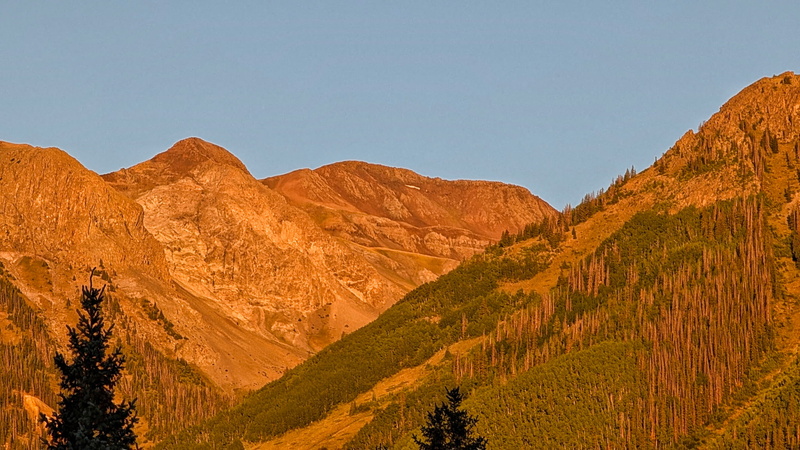
If you have read some of my other trip reports, you may already know that my current goal is to finish the 249 ranked San Juan 13ers. Of those 249 peaks there are numerous challenges, Lizard Head, Jagged Mountain, Peak Nine, to name a few. Of those 249 peaks, only 2 make ice run through my veins, one of which is Dallas Peak (that overhanging rappel), and the other of which is South Lookout Peak. Everything you read about South Lookout Peak speaks to the dangers looming at every corner after engaging with the upper complexities. None of these reports are wrong. This is a DANGEROUS mountain, and it is imperative that you are confident and competent on class 4 terrain. Do not take this peak lightly and ensure you trust your group. We had a group of three, Kiefer, Otina, and me. I would not have wanted a larger group on this peak, nor would it have been particularly safe. When I say, I was terrified of South Lookout Peak… I am not remotely joking. My original plan was to climb South Lookout as my 2nd to last San Juan 13er to avoid it as long as possible. I had trouble sleeping Sunday night, my muscles were tense and I tossed and turned. The class 4 section wasn’t what kept me up, it was the reports of the unyielding hardpan dirt in the first two couloirs which required traversing to reach the class 4 section of the peak. Kiefer tried to reassure me, but even as Otina pulled into our driveway in the morning my stress level was still incredibly high. I decided driving would be the perfect distraction, so instead of Kiefer taking the wheel, I drove to Silverton and to the base of Clear Lake Road, where Kiefer took over. As aptly named Clear Lake came into view, so did the grassy access slope to South Lookout’s difficulties. 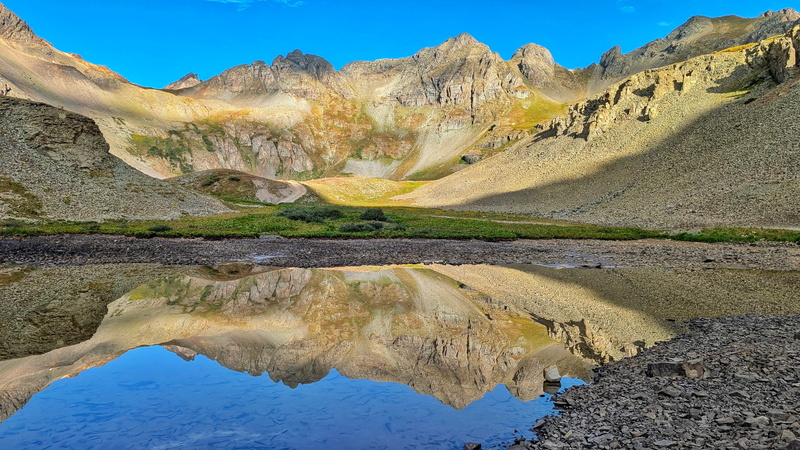
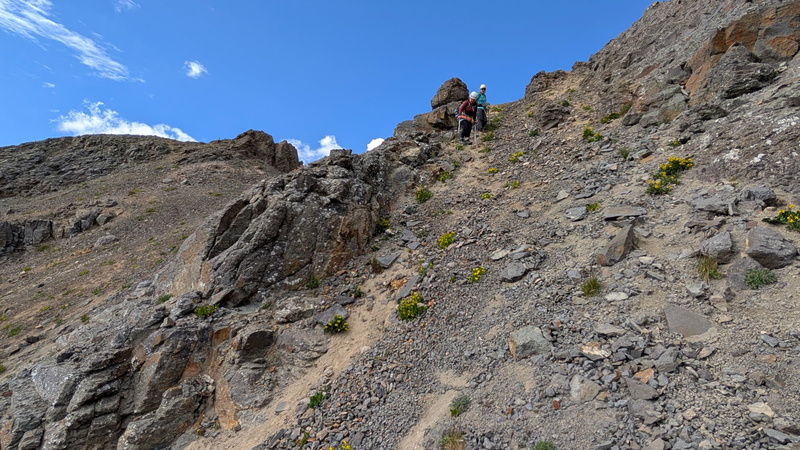
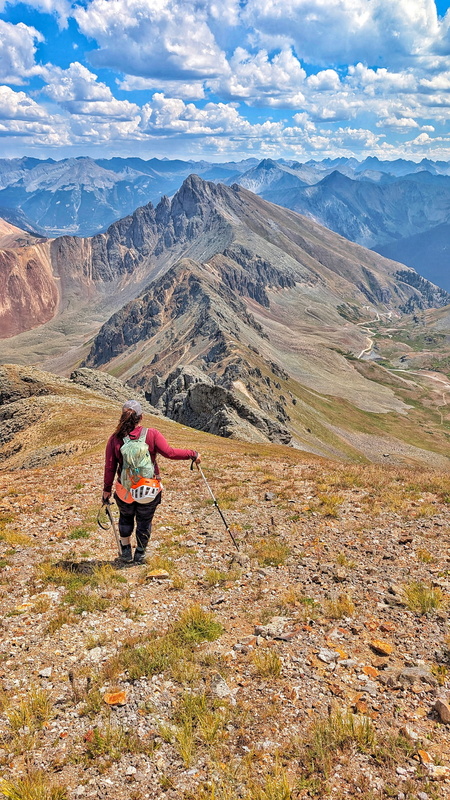
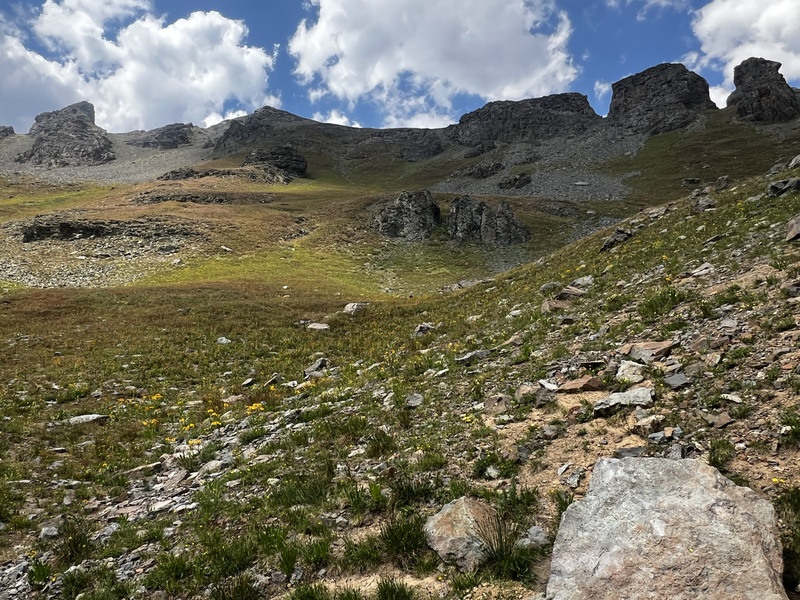
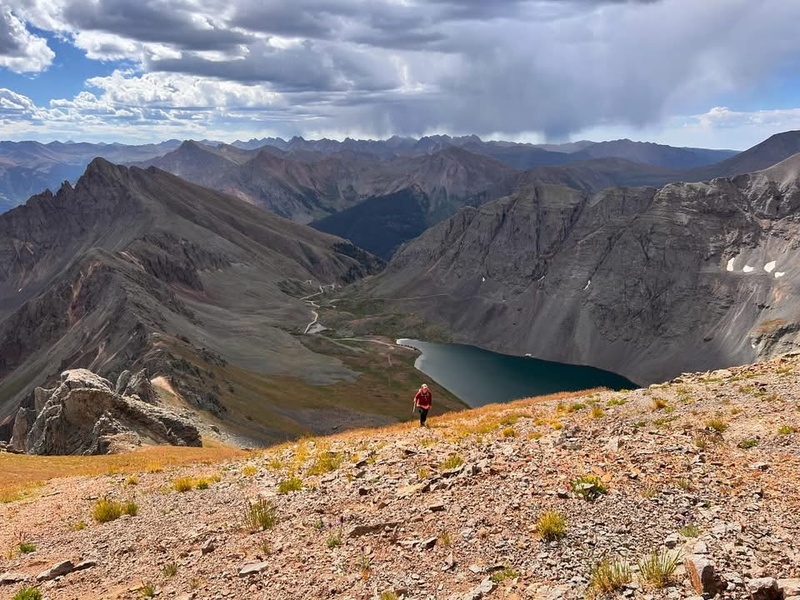
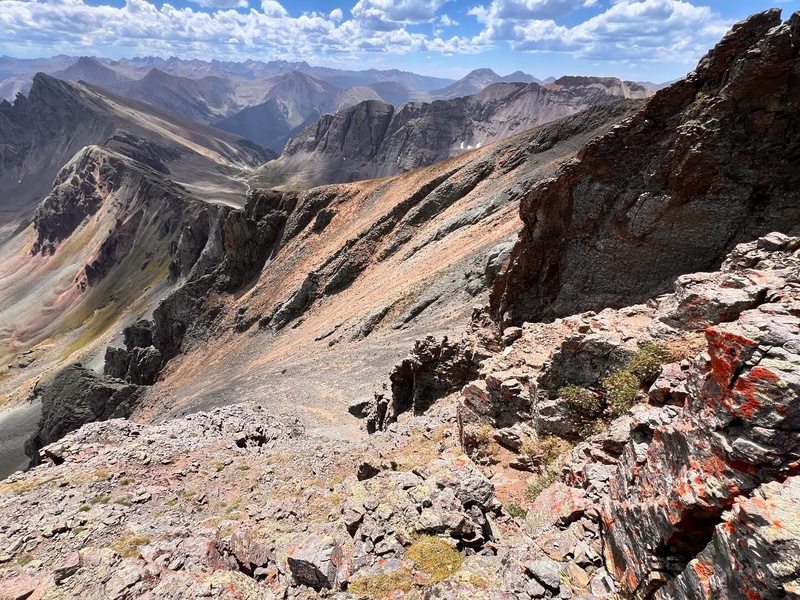
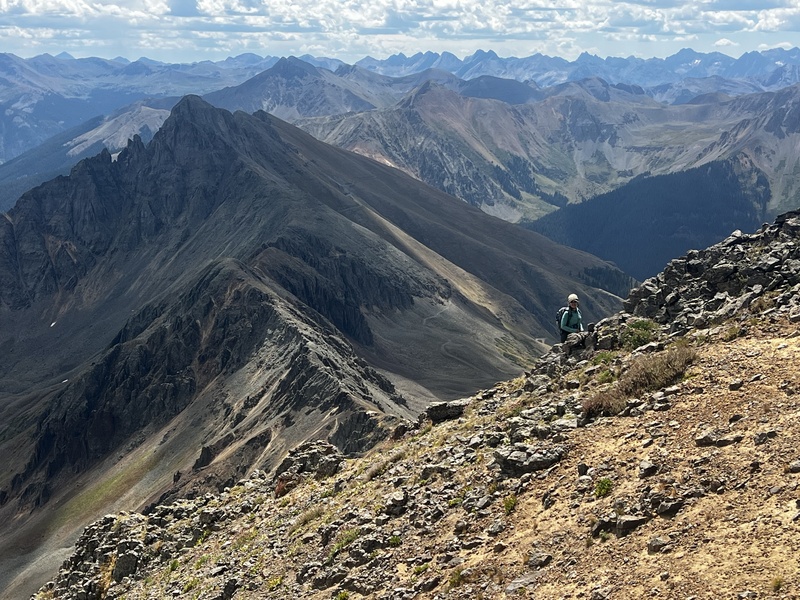
We parked the truck, Otina and I laced up our boots and we headed up the tundra slope. Now, if you have hiked 13ers, you are probably used to steep tundra slopes. This slope looks like a nice grassy slope, but in reality was tundra, interspersed with scree and hardpan dirt, and we all agreed was the worst part of the climb. Not even CLOSE to the most dangerous part, but especially on the descent the short 1200’ down this slope seemed to go on forever. GAIA read 13,300’ at the top of the grassy slope, but the fun was only just beginning. 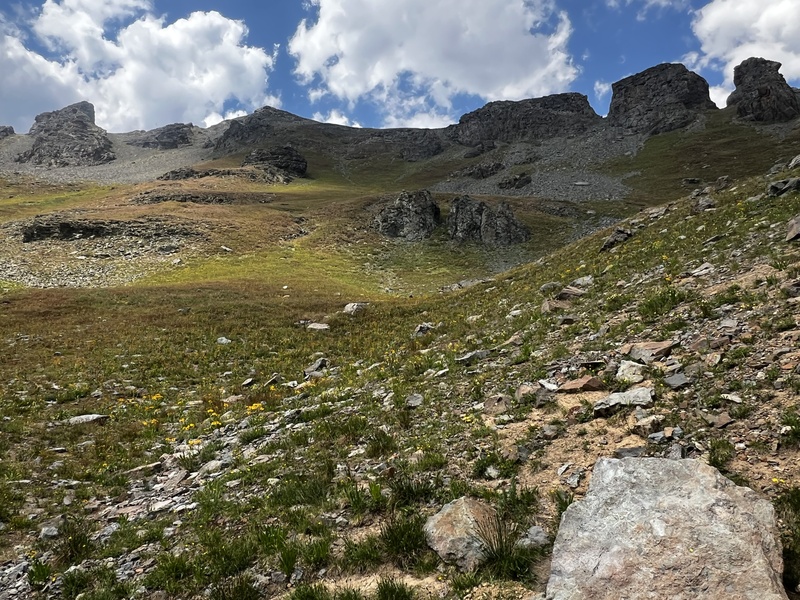
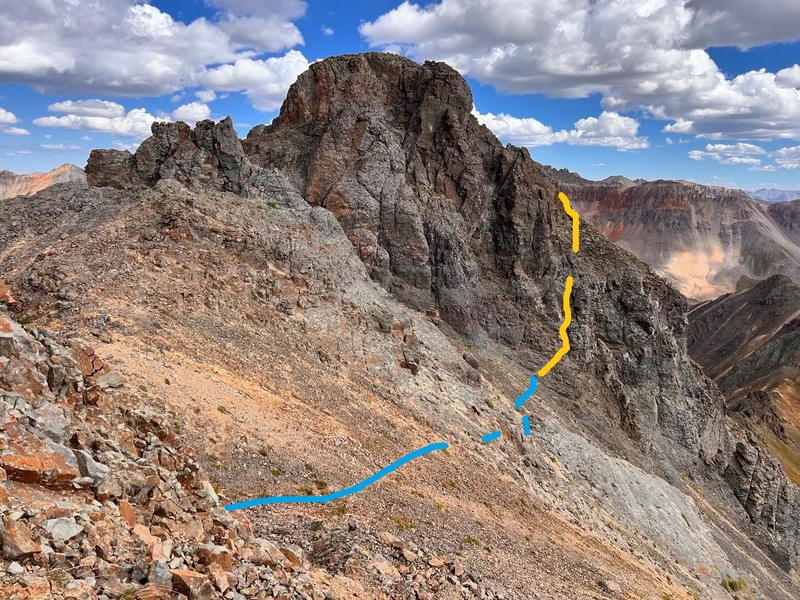
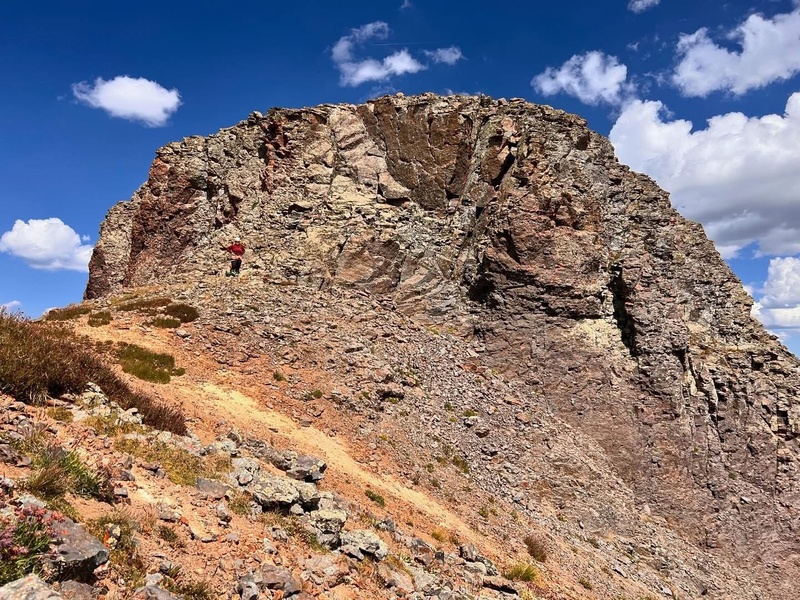
Once you reach the top of the grassy slope you are instantly confronted with a menacing view of the remaining ~150’ to reach the summit… and there were the hardpan gullies that had kept me up at night. You can see the class 4 initial chimney from top of the grass, and knew we wouldn’t have to lose much elevation during our traverse. 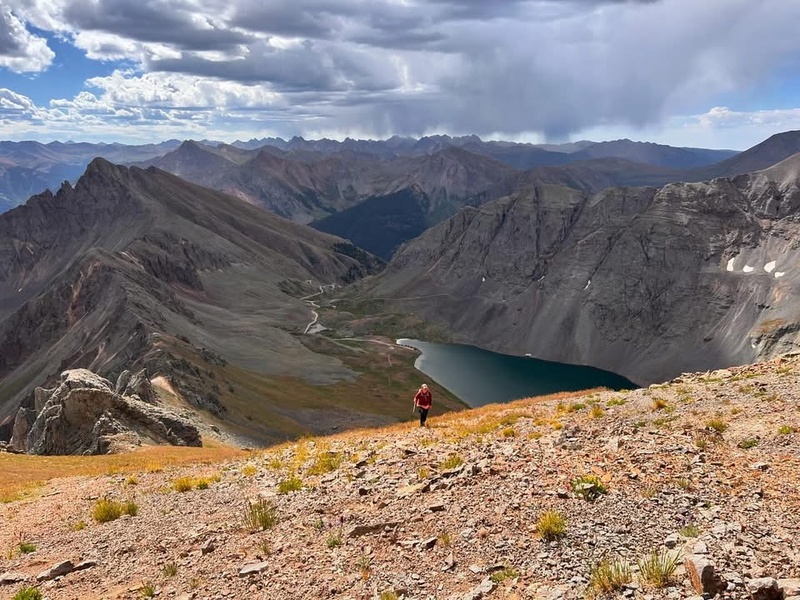
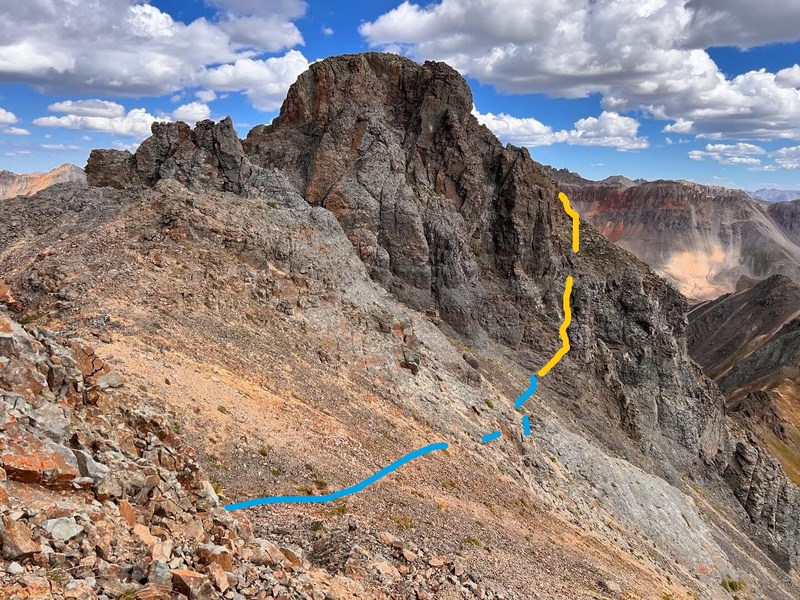
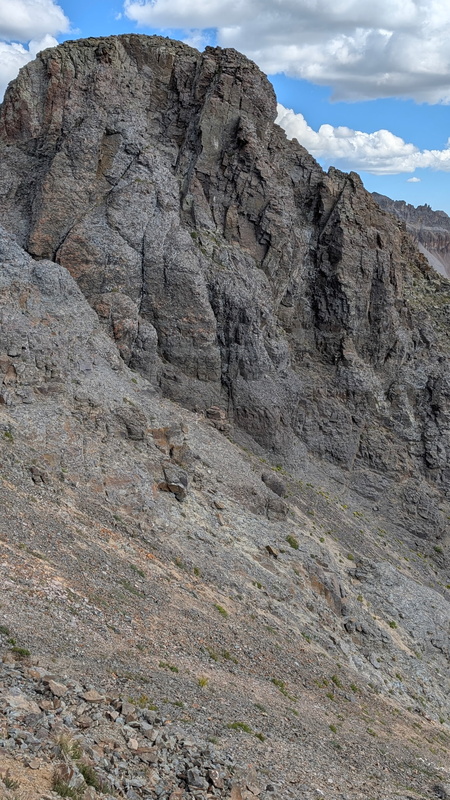
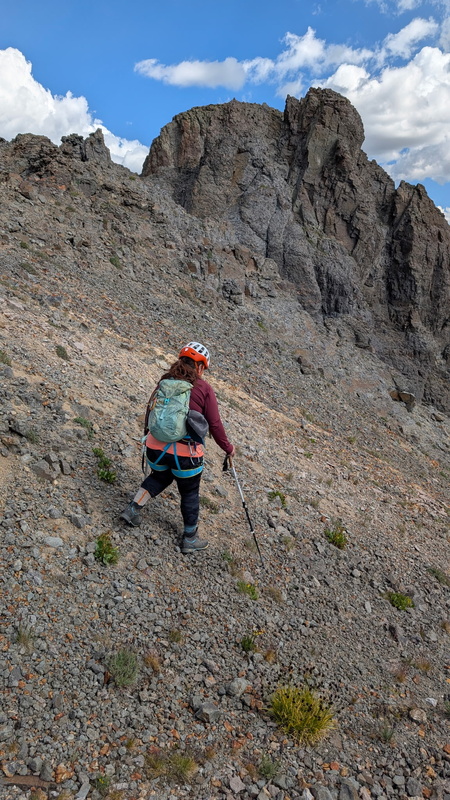
We all donned our helmets and harnesses and got ready to begin the climb. I took a couple deep breaths to quiet my nerves and followed Kiefer into the first gully. A lesson I have long held with me from my late friend Mark is that if something scares you, don’t wait at the top and look down. For context, this was skiing advice he imparted to me while standing at the top of Busy Gully at Loveland for the first time. It’s much easier to chicken out before tipping your skis over the edge, or in the case of mountain climbing, just taking those first few steps. All three of us carried our mountaineering axes, and while they are designed for snow and ice travel, they provided much needed stability while crossing the gullies. 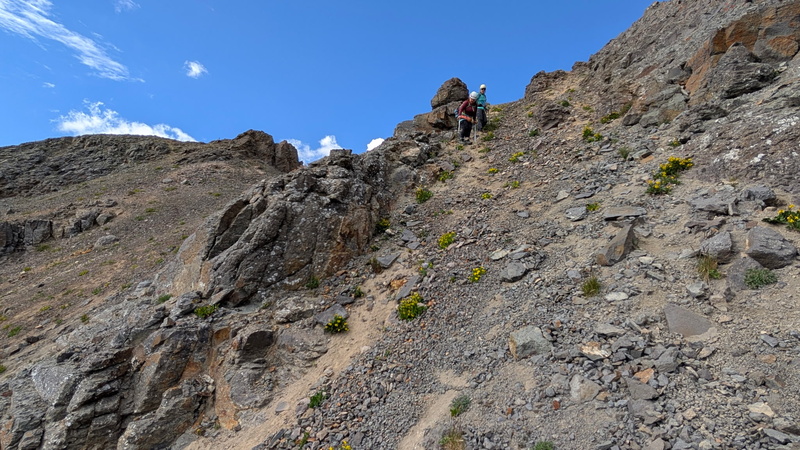
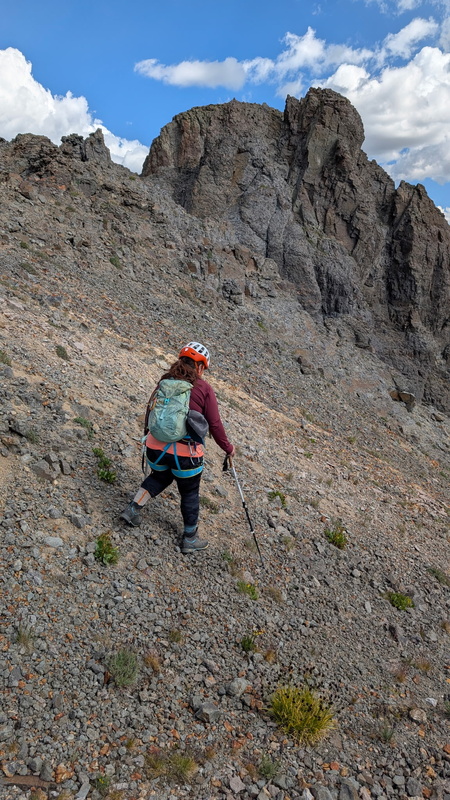
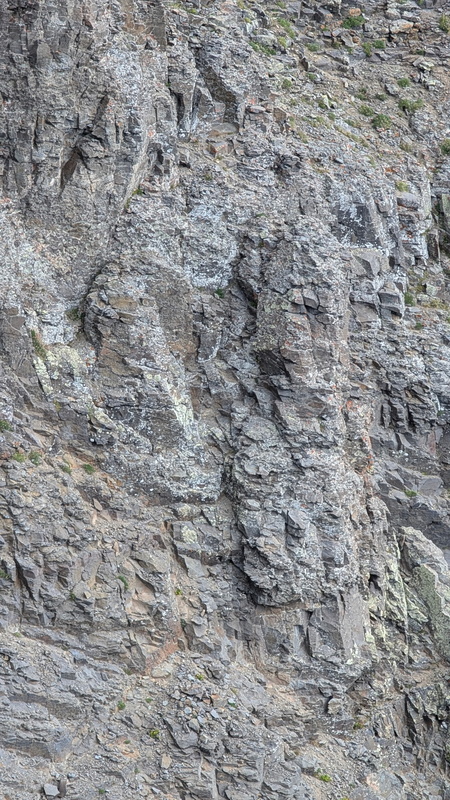
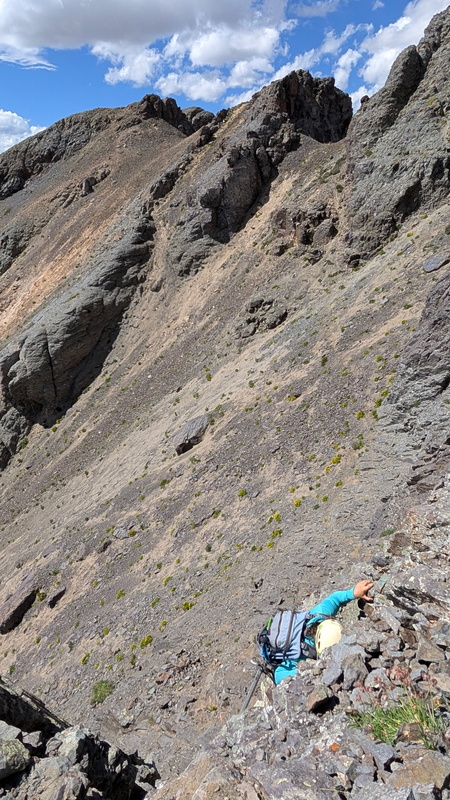
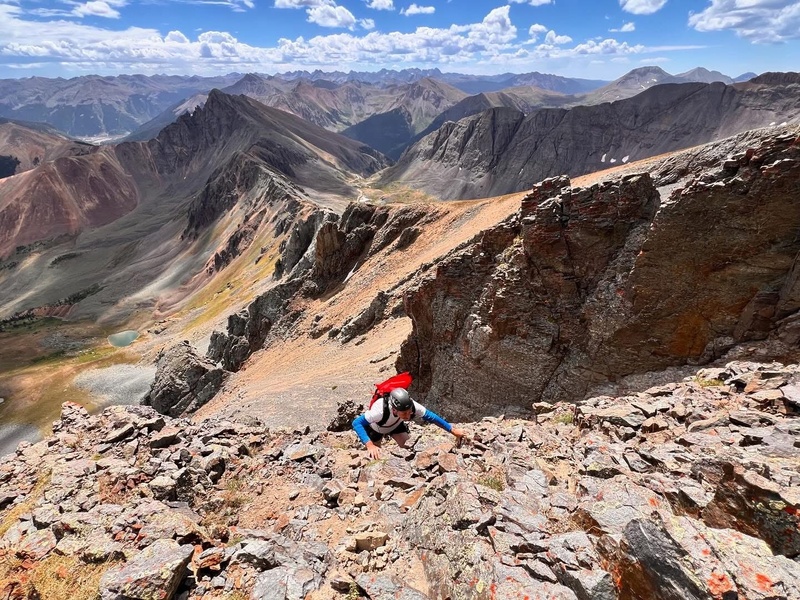
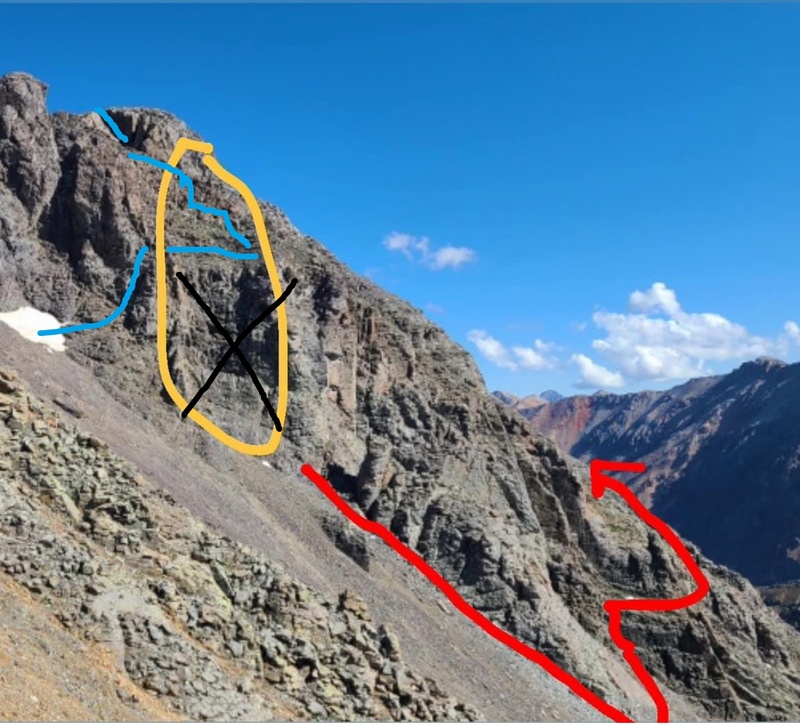
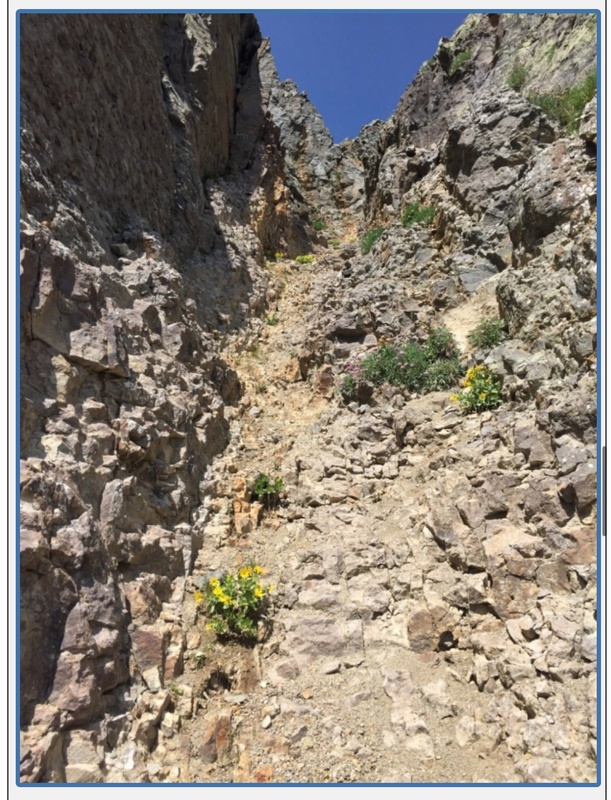
South Lookout immediately threw the first test of my mental fortitude my way in the first gully. I began the time-honored butt scoot technique to access the crossing point at the rock rib and slid a few inches due to a rock dislodging under me. It was easy to stop here but the small slide did not inspire confidence. Overall, the first gully was a simple crossing. We were able to get solid purchase each step as we moved across towards the second gully, which is known to have the worst hardpan dirt on the route, often being described as bullet proof. Ok, time for more deep breaths Regina. Otina was right behind me and we decided to cross the rock rib itself while Kiefer descended just below the rock rib into the second gully. When entering the second gully we all were expecting to use and abuse the edges of our boots trying to remain attached to the mountain and not sliding off the cliff to our right. Kiefer headed across the slope first, kicking steps like you would when snow climbing for Otina and me to follow. Surprisingly, kicking steps actually worked. The ground may have been softer from the rains on Friday, but we were able to actually stand up and walk across the second gully, and dare I say the crossing was comfortable. Suddenly I was feeling much more confident that not only could I summit this peak that had terrified me, I might actually *gasp* have fun doing it. While still incredibly demanding, and dangerous, so far this peak wasn’t as bad as I had built it up to be in my head for the last four years as we drove by on highway 550. In most trip reports after crossing the second gully people continue down to a prominent notch in the rock rib and climb what quite frankly looks like an absolutely GARBAGE Class 3+/4 gully to reach the grassy rib below the summit plateau. Others have continued to lose elevation and ascended via a series of broken, down sloping, and exposed ledges. Now… the rock on South Lookout is garbage no matter where you ascend, so don’t just test your handholds and footholds once, or even twice for that matter, test them three times. Many of the rocks are simply hand holds, meaning they really want to be held in your hand and come home with you. You are in high consequence exposed terrain from the moment you leave the grassy slope… a fall would likely result in death or if you are lucky severe injury. 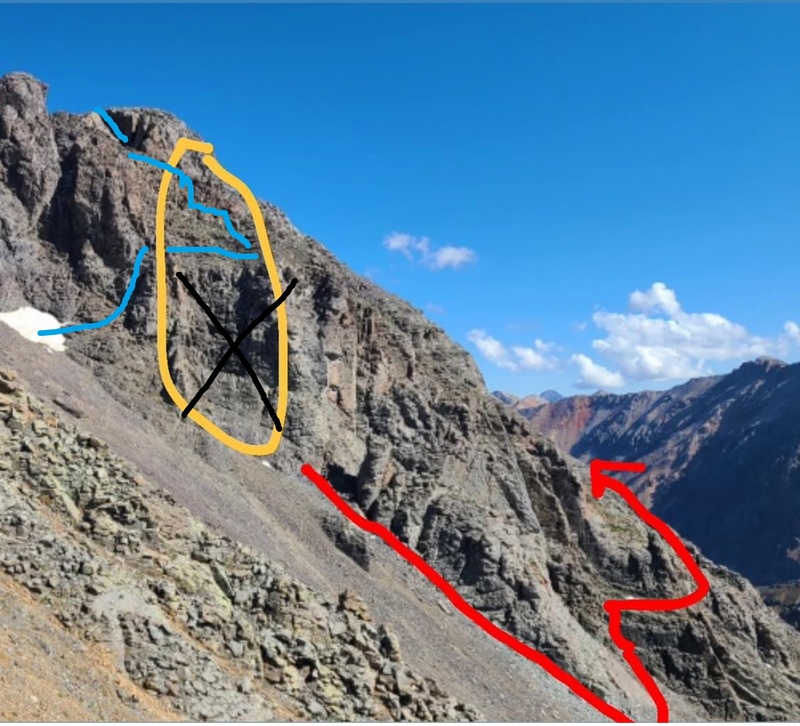
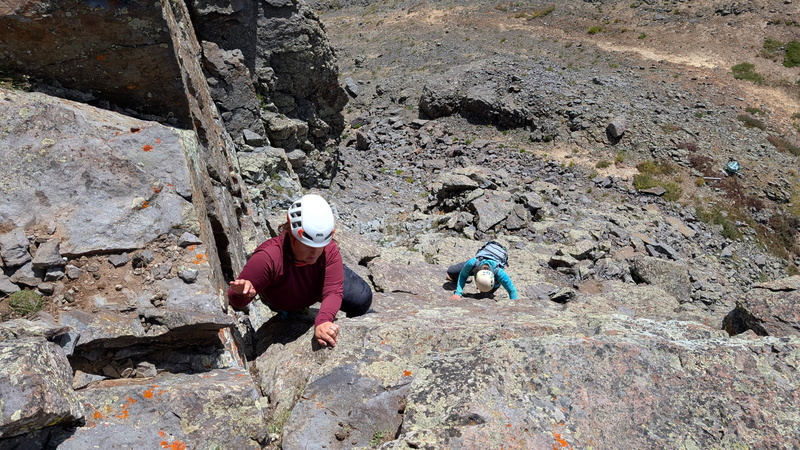
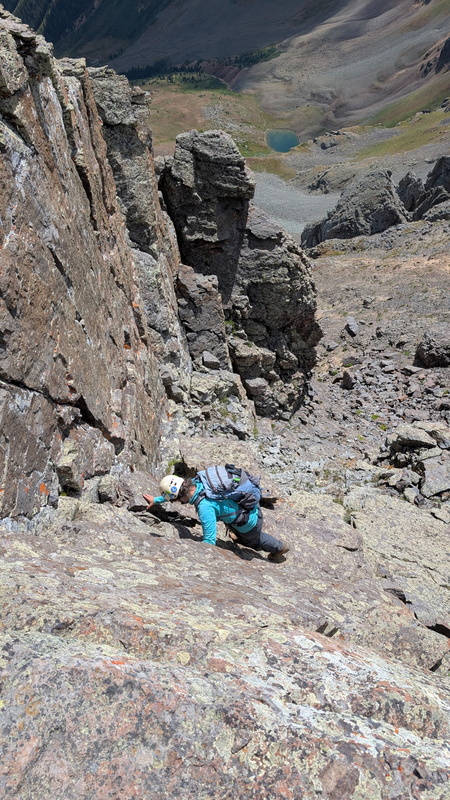
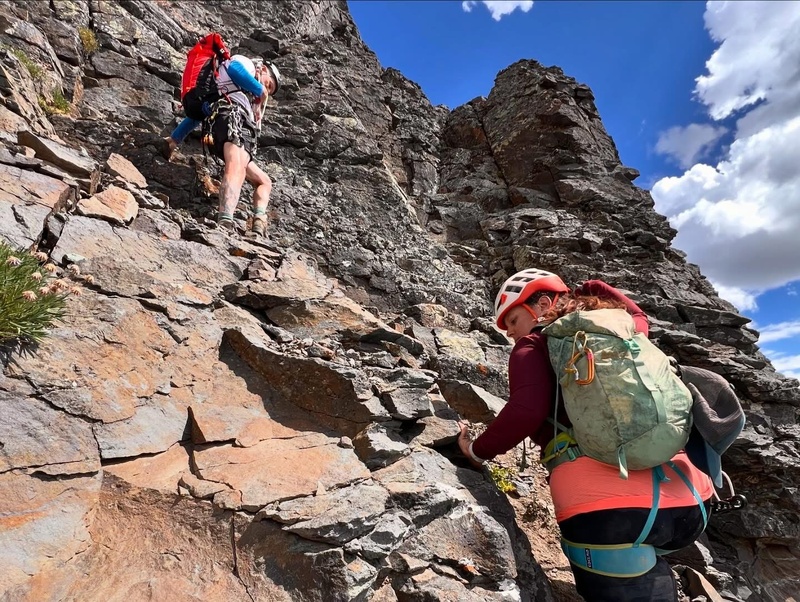
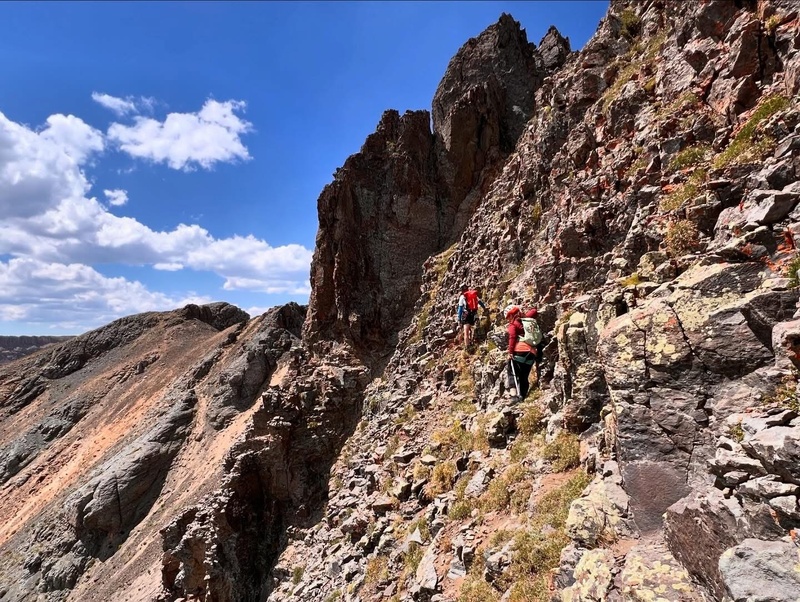
We chose to follow the Cooney’s route from climb13ers to stay high, while the climbing itself may have been harder, and quite exposed class 4, we minimized elevation loss, and time in the second hardpan gully. The entrance to the class 4 pitch is obvious. As the rock rib along the side of gully #2 relents in steepness you access the climb via a dirty class 3 climb onto some ledges. The ledge section is short (10-15 feet) and soon we reached the base of the class 4 climb. 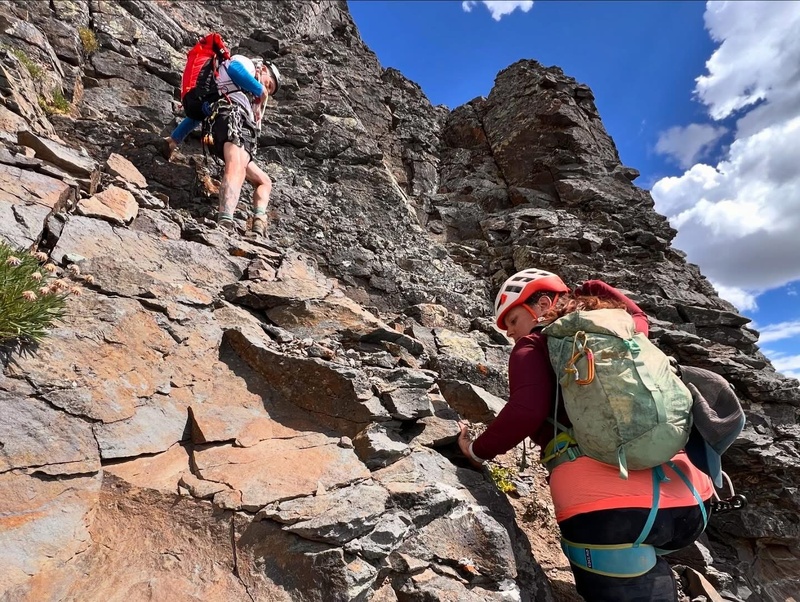
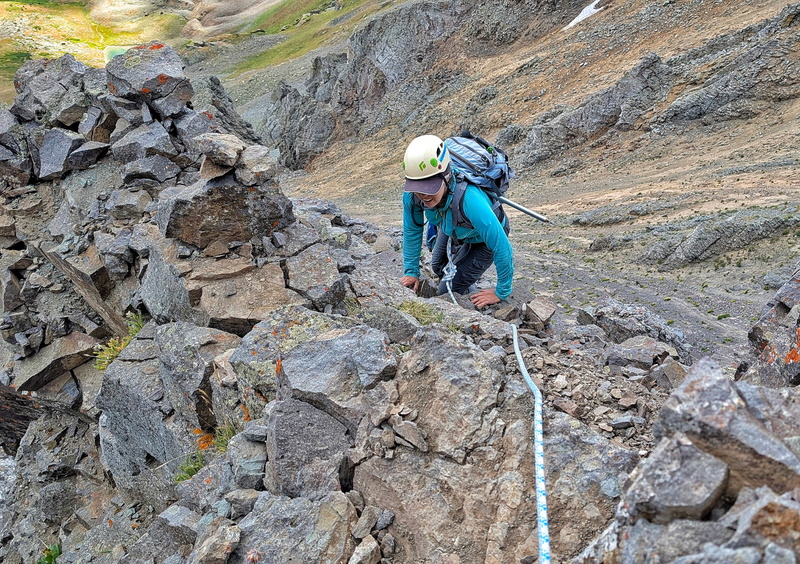
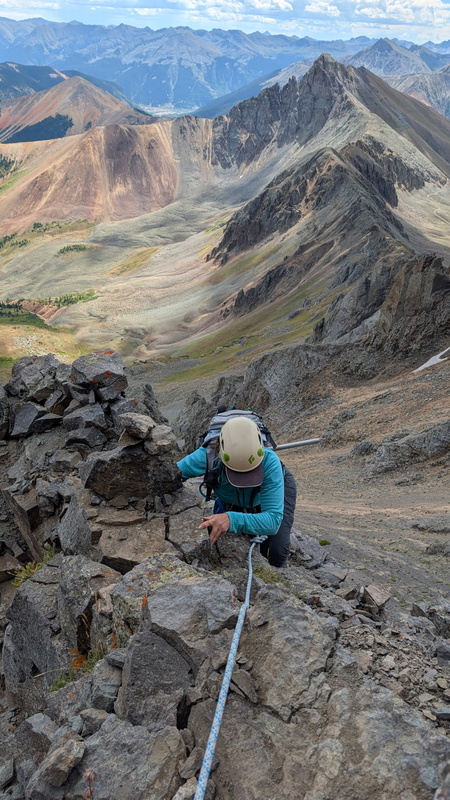
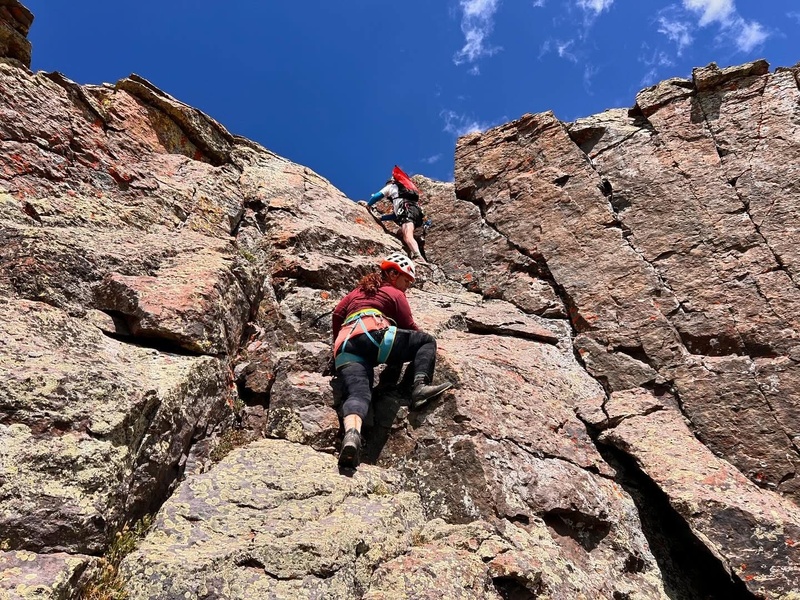
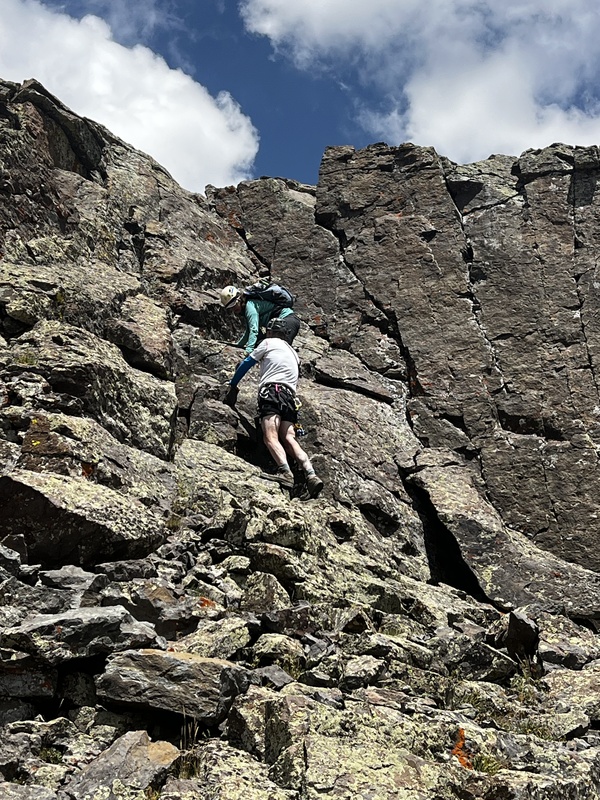
For some reason, I thought it was a fantastic idea to go first, and after testing everything slowly inched my way up the steep 4th class pitch. You cannot move fast on this peak due to the sheer looseness of the rock, and you MUST go one at a time to minimize rockfall risk on your party. 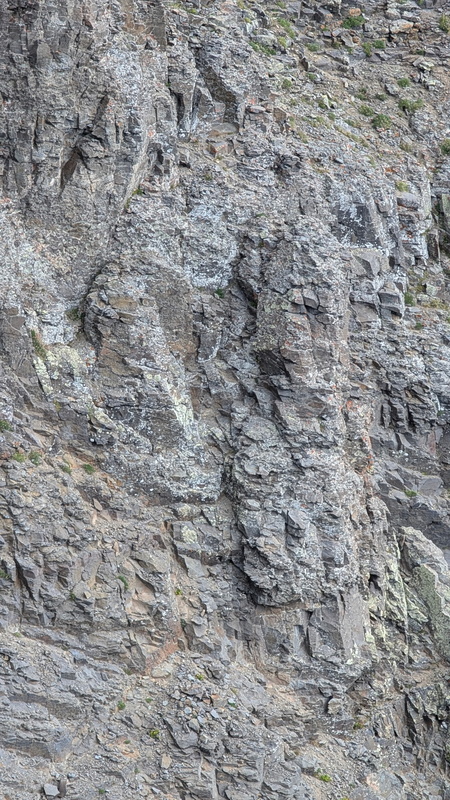
Halfway up the pitch I remarked, “who’s idea was this for me to go first?” jokingly. Wait, I am making jokes now? Instead of panicked breathing, I was now having fun. Cautious fun. Testing everything fun. Otina and Kiefer wrapped around slightly left and joined me on an intermediate ledge which just barely fit the three of us. Kiefer led the remaining class 4, using his height to step up onto a large flat rock and scampering up to the rib crossover into the STEEP and loose (everything is loose… I am saying it again… it really cannot be stressed enough) body width gully which allows access to the grassy 2+ rib. I attempted to follow Kiefer but due to our shorter stature, the move Kiefer made look easy onto the larger flat rock pushed us uncomfortably away from the mountain. It was at this point Kiefer broke out the rope as neither Otina nor I felt particularly secure on this move around the bulge. With the comfort of the rope, he brought me up while Otina waited to follow. 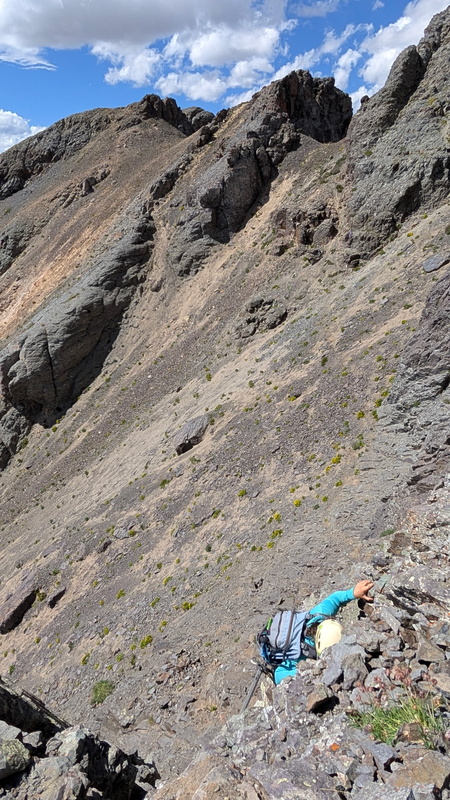
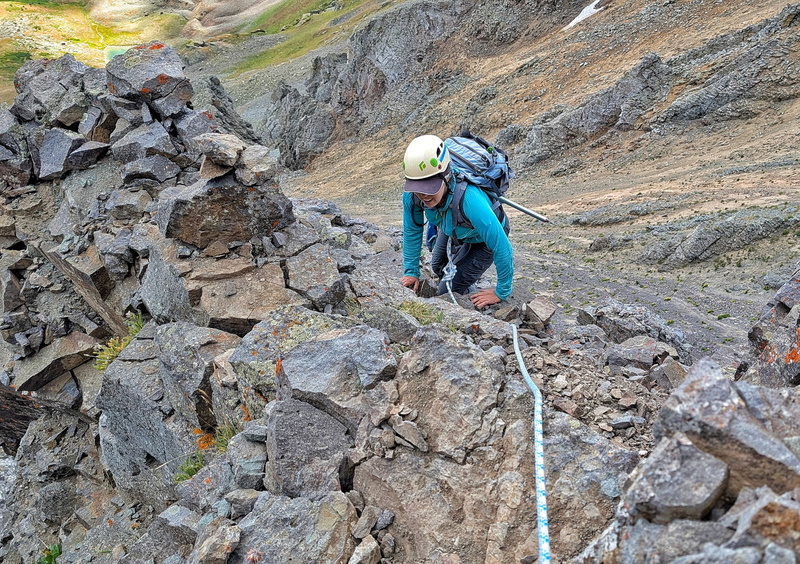
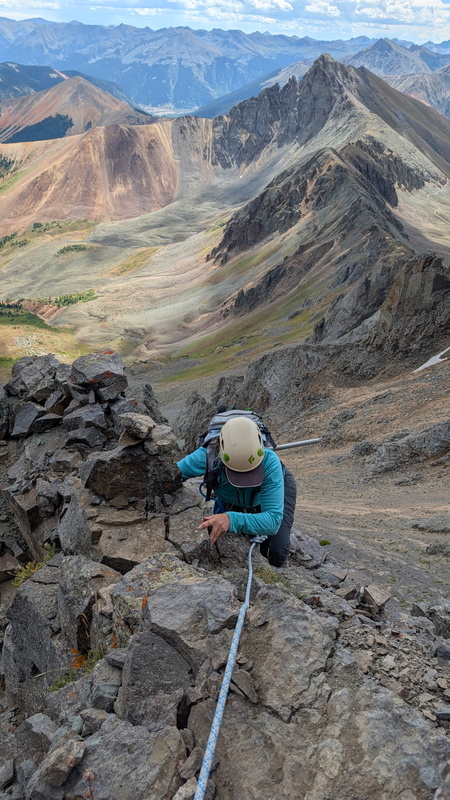
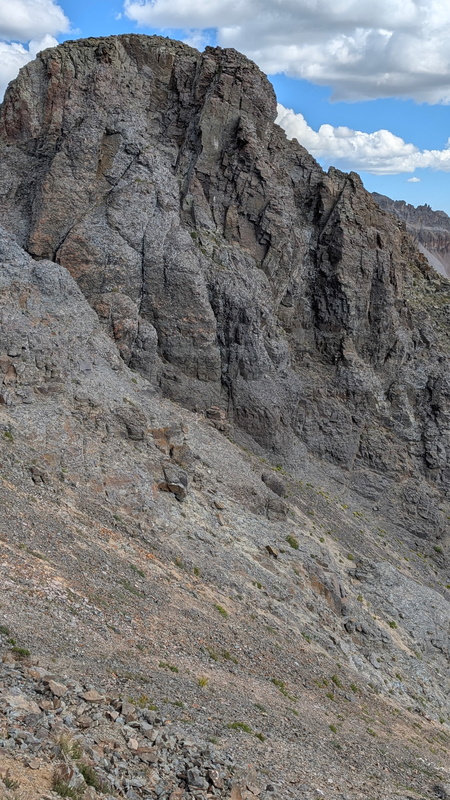
At the top of the class 4 climb I could see the steep couloir/chimney mentioned in the Cooney’s route description as well as the access ledge was obvious. Kiefer had found quite possibly two of the only solid rocks on this mountain to use as body anchors and was ready to bring Otina up next, but first I had to get out of the way. The top of the class 4 pitch holds two people, but it is tight and you have severe exposure on all 3 sides. I untied from the rope, stepped down onto the ledge and kicked my right foot onto a solid foothold at the base of the gully. Kiefer suggested while he brought Otina up that I go scout the route ahead. I knew not to stay in the narrow couloir long, and as we found out on the descent I actually stayed too long in the couloir. 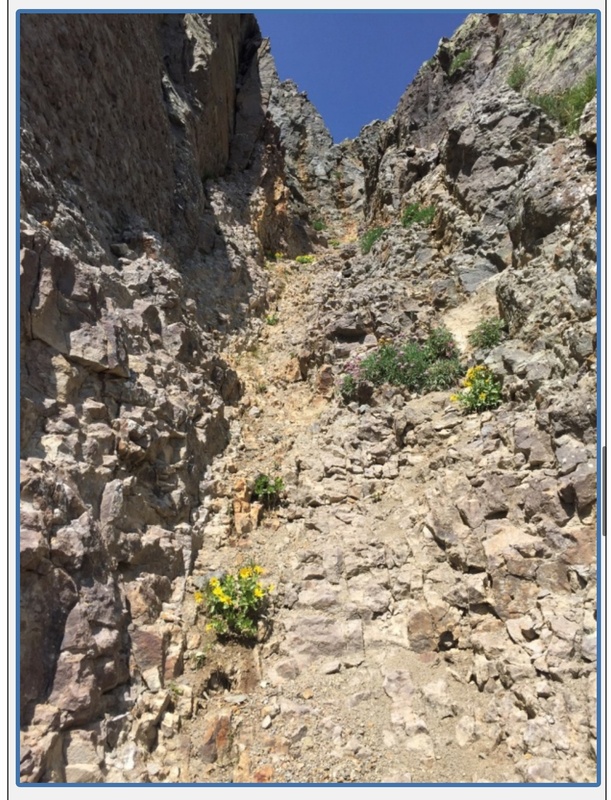
I found an exit point that made sense onto the grassy class 2+ rib mentioned in other reports that provides access to the class 4 summit dihedral and scrambled up onto the rib. This is where we found the most loose rock of the climb, and sending rocks down was unavoidable. Thankfully the rockfall zone avoided where Kiefer and Otina were perched at the top of the class 4 chimney. At one point, I was holding rocks into the mountain and moving my latest pet rock into a more secure position (for now) to prevent additional rocks from raining down. 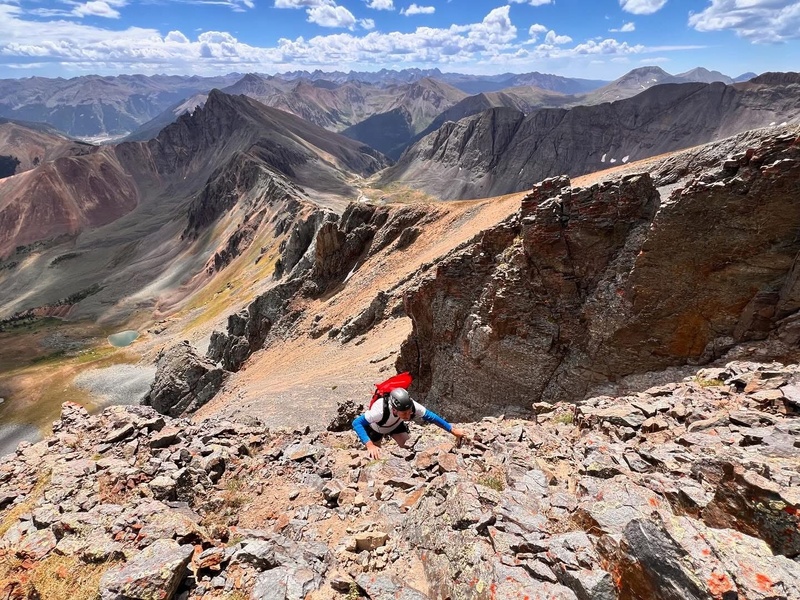
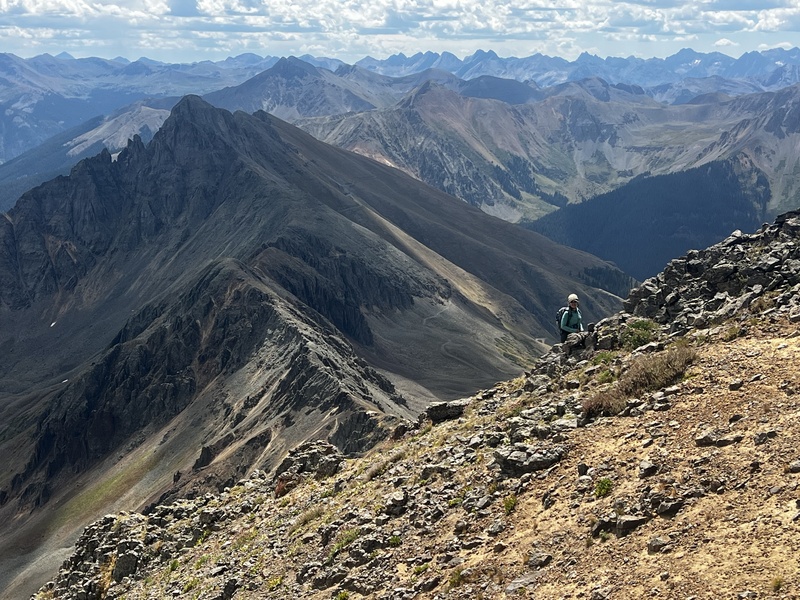
Mercifully the grassy rib was short lived and I was standing back on flat ground again. Kiefer and Otina hadn’t popped around the rib yet, but moments later they joined me and we took stock of the final summit pitch. 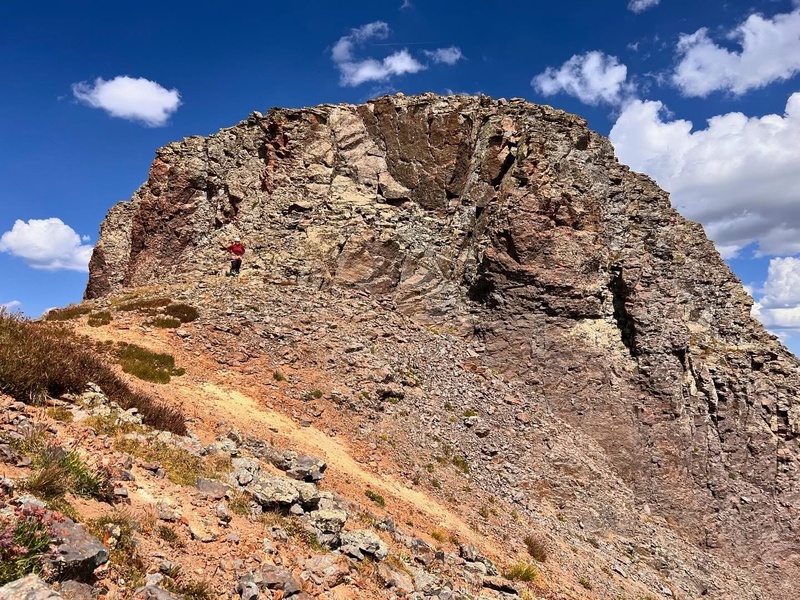
I dropped my pack and we headed up to begin the final climb. The approach to the obvious corner dihedral is class 2+/3 but is amazingly solid, as is the class 4 dihedral itself. Kiefer scrambled up first, making short work of the pitch, and I followed. The right side wall has good hand holds but the left side is smoother granite and required a couple of mantle moves for me to clear. Kiefer offered me his hand to pull me up, but I wanted to clear the last moves of my own power and I was successful. 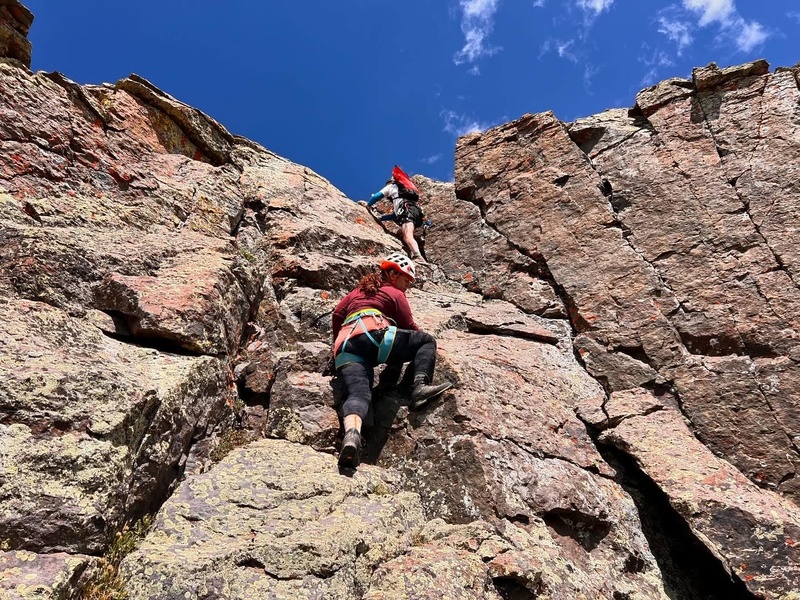
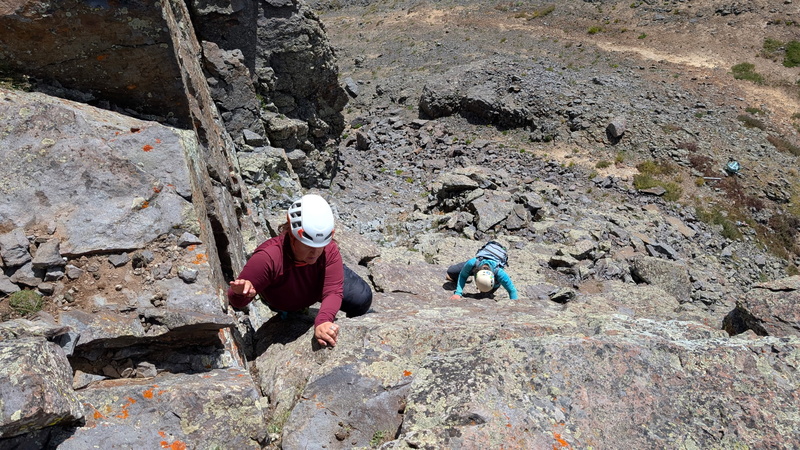
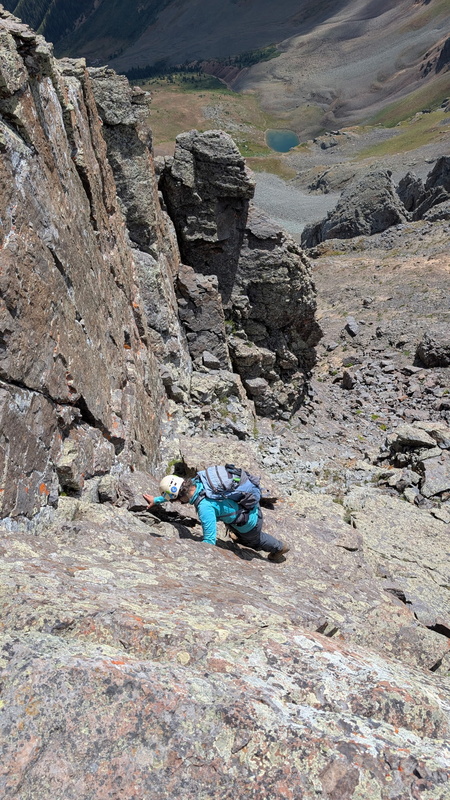
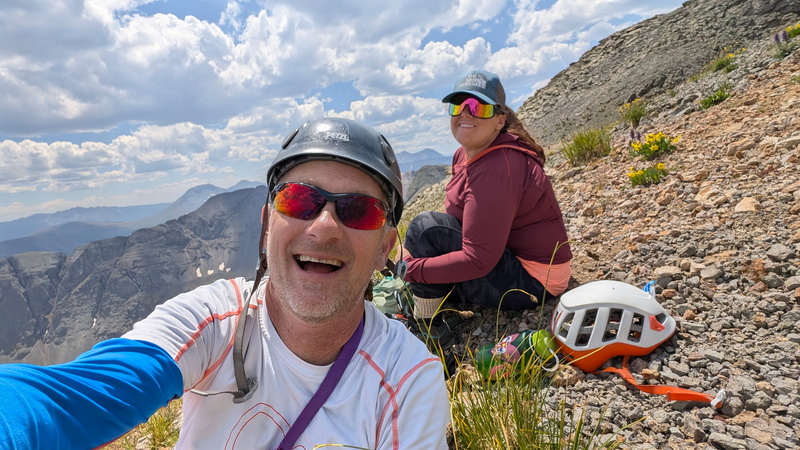
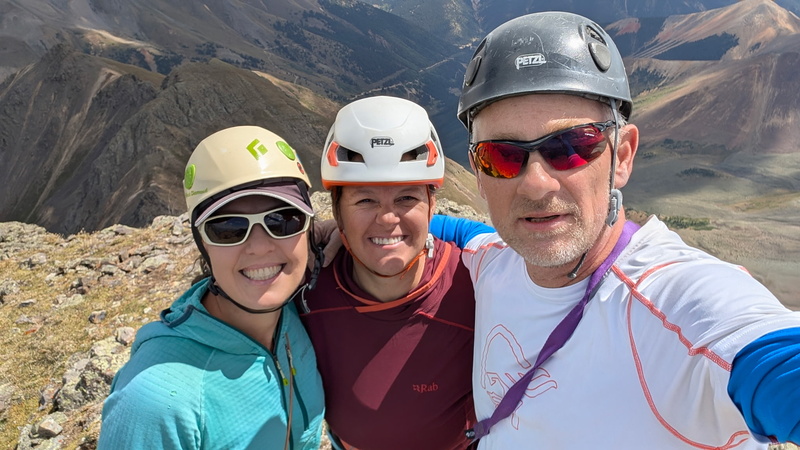
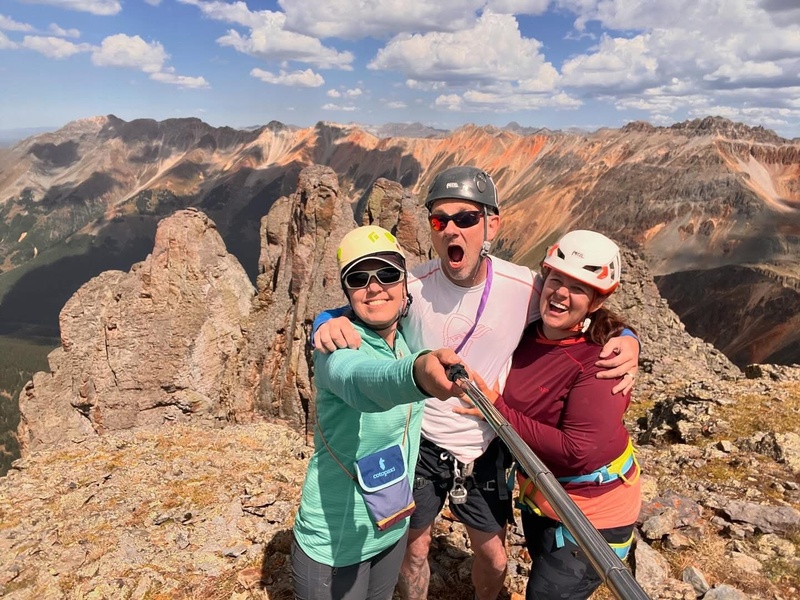
The summit was only steps away and as I took the last few steps onto the grassy summit the tears started to fall. It wasn’t fear like on the V2/Grant Saddle all those years ago, I was so happy to have overcome my fears and so proud of being able to successfully summit such a challenging peak. Kiefer and Otina joined me moments later and we all shared a celebratory summit hug elated to be standing on South Lookout Peak. 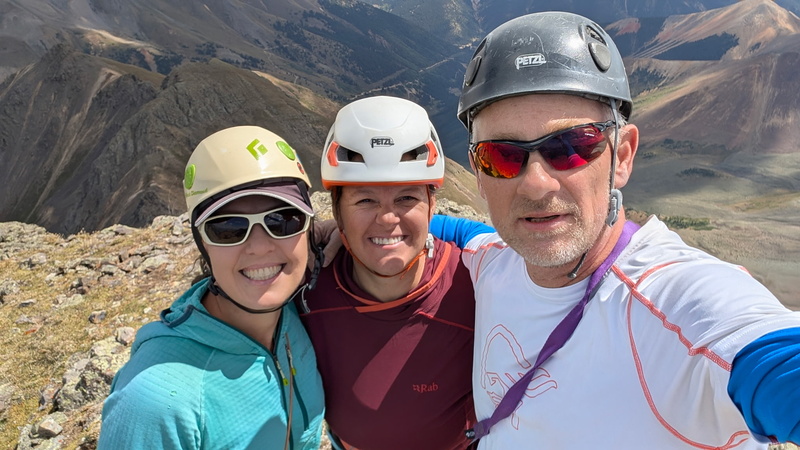
As we know, all too well, the summit is only the halfway point. We could see the top of the initial grassy slope in the distance, but while close in distance, we knew we had a long way to go. We also knew that often the descent is more difficult than the ascent and would still require our full attention. Kiefer downclimbed the summit pitch first, stopping at the base of the corner to spot for me since some of the holds were quite reachy for my 5’2” frame. Once I was safely to my pack again, he reclimbed the pitch and guided Otina down. One class 4 pitch down, one to go. 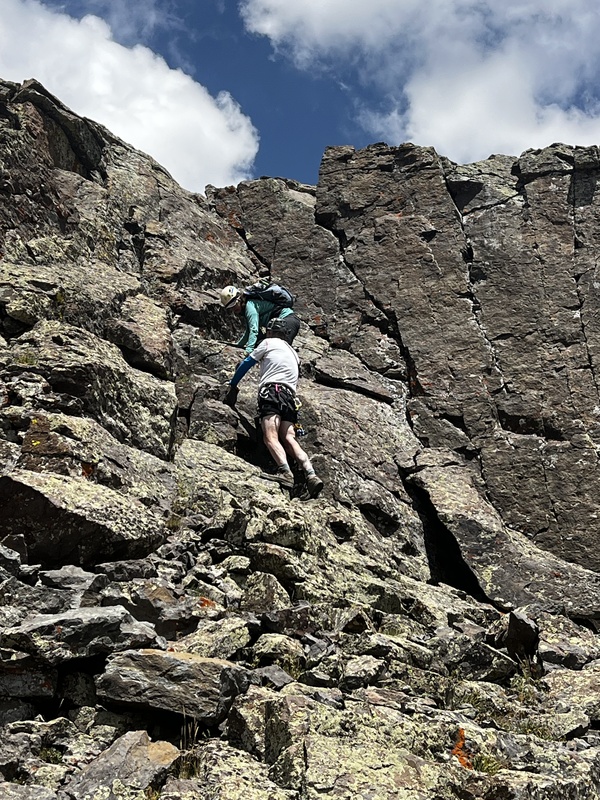
Next up was the grassy rock rib, which I was not looking forward to descending after the “quality” of the rock on the way up, but Kiefer continued a bit lower than my initial crossover point until we were even with the cairn at the rib crossover from the top of the class 4 where he found a “solid” down sloping ledge which we used to traverse back to the narrow couloir where our rope was waiting. 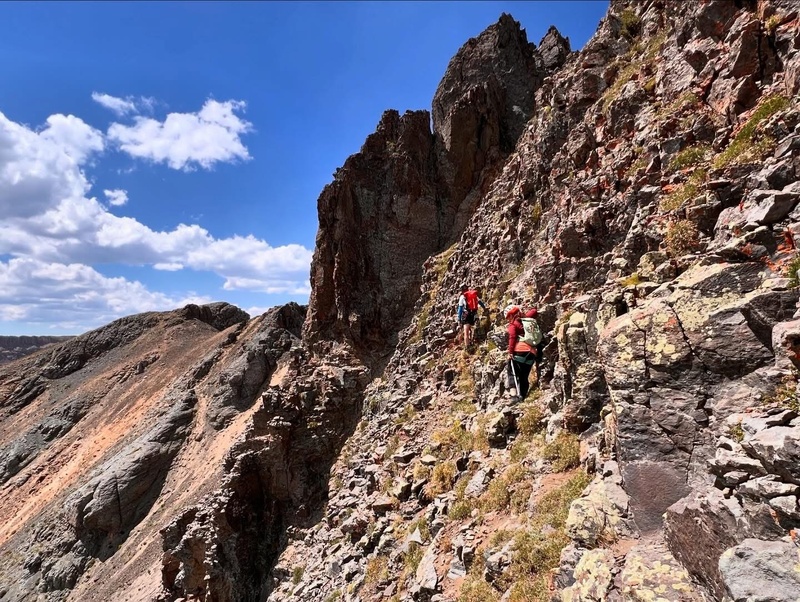
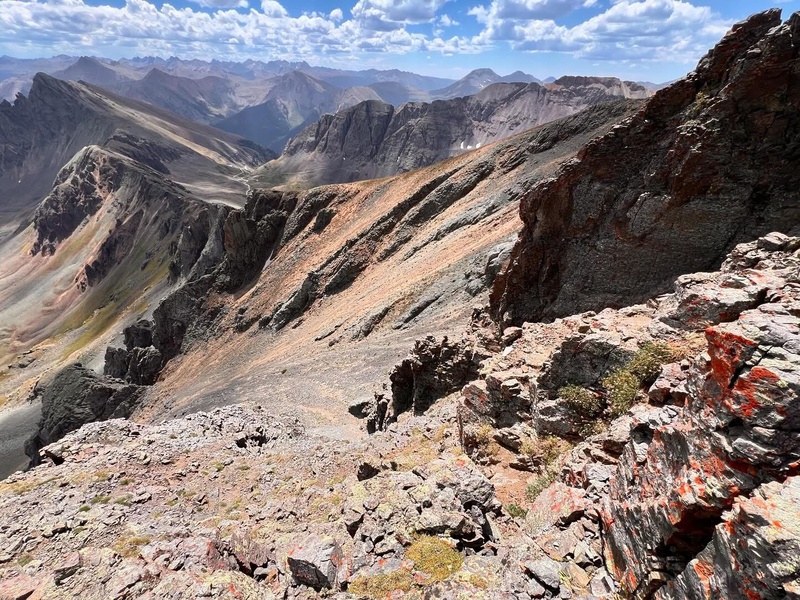
Otina offered to downclimb first, and spot for me on the next pitch. Kiefer and I both thought this was a great idea, so I shimmied out of my harness, handing it to Otina so she could tie into the rope. Kiefer was unable to find anything to anchor himself to with slings, or the cams we brought, requiring a body belay. Thankfully he was able to brace himself in the narrow couloir, and there was a rock wall between him and the pitch, so were Otina or I to slip, he would be pulled into the wall. This, however, meant that he could not hear us yelling to him as we down climbed. Neither Otina nor I wanted to be lowered, we simply wanted the rope for comfort and security. I will reiterate again here that a fall here would likely (99%) be your last, and the bulge move halfway down was going to be awkward for us. As Otina downclimbed I sat on the small platform on top of the rib, relaying slack, take, ok she’s down to Kiefer who was feet away from me. Otina made short work of the spicy downclimb, and tied the harness back to the rope and I pulled it up without it taking any rocks with it and tied myself into the rope. Kiefer told me to only use slack or take to communicate since he wouldn’t have Otina there to communicate to him behind the rock wall. Before stepping over the edge to begin my downclimb I cleaned up some looser rocks and swept some dirt off the upper ledges knowing Kiefer would be free climbing down the same route minutes after me. As I descended I continued to clean the route the best I could by sweeping off the dirt either with my feet or hands, when I was secure to do so. At one point, I cleaned a foothold right off the mountain. Otina provided amazing direction, especially on the bulge move, where we had to “kneel and get in the praying position” before sliding our right leg off. Definitely an awkward move to make, and we both were grateful for the rope’s added security. I could hear Otina the whole way down, but couldn’t see her when I looked below me. “Otina, where are you?” I yelled to which she replied “In the middle of the gullies on a rock”, then I looked out and saw her way out there on a rock island in the gullies. I actually laughed while finishing the final moves to the ground. I untied, pulled the rope, and yelled to Kiefer to follow before getting out of the way and joining Otina. Now I am not sure if we just got lucky with the rain, but I stood in the second hard pan gully in deep solid steps next to the rock Otina was on and watched Kiefer descend, facing out the whole time, and making it look easy. As soon as Kiefer cleared the descent we knew we were almost home free. I took off across the remainder of the second gully, scrambled across the rock rib and began to head up the final few steps across the first gully. Our axes came in handy crossing the gullies both directions, but I even anchored my pick as a handhold making the first moves off the rock rib into the first gully for some added security. Soon enough we were sitting at the top of the grassy slope looking over Clear Lake again, and marveling at our successful climb of South Lookout Peak. Otina even showed us her new Trowel Mountaineering techniques for the more challenging peaks. Spirits were high, but so were the cravings for a Dr. Pepper and our sandals in the truck we could see so close but still so far away. 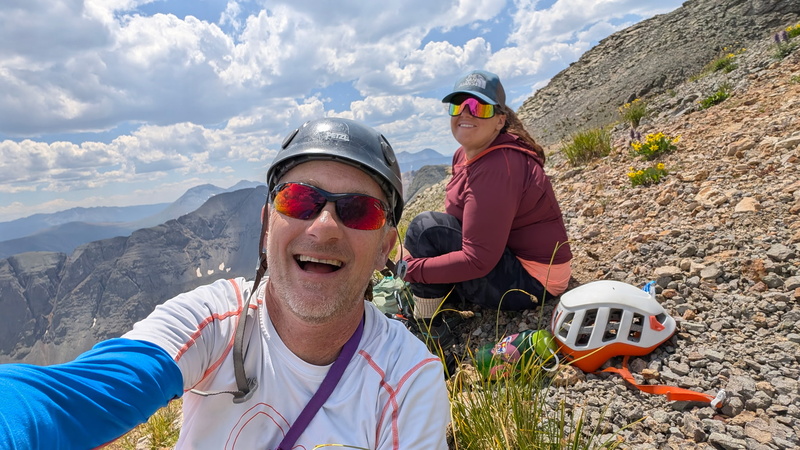
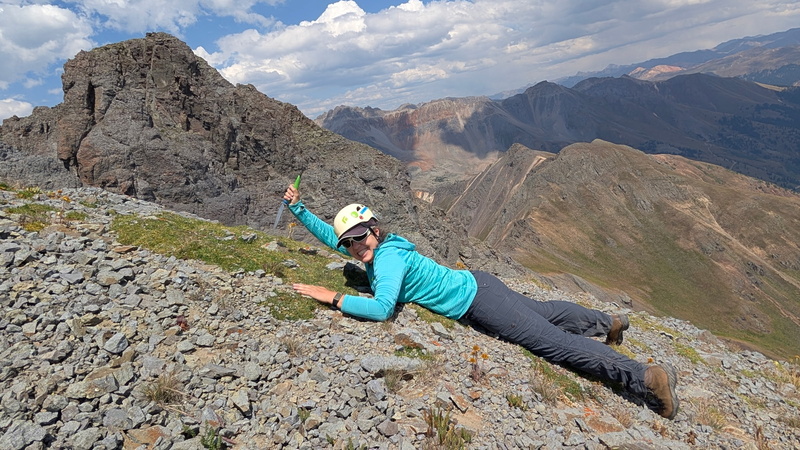
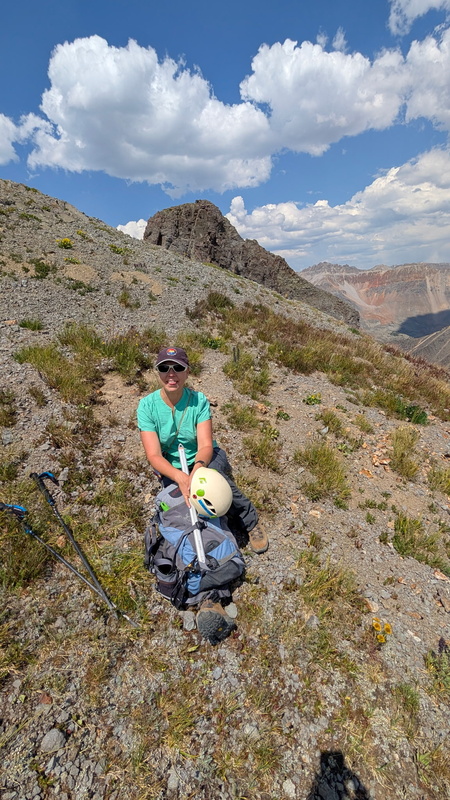
While the upper ~150 feet of South Lookout Peak is by far and away the most dangerous section of the peak and we were glad to be back on solid ground, we agreed the worst part of the climb was the descent down the grassy slope. It seemed to take forever to reach the lake shore but eventually we were on the trail along the north side of the lake walking back to the car, elated to have had such a fun and high-value day out in the mountains. I am so grateful Otina was able to join us despite the last-minute planning. This peak requires a solid team with excellent climbing/communication skills, and I could not have asked for a more amazing group. We briefly stopped in Silverton, we got our sodas we'd been craving, and hit the road back to Montrose where we enjoyed a delicious dinner at Shelter Distilling with my parents. My birthday was two days later on the 20th, and I can definitively state I was still riding the high from this phenomenal summit. It was truly a wonderful day. 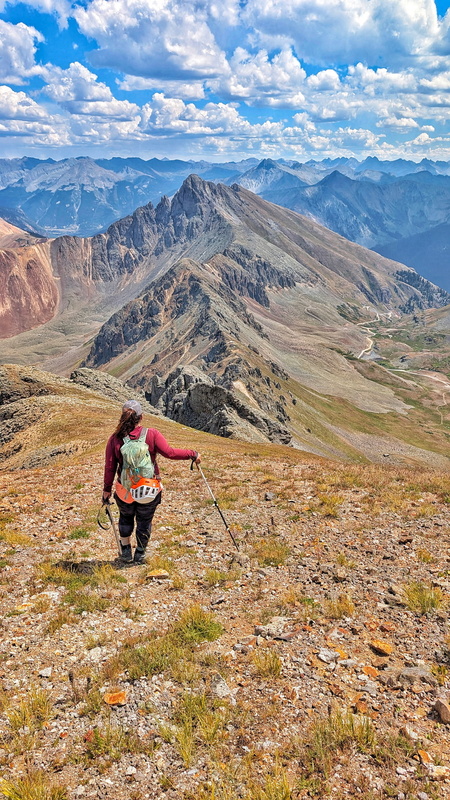
Final thoughts: While I thoroughly enjoyed South Lookout Peak, it does live up to the hype. It wasn’t nearly as bad as I had built it up in my head to be, but it is an incredibly dangerous mountain requiring confidence, climbing ability, hours of focus, and a SOLID team. The last ~150 feet took our group of three, a total of 3 hours to complete due to the rope work and the meticulous route finding/rock quality testing. Only one person should be on any pitch of this route at one time whether descending or ascending. We agreed that this peak is not one any of us would repeat. There is too much that could go wrong, and quickly, but we also agreed that the route described here was the safest route and minimized our risk by spending less time on loose class 4 terrain. Do not take this peak or the rock quality on it lightly. South Lookout Peak made 97 out of 249 San Juan Range 13ers for me and I am grateful to have completed it with Kiefer and our amazing friend Otina. Storm Peak may be my favorite 13er, but South Lookout is a now a close second, it was just the challenge I needed and the perfect way to end my 30s. 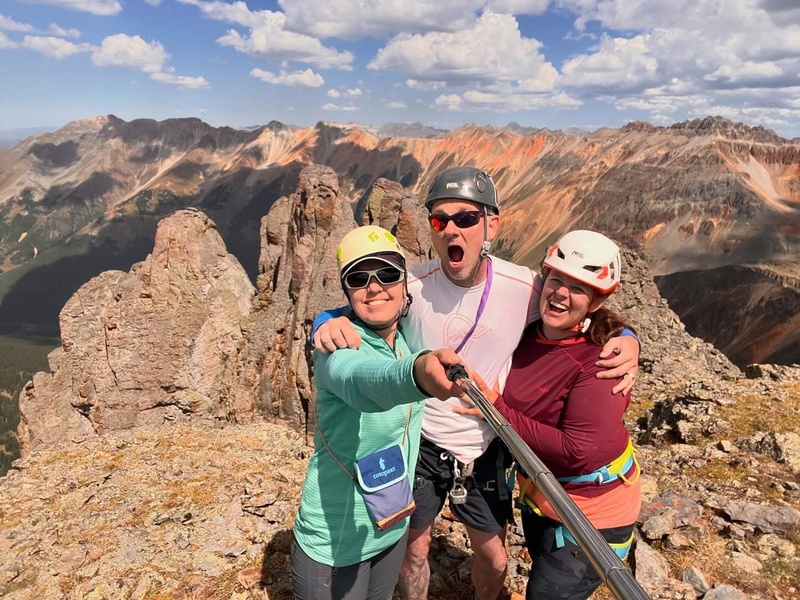
Thumbnails for uploaded photos (click to open slideshow): 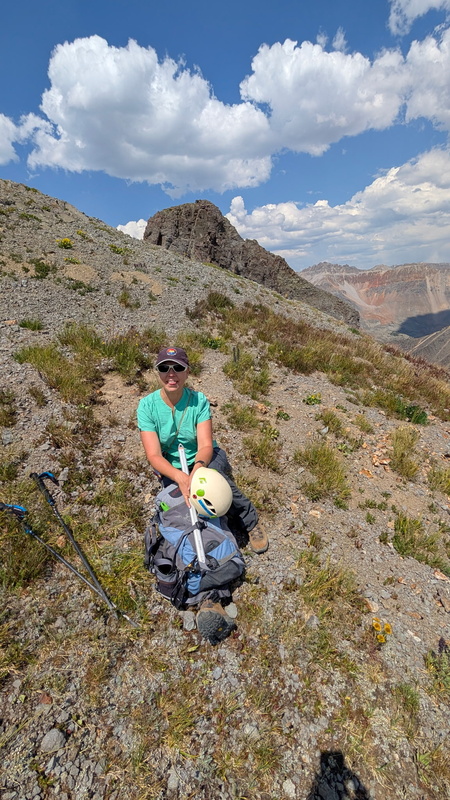
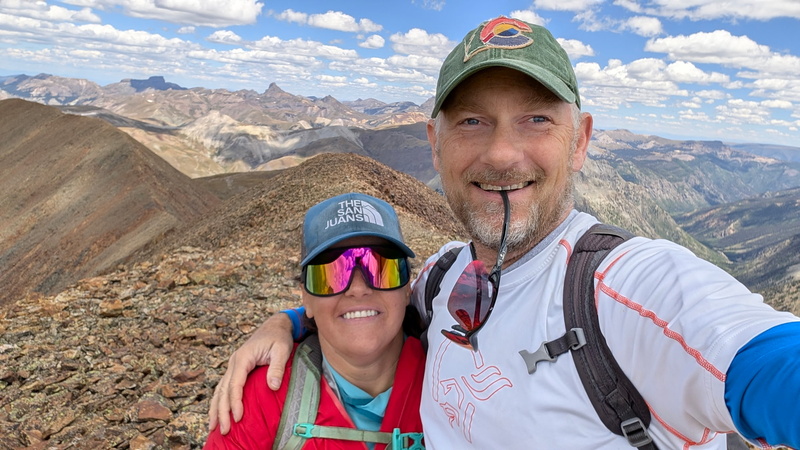
|
| Comments or Questions | ||||||||||||
|---|---|---|---|---|---|---|---|---|---|---|---|---|
|
Caution: The information contained in this report may not be accurate and should not be the only resource used in preparation for your climb. Failure to have the necessary experience, physical conditioning, supplies or equipment can result in injury or death. 14ers.com and the author(s) of this report provide no warranties, either express or implied, that the information provided is accurate or reliable. By using the information provided, you agree to indemnify and hold harmless 14ers.com and the report author(s) with respect to any claims and demands against them, including any attorney fees and expenses. Please read the 14ers.com Safety and Disclaimer pages for more information.
Please respect private property: 14ers.com supports the rights of private landowners to determine how and by whom their land will be used. In Colorado, it is your responsibility to determine if land is private and to obtain the appropriate permission before entering the property.


 Download GPX file used in this map