Download Agreement, Release, and Acknowledgement of Risk:
You (the person requesting this file download) fully understand mountain climbing ("Activity") involves risks and dangers of serious bodily injury, including permanent disability, paralysis, and death ("Risks") and you fully accept and assume all such risks and all responsibility for losses, costs, and damages you incur as a result of your participation in this Activity.
You acknowledge that information in the file you have chosen to download may not be accurate and may contain errors. You agree to assume all risks when using this information and agree to release and discharge 14ers.com, 14ers Inc. and the author(s) of such information (collectively, the "Released Parties").
You hereby discharge the Released Parties from all damages, actions, claims and liabilities of any nature, specifically including, but not limited to, damages, actions, claims and liabilities arising from or related to the negligence of the Released Parties. You further agree to indemnify, hold harmless and defend 14ers.com, 14ers Inc. and each of the other Released Parties from and against any loss, damage, liability and expense, including costs and attorney fees, incurred by 14ers.com, 14ers Inc. or any of the other Released Parties as a result of you using information provided on the 14ers.com or 14ers Inc. websites.
You have read this agreement, fully understand its terms and intend it to be a complete and unconditional release of all liability to the greatest extent allowed by law and agree that if any portion of this agreement is held to be invalid the balance, notwithstanding, shall continue in full force and effect.
By clicking "OK" you agree to these terms. If you DO NOT agree, click "Cancel"...
NOTE -- Let me just say, a vehicle with high clearance is highly recommended. My poor sedan would struggle on the road to the G&T Summer TH, so I played it safe by tacking on an additional 6miles to the total trip (not fun). This should only be a roughly 5mile RT hike if you are able to park at the upper trail.
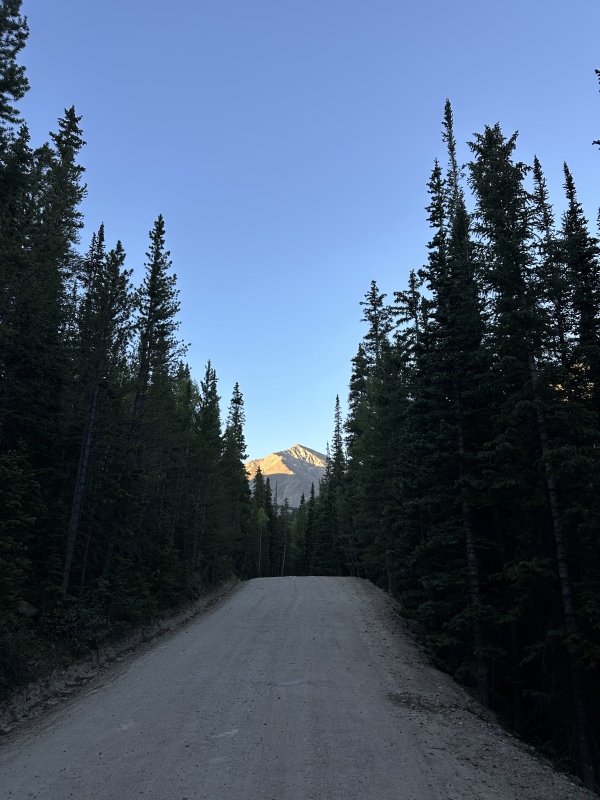
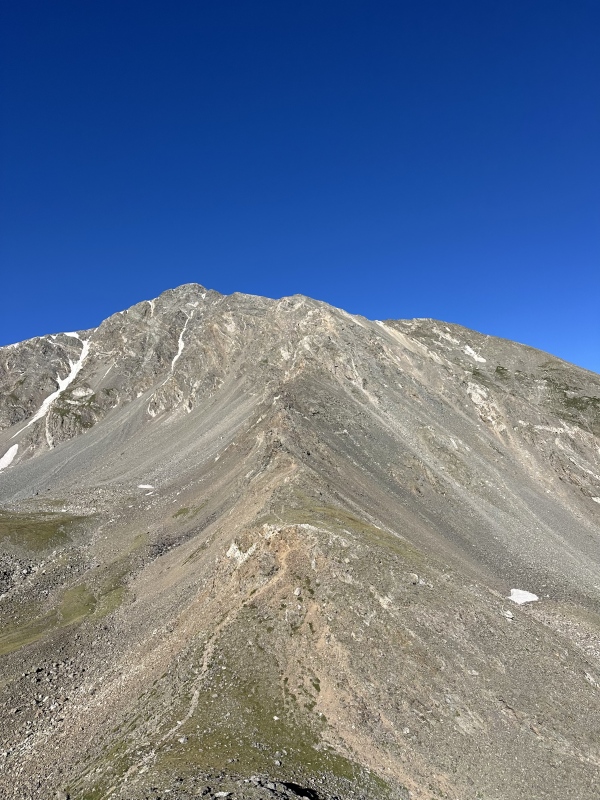
Morning sun hitting Torreys Peak on the walk up Stevens Gulch Road
Started this morning at 6:14am with a 3mile trek up Stevens Gulch Road. It's not a horrible walk, though you do gain a decent amount of elevation. I was unlucky as to not see any cars driving by, but I would venture to assume a kind-hearted stranger would be more than willing to give you a ride to the top (if you asked nicely).
Once on the trail, I proceeded on the standard route for roughly 1.5miles. Upon reaching the fairly obvious eastern face of Kelso Mountain, you'll notice a social trail (ish) peeling north off the standard route. After taking this detour, the fun is pretty much placed into your hands, as there is no clear trail up the mountain. Standard route of Kelso Mountain would take you to the saddle between it and Torreys Peak, but I didn't feel like needing to backtrack any portion of the summit trail - plus loops are always more fun.
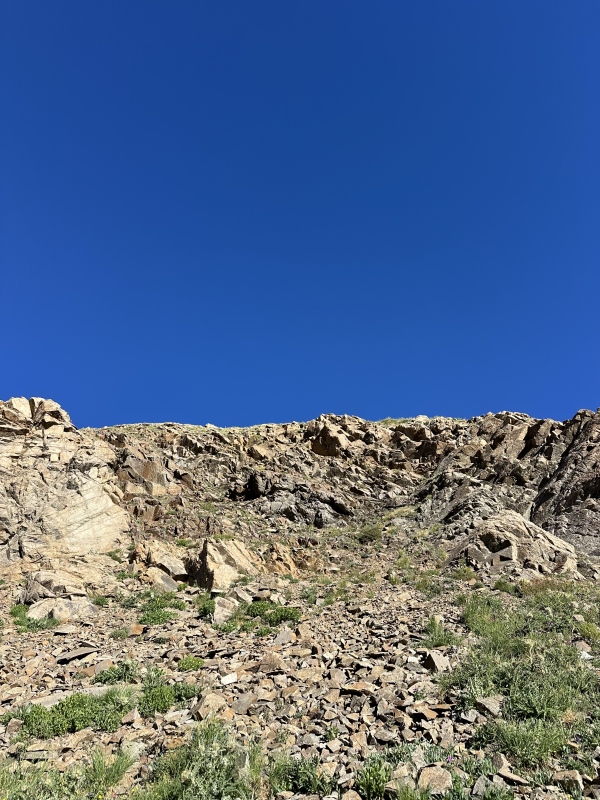
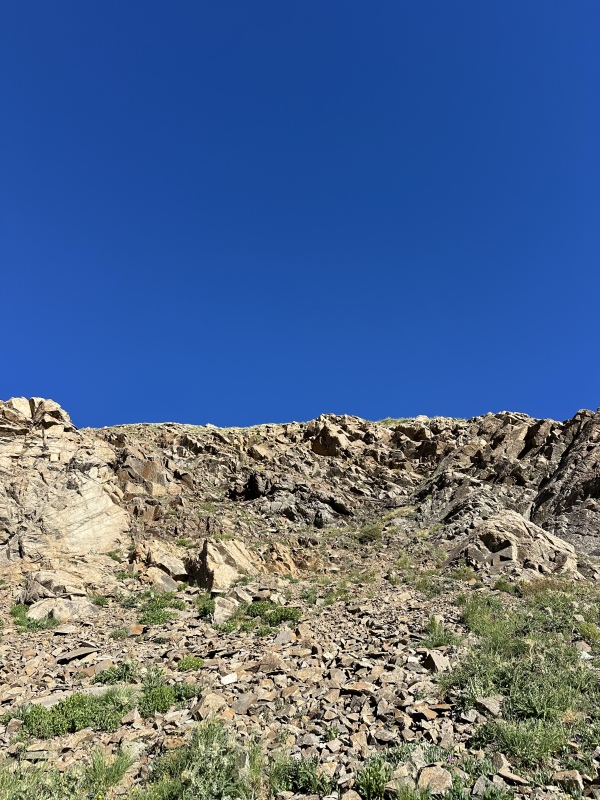
After taking the north trail off the standard route, this is the Class 3 adventure that awaits you on the east face.
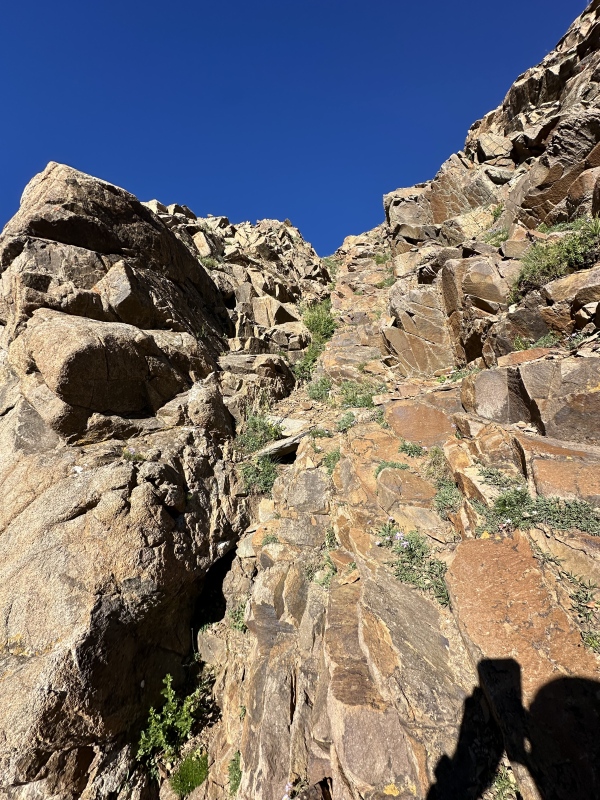
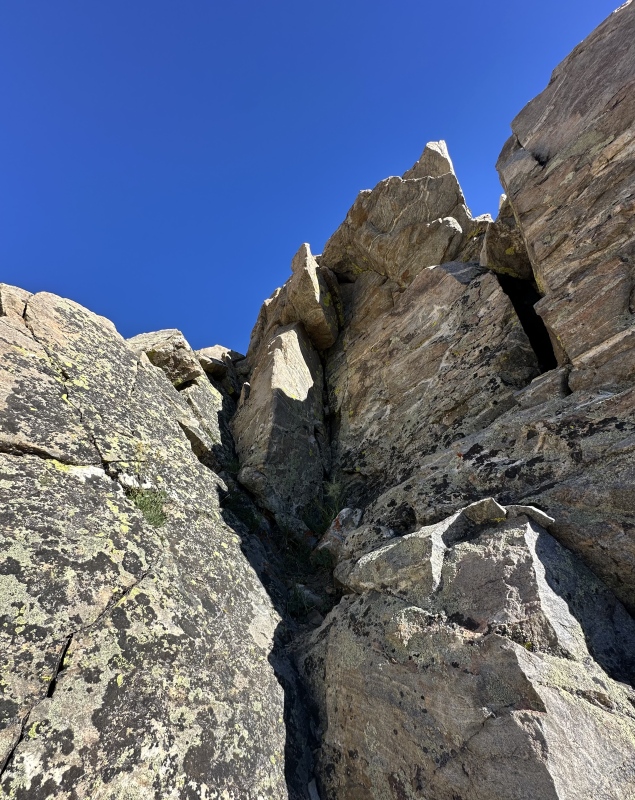
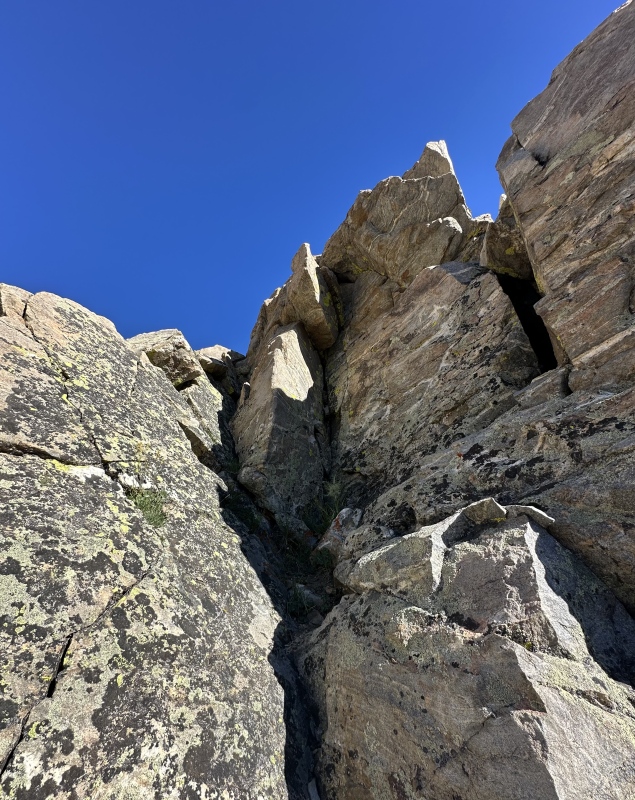
There are many ways to take the ridge from here, it's very much a "choose your adventure" situation. Personally, I opted to head toward the large, lighter colored outcropping of rock on the left side of the above image. To my pleasant surprise, I found a very fun 20-25ft chimney heading up the north side of the rock. I don't think it ever exceeded Class 3 climbing, though the rock wasn't always the most solid. Be sure to test all holds.
Looking up the chimney. It seemed to be narrower than the photo makes it appear.
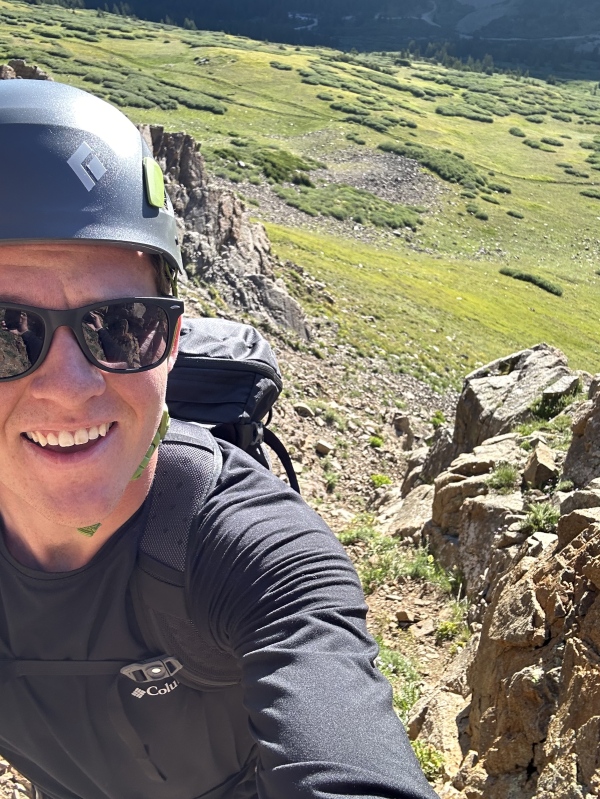
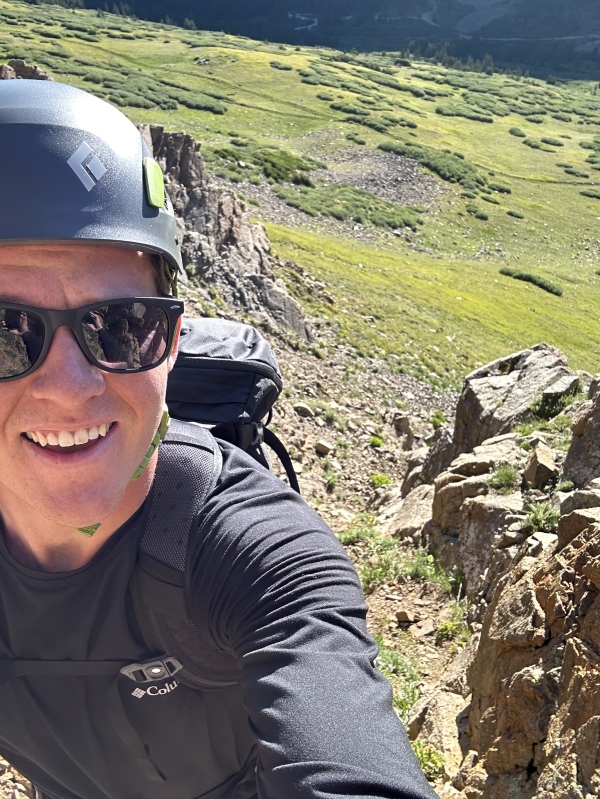
Just a jolly climber that stumbled upon a fun chimney scramble!
The chimney climb was fun, but the Class 3 pretty much ended there - at least on the east face. I'm sure you could switch back north and find some more scrambling to fill your desires, but none of this would be necessary.
I will note, there are ways up the east face of this mountain that remain entirely Class 2, but it would require you to follow the G&T standard route further south, or to take the detour further to the north - neither situation would give you as direct of a shot to the summit of Kelso. Entirely up to the climber.
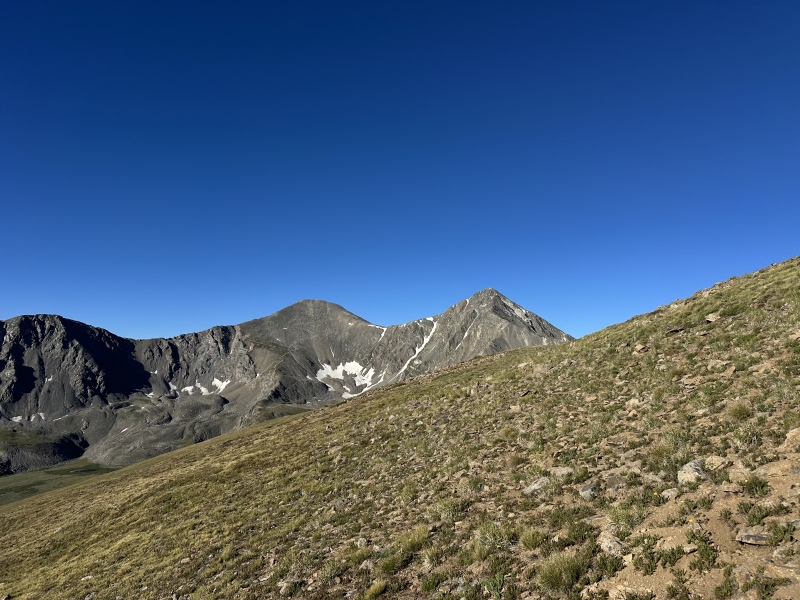
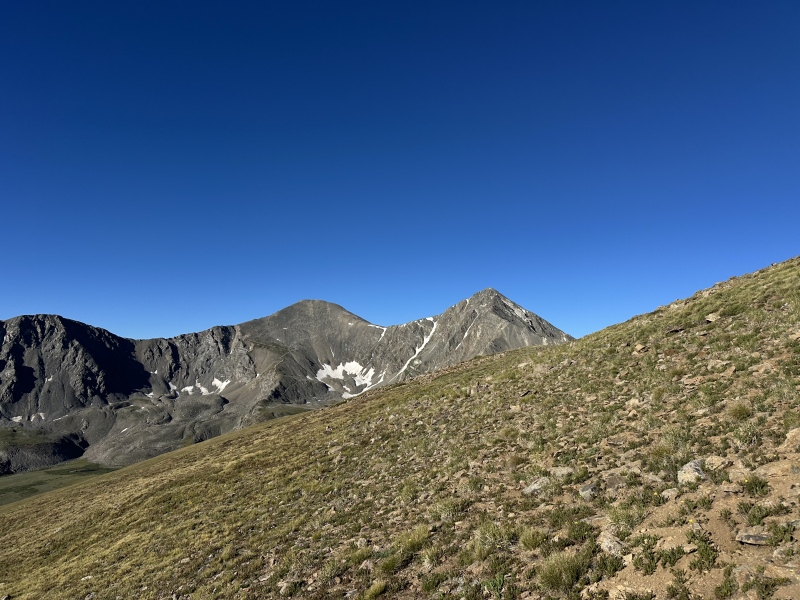
Views of Grays Peak and Torreys Peak from the east face of Kelso Mountain.
After the chimney, the grade increased quite a bit and it became a dreary slog all the way to the summit, with no adventurous scrambling and just the occasional loose talus to entertain my boredom. There is a slight bump that could be mistaken for the summit, but as you push forward the true summit becomes quite noticeable thanks to a very large cairn.
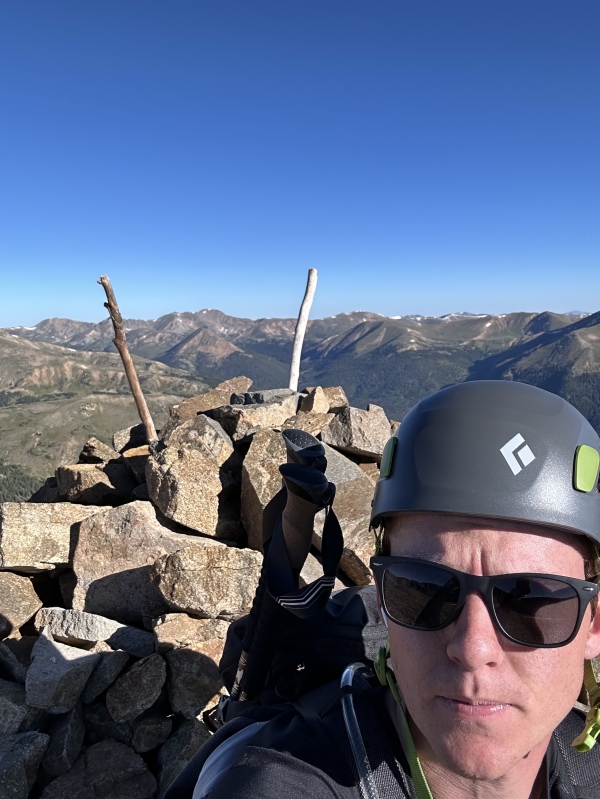
Summit of the ranked Kelso Mountain (13,172ft)
From the summit, I opted to descend via the connecting saddle with Torreys Peak. There is a fairly evident social trail that dips east below the ridge, but I like to hold true to the ridge both for solid rock options and for the occasional exciting scramble, which this descent exhibited slightly.
Depending on how you choose your route, there are both Class 3 and 4 options for downclimbs on the ridge, and the exposure to the west can be quite gnarly. However, it is completely manageable to keep it Class 3 at all times, with the ever-present option for a Class 2 bailout below the ridgeline.
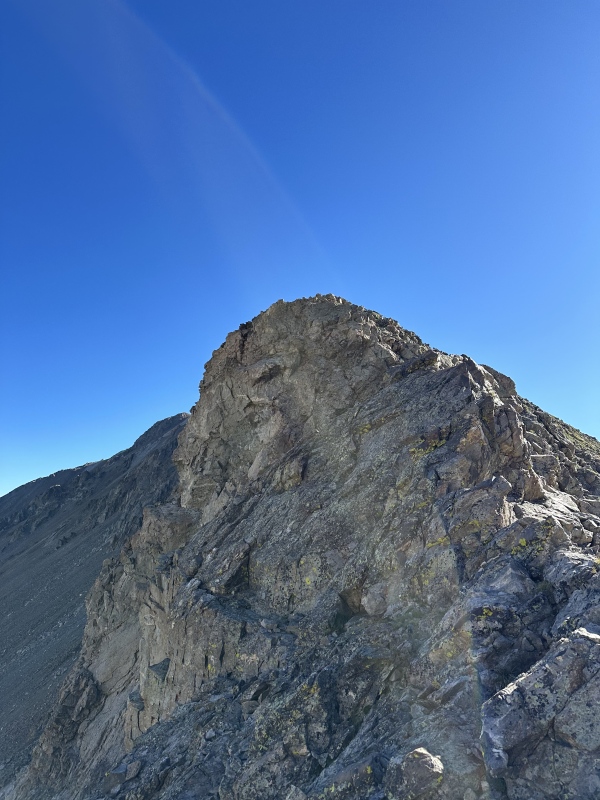
Looking back at some of the scrambling opportunities on the ridge.
The crux of the descent (for me) was pretty close to the saddle, where the ridge became much steeper and presented me with a very slabby downclimb of about 15 feet. Footholds were pretty sparing, but the rock was solid, and I was able to navigate it without too much effort. This section is pictured below.
The slabs are pretty steep and didn't provide many solid footholds, but swinging around to the right side of the rock presented more opportunity for safe descent.
After downclimbing the crux section, you quickly meet back up with the saddle and the trail that takes you up to the Kelso Ridge. Kelso Ridge is an exciting Class 3 route up to the summit of Torreys Peak, perhaps to be accomplished in conjunction with Kelso Mountain (Kelso Combo)?
Kelso Ridge route seen from the south side of Kelso Mountain.
After descending from the saddle, you will promptly meet back up with the G&T standard trail, which will present with a lovely (in my case) 5mile trek back to your car at the winter trailhead.
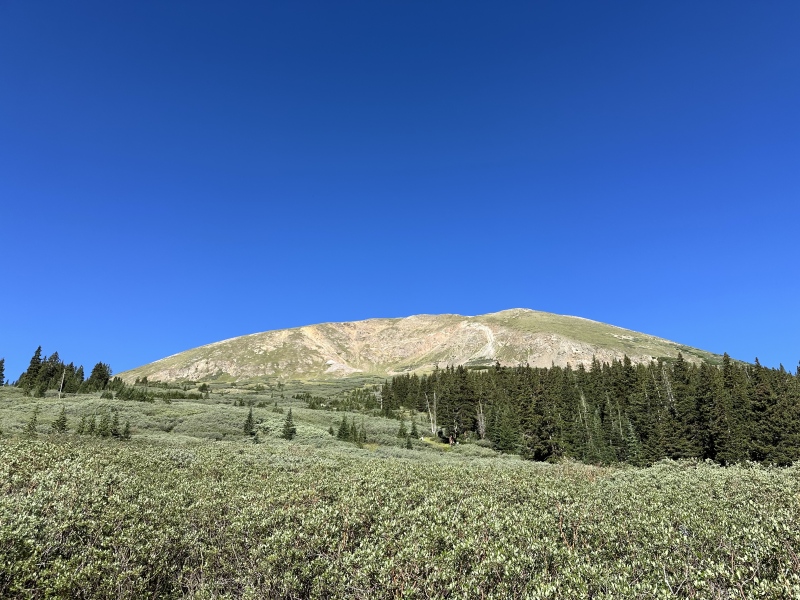
Kelso Mountain looking very gradual from below.
Departed at 6:14am, returned at 10:06am.
GPS Track(s) on Google Maps (made from a .GPX file upload):
Just did Kelso today but had the dog so went a little further up the trail. Kept looking at those cliff bands on my way up thinking there had to be some cool routes in there! Gotta go back and combine this with Kelso Ridge!
Caution: The information contained in this report may not be accurate and should not be the only resource used in preparation for your climb. Failure to have the necessary experience, physical conditioning, supplies or equipment can result in injury or death. 14ers.com and the author(s) of this report provide no warranties, either express or implied, that the information provided is accurate or reliable. By using the information provided, you agree to indemnify and hold harmless 14ers.com and the report author(s) with respect to any claims and demands against them, including any attorney fees and expenses. Please read the 14ers.com Safety and Disclaimer pages for more information.
Copyright: Route information, text, risk factors, maps, GPX files, charts, photos, 14ers.com-created map imagery, flythroughs, and other content provided in this route description are copyrighted by 14ers.com and may not be copied, reproduced, republished, distributed, modified, or used to create derivative works without prior written permission.
Please respect private property: 14ers.com supports the rights of private landowners to determine how and by whom their land will be used. In Colorado, it is your responsibility to determine if land is private and to obtain the appropriate permission before entering the property.