Download Agreement, Release, and Acknowledgement of Risk:
You (the person requesting this file download) fully understand mountain climbing ("Activity") involves risks and dangers of serious bodily injury, including permanent disability, paralysis, and death ("Risks") and you fully accept and assume all such risks and all responsibility for losses, costs, and damages you incur as a result of your participation in this Activity.
You acknowledge that information in the file you have chosen to download may not be accurate and may contain errors. You agree to assume all risks when using this information and agree to release and discharge 14ers.com, 14ers Inc. and the author(s) of such information (collectively, the "Released Parties").
You hereby discharge the Released Parties from all damages, actions, claims and liabilities of any nature, specifically including, but not limited to, damages, actions, claims and liabilities arising from or related to the negligence of the Released Parties. You further agree to indemnify, hold harmless and defend 14ers.com, 14ers Inc. and each of the other Released Parties from and against any loss, damage, liability and expense, including costs and attorney fees, incurred by 14ers.com, 14ers Inc. or any of the other Released Parties as a result of you using information provided on the 14ers.com or 14ers Inc. websites.
You have read this agreement, fully understand its terms and intend it to be a complete and unconditional release of all liability to the greatest extent allowed by law and agree that if any portion of this agreement is held to be invalid the balance, notwithstanding, shall continue in full force and effect.
By clicking "OK" you agree to these terms. If you DO NOT agree, click "Cancel"...
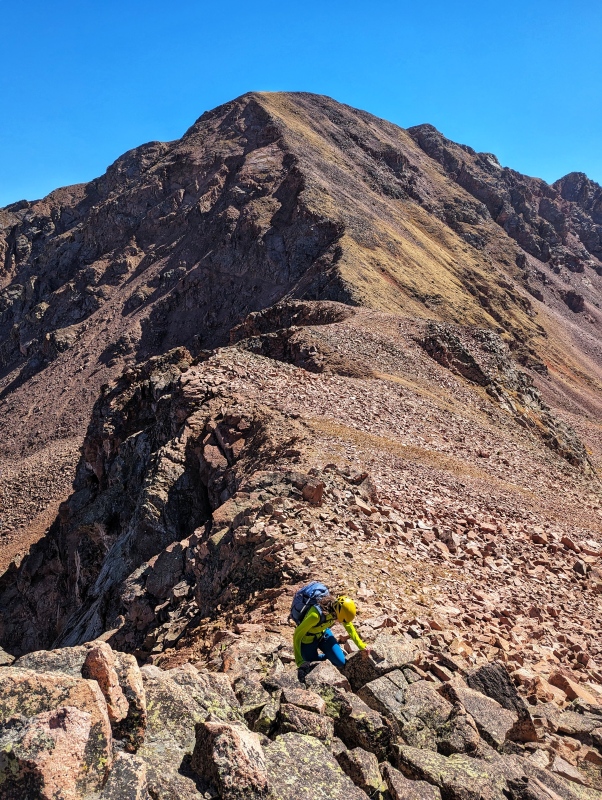
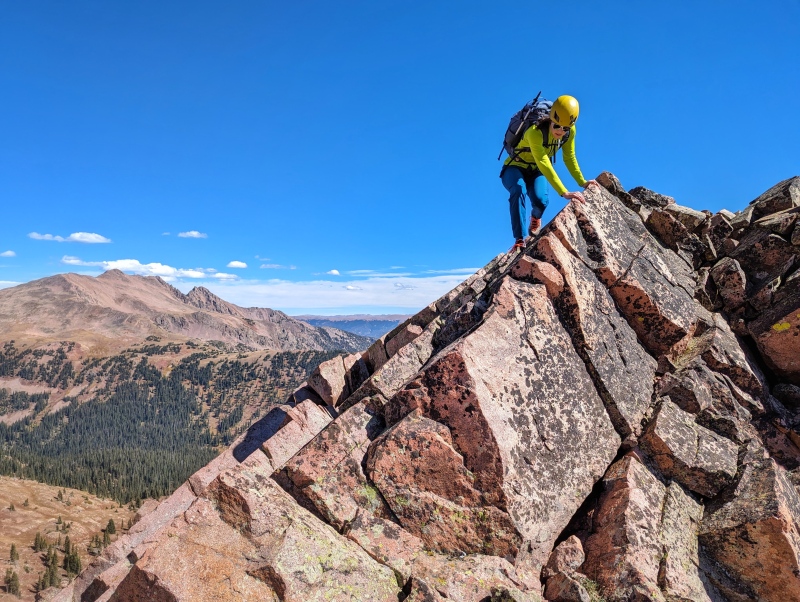
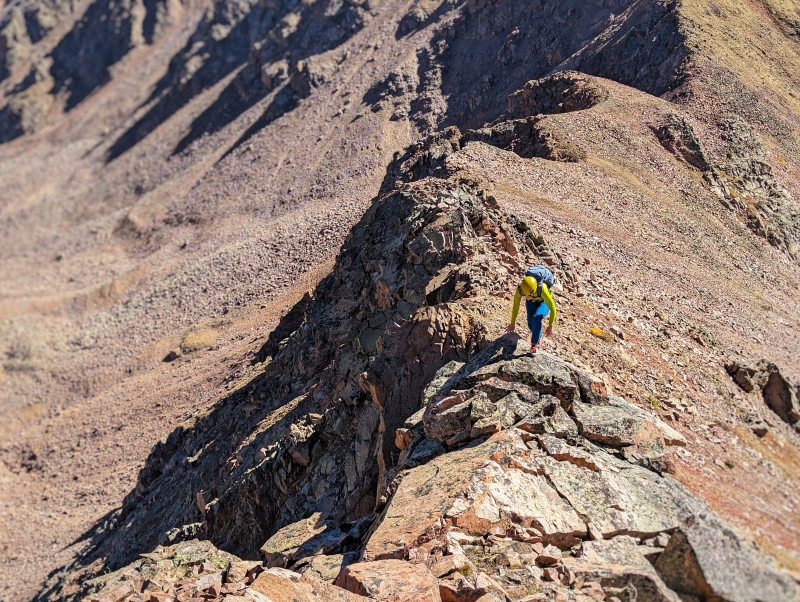
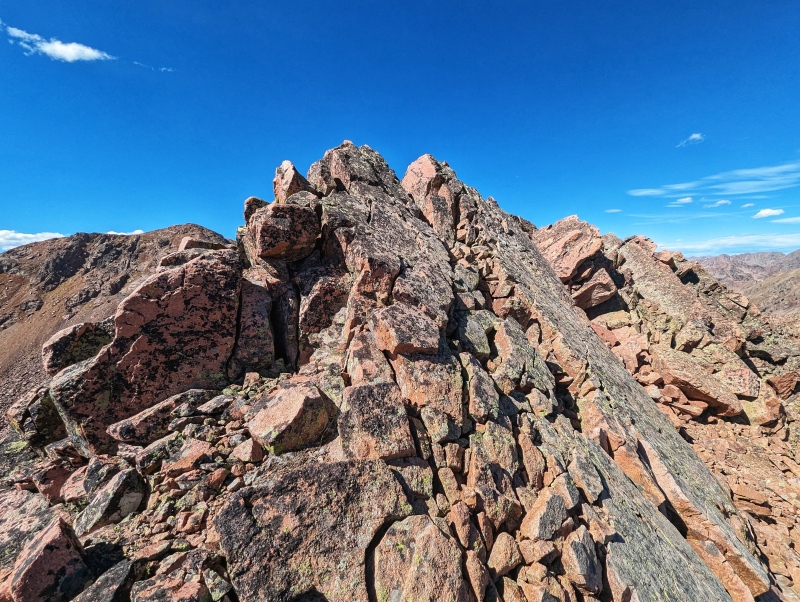
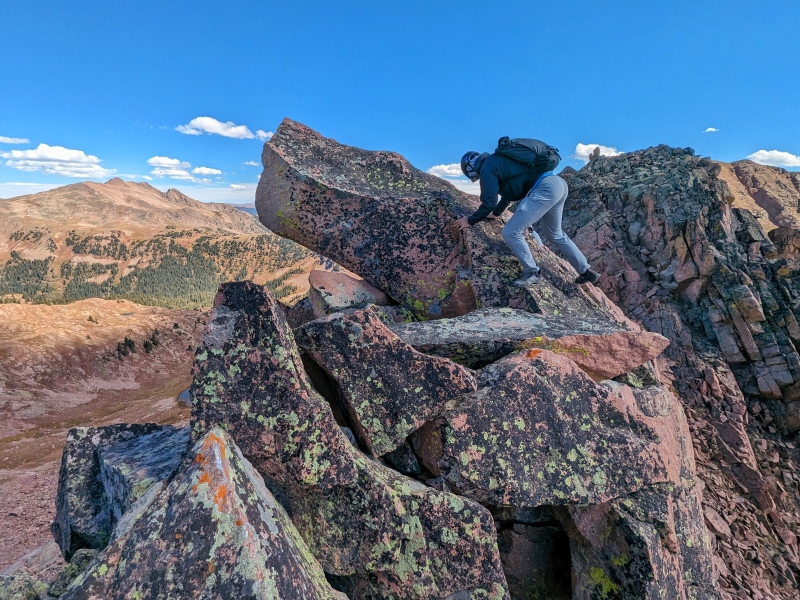
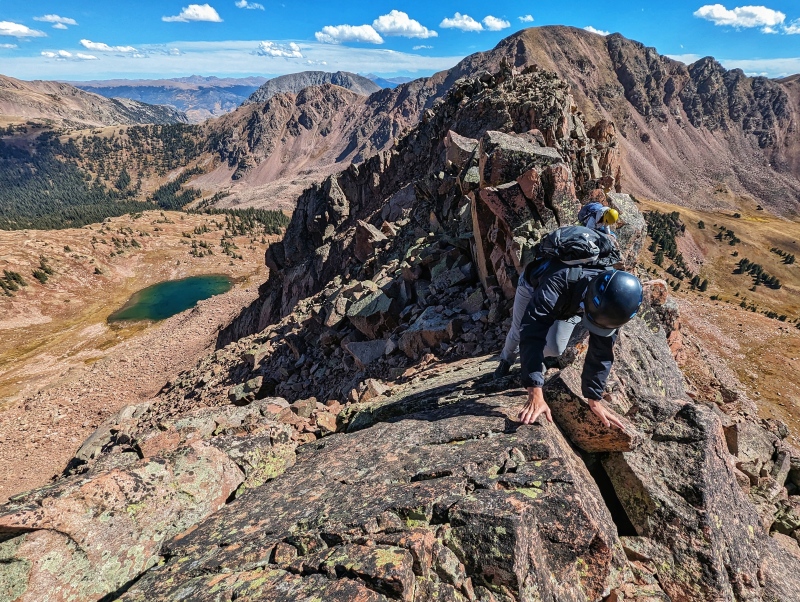
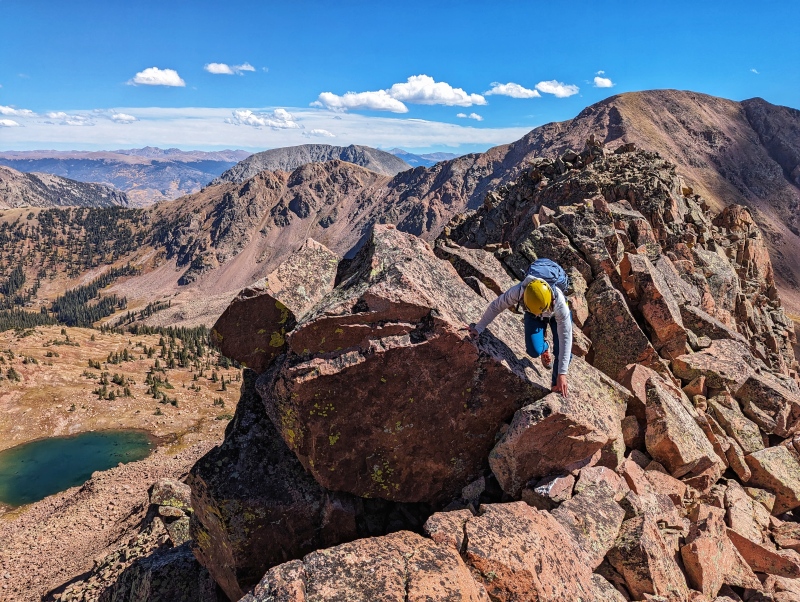
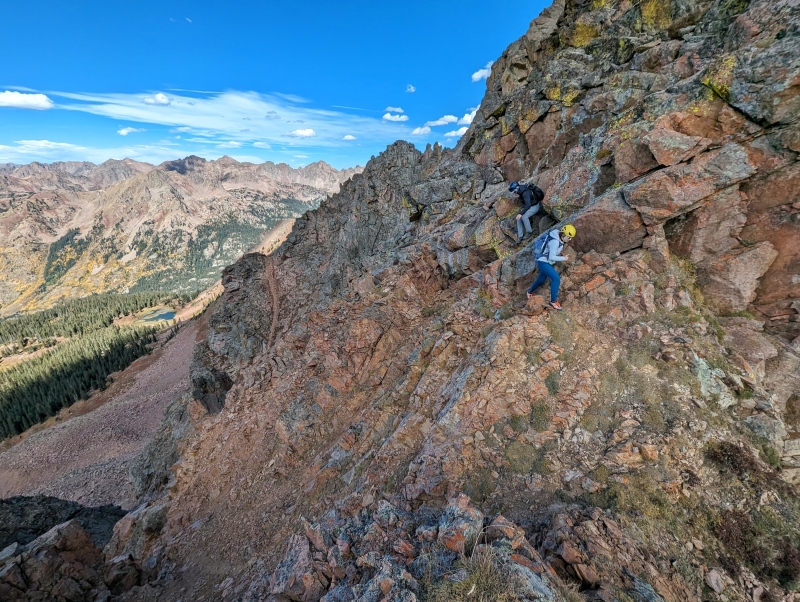
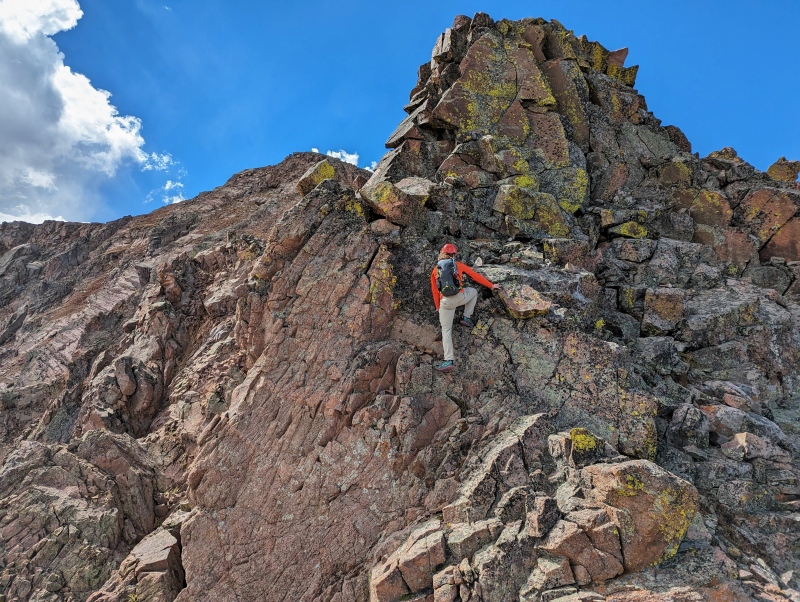
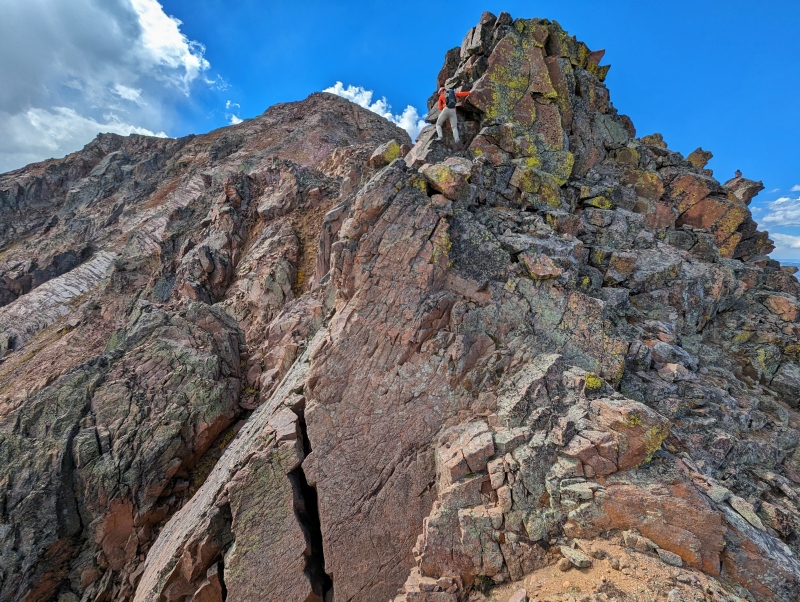
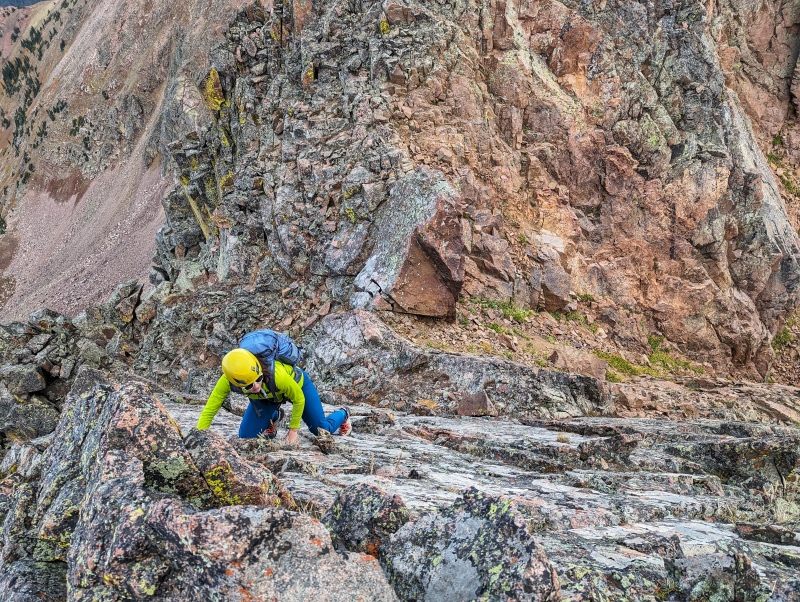
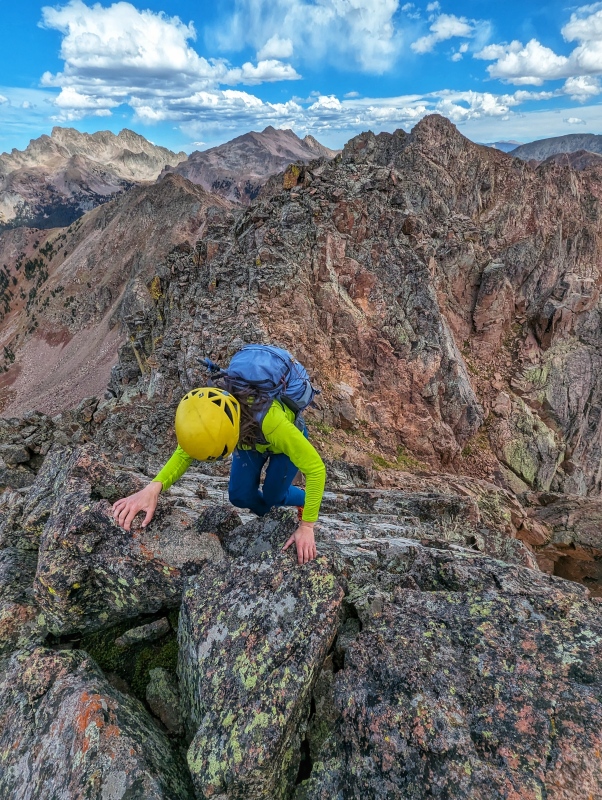
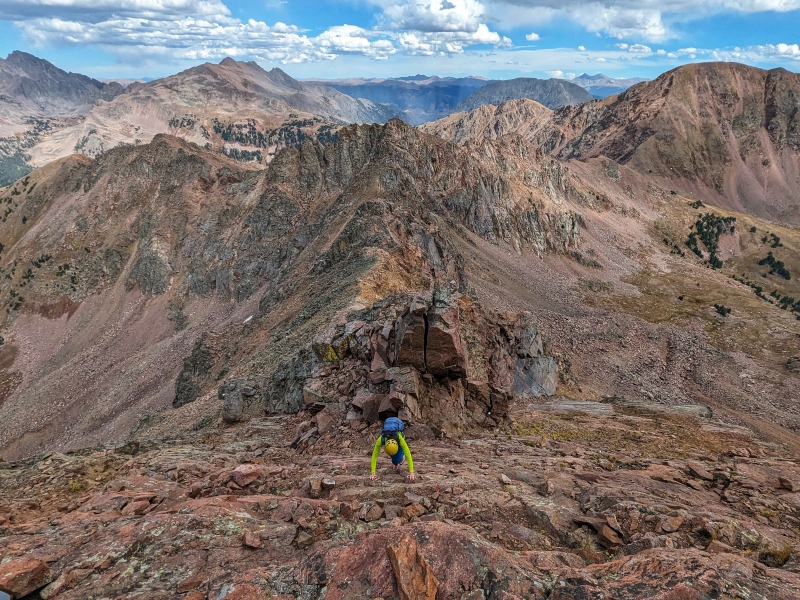
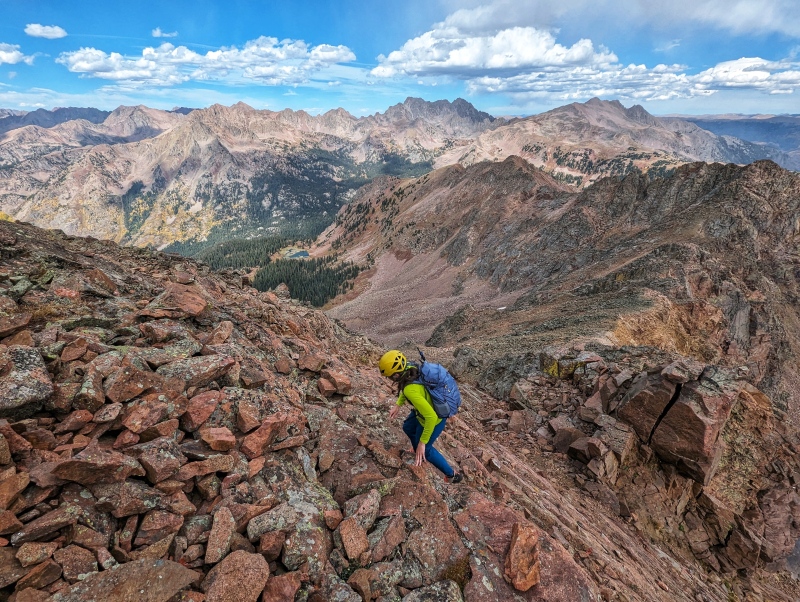
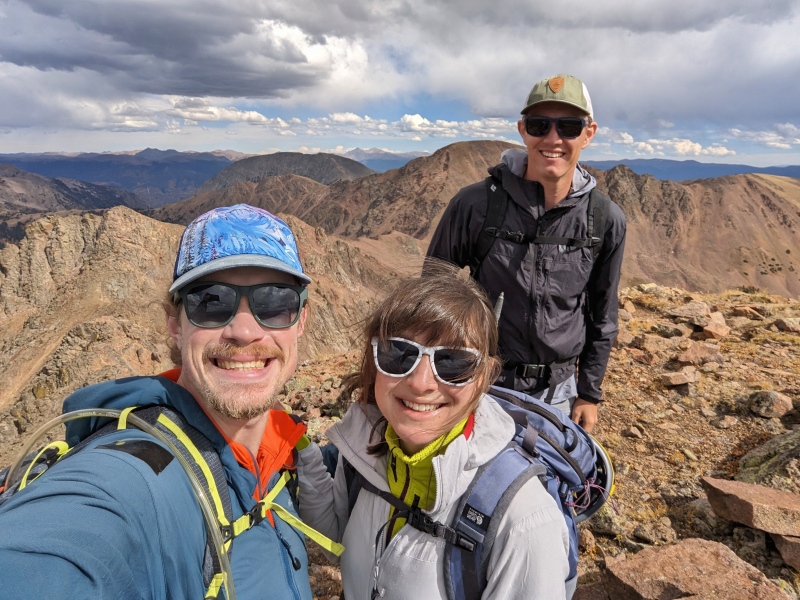
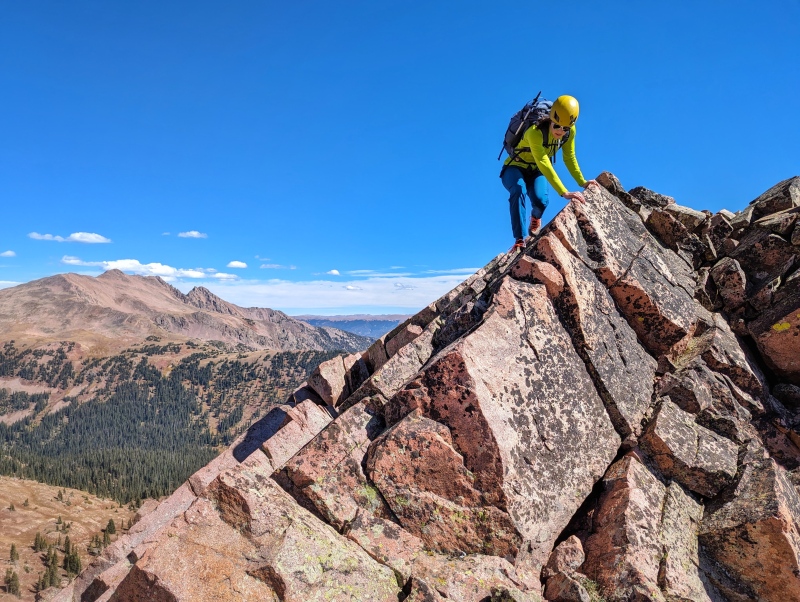
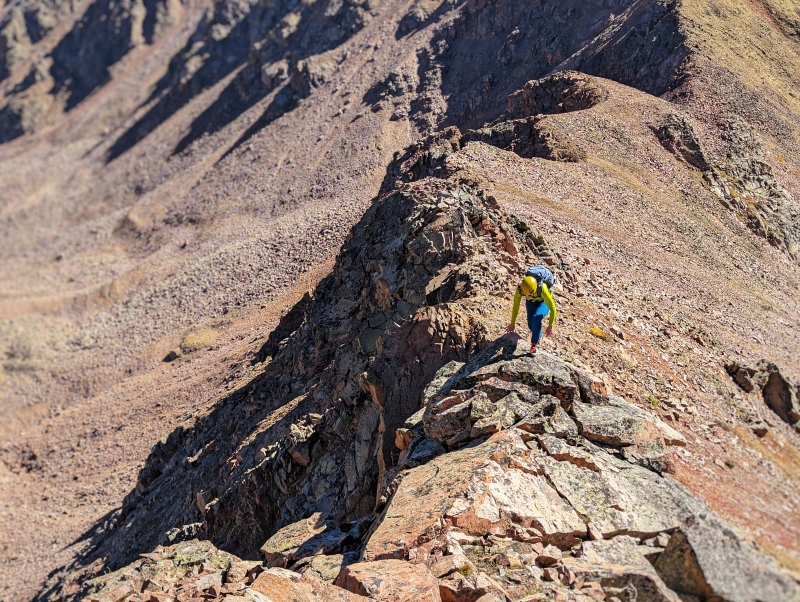
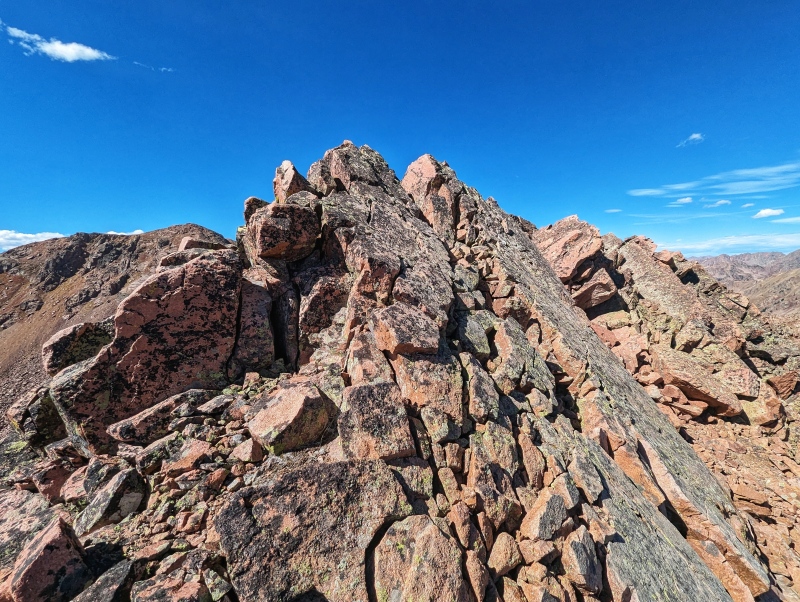
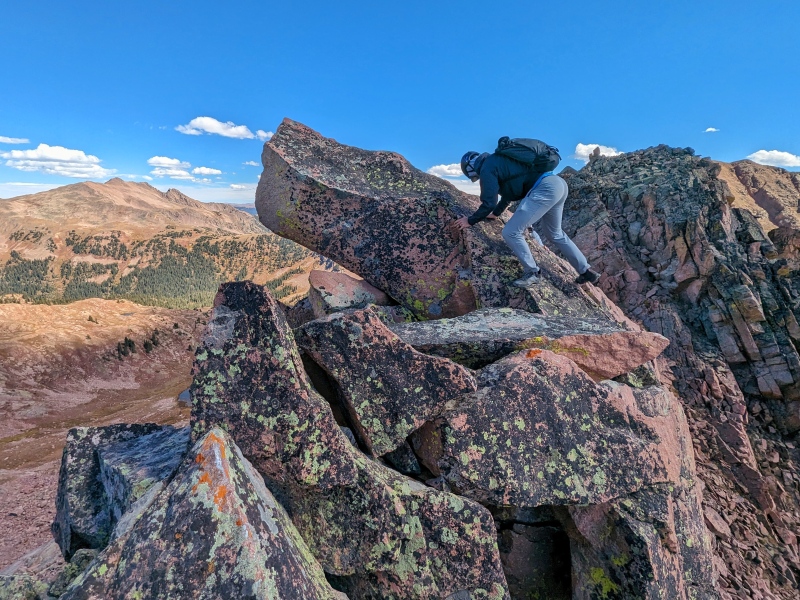
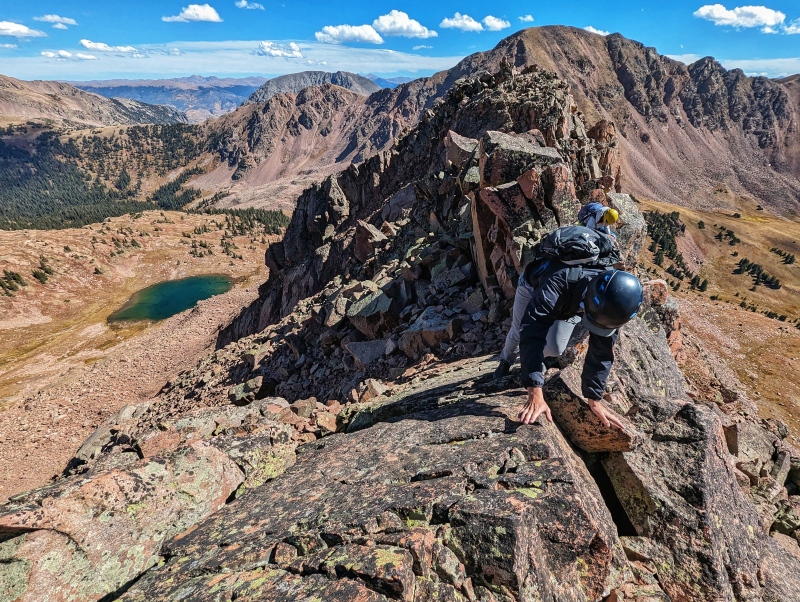
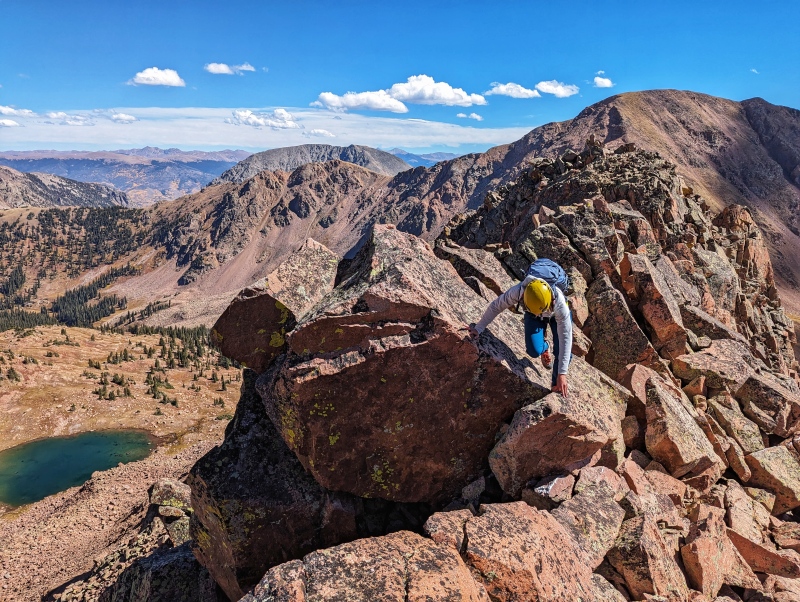
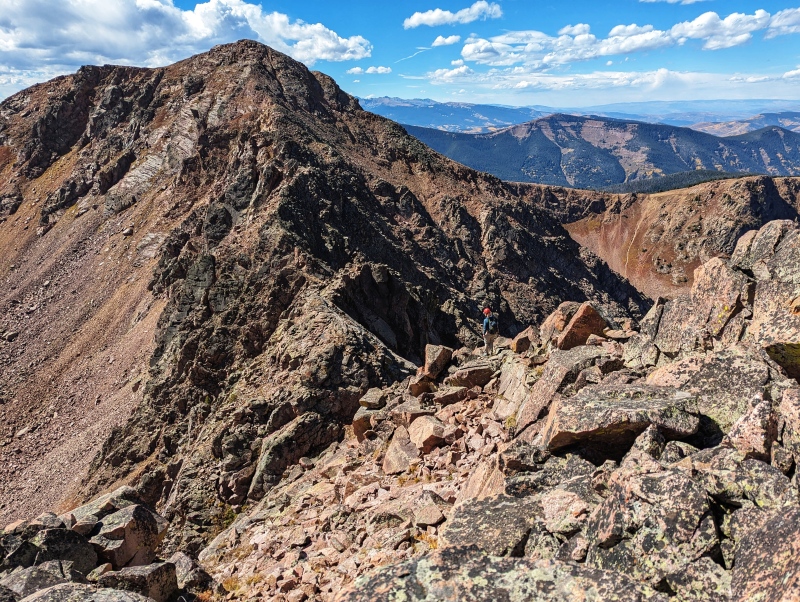
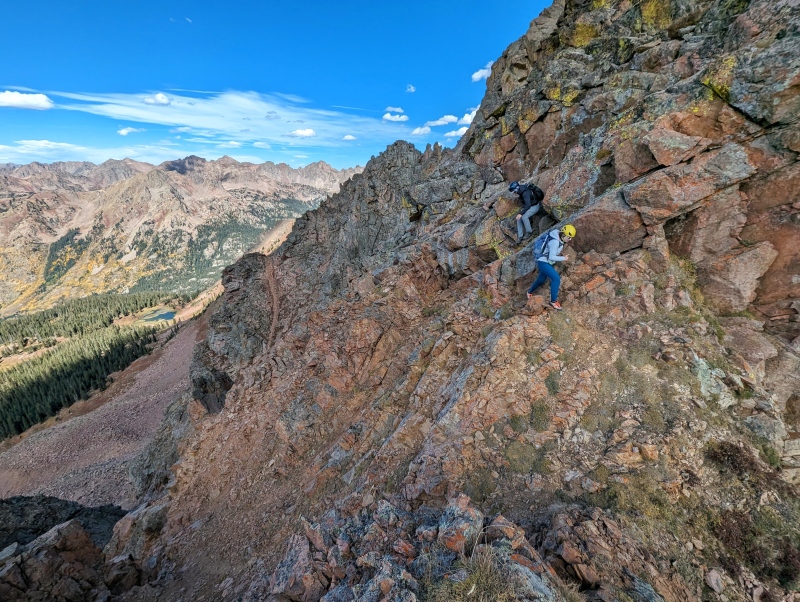
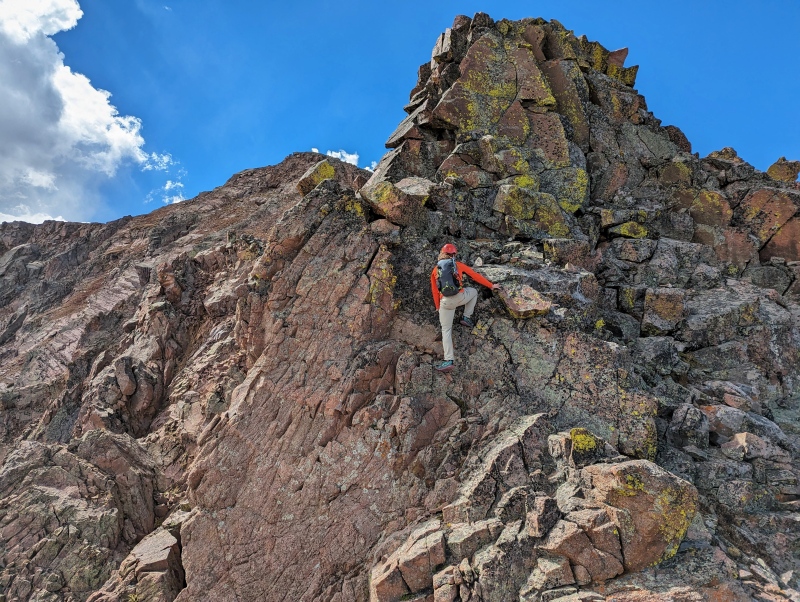
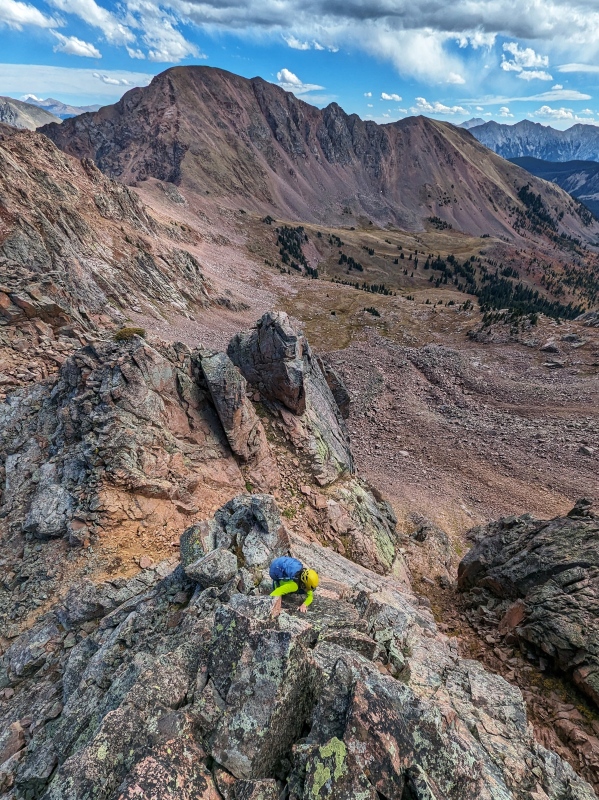
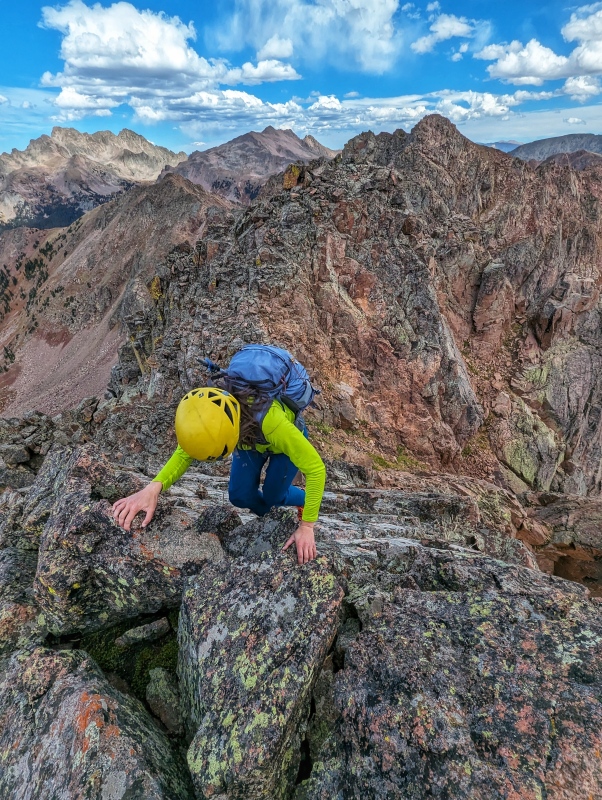
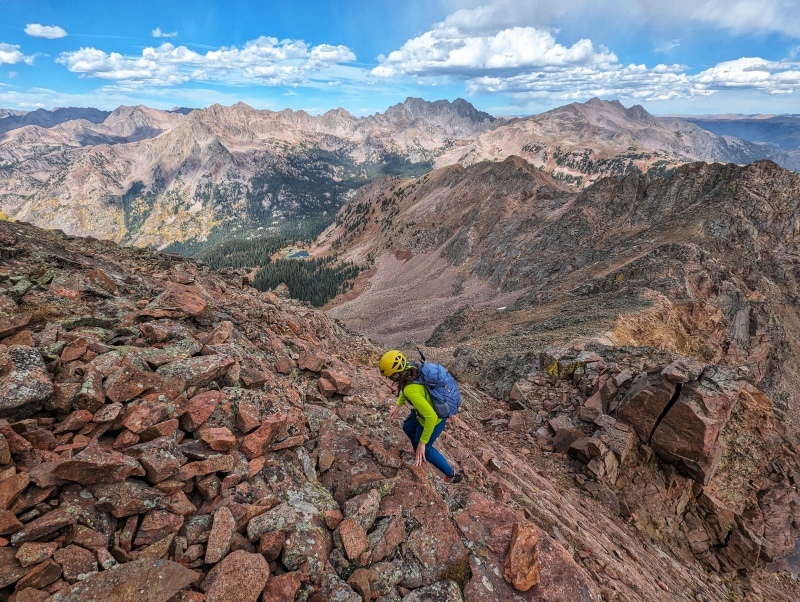
I'd been saving the Deming Traverse as a potential "rainy day" option. Gina and I had a friend come in from Washington and we wanted to keep the elevation low and keep the scrambling at a fairly low level of commitment. After a much harder day than expected on the Blue Lake Traverse (Audubon, Paiute, Toll, Pawnee, and Little Pawnee), we wanted to keep things fairly chill. As far as Gore Traverses go, it's low commitment with several bail options at multiple points along the ridge. The ridge can generally be kept at Class 2 with simple bypasses that don't require descending far from the ridge crest. There is a notable Class 4 notch, but the Class 4 scrambling in the notch is short and not highly exposed. I've heard this section described as "Class 5.1", but I really don't think the difficulty exceeded Class 4. As with most of the Gore Range, you can definitely choose to have a more exciting scrambling adventure with several 5.low options along the ridge crest, which we did (obviously).
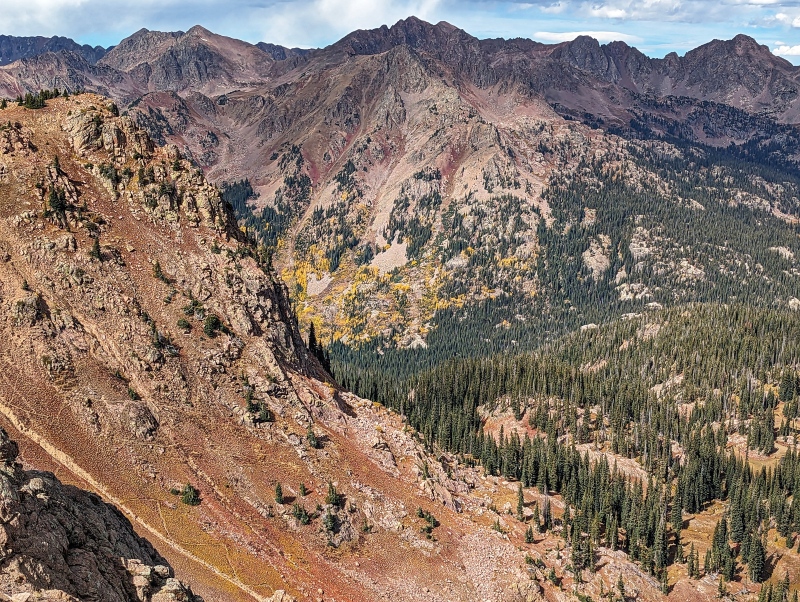
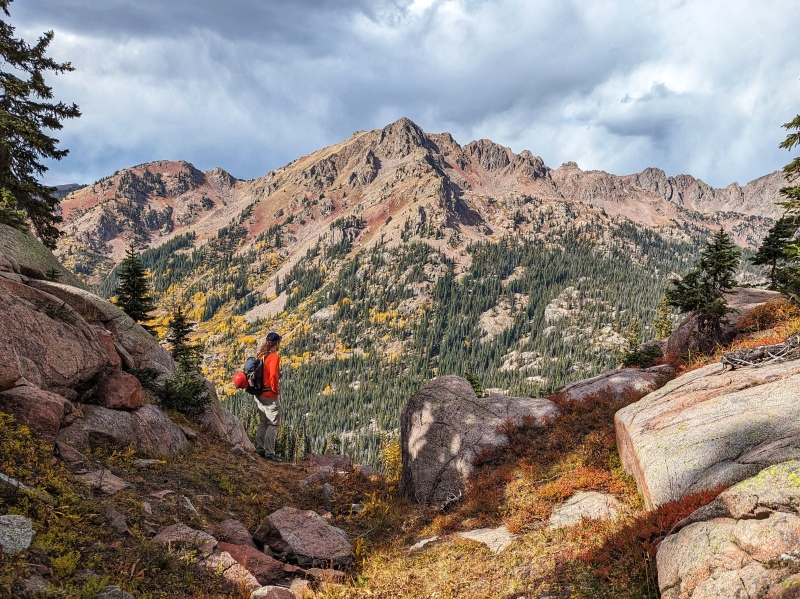
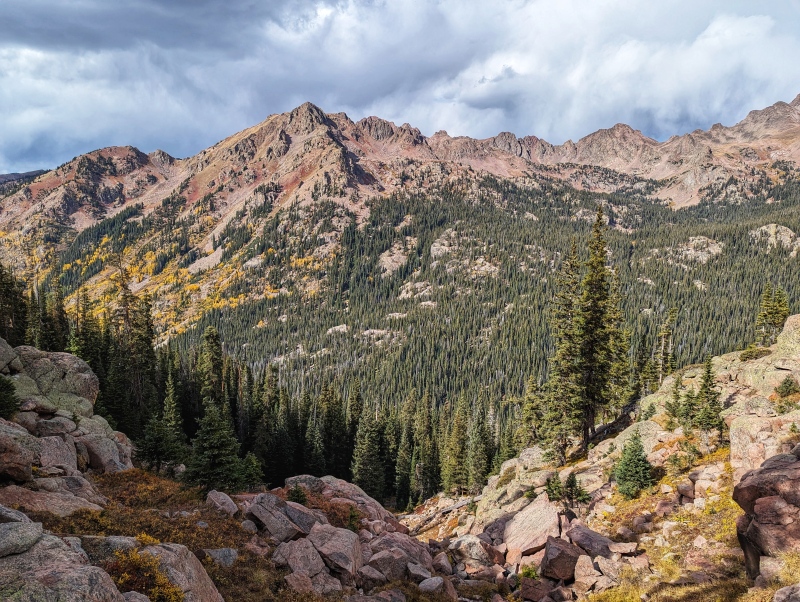
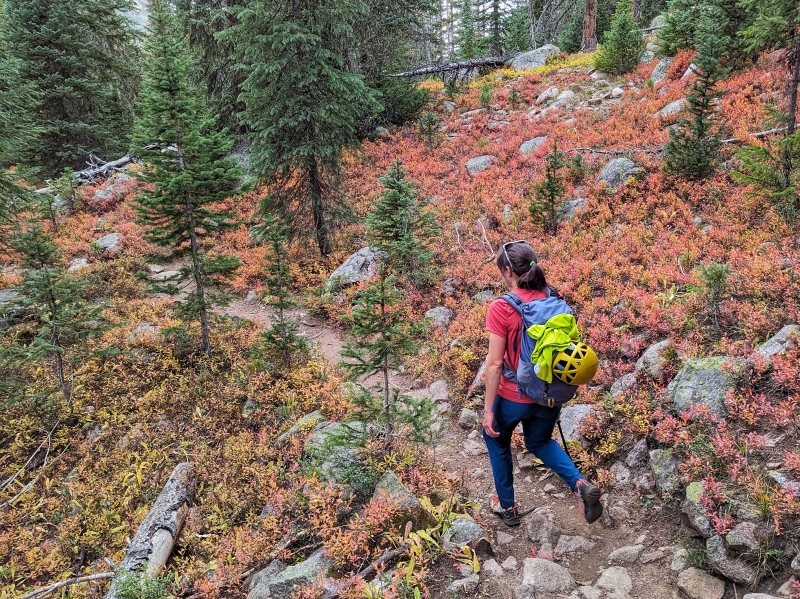
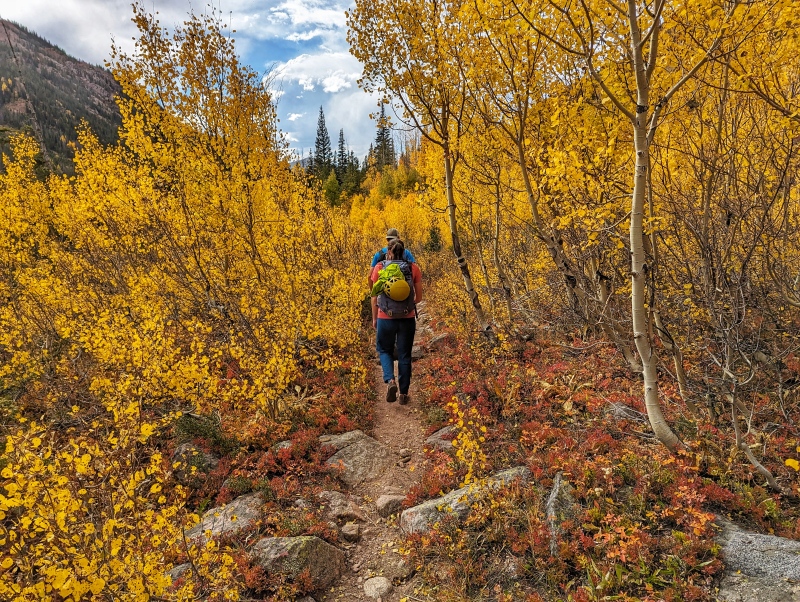
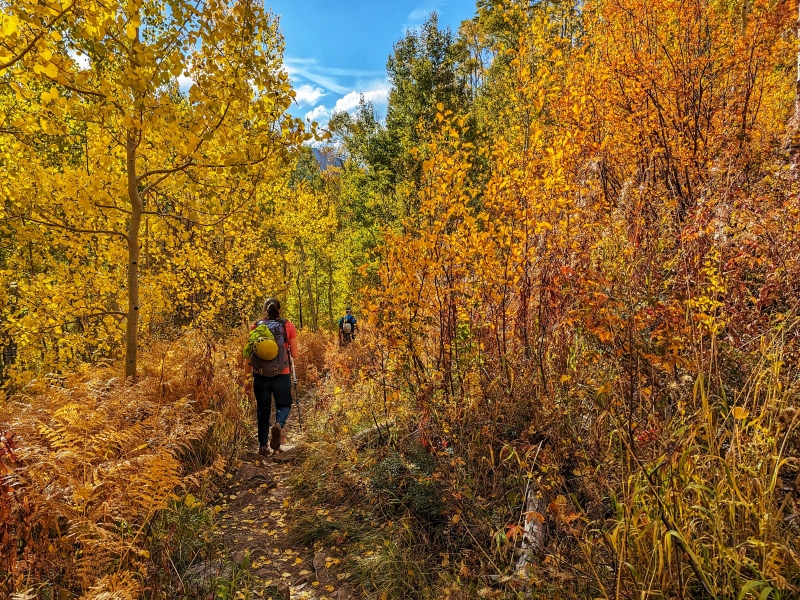
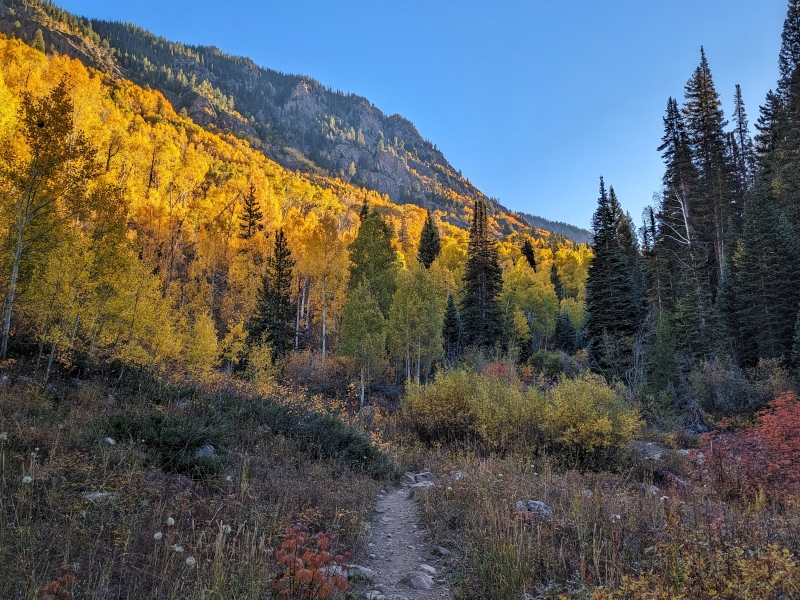
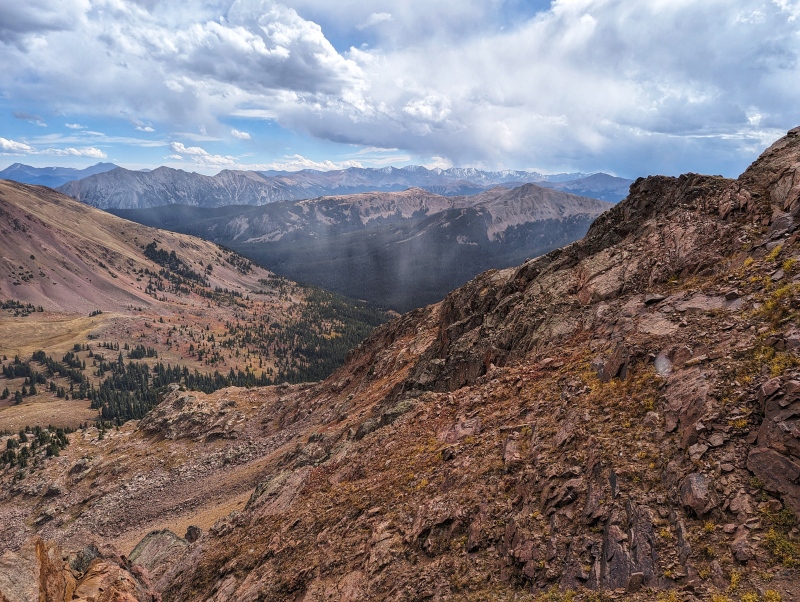
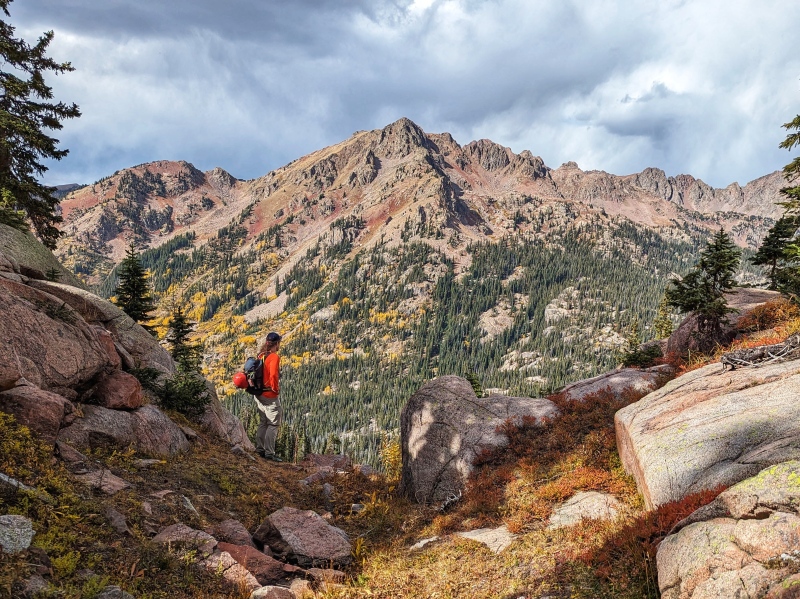
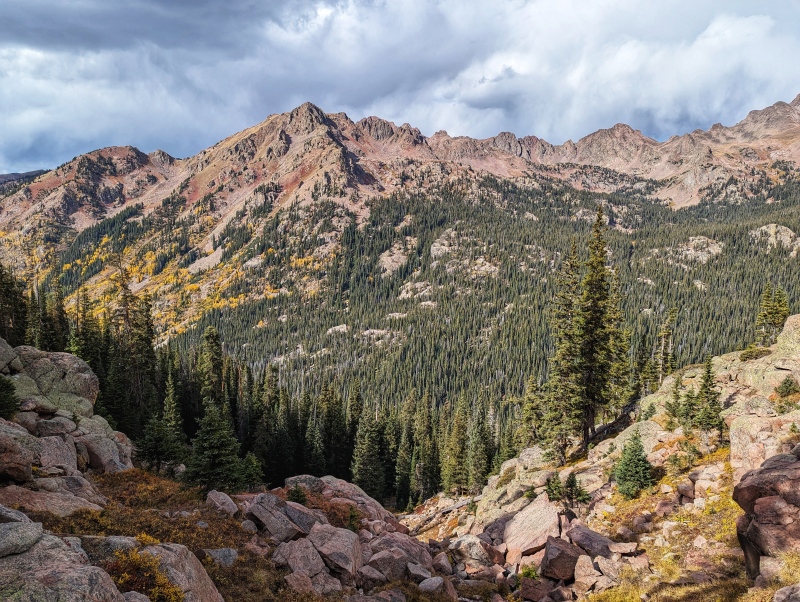
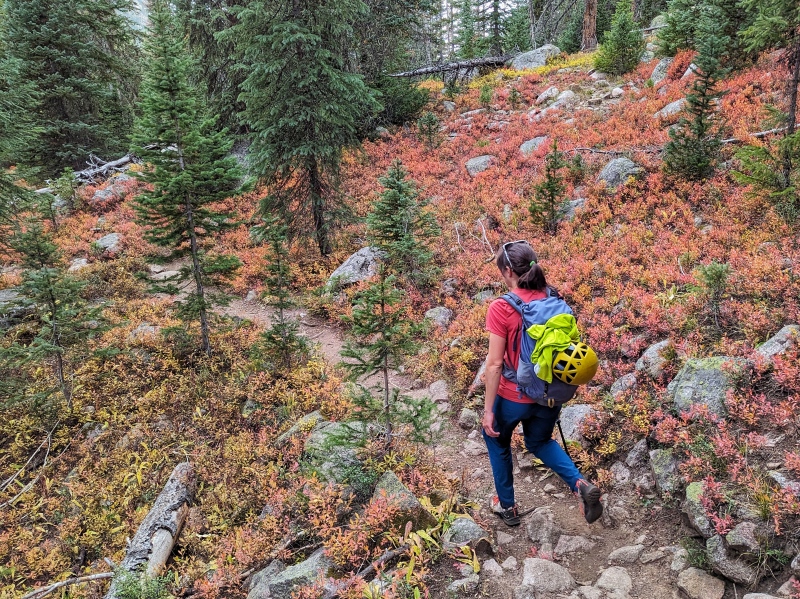
This route is set in an absolutely beautiful area of the the range with excellent views of Red Diamond Ridge, Silverthorne, East Thorne, Hail, Sleet, and Snow Peaks, in addition to the 10-Mile Range. We went for the ridge during peak fall colors and the tundra in this area was absolutely incredible. This is really a great introductory ridge for those starting in the Gore. I think I like it better than the Grand Traverse as an introductory adventure. Tons of optional scrambling that can really give you an idea of the nature of the Gore Ridgelines, fantastic views of the southern Gore peaks, Fairly chill off-trail navigation, easy bail options off the ridge, and a forgiving approach (long mileage, but super chill grade).
Approach/Route:
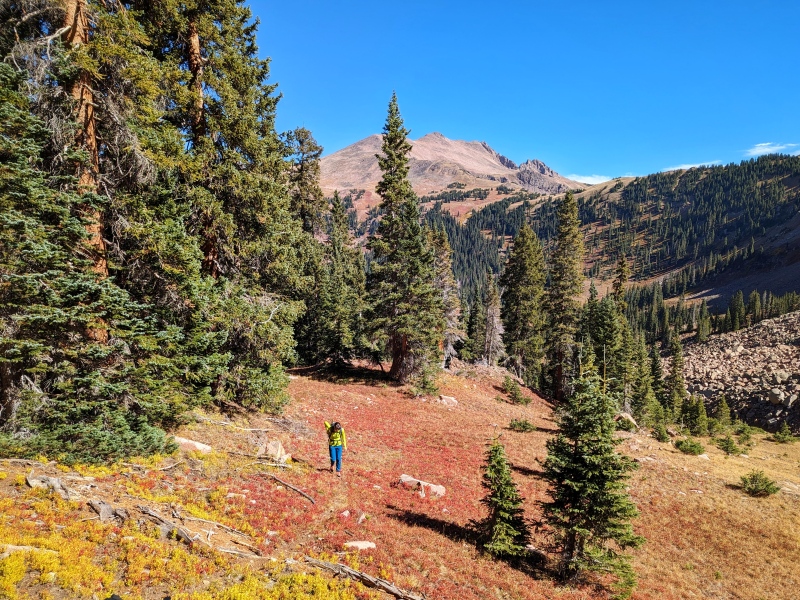
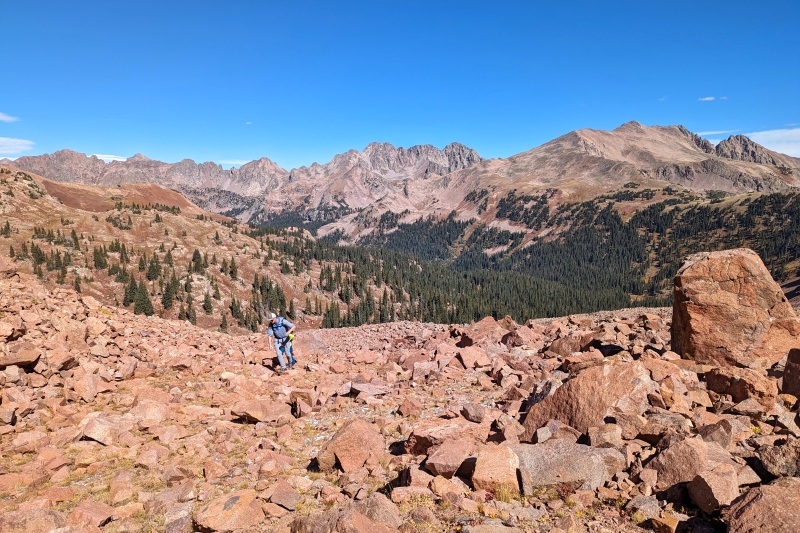
There may be additional unmarked trails that could be used to access this basin, but we used the Gore Creek Trail to access the saddle between Deming and West Deming. Follow the Gore creek Trail as though heading up to Red Buffalo Pass, but turn off at a creek crossing right around the 10,900' contour. Hike up a steep embankment to the right, which yields to lower-angle terrain that sits above the creek. Follow the lower-angle terrain until you pop out of the trees. Continue following the creek, crossing to the left side to access a gully between two land slide (rock glacier?) tongues. We accessed a gully around 11,500, but the one around 11,400' might be better. Continue up the intermittently grassy terrain to the saddle between Deming and West Deming. Follow the ridge up to Deming if you want to summit both peaks (Class 1/2) and reverse your route back to the saddle, or head straight to West Deming if you're just interested in the scrambling (Class 4).
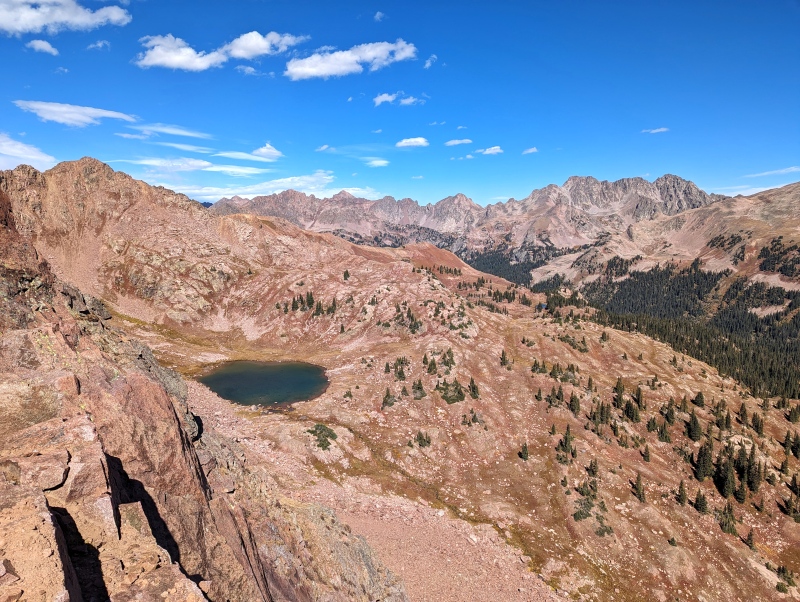
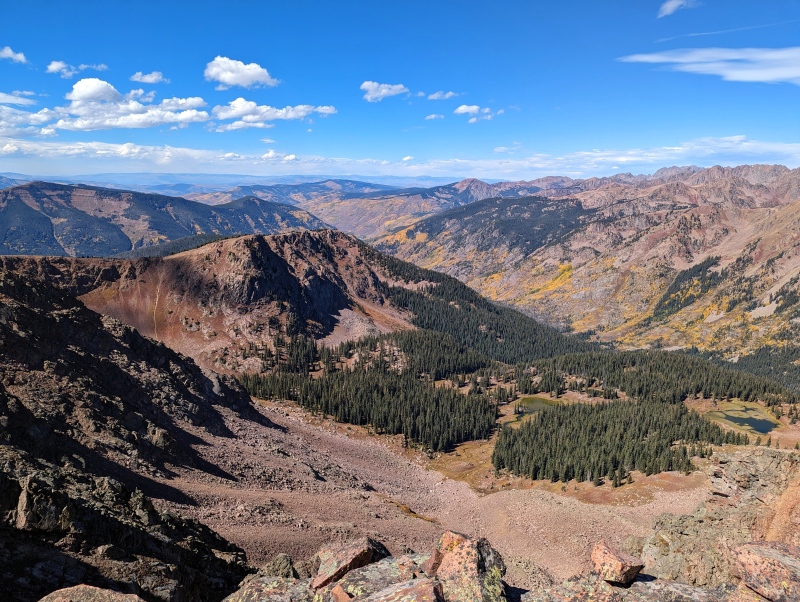
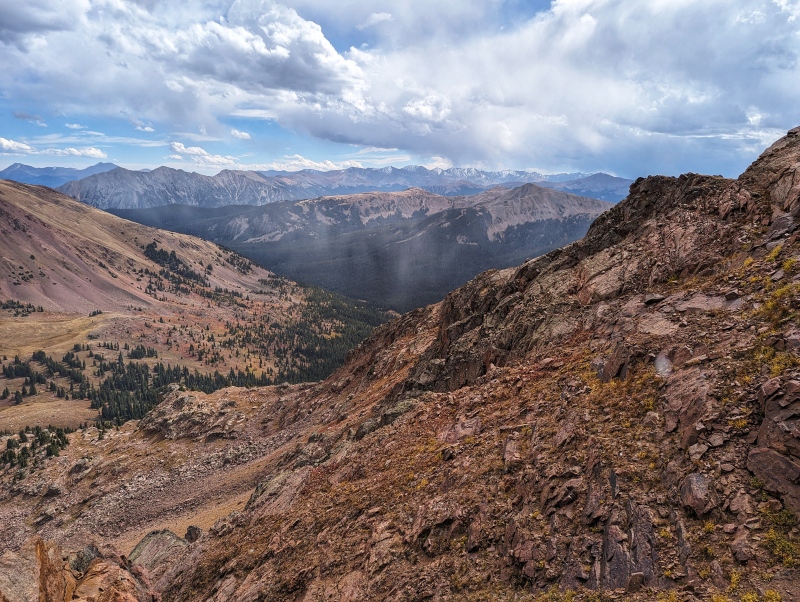
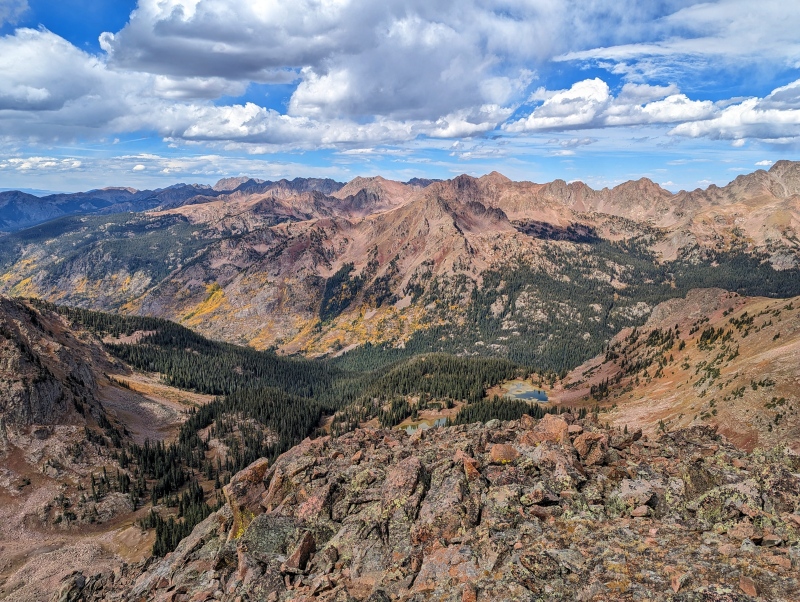
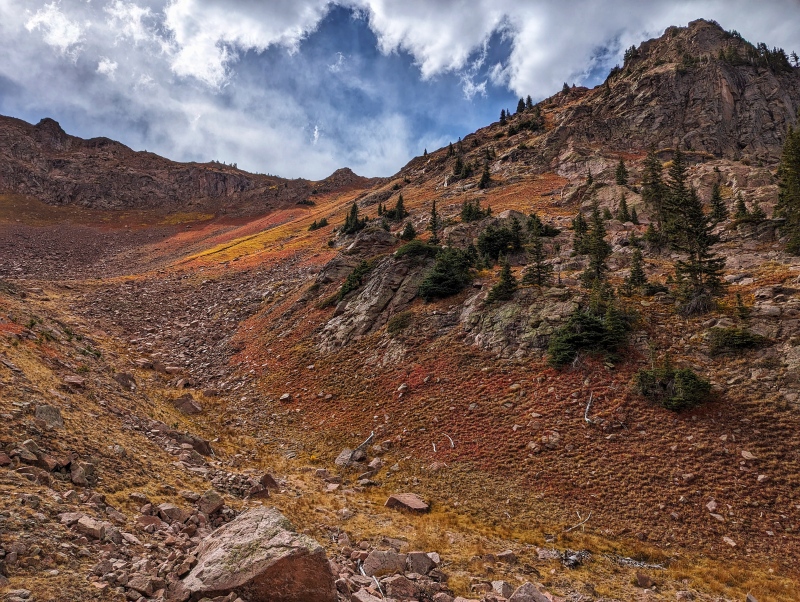
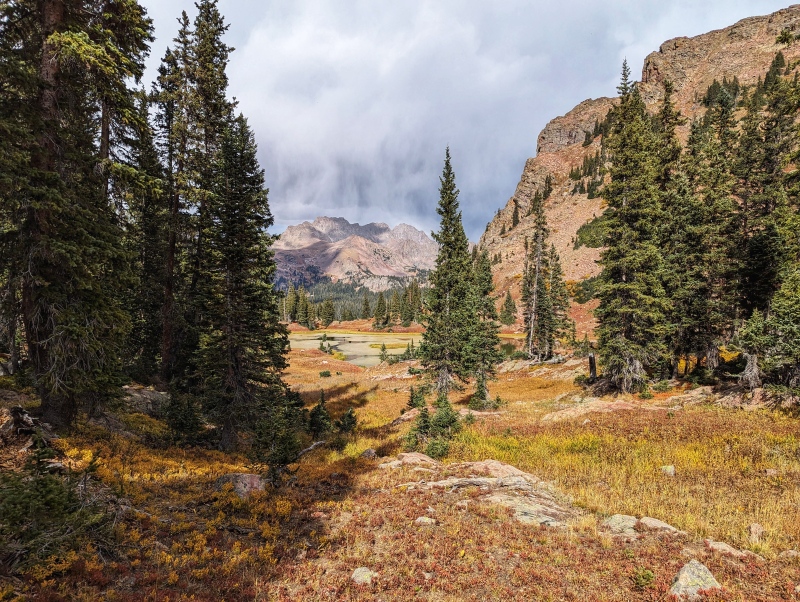
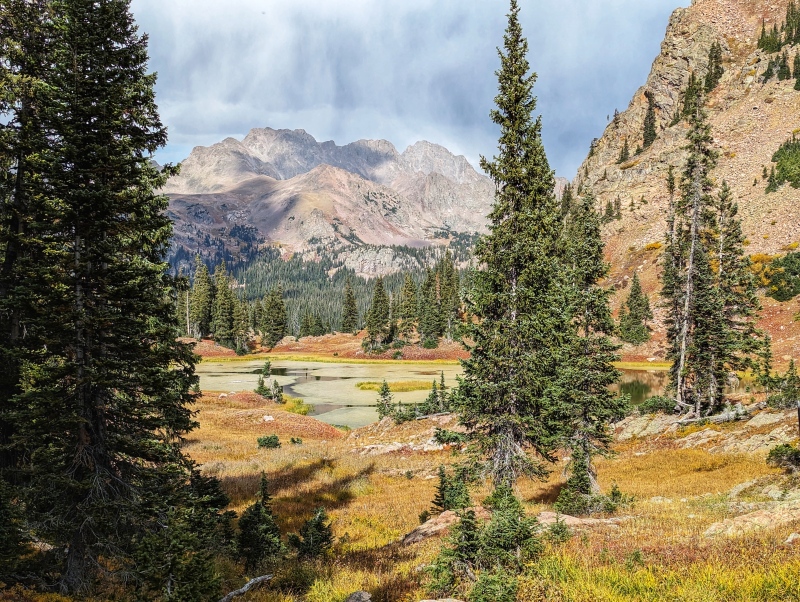
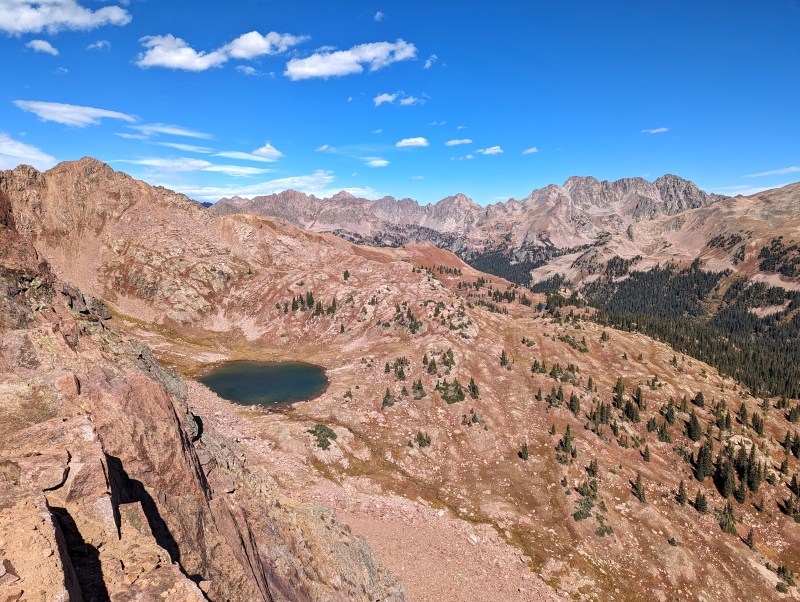
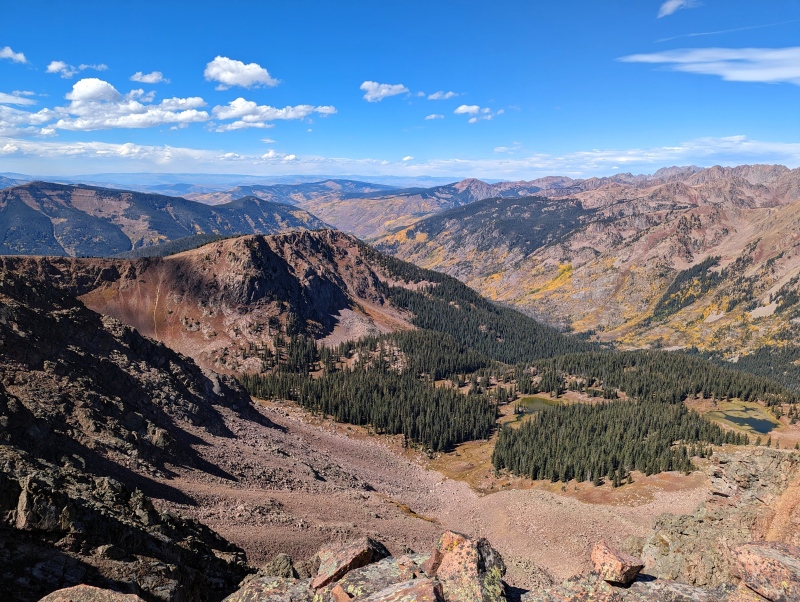
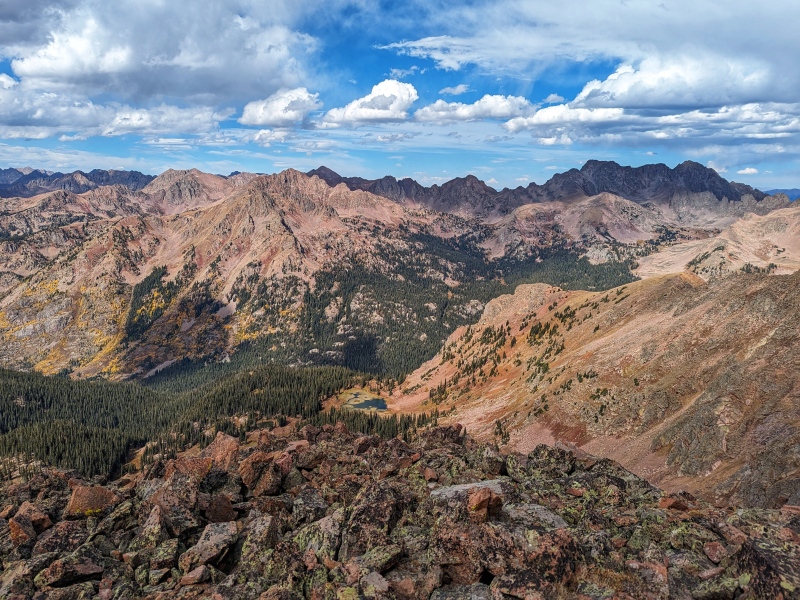
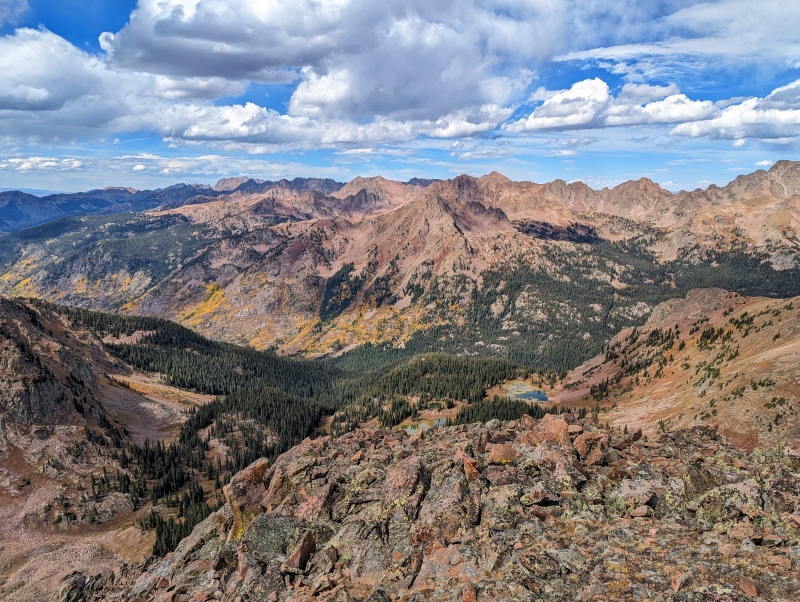
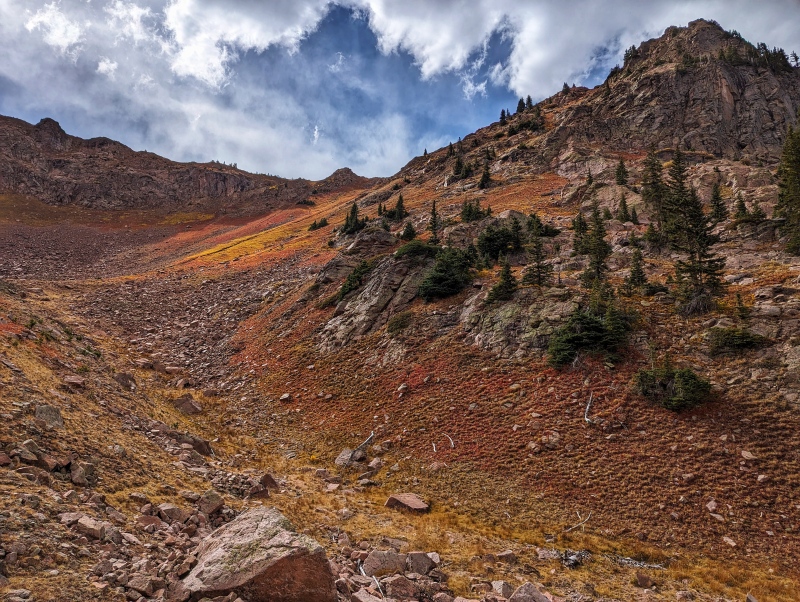
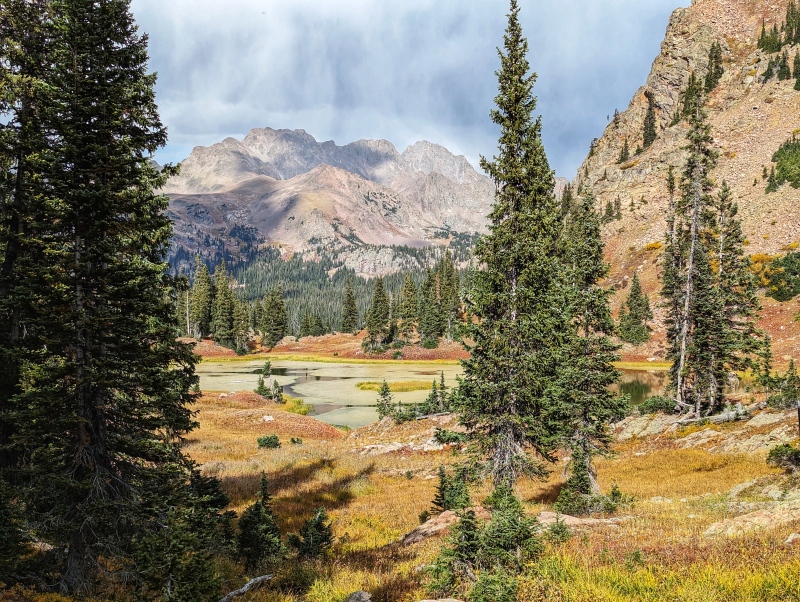
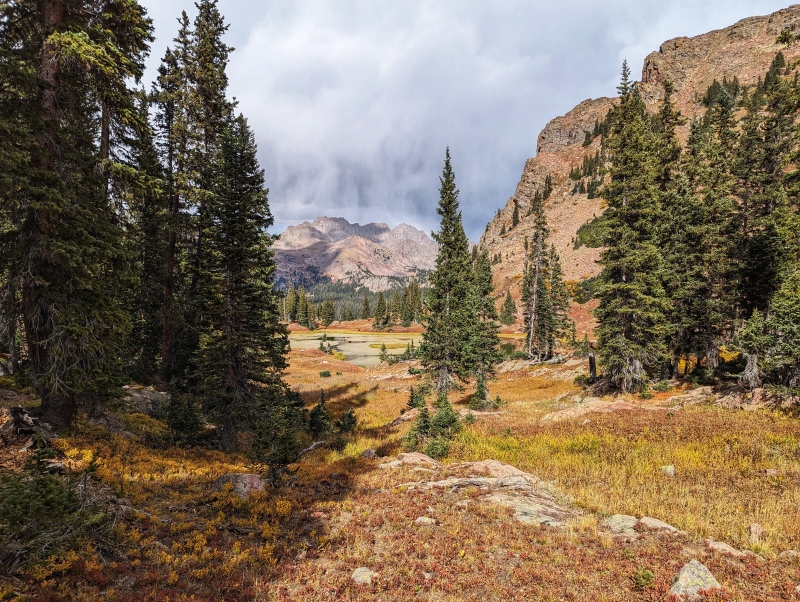
From the summit of West Deming, an unmarked trail will appear that switchbacks down into the basin below West Deming's NW Face. Continue following the low-angle ridge around to the gully and descend the switchbacks - the switchbacks are loose, but manageable. From the bottom of the switchbacks, follow a creek bed for brief period of time, splitting out to the right towards a series of small grassy lakes/tarns. This terrain would likely be very marshy in early summer, but was perfectly supportive and dry in late September! We weaved through small tarns and lakes on mostly flat terrain until we reached the largest (last) lake before the terrain begins a steeper descent back into the Gore Creek Drainage. At the last lake, do NOT follow the creek, continue to circle around the backside of the lake, accessing a broad, tree-free gully. There's a rock rib that separates the gully into a left and right side. We descended the left, following a faint trail that eventually switchbacks back over to the right at the terminus of the rock rib. Continue following the faint trail (you may loose it at times, especially lower down) to Gore Creek. The GPX track should put you pretty much right on top of the trail! We were able to cross a rocky portion of the creek without any concerns of getting our feet wet and were back on the trail a few minutes later. With good route finding, this 'off-trail' route is painless!
Route Information (Gore Creek):
Mileage: Approximately 15 Miles (16 Miles w/ Deming) Elevation: Approximately 4500' (5300' w/ Deming) Class: 4 Time to Complete: 9 Hours
Exposure: High Rockfall: Medium Route-Finding: High Commitment: Medium
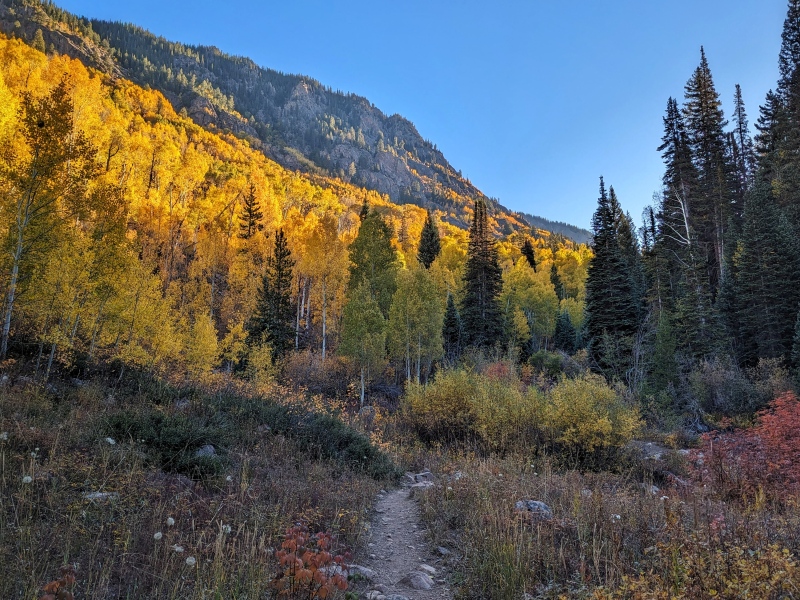
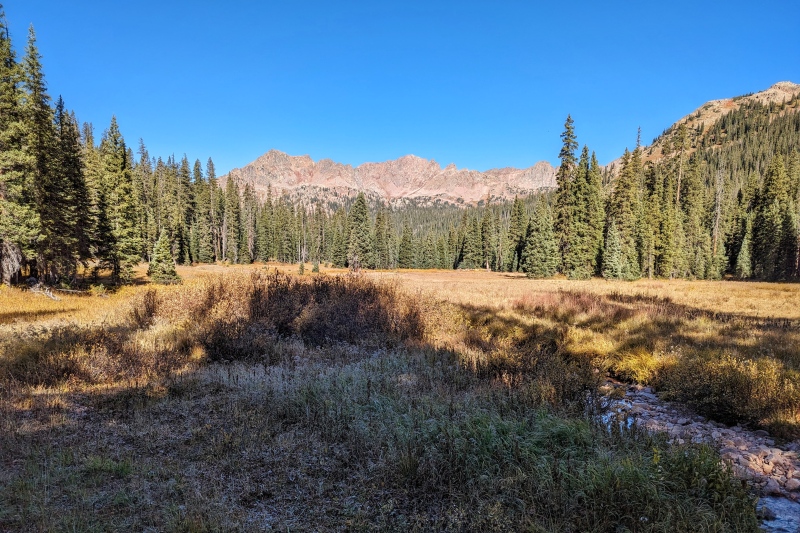
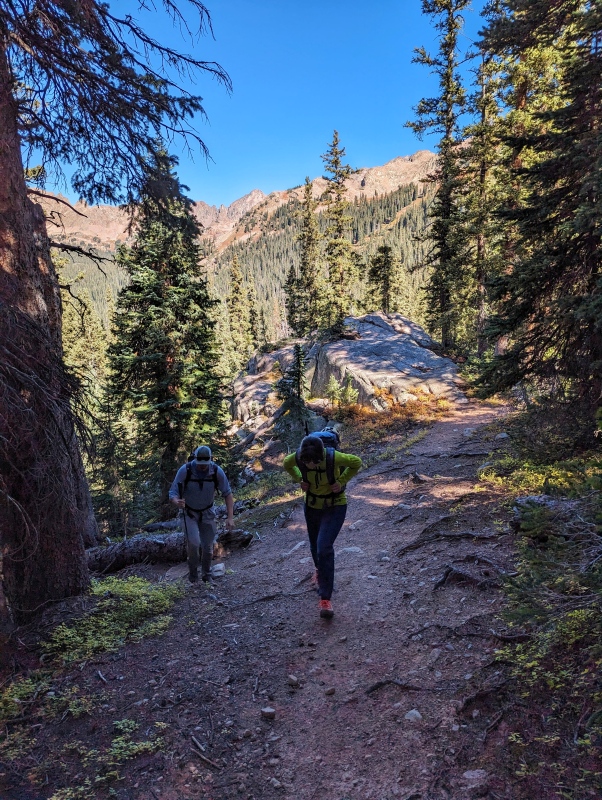
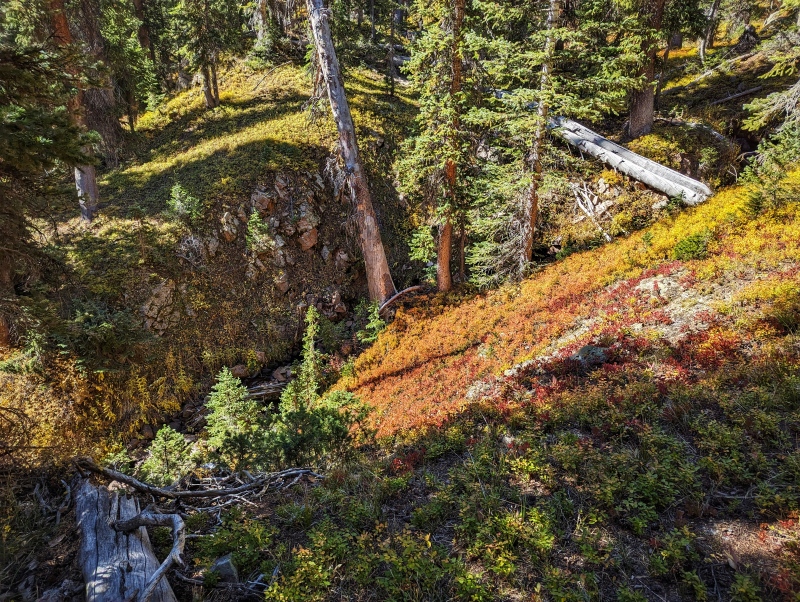
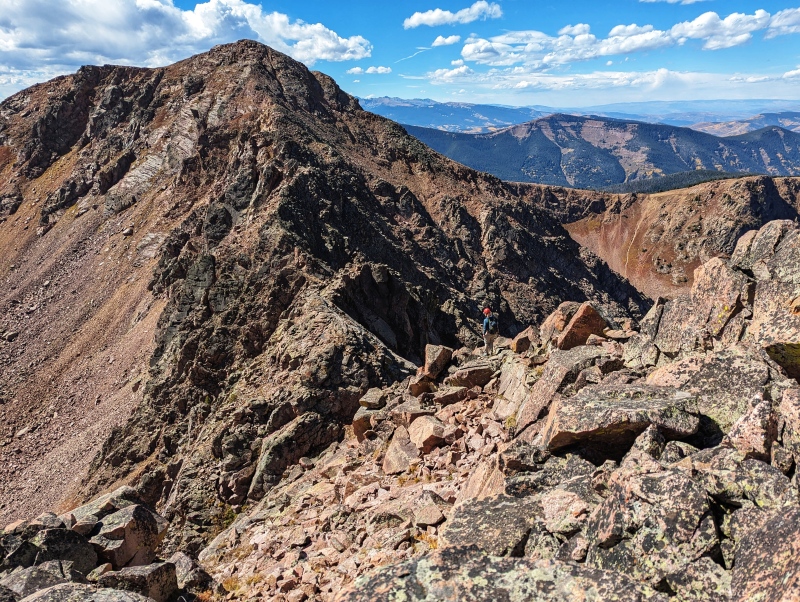
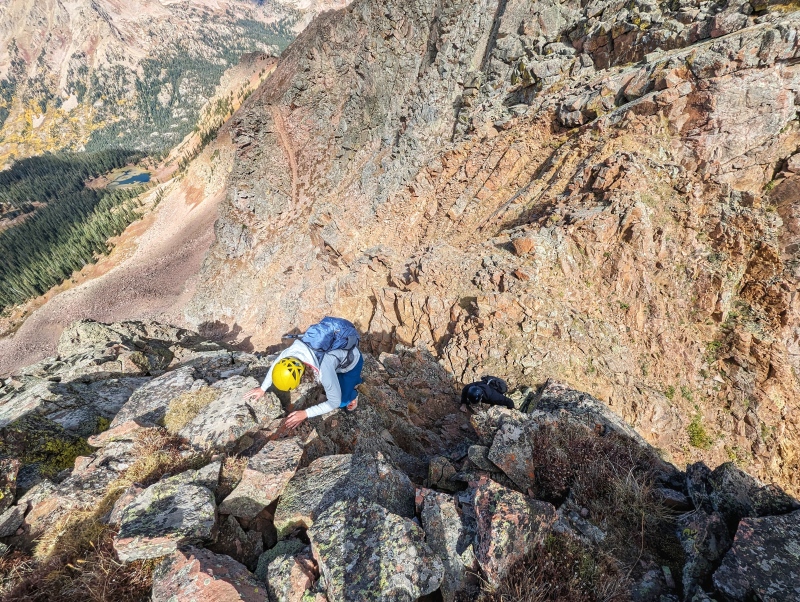
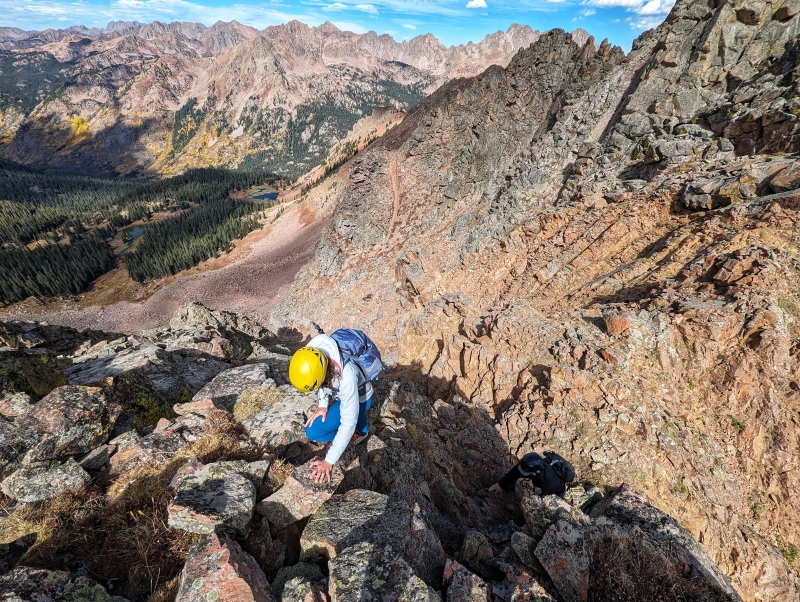
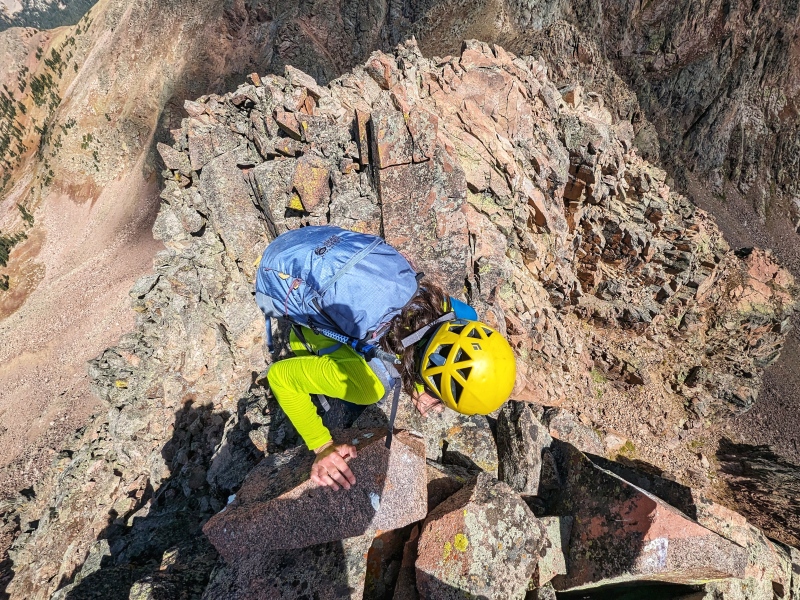
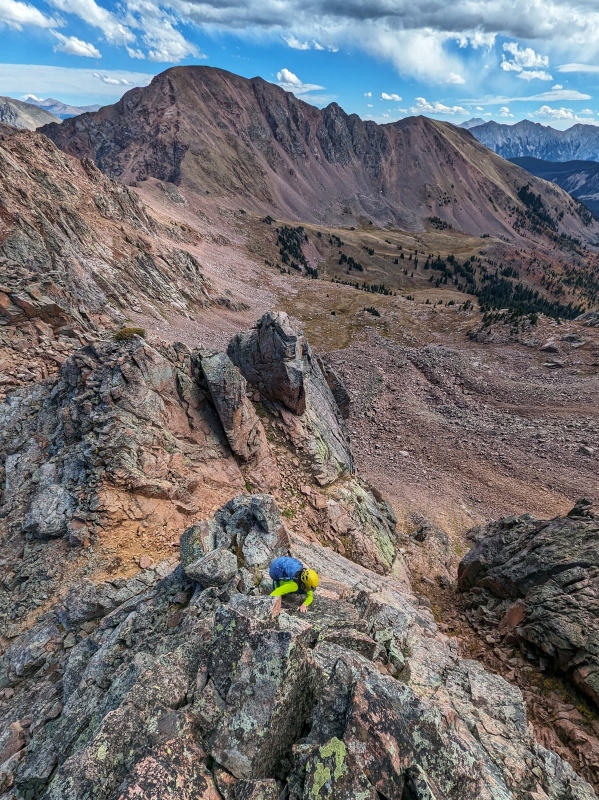
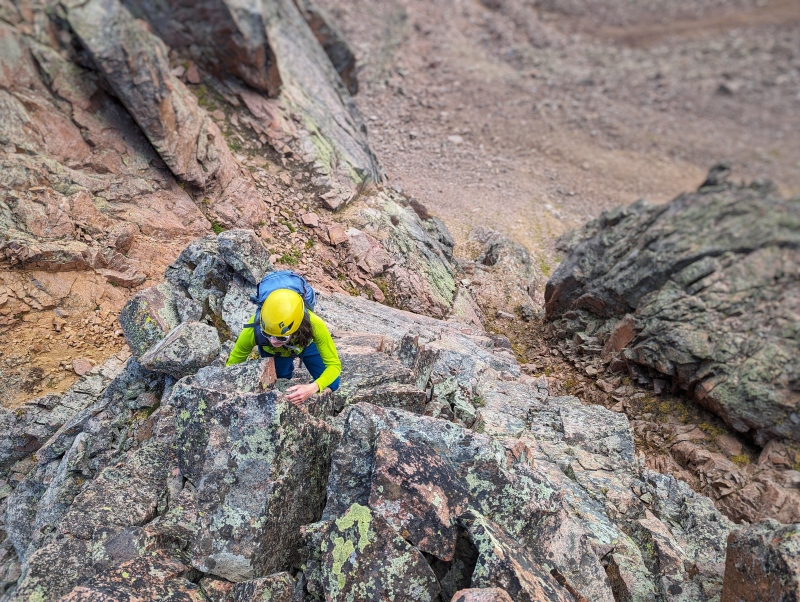
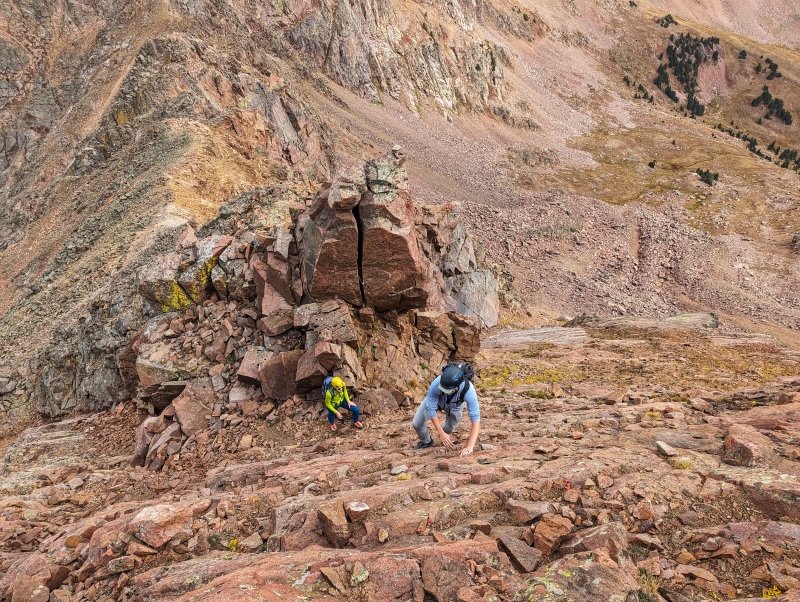
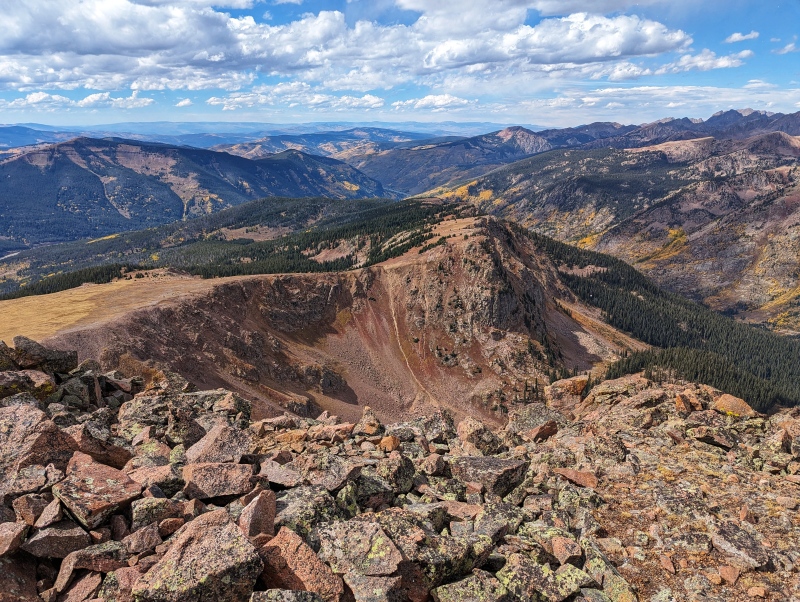
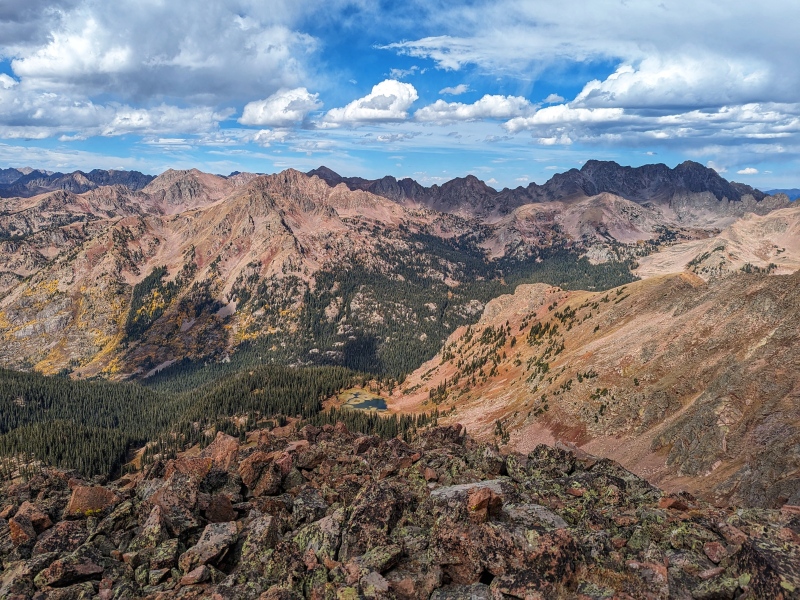
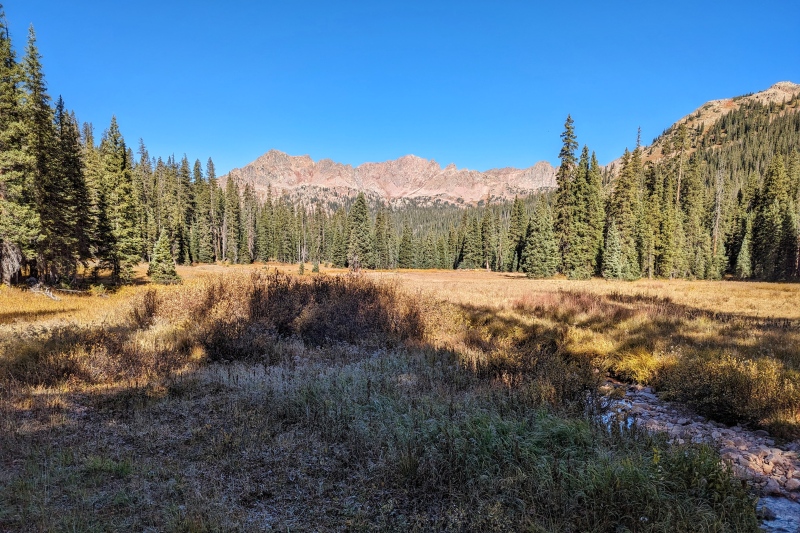
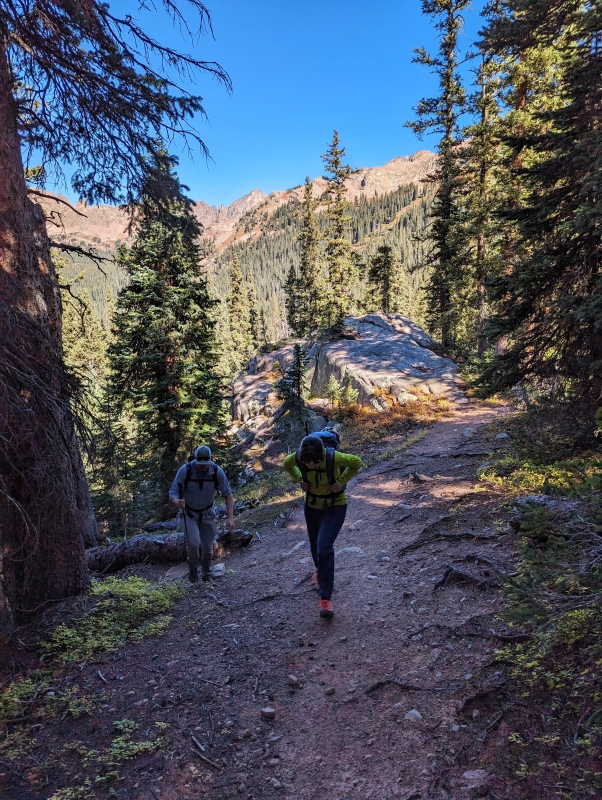
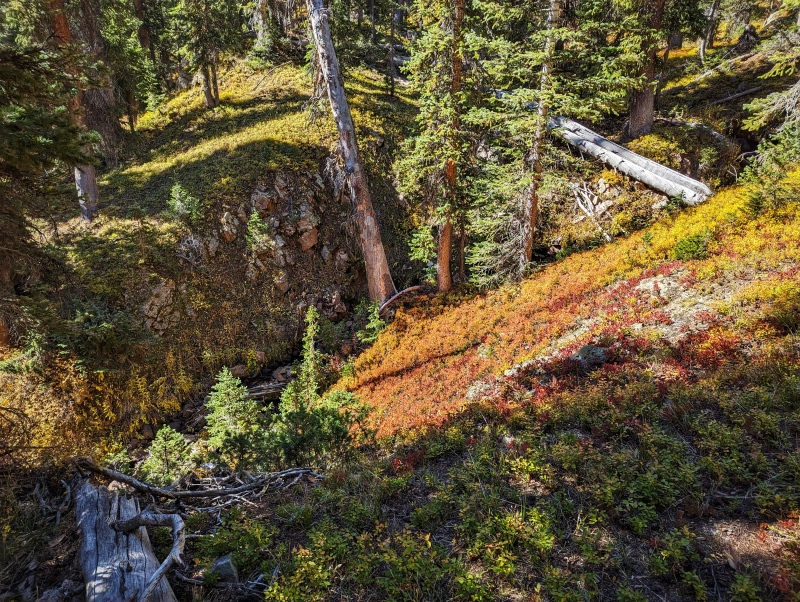
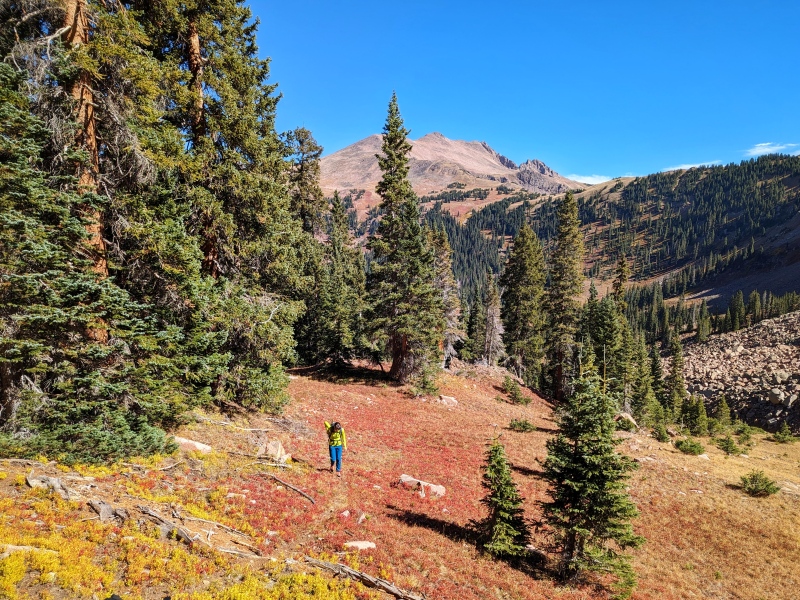
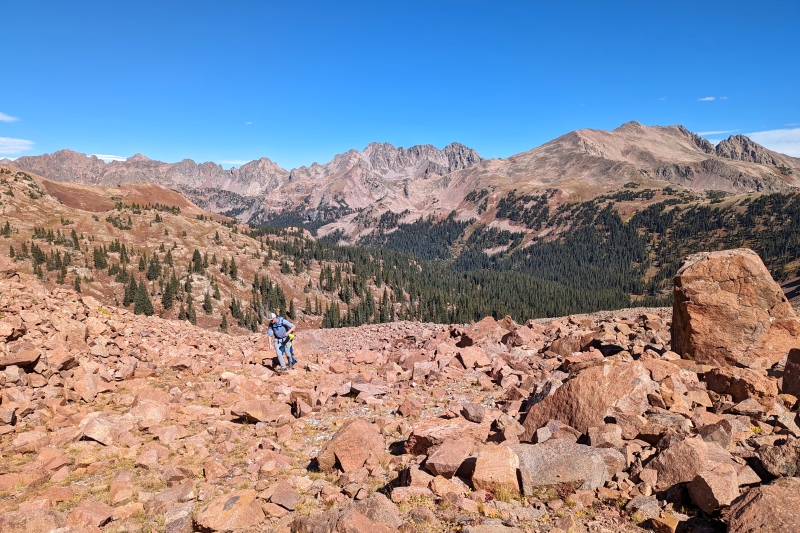
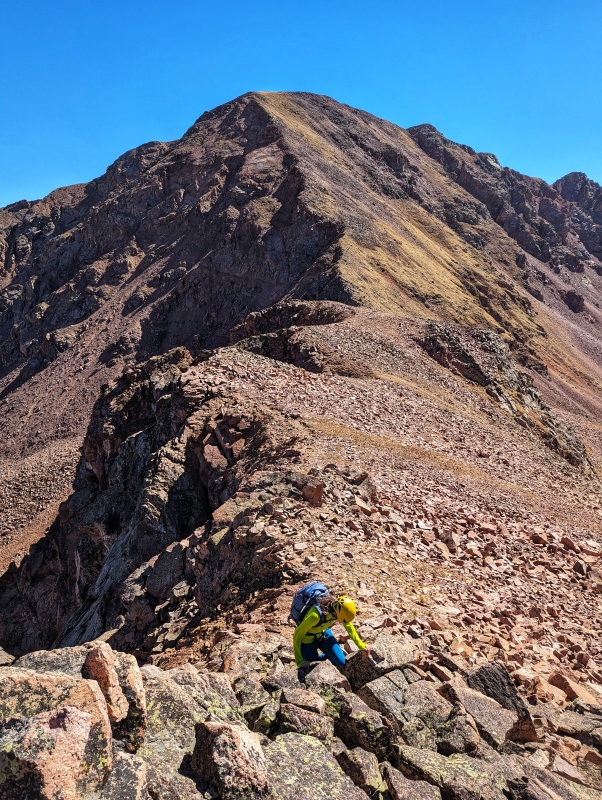
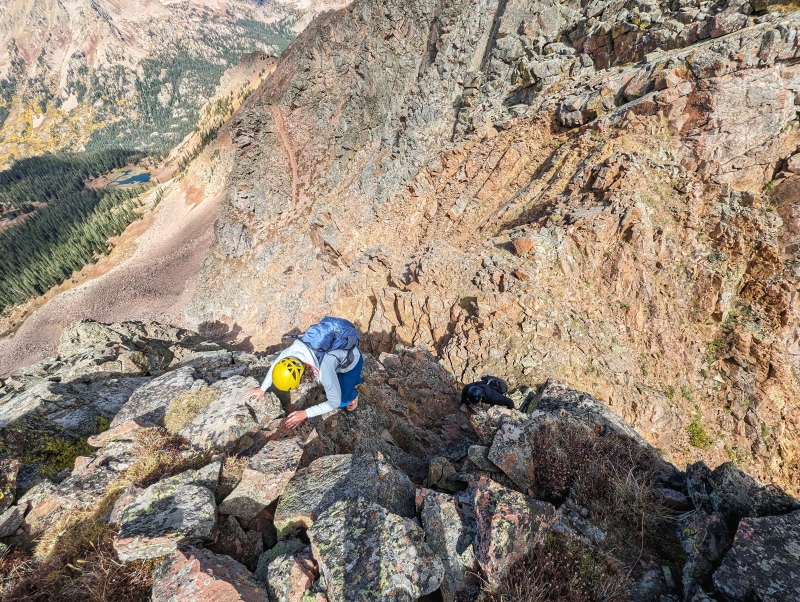
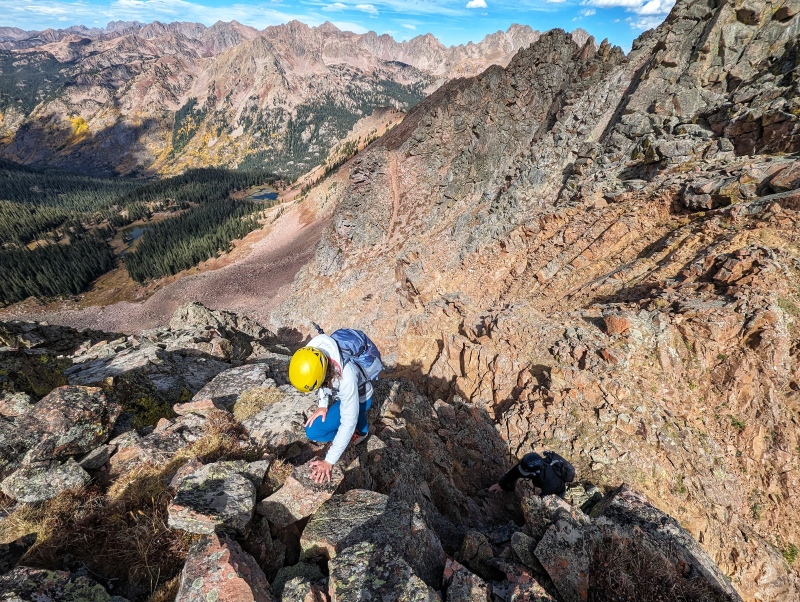
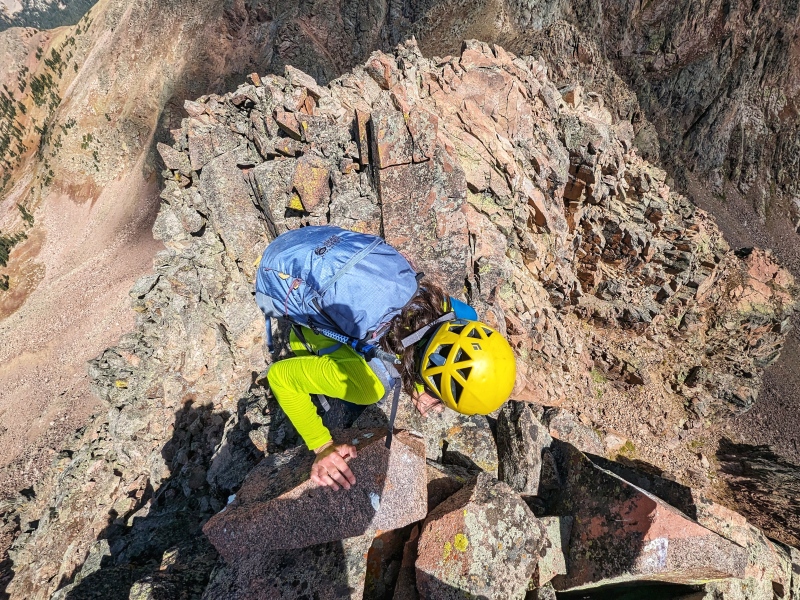
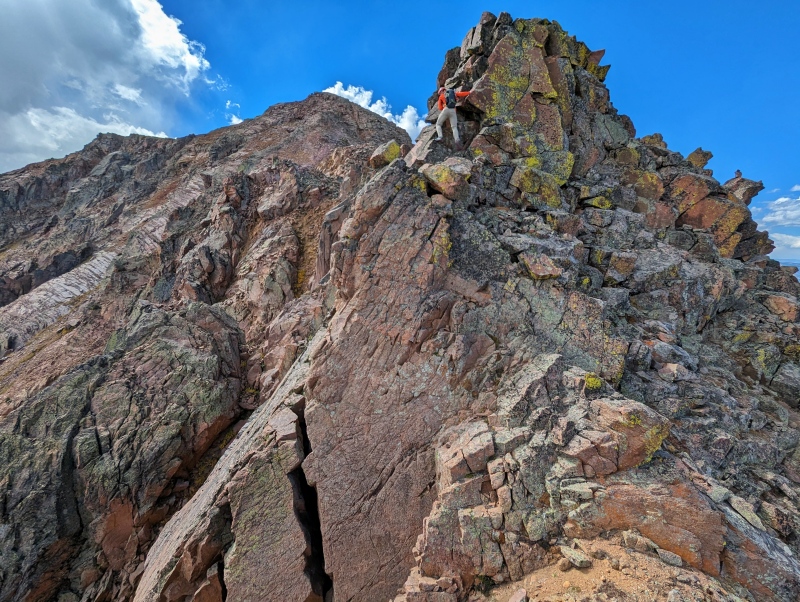
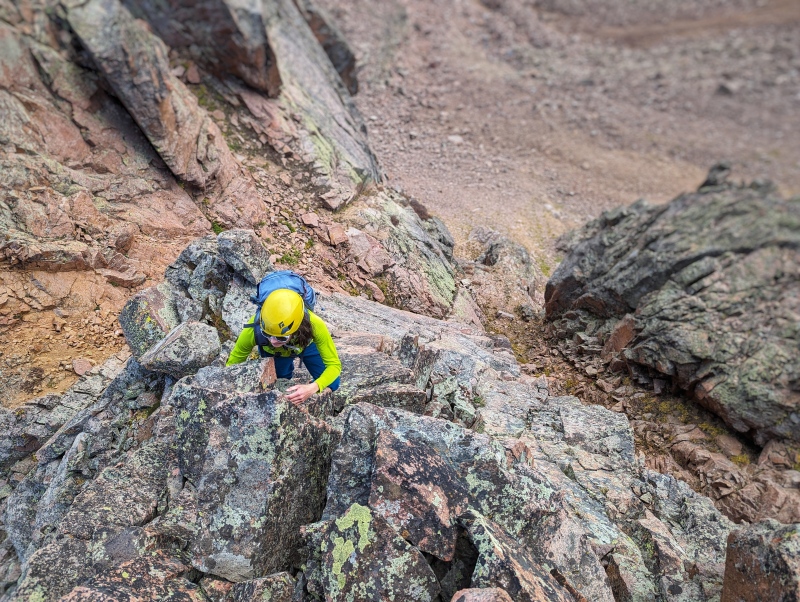
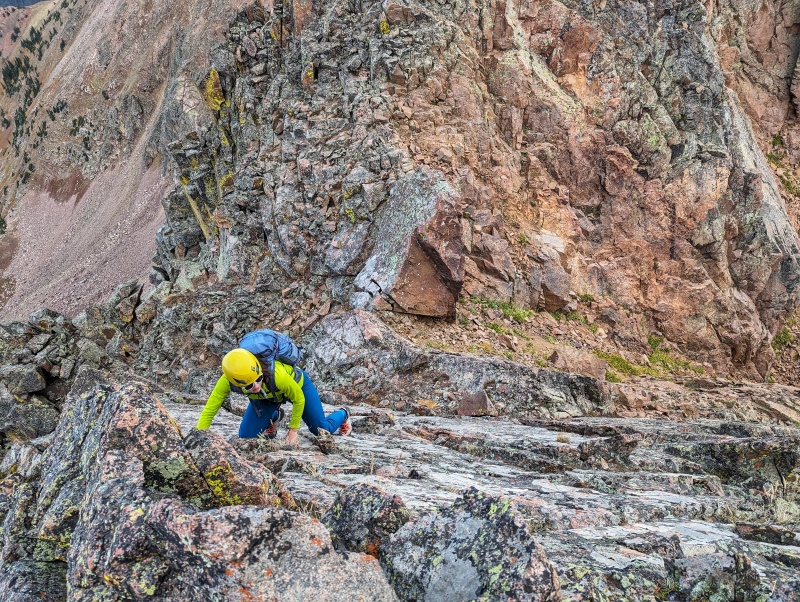
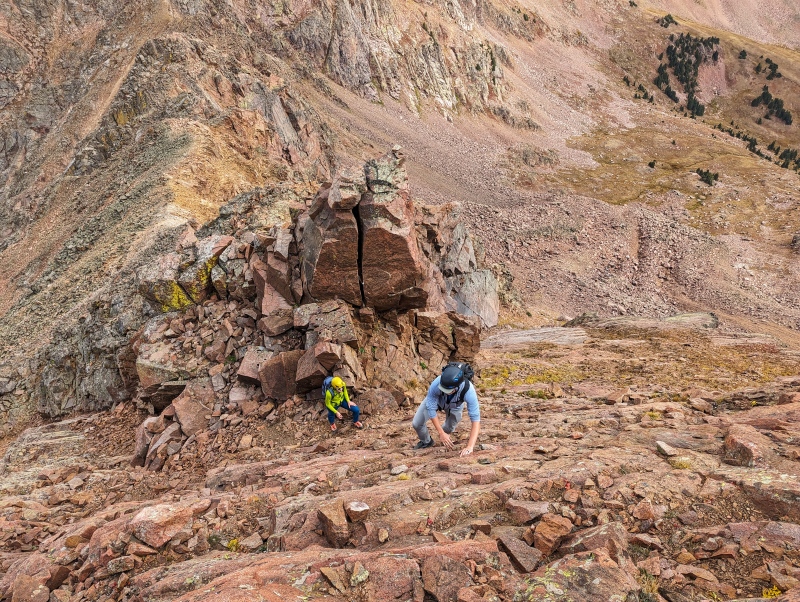
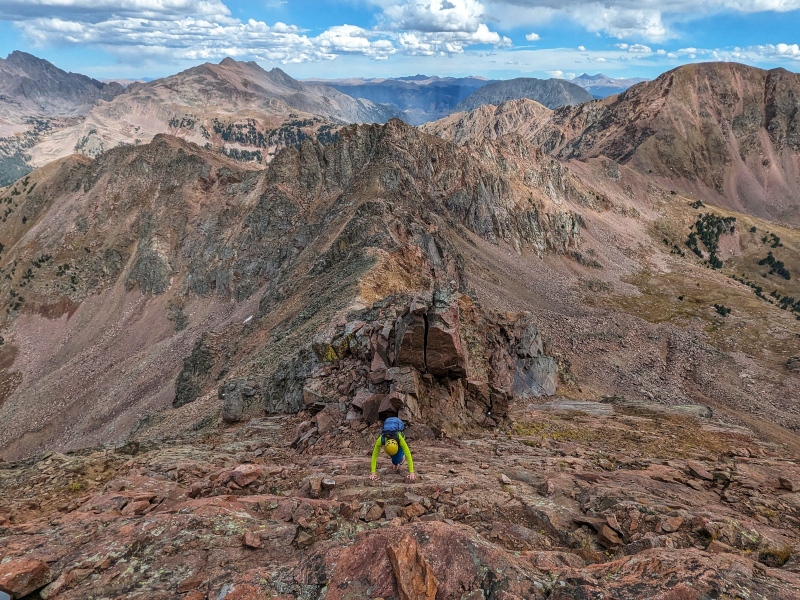
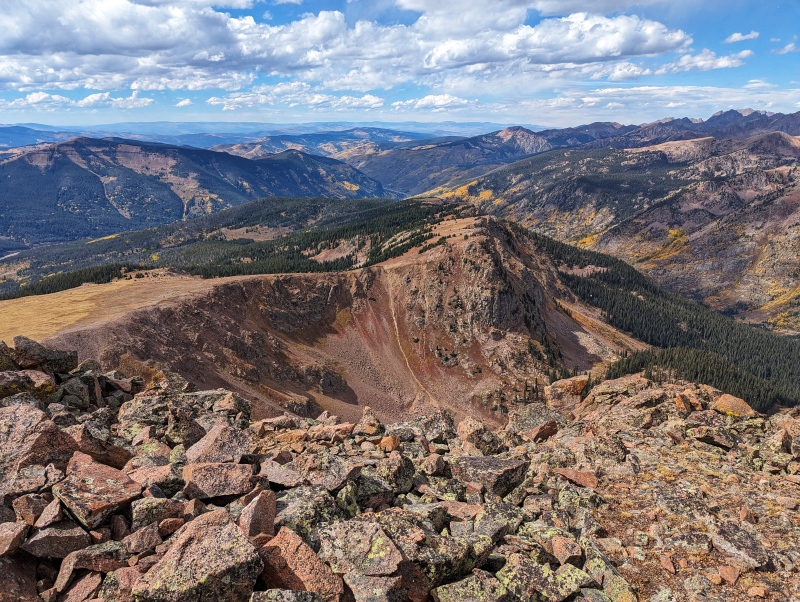
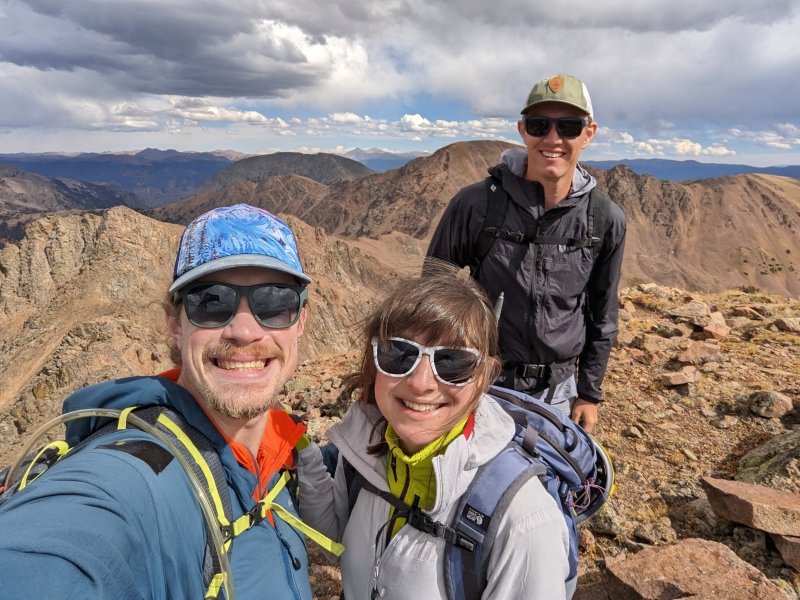
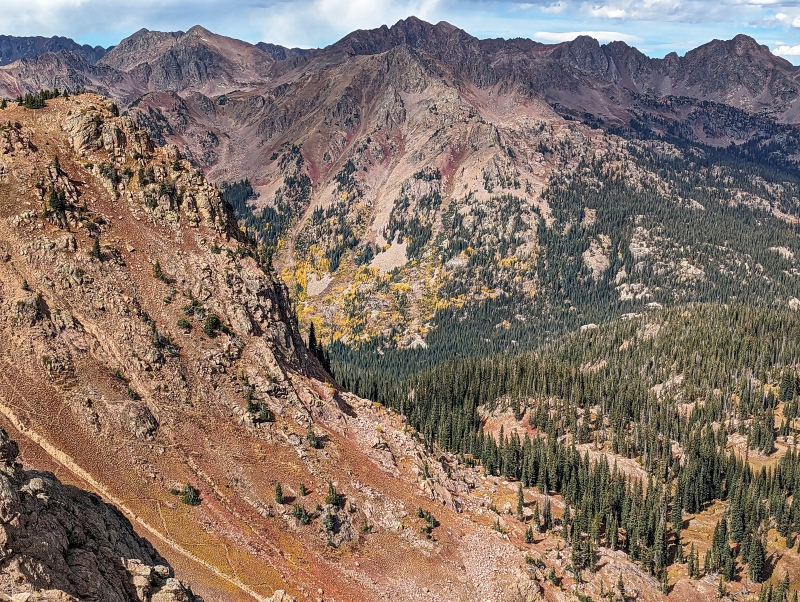
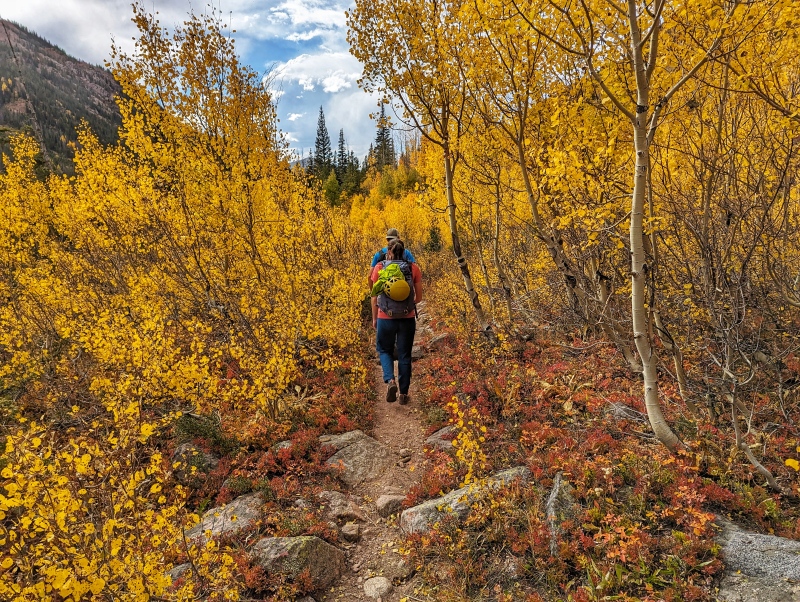
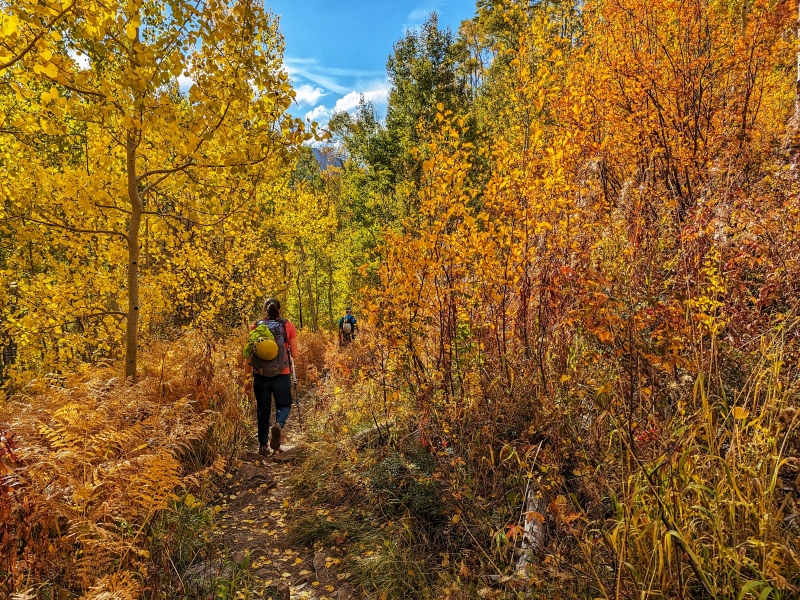
Starting up the Gore Creek TrailA beautiful meadow past the junction with the Gore Lake Trail with great views of Snow, Sleet, and Hail Peaks (I Think).Beautiful fall colors - looking down on the creek bed from the lower-angle terrain higher up.Red Peak A and B in the backgroundGaining the saddle between Deming and West DemingStarting the optional scrambling - Deming Mountain in the backgroundWhy do the optional scrambling? I'm glad you asked - it's because the rock is solid, confidence inspiring, and fun!From here on - stay ridge proper! Or don't. Everything that looks like it goes, does. If it doesn't look like it goes, there's almost always a chill bypass to one side or another. I believe there were cairns marking the bypasses, but we ignored them in favor of more fun terrain.Spiky boisThis part was fun and pretty exposed. The move on the other side of this boulder was probably the most committing of the route, but was also fun!We had to squeeze through a rock crack somewhere in here (involved taking off the backpacks). I don't remember where, you'll know it if you find it.WeeeeeeeeeeeeeeeeeAround the mid point of the ridge, there's a large grassy tower that's a chill walk-up. The backside has some fun class 3/4 downclimbing. Alternatively, you can bypass the tower entirely on the left side. I believe this is marked with cairns. This photos is from the top of the tower, looking out at the remaining ridge traverse.Looking down the Gore Creek Drainage towards Vail. This is your exit basin. The gully to access the basin is the reddish/brown area in the left side of the photo. You can also see the lakes, which you'll contour around on the far side.Coming off of the mid-point tower.I believe climbing out of this notch was the only mandatory class 4 move, but I could be wrong. Hard to find the crux of the route when you don't bypass any of the fun stuff.Another photo with the Gore skylineA spiky tower somewhere in there (optional)The most exposed tower - note the very easy bypass on the right... I love those easy bypassesI love to wave at them as they pass byLooking down from the top of the towerAnother view of the exposureAnother small tower after the big one with some excellent scrambling opportunitiesGotta love the Gore!Some snow showers moving in - after the last tower, it's a chill class 2 ridge walk to the summit headwall. You could probably keep the summit headwall at class 2 if you circled around, but the direct approach is Class 3/4-Looking down the headwall - we bypassed the cracked boulder, but you could probably crack climb down it if you really wanted some contrived scrambling.Topping out on the headwallDescent gully is front and centerPretty mountains - the last and largest of the lakes you'll circumvent is in the middle of the photo. Your descent path will take you through the area of sparse trees where the terrain will roll over into a gully.This one is a bit repetitive, but oh wellSummit!SwitchbacksLooking back up at the descent gullyWe got snowed on a little bit - honestly just added to the experienceYour descent gully down into the drainage below is right on the other side of the lake... there were also some camping spots and old fire pits.At the edge of the descent gullyLooking down the left branch of the bully. There's a brief Class 3 section in the boulders, but it's chill from there. The trail cuts right through the trees at the bottom into the right branch of the gully.Back on the trail!More pretty AspensLast one!
GPS Track(s) on Google Maps (made from a .GPX file upload):
I was wondering what that traverse was like, now I know and I like it. Thanks for posting.
Caution: The information contained in this report may not be accurate and should not be the only resource used in preparation for your climb. Failure to have the necessary experience, physical conditioning, supplies or equipment can result in injury or death. 14ers.com and the author(s) of this report provide no warranties, either express or implied, that the information provided is accurate or reliable. By using the information provided, you agree to indemnify and hold harmless 14ers.com and the report author(s) with respect to any claims and demands against them, including any attorney fees and expenses. Please read the 14ers.com Safety and Disclaimer pages for more information.
Copyright: Route information, text, risk factors, maps, GPX files, charts, photos, 14ers.com-created map imagery, flythroughs, and other content provided in this route description are copyrighted by 14ers.com and may not be copied, reproduced, republished, distributed, modified, or used to create derivative works without prior written permission.
Please respect private property: 14ers.com supports the rights of private landowners to determine how and by whom their land will be used. In Colorado, it is your responsibility to determine if land is private and to obtain the appropriate permission before entering the property.