Download Agreement, Release, and Acknowledgement of Risk:
You (the person requesting this file download) fully understand mountain climbing ("Activity") involves risks and dangers of serious bodily injury, including permanent disability, paralysis, and death ("Risks") and you fully accept and assume all such risks and all responsibility for losses, costs, and damages you incur as a result of your participation in this Activity.
You acknowledge that information in the file you have chosen to download may not be accurate and may contain errors. You agree to assume all risks when using this information and agree to release and discharge 14ers.com, 14ers Inc. and the author(s) of such information (collectively, the "Released Parties").
You hereby discharge the Released Parties from all damages, actions, claims and liabilities of any nature, specifically including, but not limited to, damages, actions, claims and liabilities arising from or related to the negligence of the Released Parties. You further agree to indemnify, hold harmless and defend 14ers.com, 14ers Inc. and each of the other Released Parties from and against any loss, damage, liability and expense, including costs and attorney fees, incurred by 14ers.com, 14ers Inc. or any of the other Released Parties as a result of you using information provided on the 14ers.com or 14ers Inc. websites.
You have read this agreement, fully understand its terms and intend it to be a complete and unconditional release of all liability to the greatest extent allowed by law and agree that if any portion of this agreement is held to be invalid the balance, notwithstanding, shall continue in full force and effect.
By clicking "OK" you agree to these terms. If you DO NOT agree, click "Cancel"...
Prelude: Brief summary of this route... It's scary, but it's there. I wouldn't do it again, but it was worth doing once. Gina and I both got sick around the middle of last week and had to cancel our flight out to Montana where we were originally going to climb Granite and Cowen with friends. Once we were feeling a bit better (not by a lot, but at least a little), we felt comfortable tackling a mountain or two... plus, we didn't want a 5-day weekend that we'd both planned vacation time for to go entirely to waste. I'd been wanting to get out to this area for a while to get eyes on the Truro Traverse, Tabor, etc. We couldn't find much beta for Anderson's NE ridge, outside of a TR that briefly mentioned two folks who split off to tackle the ridge - describing it as Class 3/4 along the ridge proper... Having scrambled it, I disagree. The true "ridge proper" would require stout 5th class climbing up the summit block. That being said, it's a short ridge romp that's high on excitement, but it ended up being a bit more than we bargained for and definitely rustled our jimmies.
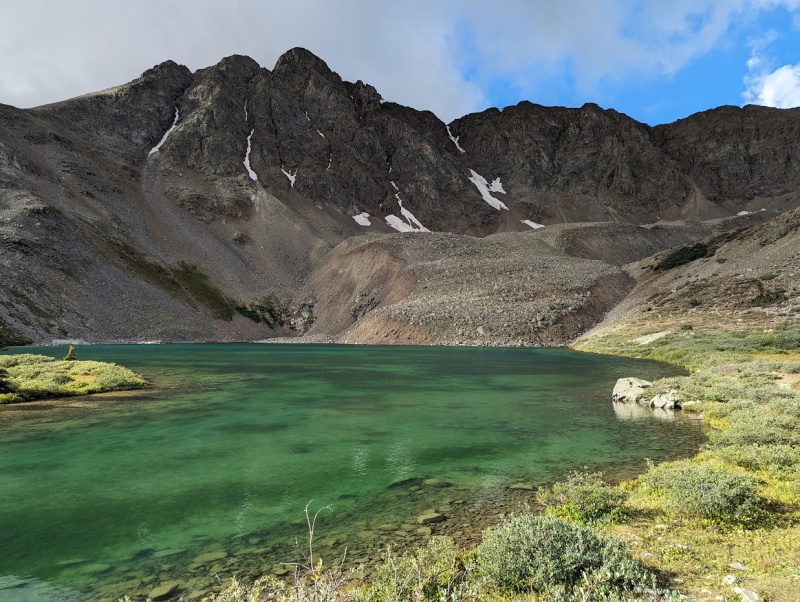
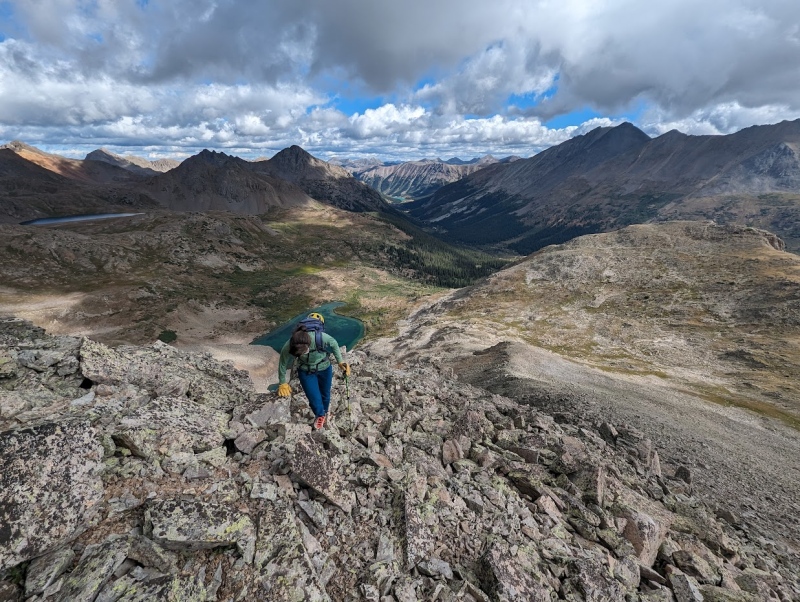
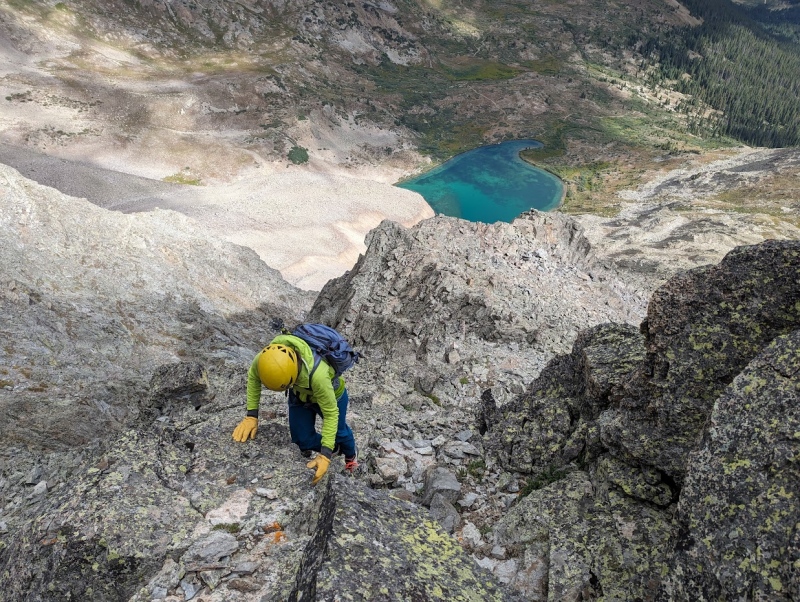
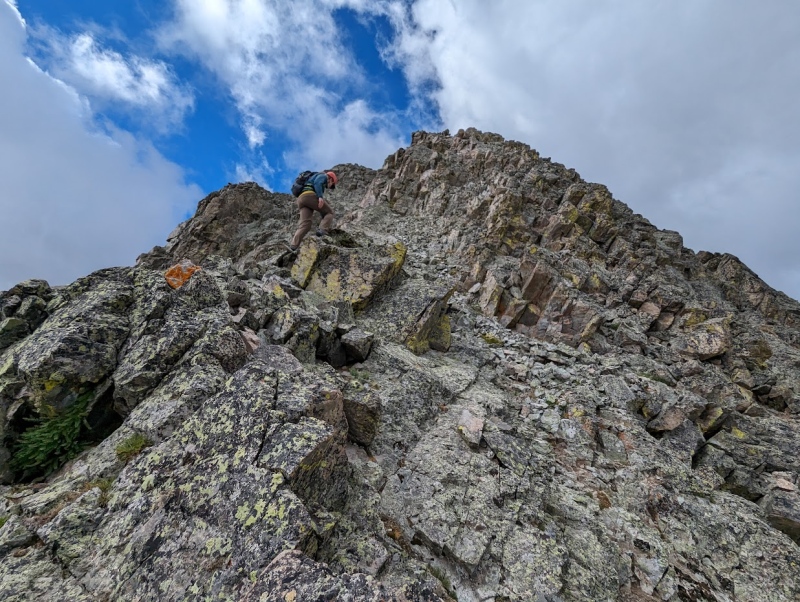
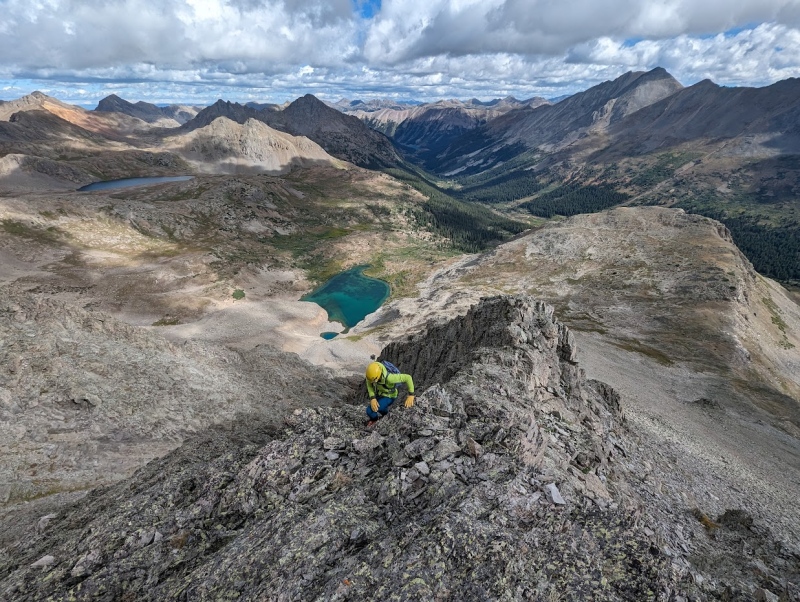
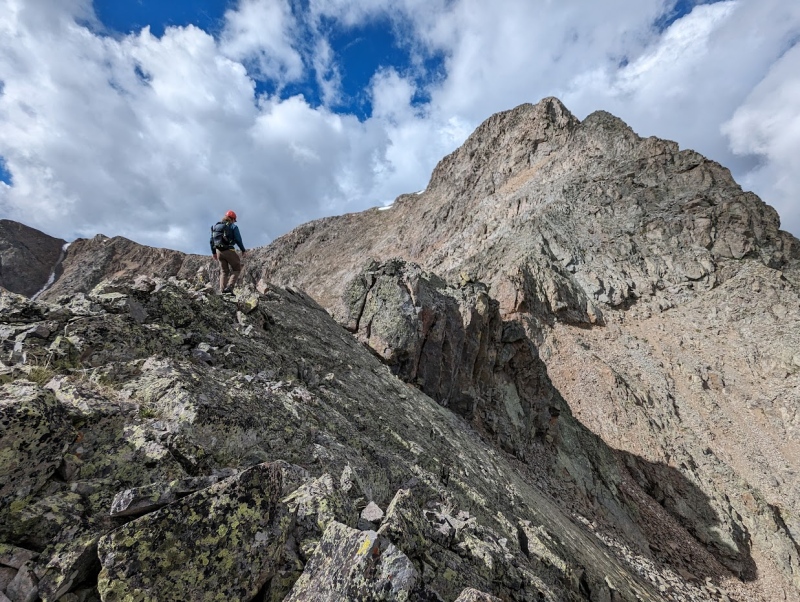
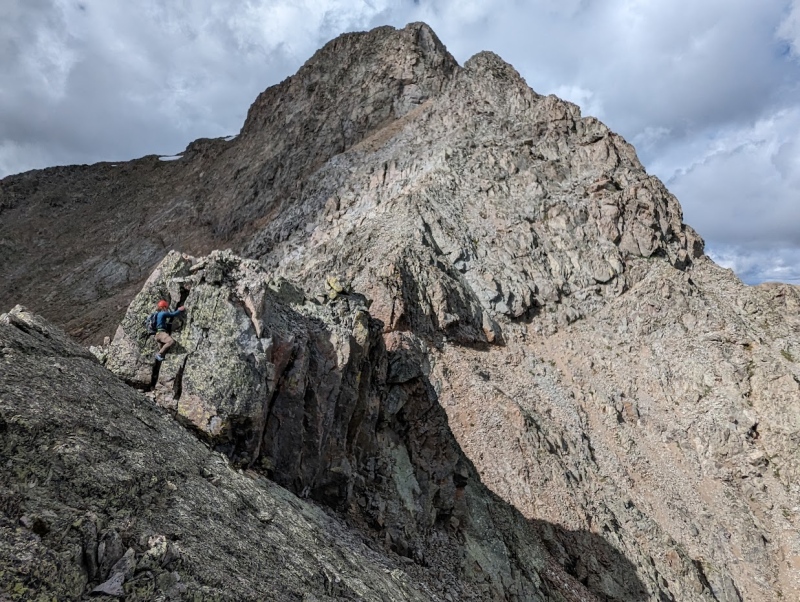
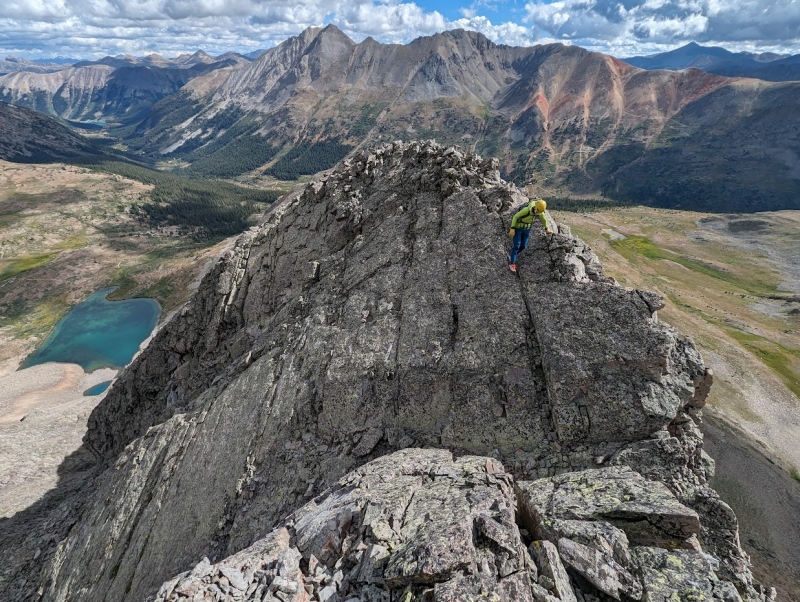
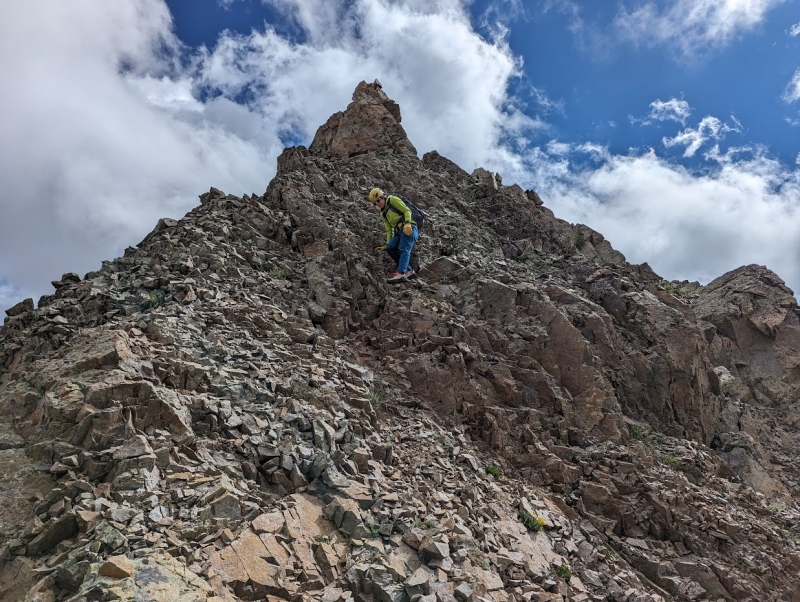
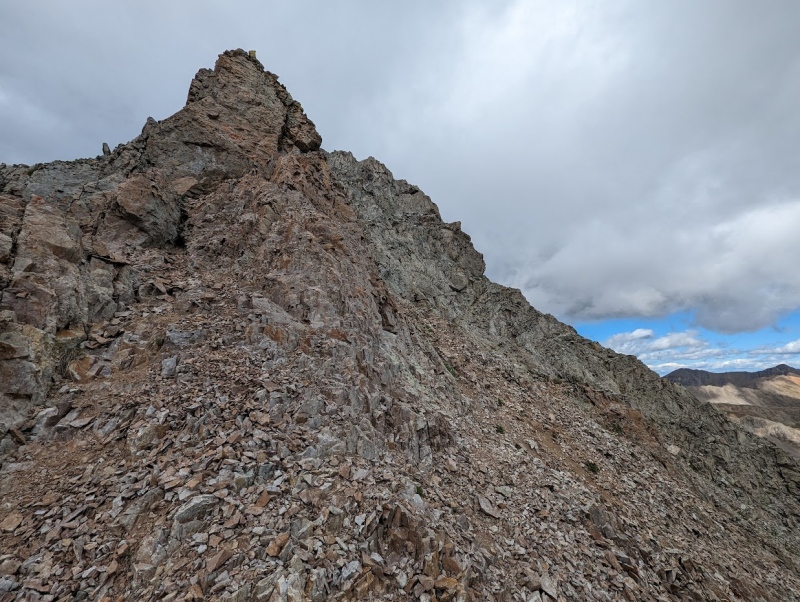
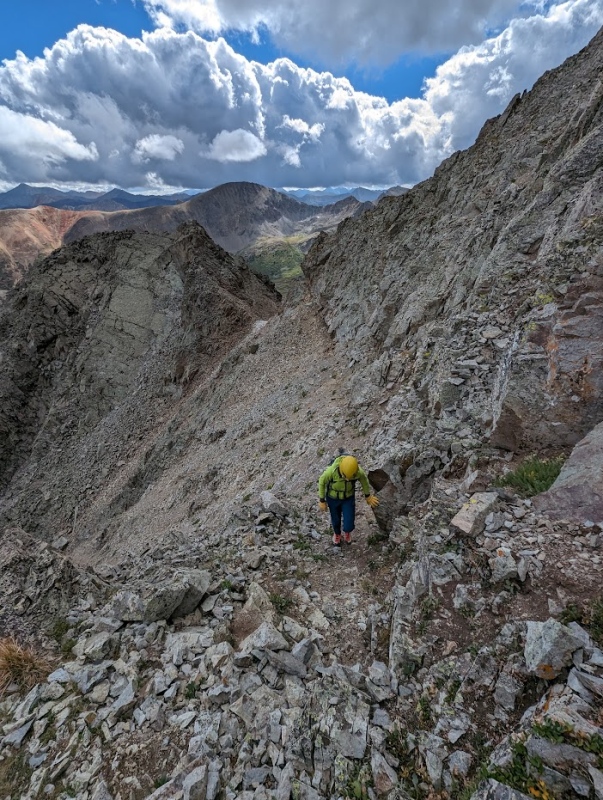
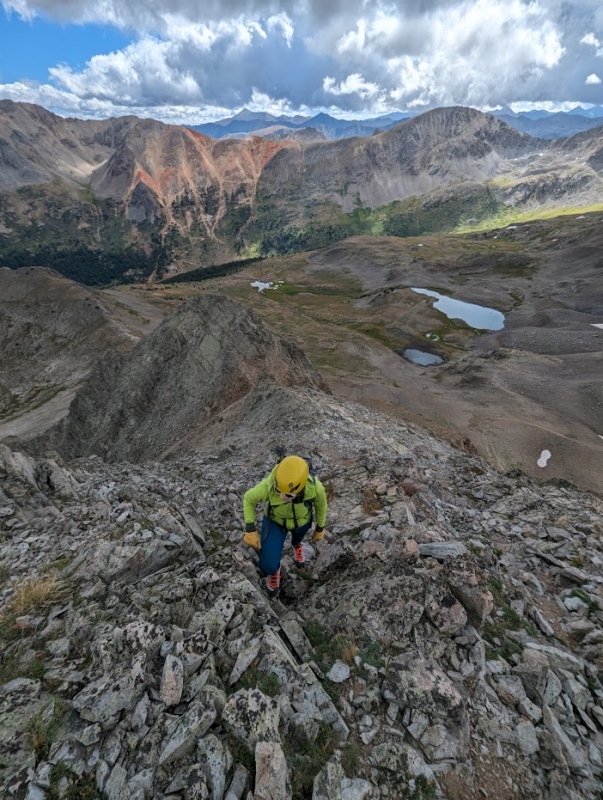
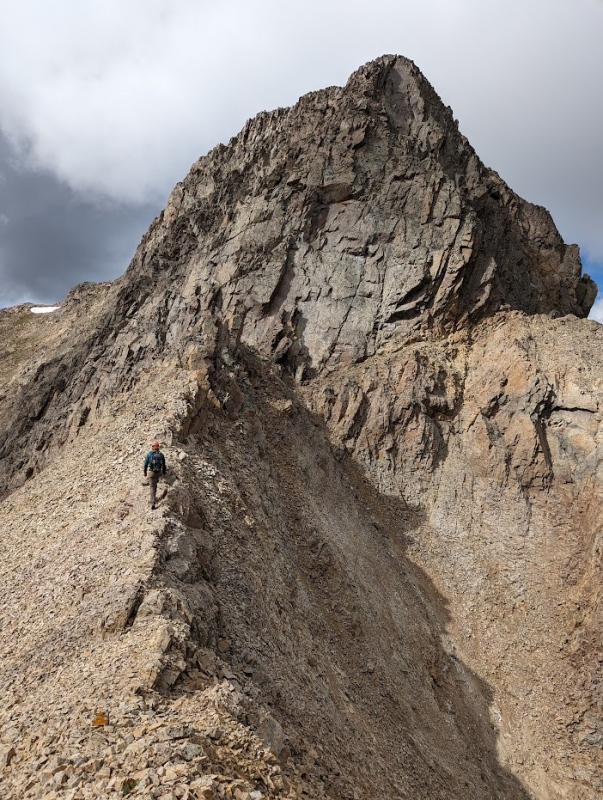
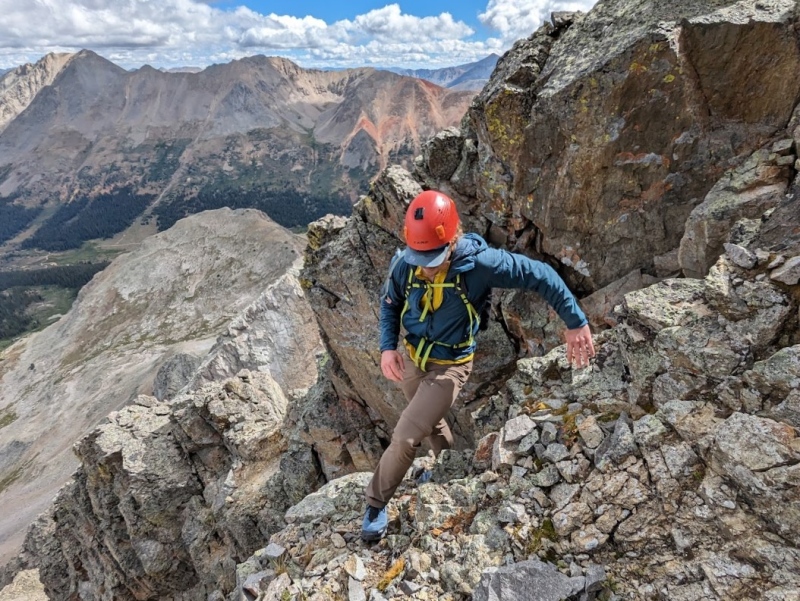
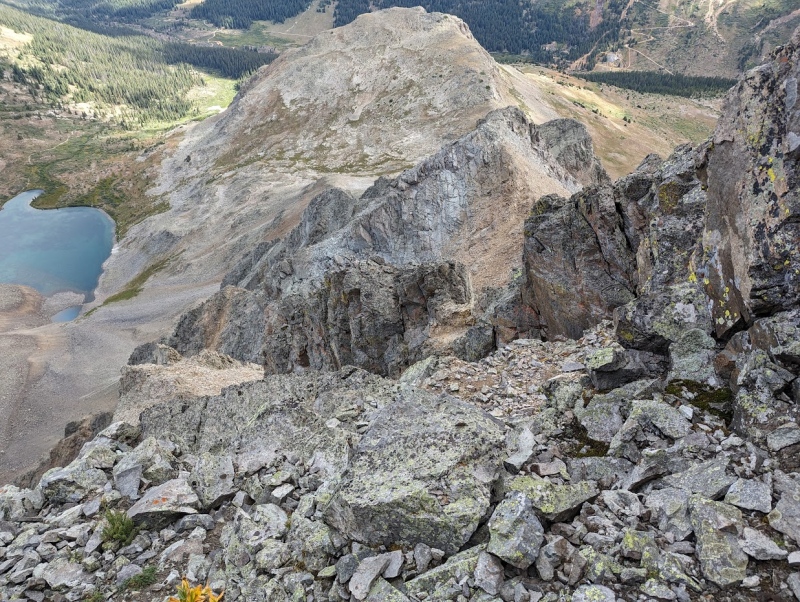
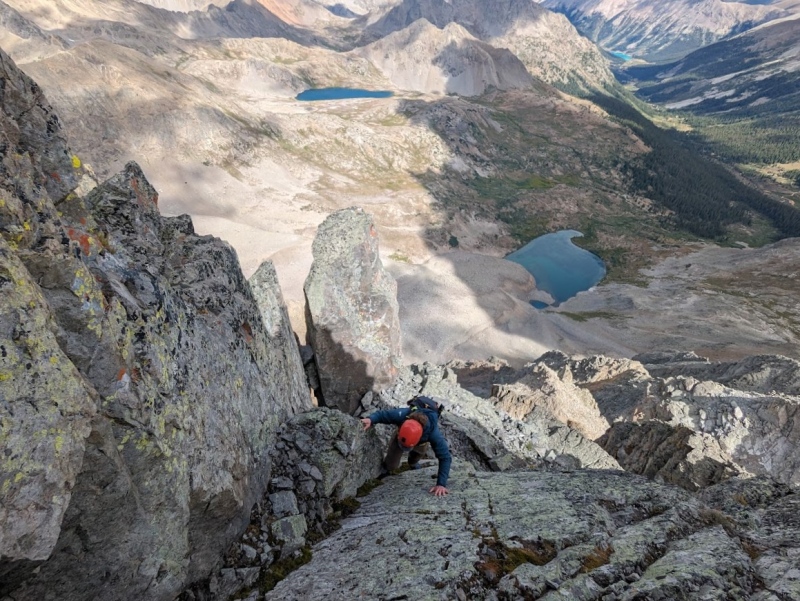
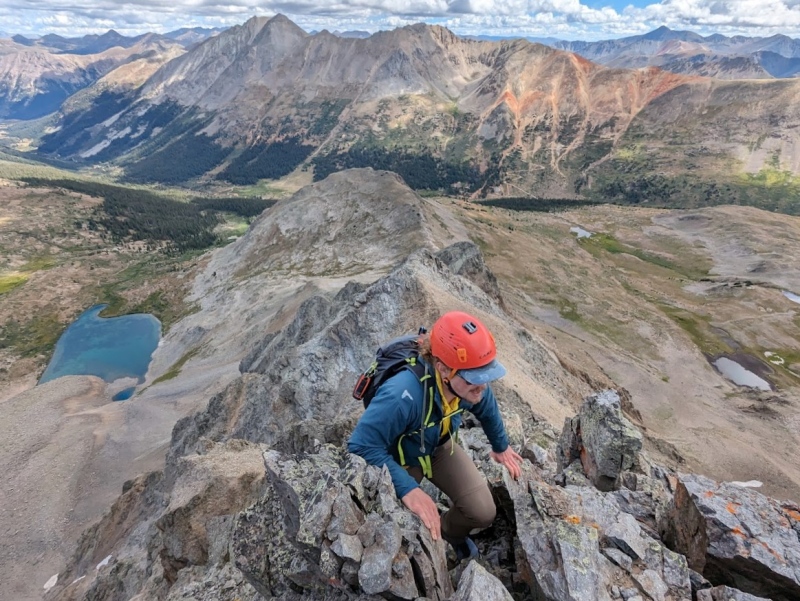
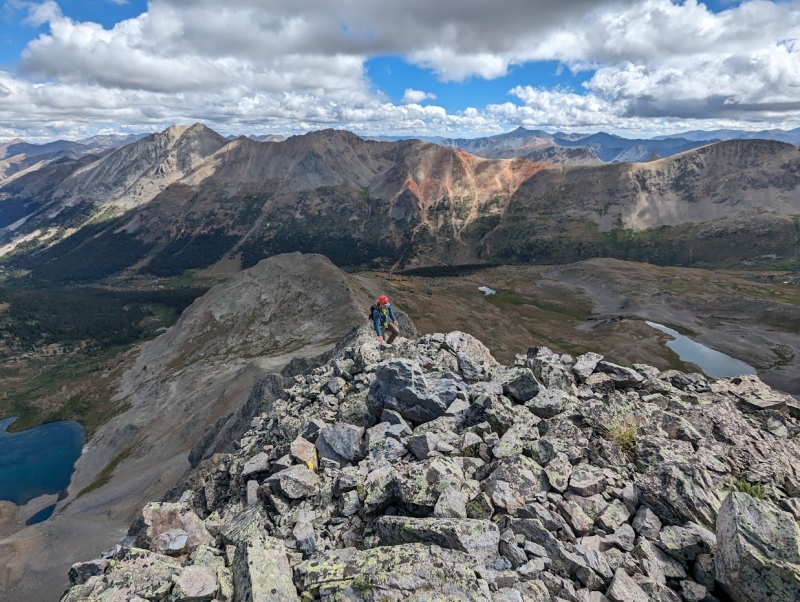
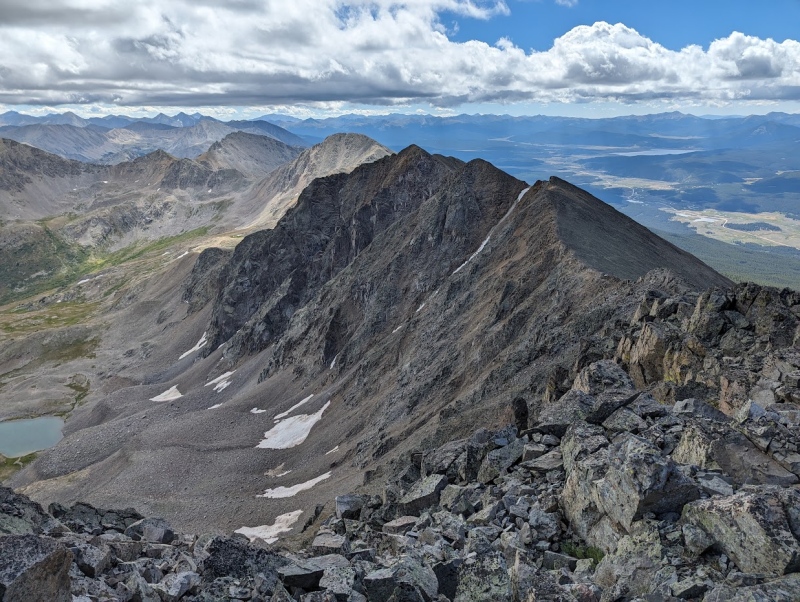
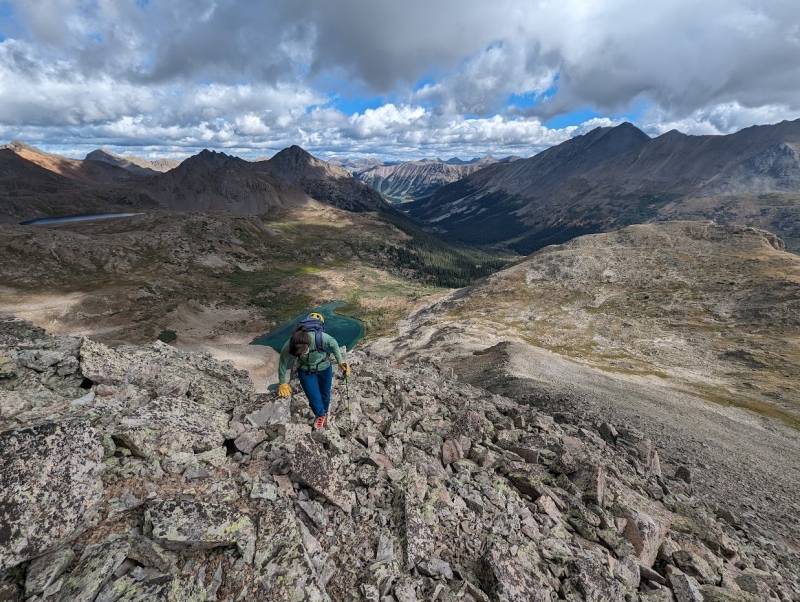
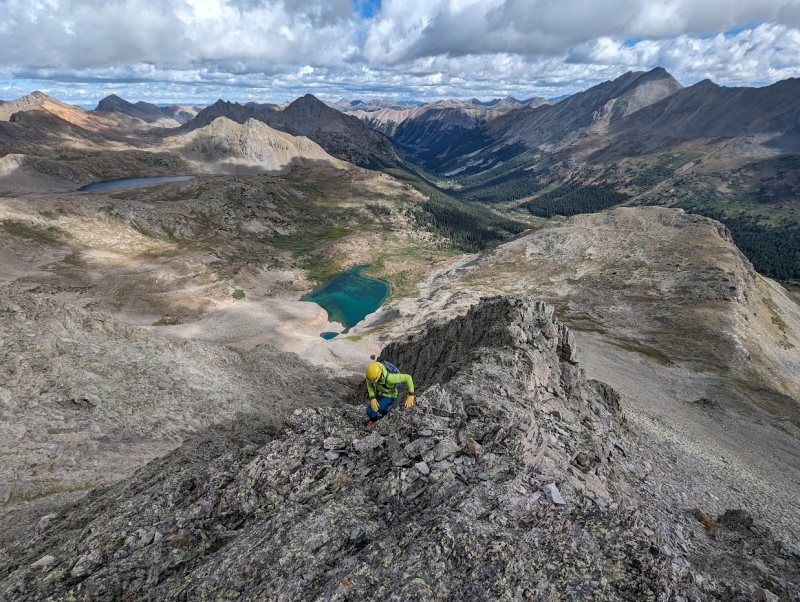
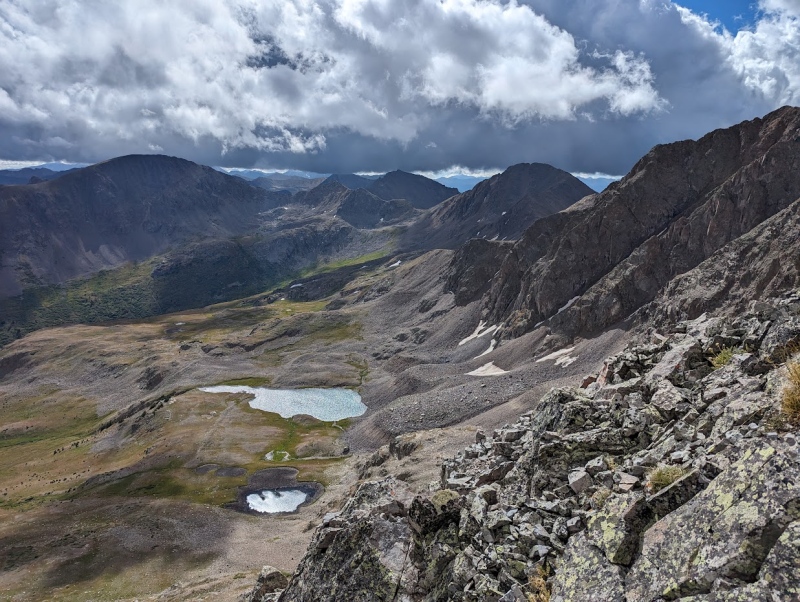
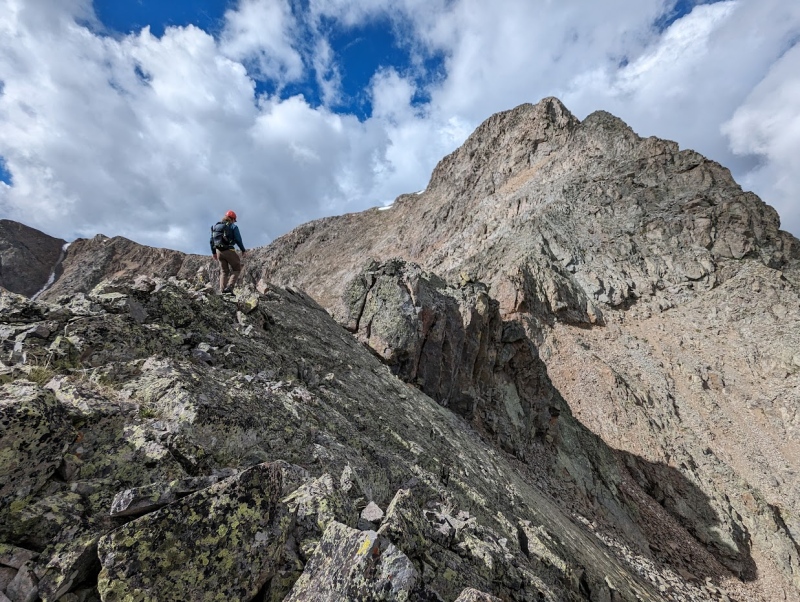
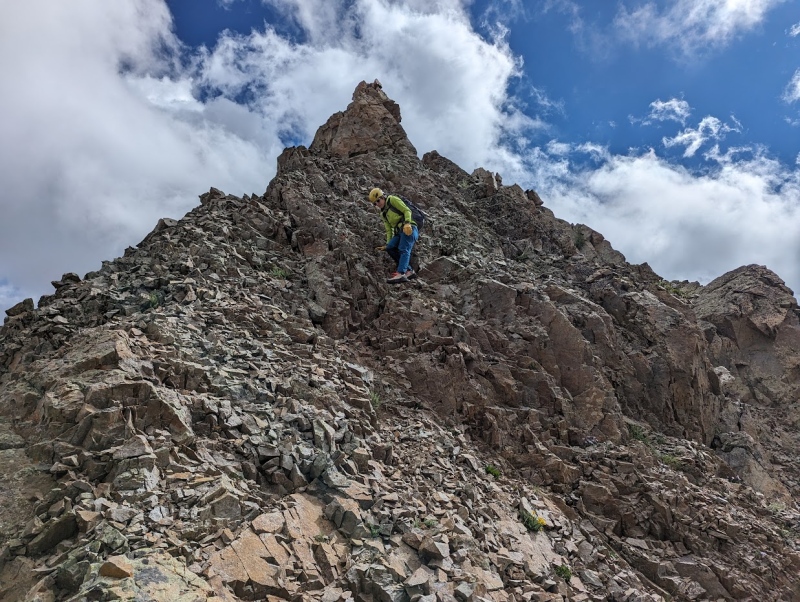
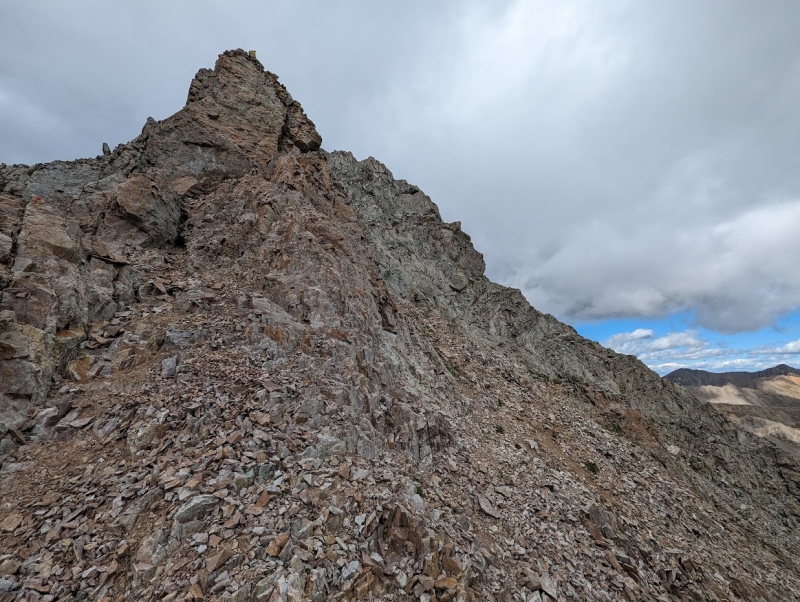
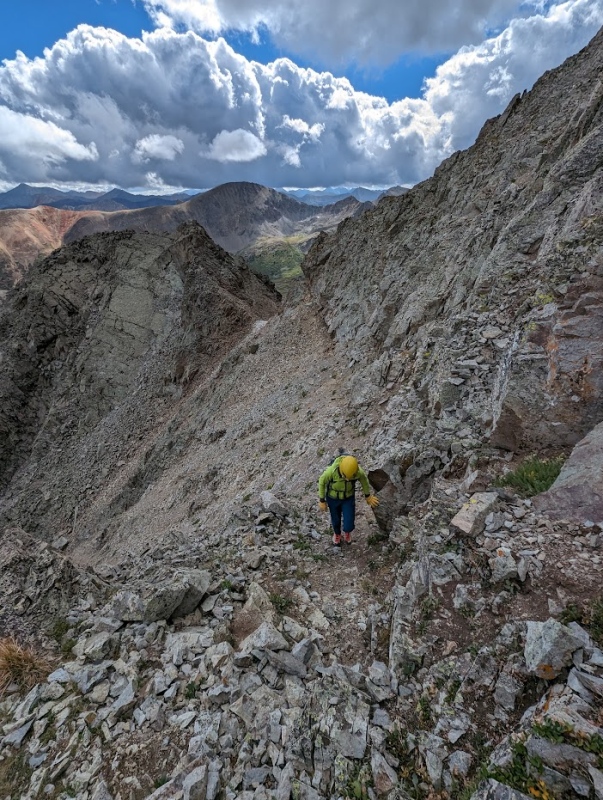
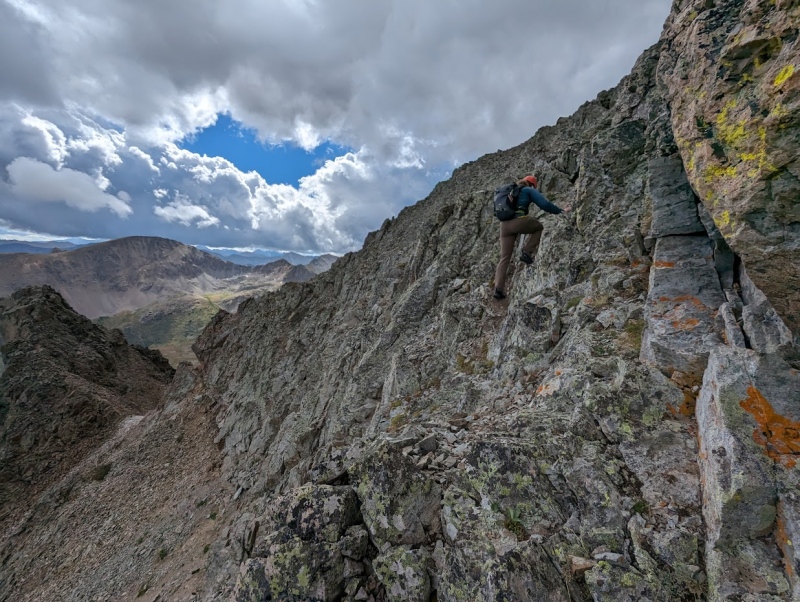
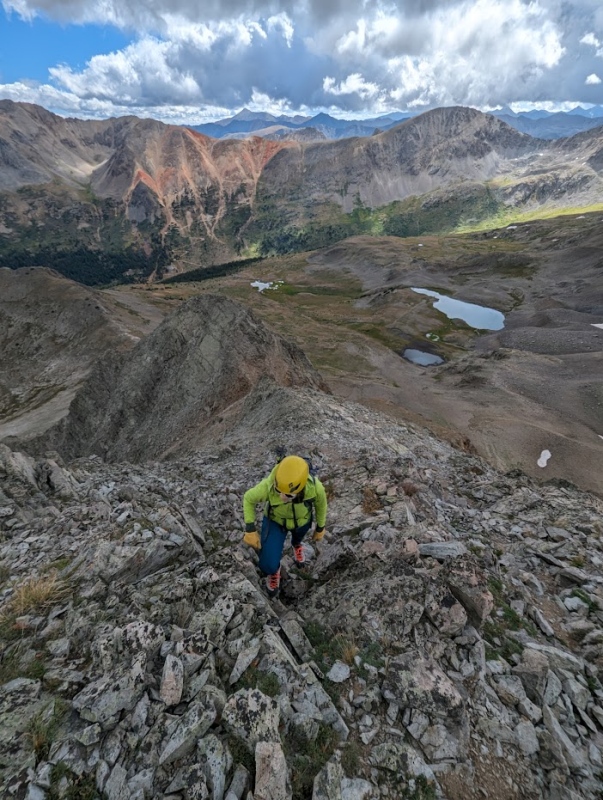
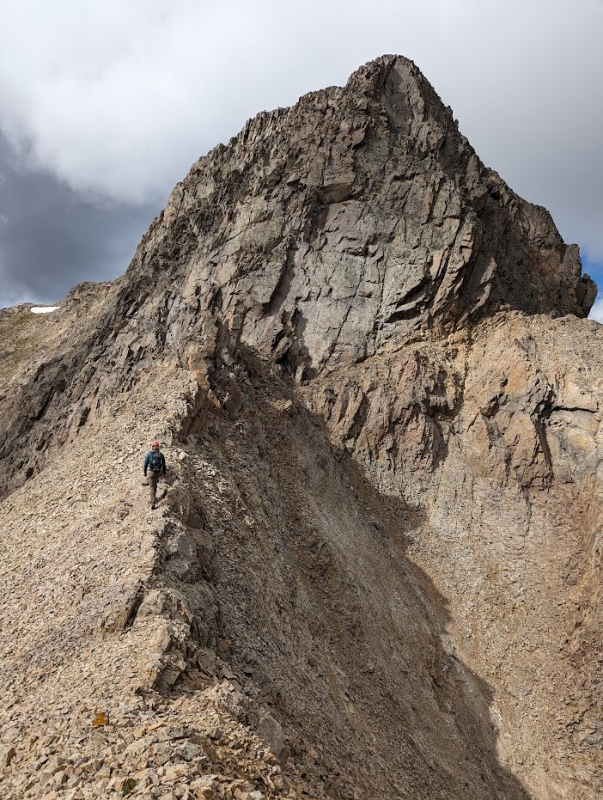
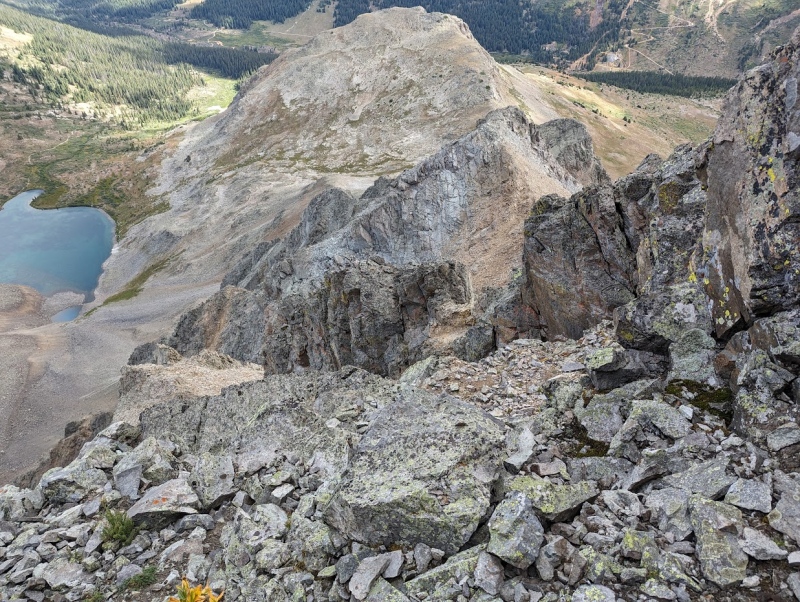
Approach/Route: We drove along the Lincoln Creek Rd (Subaruable until around where Galena Creek meets Lincoln Creek) and then walked the rest of the way to the Anderson/Petroleum Lakes Trail... Hardest part (if you didn't drive to the TH) of the approach is trying to find a place to cross the creek without getting wet. Follow Anderson Lake trail up to the lake, then split off and head up to the obvious saddle SE of the lake. From the saddle, head up the NE-facing talus field (staying along the right side treated us well). Scramble up and over the first tower, which holds some fantastically solid, Class 4 terrain. After the first tower, the rock quality goes to shit. Pick your way down to the saddle between the first and second towers. We didn't like how loose the start of the next tower looked and briefly traversed under the right side of the tower before finding entry onto some class 3 (chossy) ledges that led us back to ridge proper. Scramble up and over the 2nd tower and make your way to the bottom of the headwall on a ridge that's reminiscent of the San Juan Range.
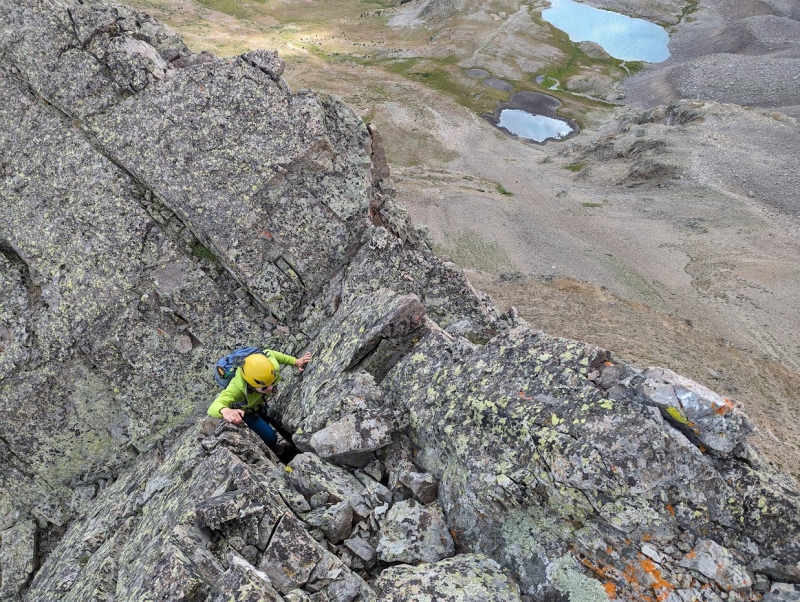
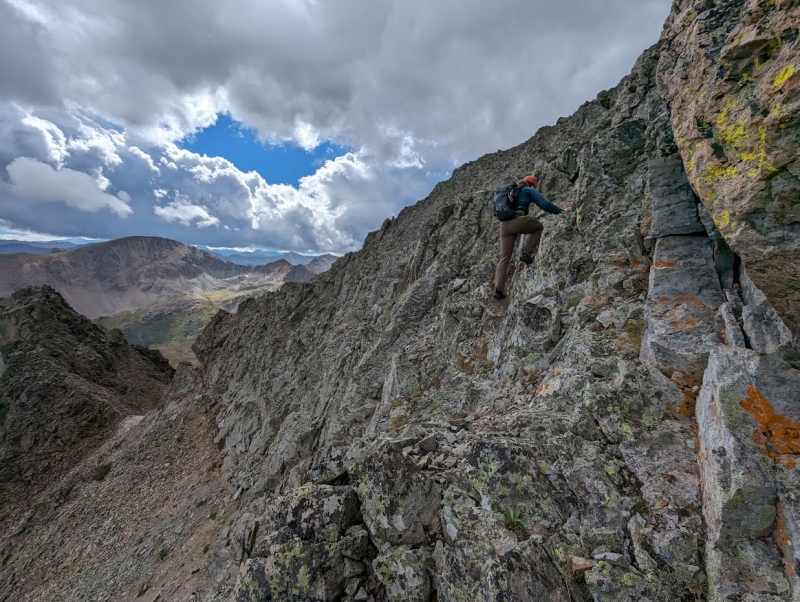
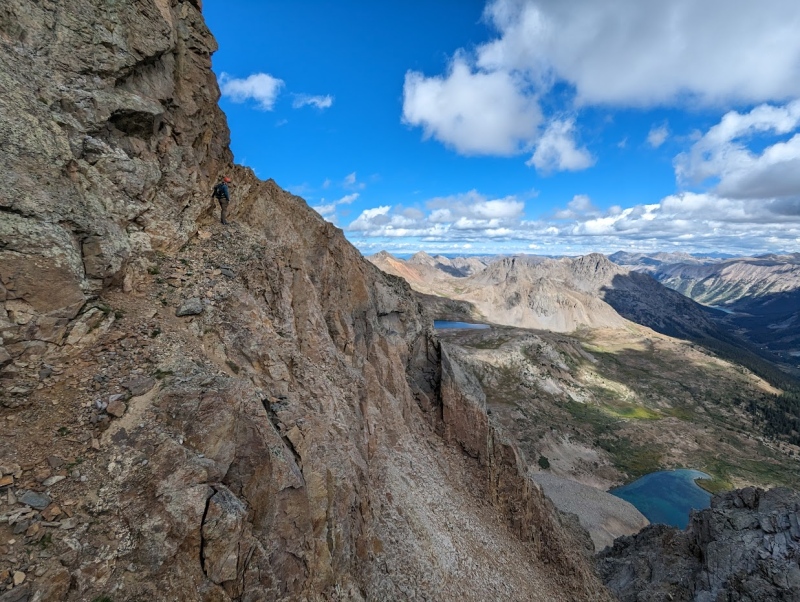
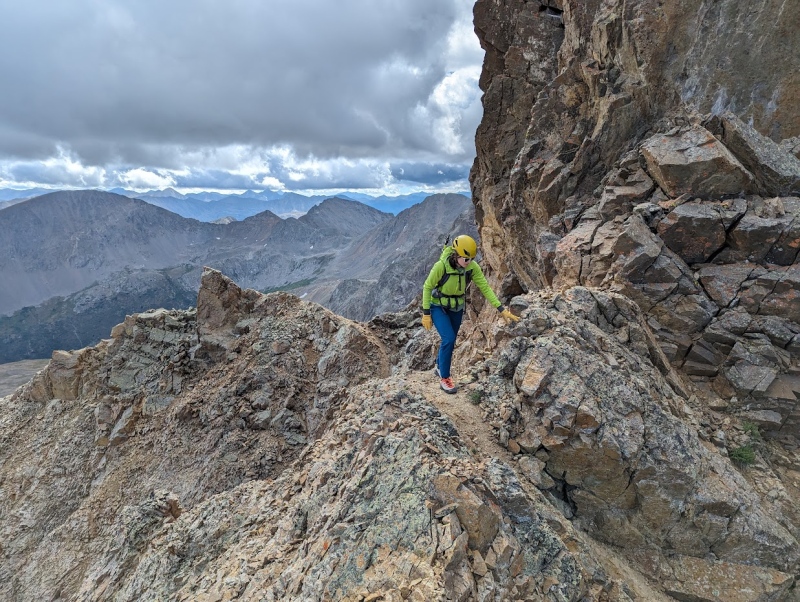
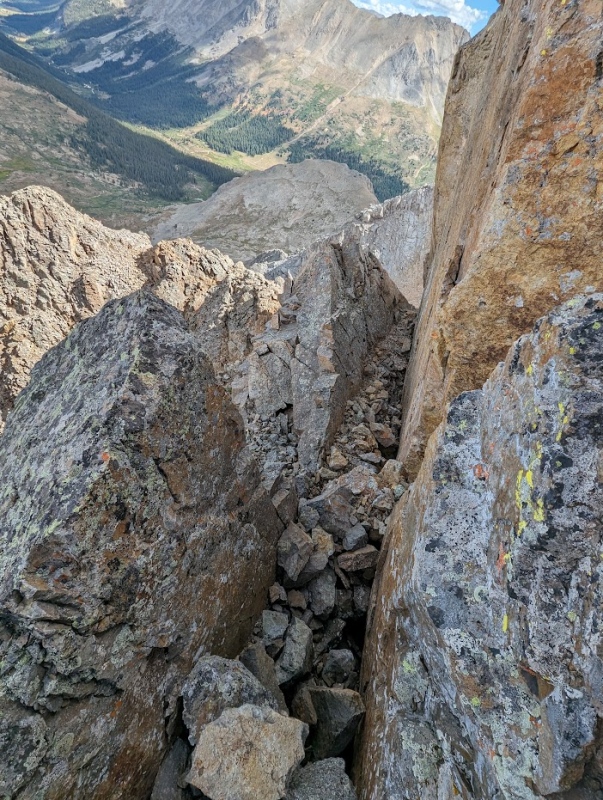
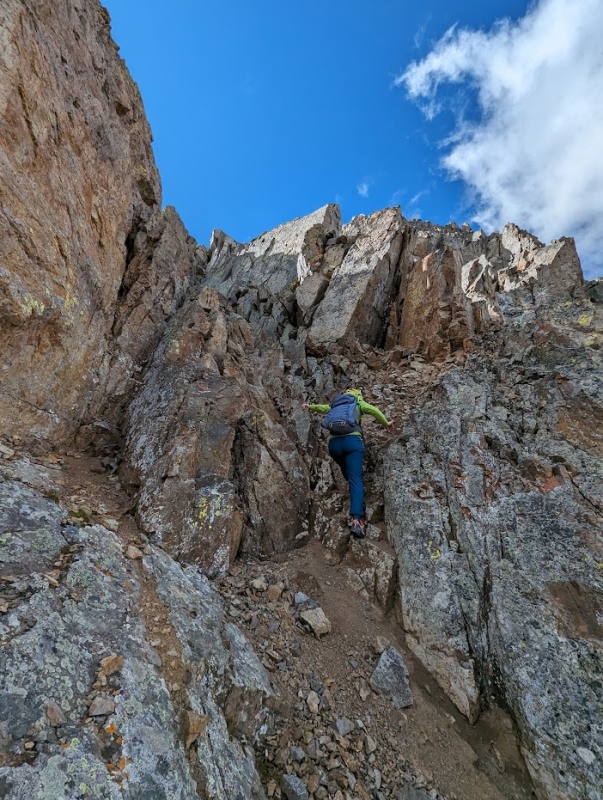
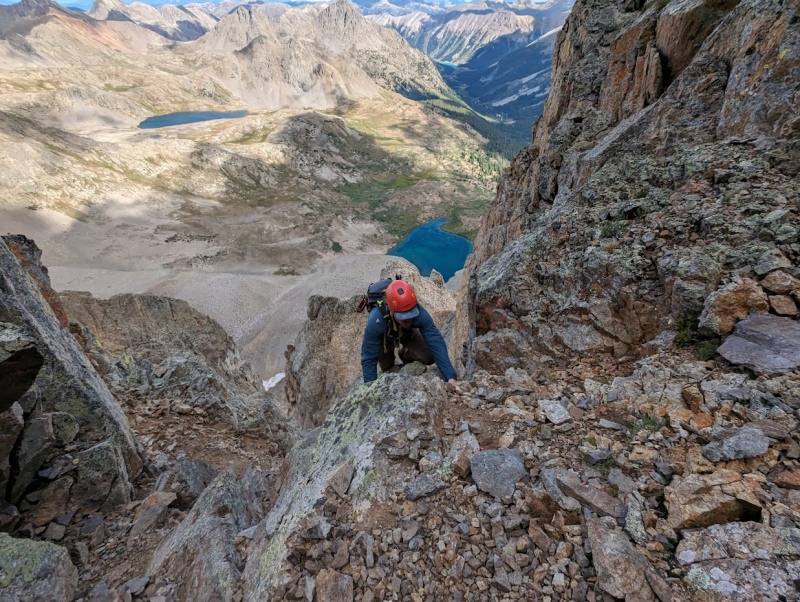
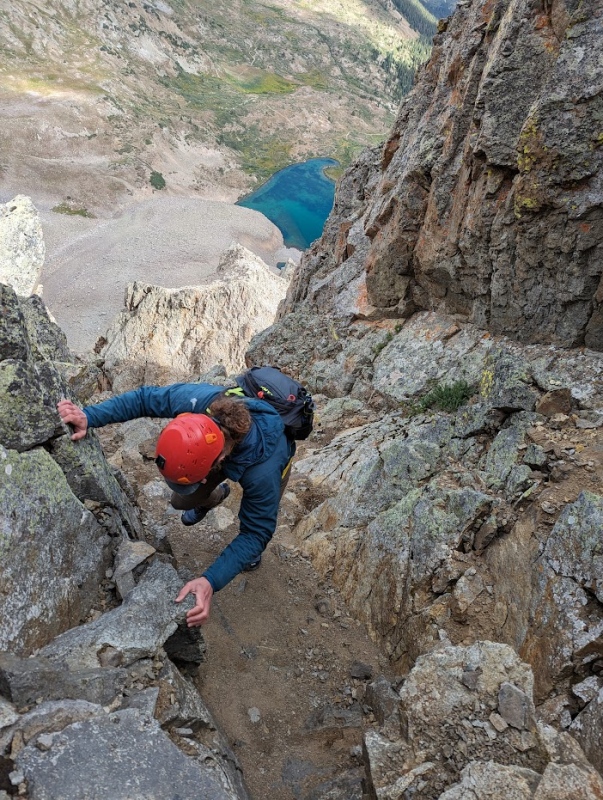
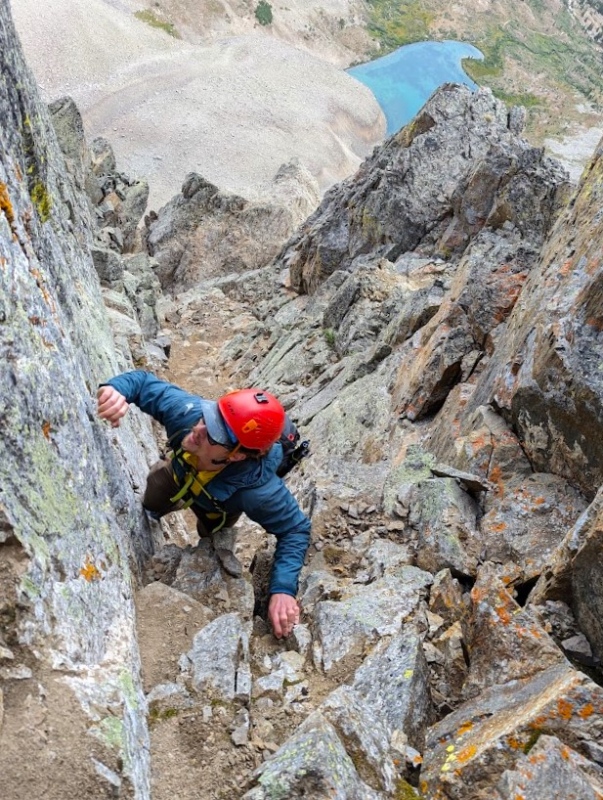
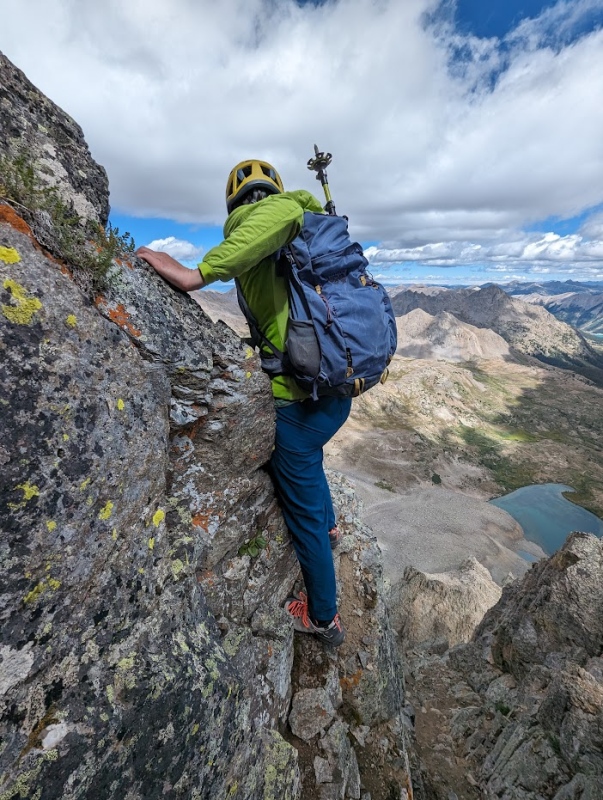
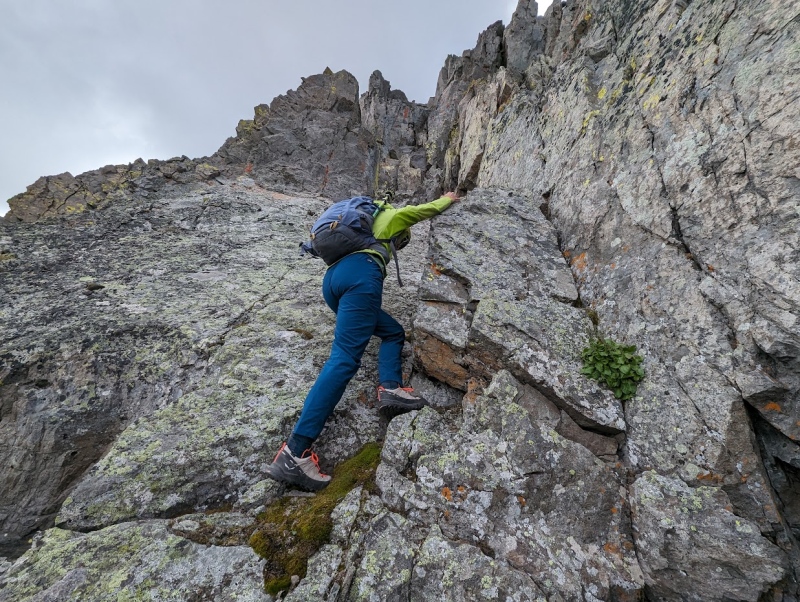
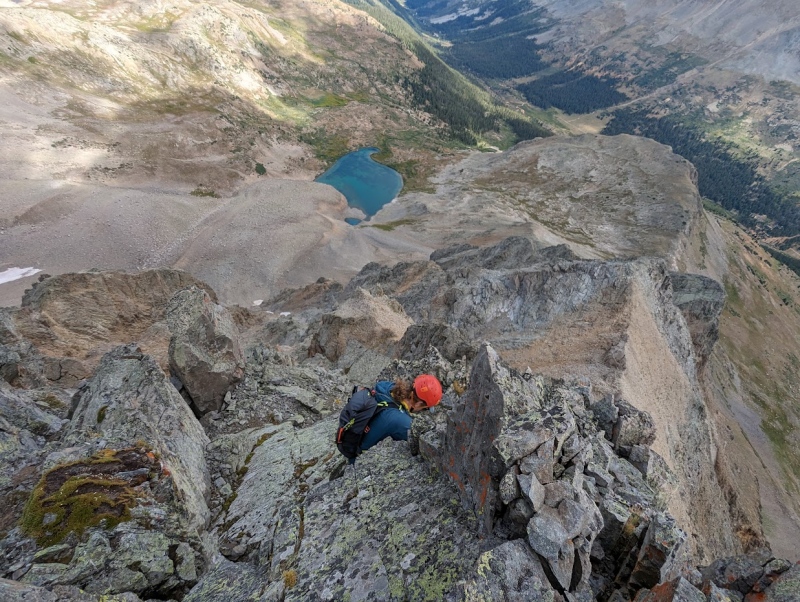
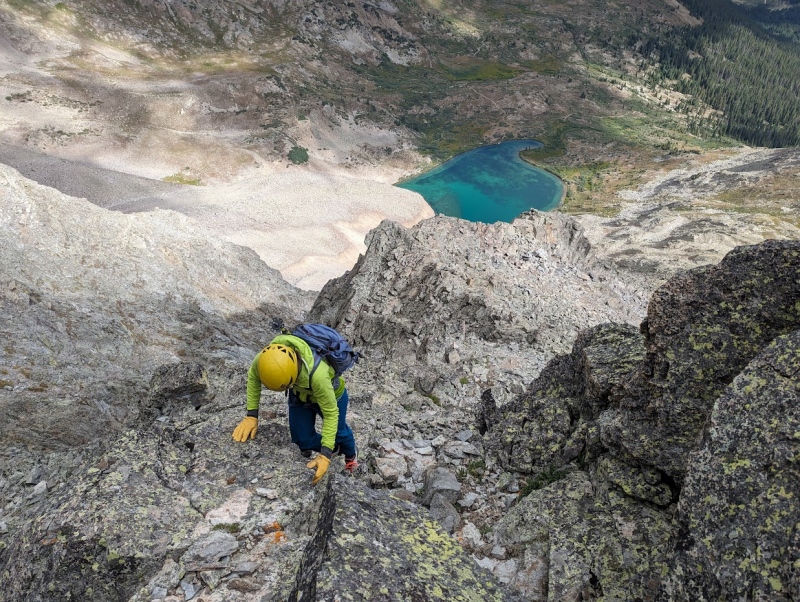
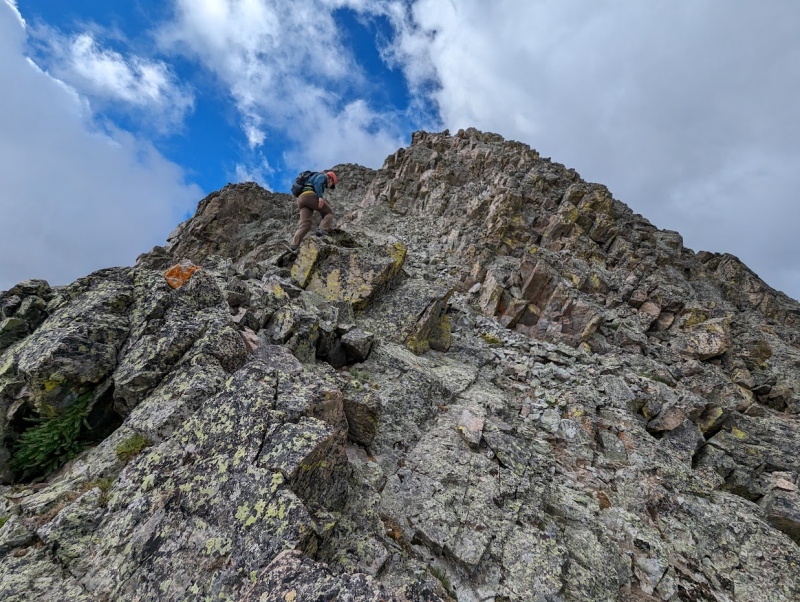
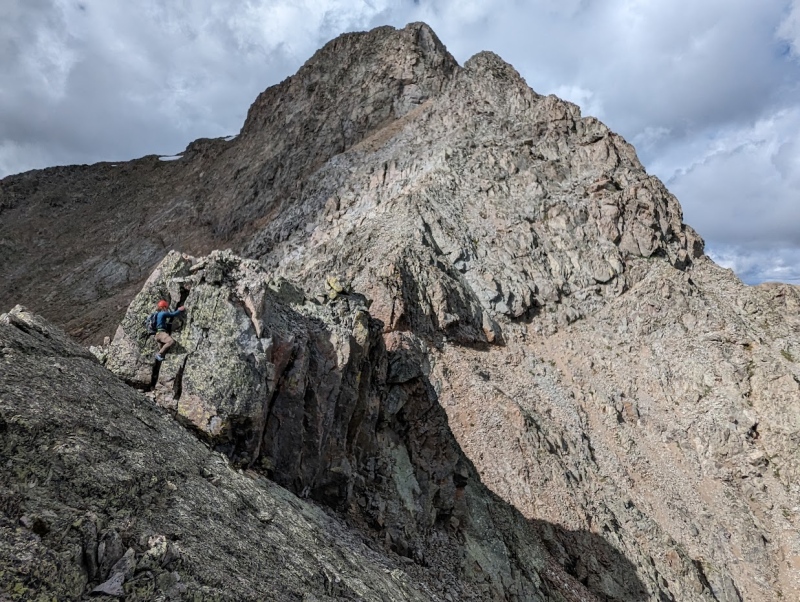
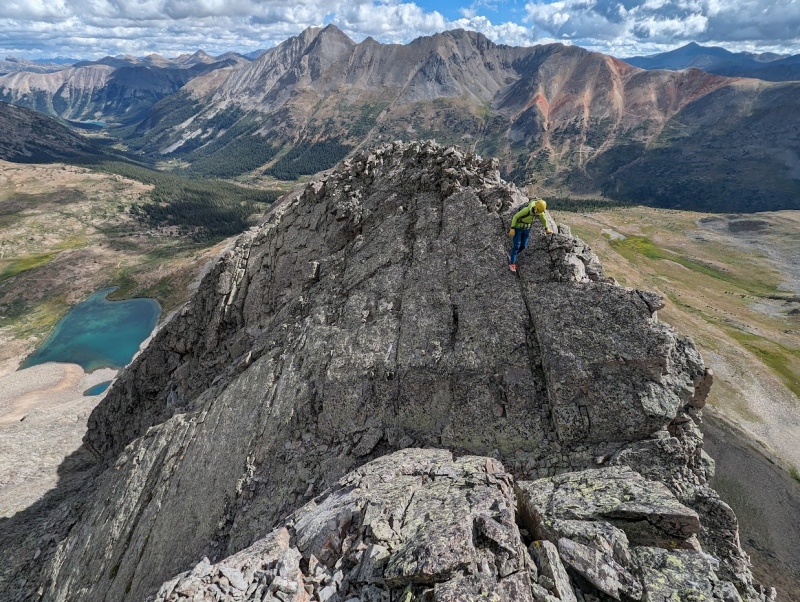
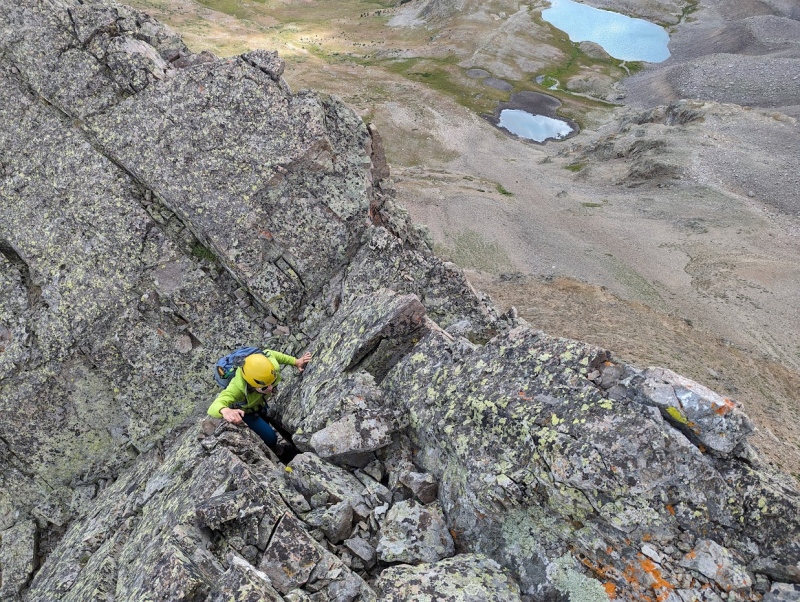
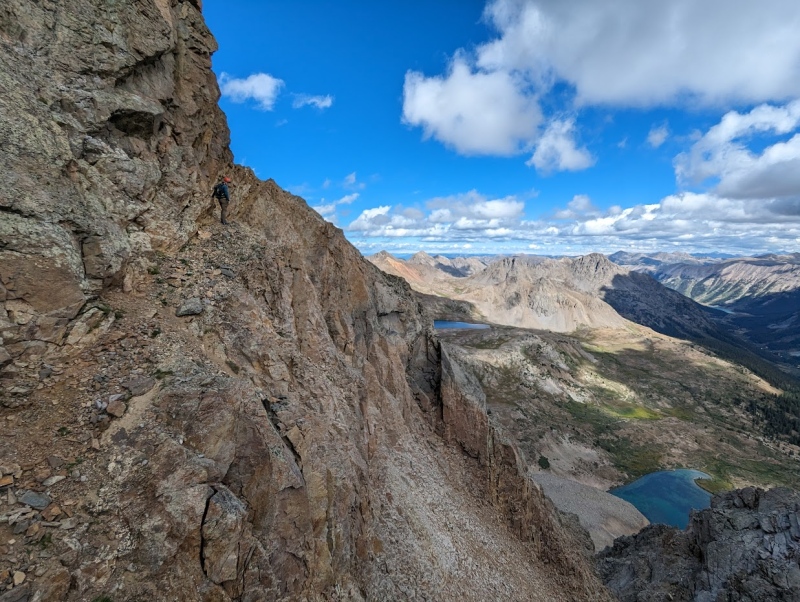
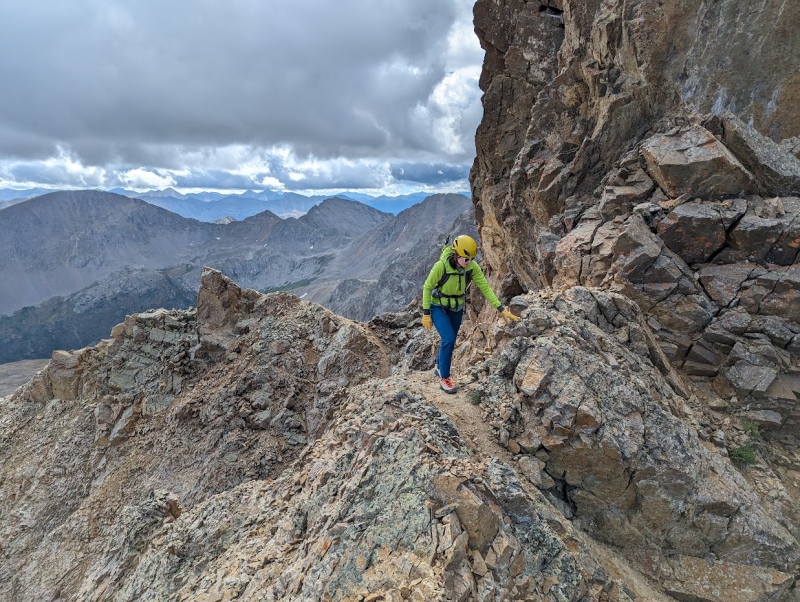
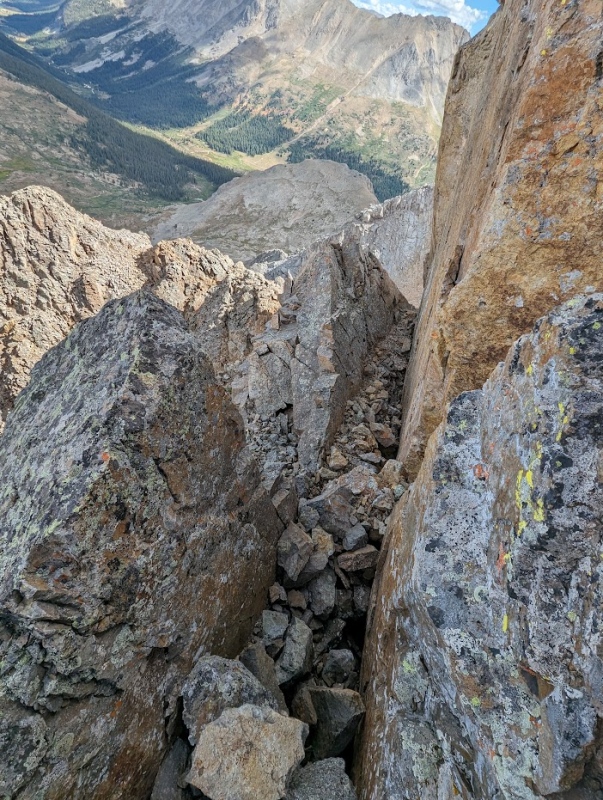
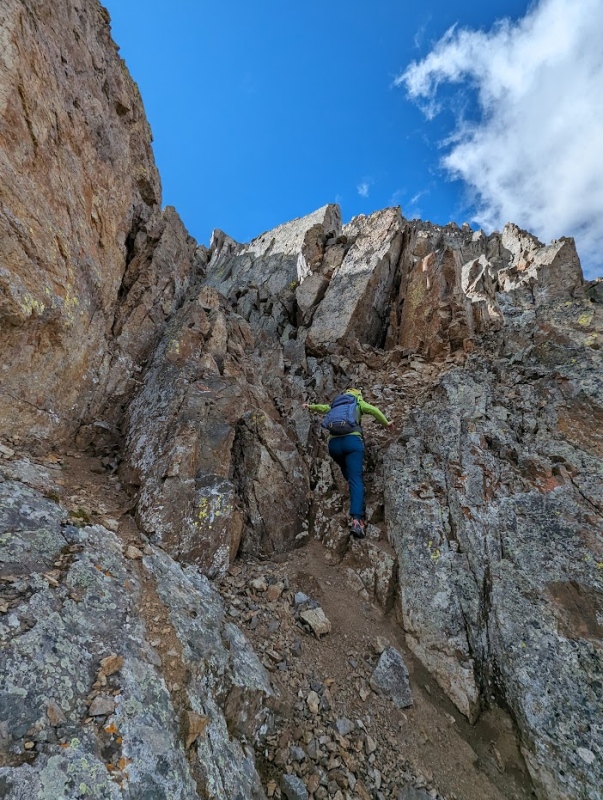
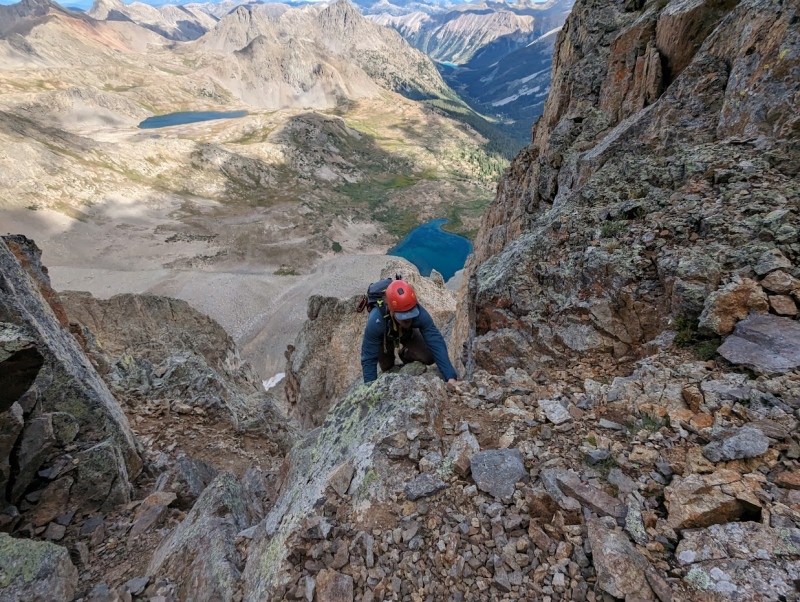
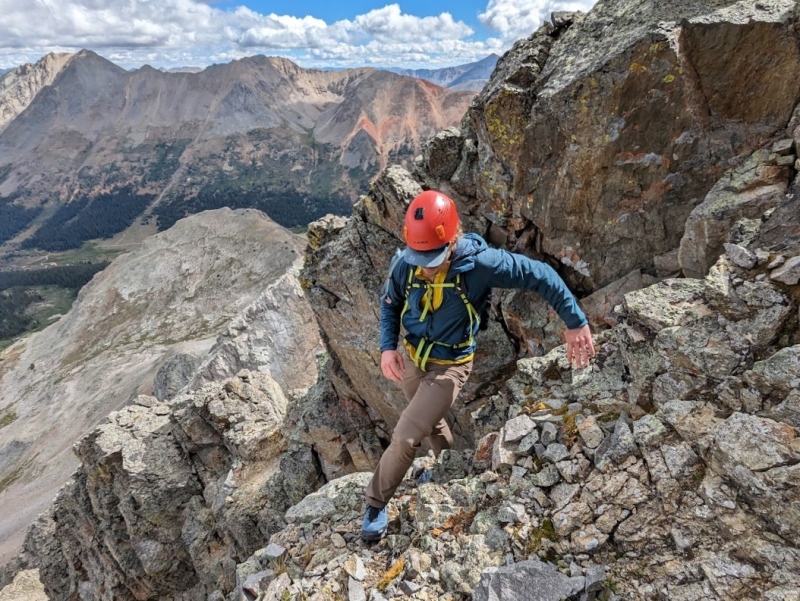
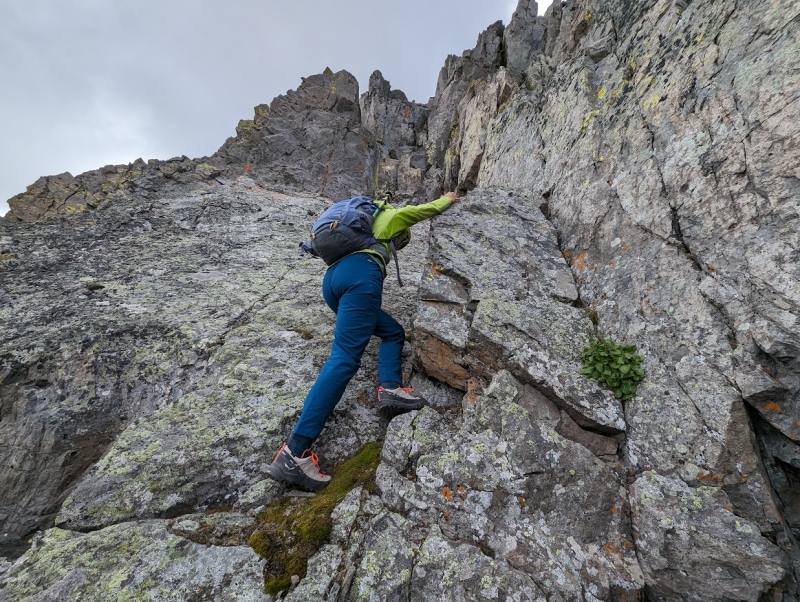
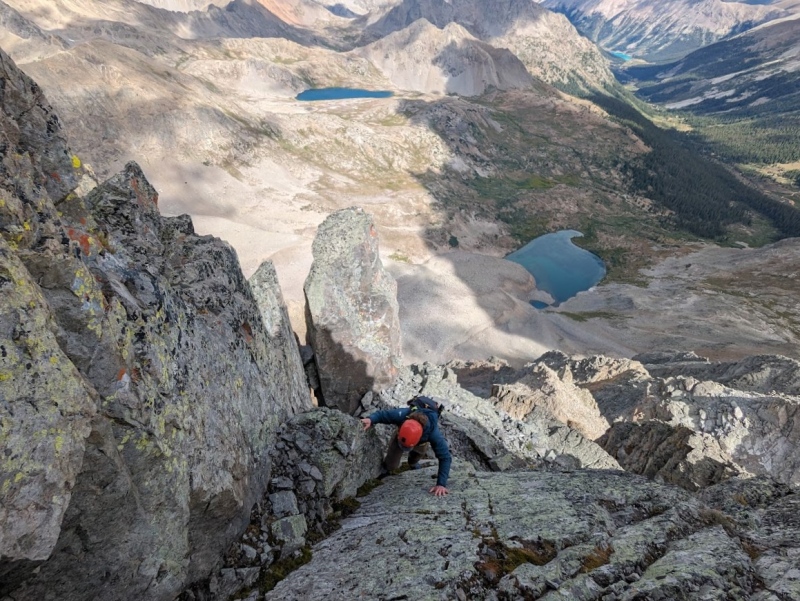
From here, it looked like you could bypass the headwall entirely be descending down and to the left, traversing under the cliffs on the E face, and then gaining the South Ridge, but we weren't ready to give up quite yet. We traversed on a chossy ledge around the right side of the headwall and found a hidden dirt gully. The gully was steep and had a particularly unnerving chock stone near the top that proved to be the crux of the route (at least for us). Immediately after the crux, there's an exposed ledge that takes you around a rock rib. Continue to traverse up and across on Class 3 terrain that leads to a Class 4 dihedral. Climb the Class 4 dihedral and exit onto the ridge via a crack feature (may have required a move of 5.low). Continue up the ridge. There's one final step in the ridge that requires Class 4 scrambling (maybe a move or two of 5.low) before gaining the summit. We continued on to Petroleum afterwards with the intent of maybe linking some other peaks, but the winds finally picked up and since we were still somewhat sick, we headed down rather than be miserable for another few hours.
Route Information: Mileage: Approximately 10 Miles Elevation: Approximately 3700' Class: 5.0 Time to Complete: 6.5 Hours
Exposure: Extreme Rockfall: Extreme (Be VERY careful in the gully with partners) Route-Finding: High Commitment: High
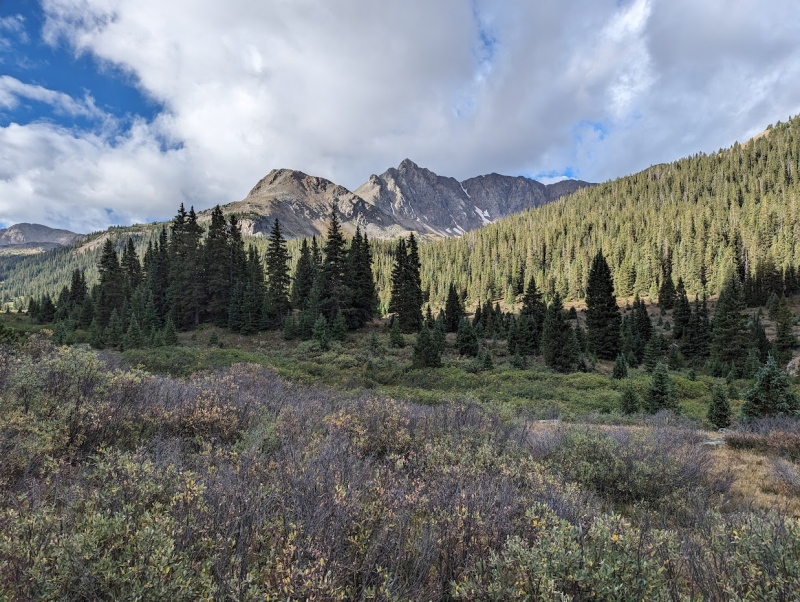
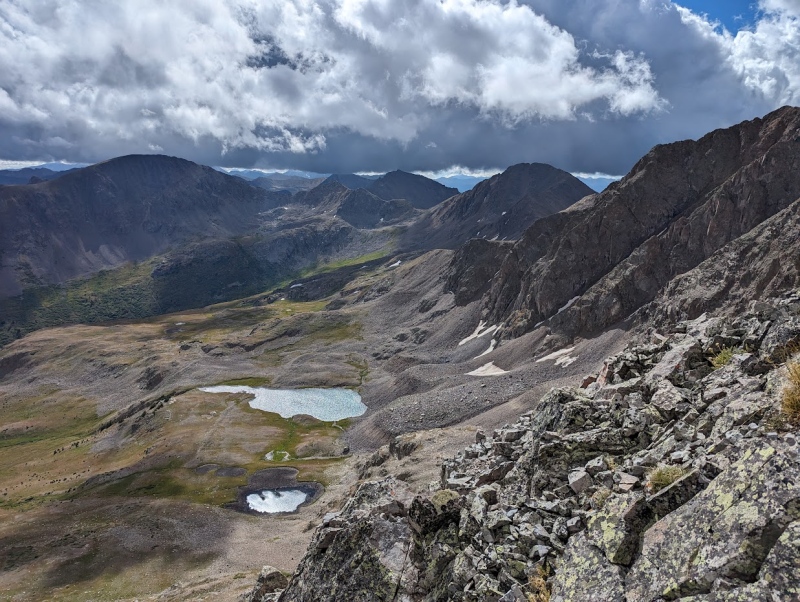
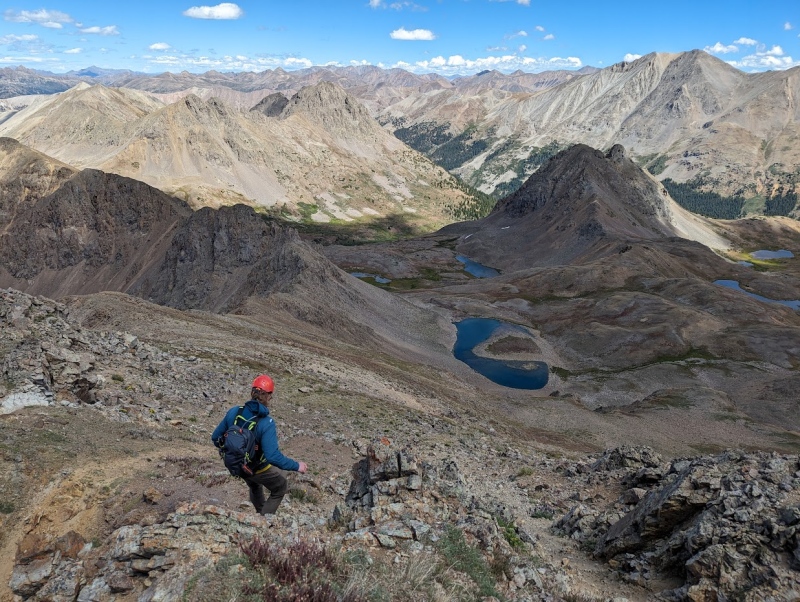
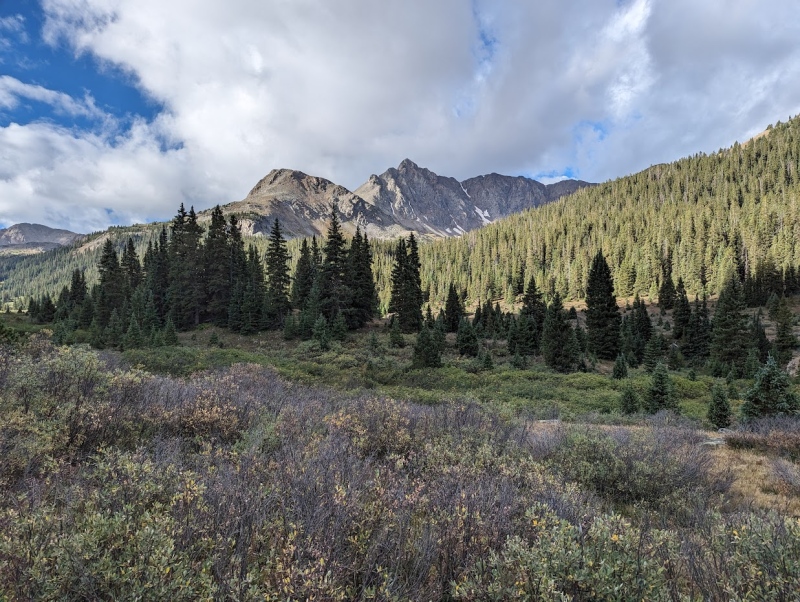
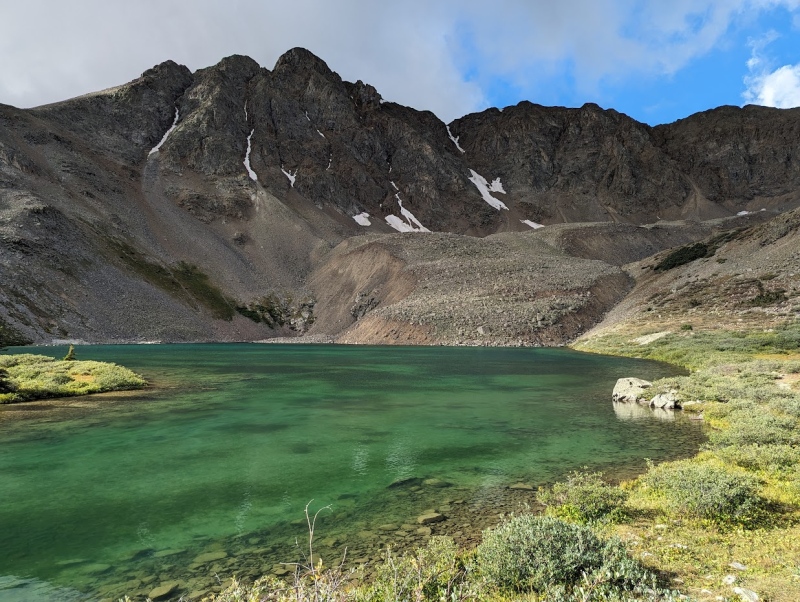
Anderson Peak From the RoadAnderson Lake (Towers 1, 2, and the Summit Headwall are Clearly Visible)Heading up the Talus Field with the Truros in the BackgroundThe Scrambling Begins!Heading up the First Tower - Fantastic RockA Brief Scrambling Interlude to Enjoy the SceneryOn Top of the Tower - Head Across the Slab on a Well-Defined Ledge, Then Climb up the Crack.The Crack Wasn't the Easiest to Climb, But it was Fun!Looking Back on the SlabLooking Down on the Climb up the CrackDescending the Backside of the Tower - Unexpectedly ChossyThe Start of the Next Tower Looked Like a Shitty Pile of Choss, so we Circled Around to the RightLooking Back at the Notch Between the First and Second Towers and the Spot Were we Started Aiming for Ridge Proper AgainChossy, Class 3 Ledges - Aim Up and to the LeftNear the Top of the Second TowerThe Ridge Between the Second Tower and the Headwall (Chossy AF)
Alternate Route(s)
Thank you @Blazintoes for bringing up the Mountain Project entry that describes another route up the summit block of Anderson Peak! The dihedral described looks a lot more solid than the route described below, though it appears to require some elevation loss to enter the dihedral (assuming it's where I think it is).
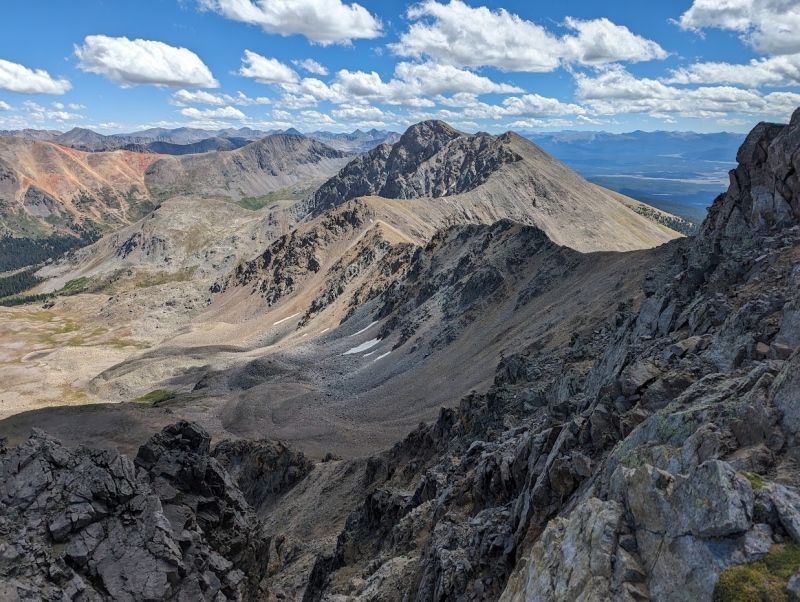
Additionally, if you want to avoid all 5.low scrambling, it appears entirely possible to circle under the cliffs on the South Side of the peak and then work you're way up gentler slopes to the South Ridge, which appears to be Class 2. From the saddle before the headwall, drop SE, contouring below the cliffs until you're just under about 13,400'. Begin traversing across the slope towards the South Ridge. Please note, this is NOT a route that will allow you to bail into the basin below... the terrain underneath this traverse is littered with loose cliffs. The best way to get off the ridge is to go back from whence you came. Once you reach the summit of Anderson Peak, the fastest way down appears to be a grassy, ENE-facing ramp midway between Petroleum and Anderson Peaks.
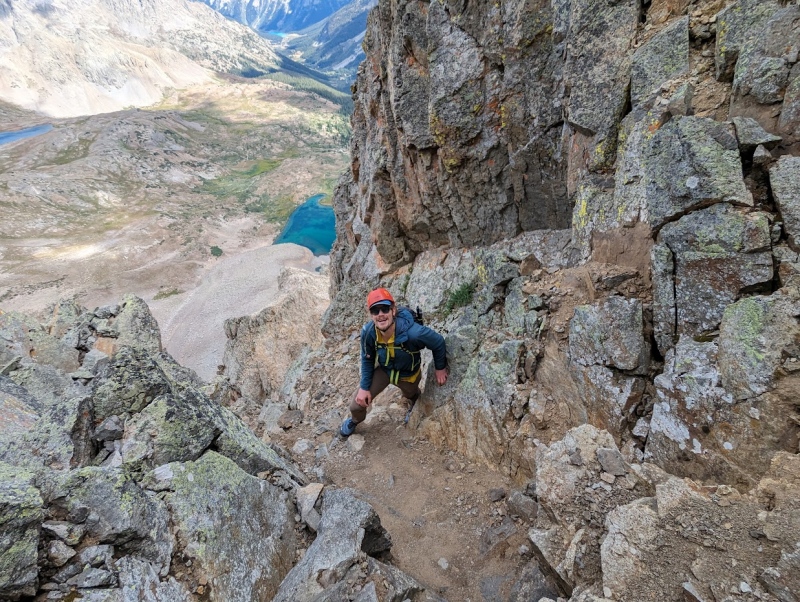
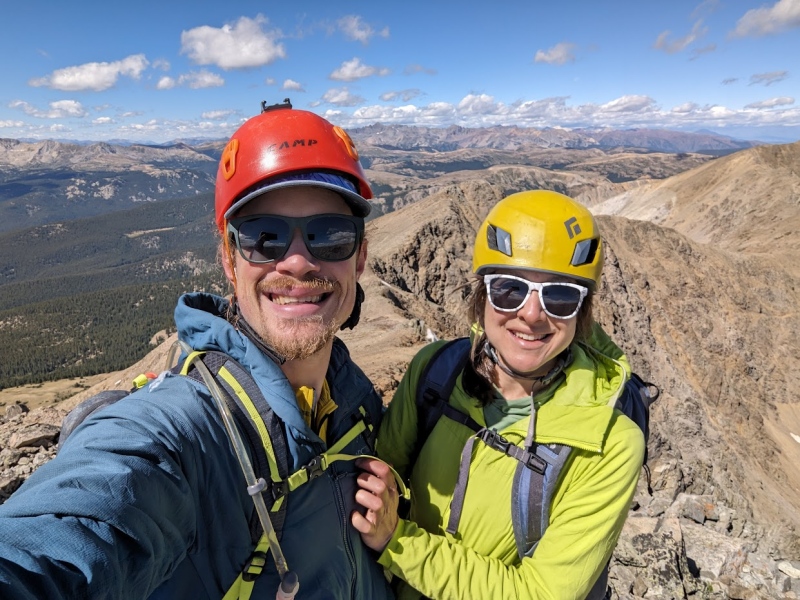
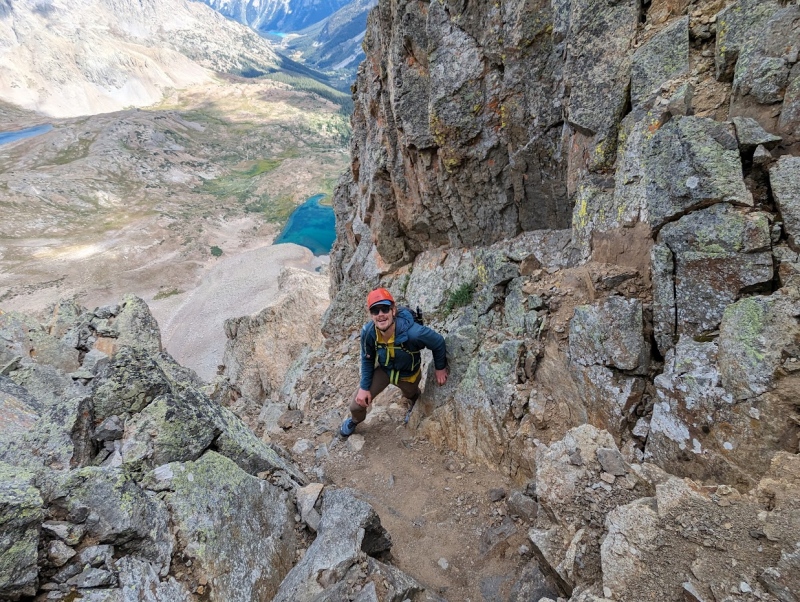
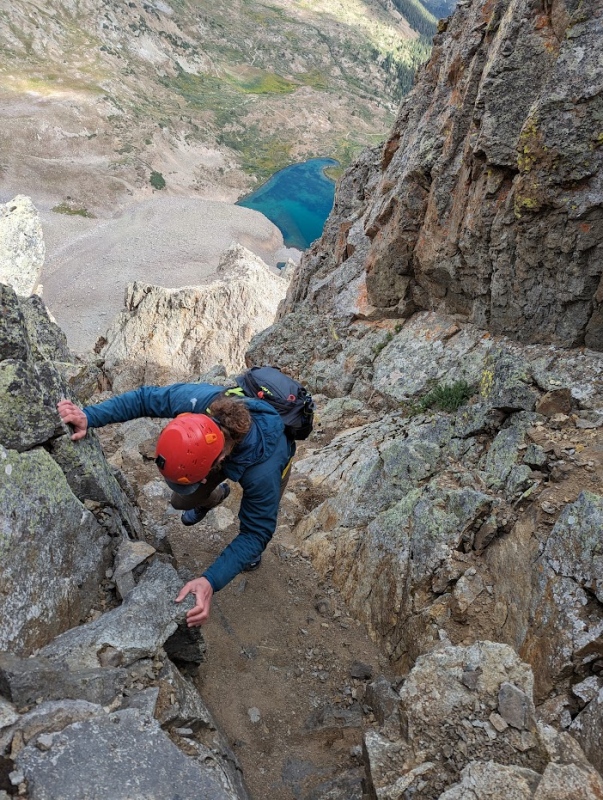
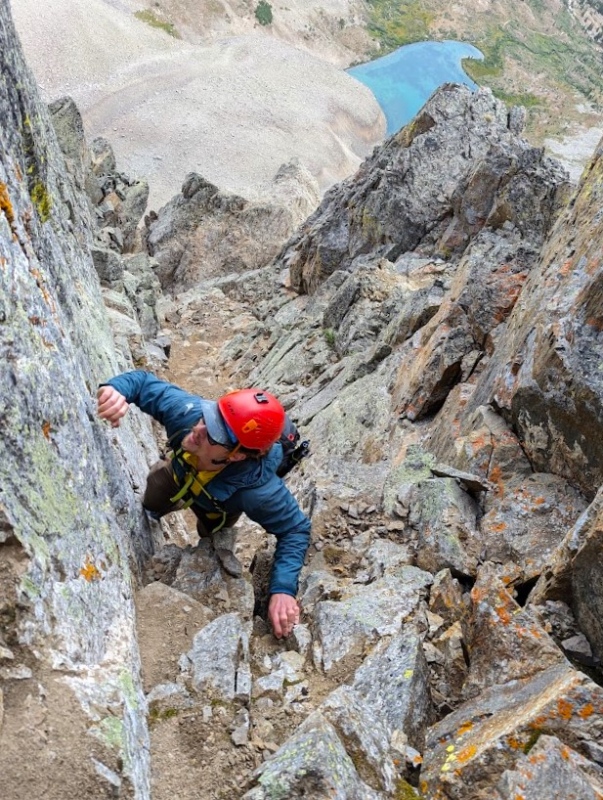
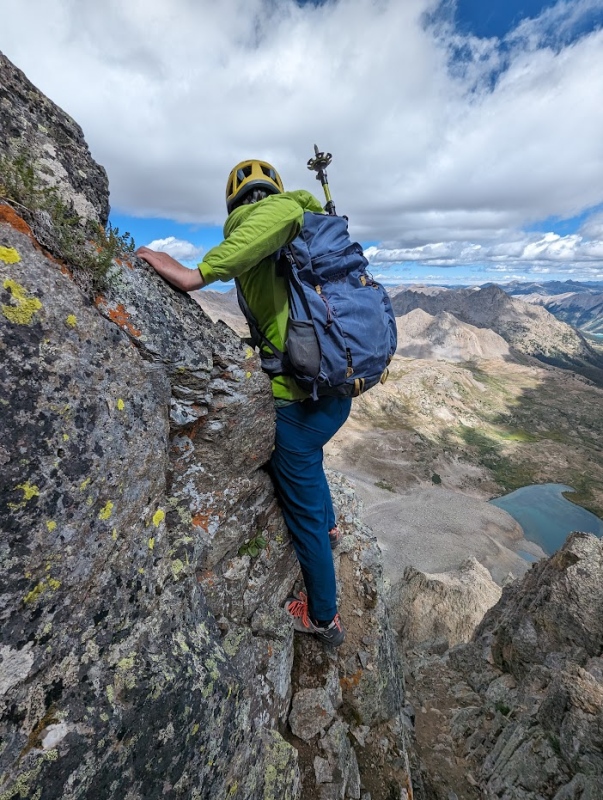
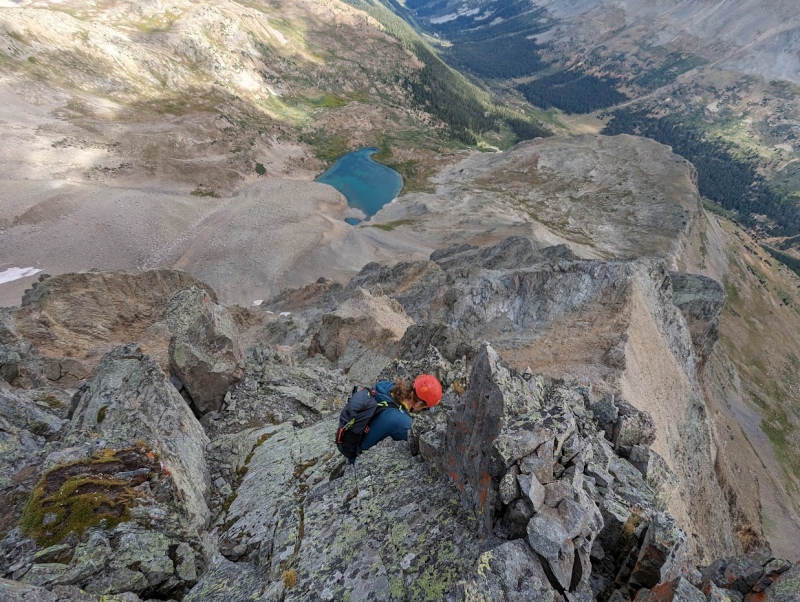
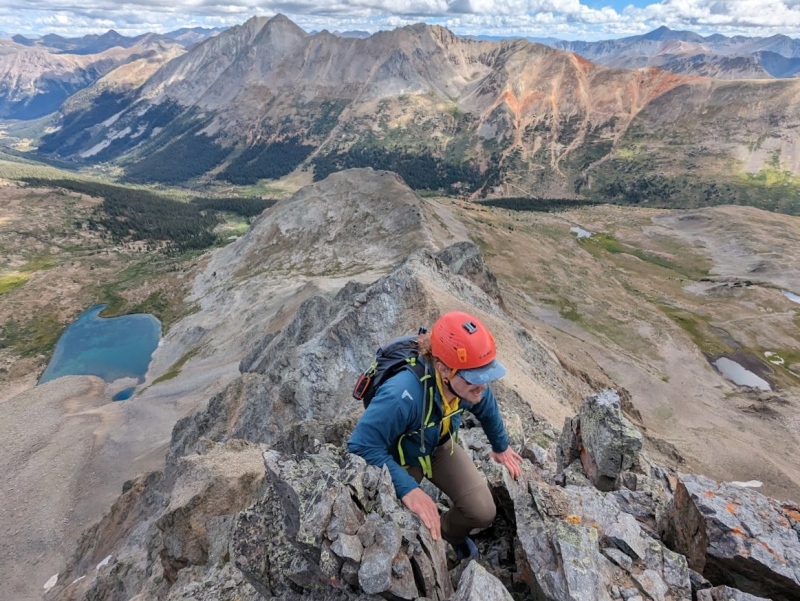
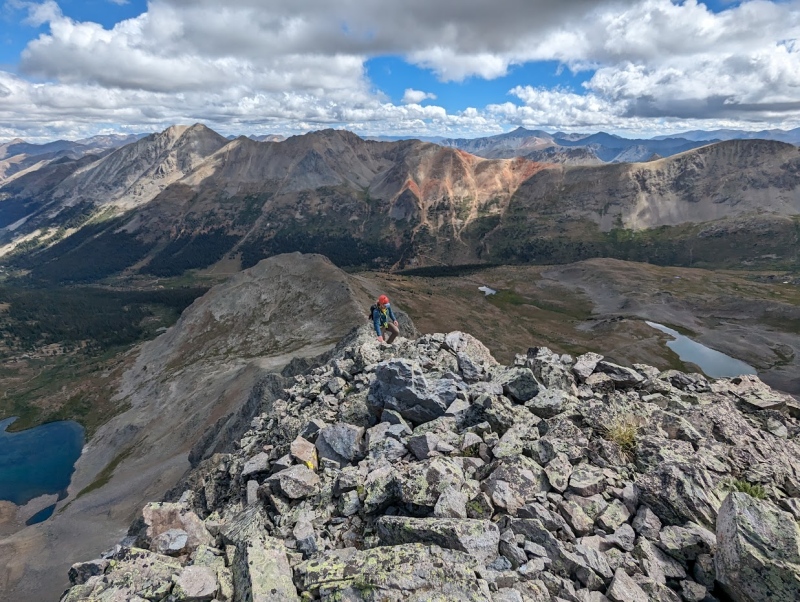
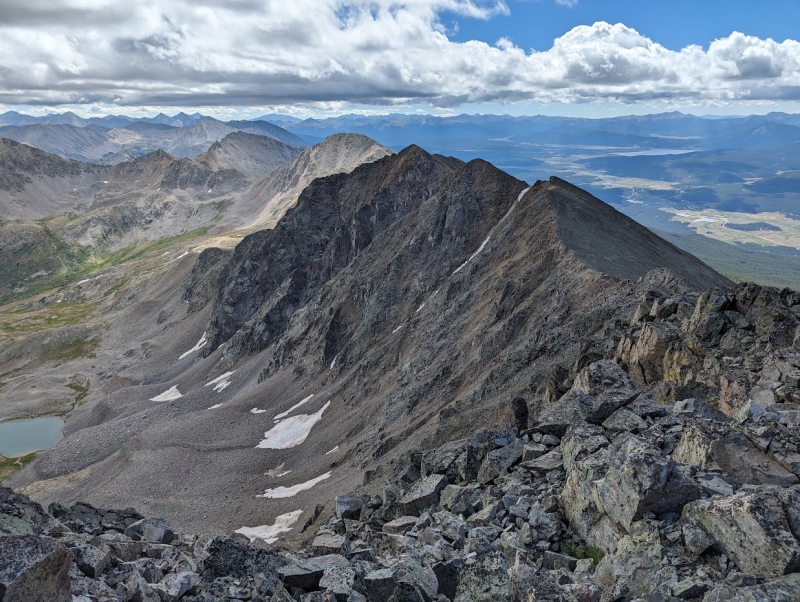
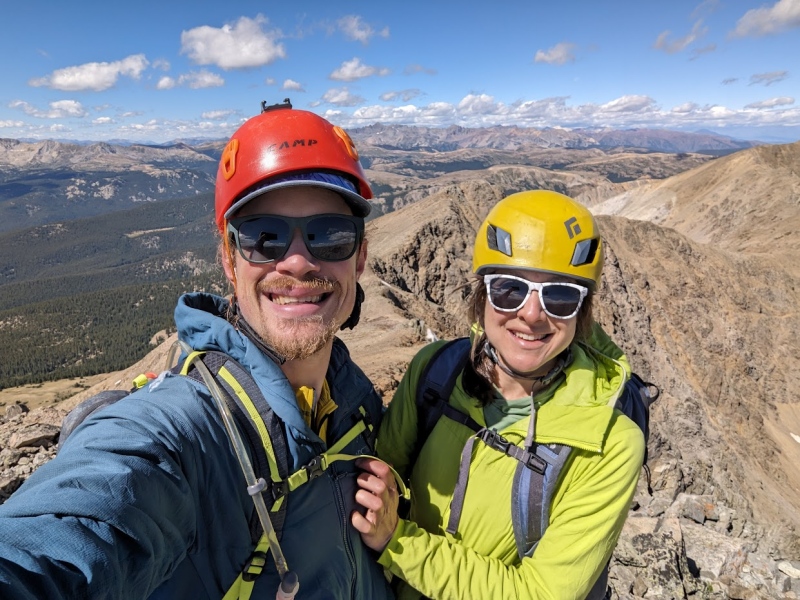
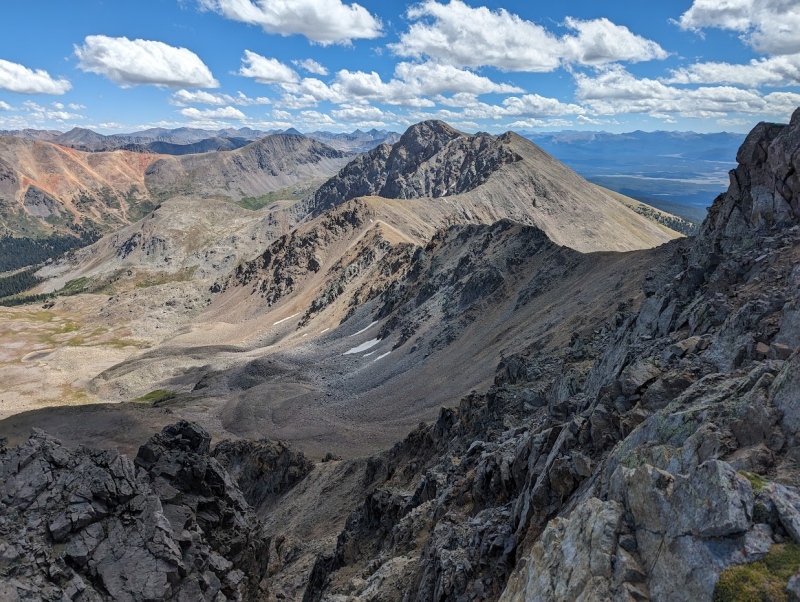
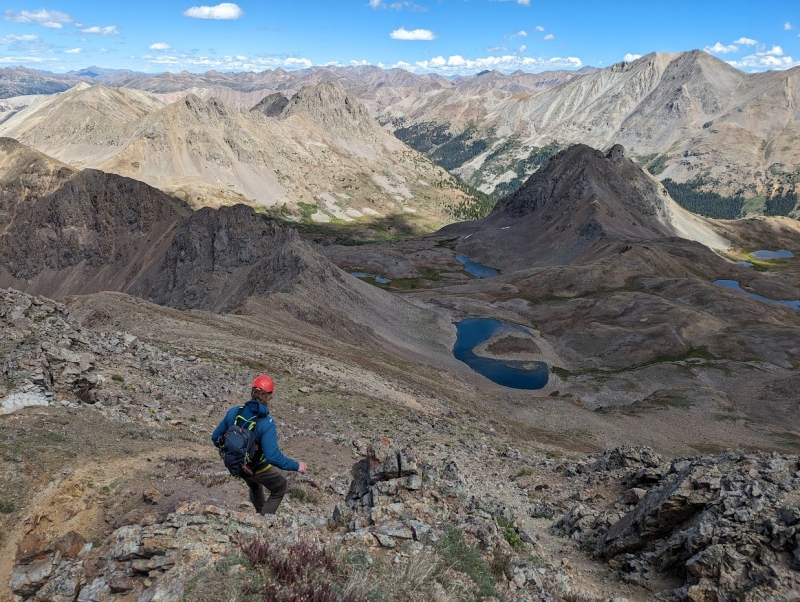
Traversing Under the Headwall - Take a Well-Defined Ledge to the Right, Aiming for the Small NotchGina Coming Around on the Ledge - Scramble the Rock in the Right Side of this Photo to Enter a nice Crack that Will Take you into the Brown GullyLooking Back on the CrackEntering the Gully - Gina took the Right Route, I Went Up the Crack to the Left... Gina's Route was Easier and My Top-Out was Awkward. There are solid hands and feet to be found, but test everything before committing. For the most part, if it looked solid, it was.Awkward Top Out on to ChossMy Smile Says I'm Enjoying This... I Don't Know WhyMoving up Towards the Chock Stone - Lots of Exposure... If you Fall Here, You're Probably Tumbling 1000' Down the North Face of AndersonAll of the good holds available to you for getting over the chock stone... Just kidding, there's really not any. Tall people will find that transferring your weight onto a high, left foot helps a lot. There are a few good holds, but it takes a good amount of searching in an unnerving position to find them.Traversing around the rock rib on the narrow ledge... Once you've topped out on the chock stone, the ledge will be immediately to your right and level with your feet. It's possible we could have gained the ridge directly above the brown gully, but the ledge seemed to lead to lower-angle terrain and an easier entrance onto the ridge proper.Coming around the rock rib (the ledge widens)A brief talus hop to the bottom of the dihedral (make sure to move cautiously as a lot of the rocks are loose)Entering the dihedral - The first crack in the ridge (moving from left to right) is your exit point onto the ridge proper. The move I made felt like it was in the range of 5.0, but I can't really tell the difference between 4th class and low 5th at this point. The hands I found were good and much more confidence inspiring than the chock stone in the gully. Rock is bomber.Looking down on the dihedral - there's a nice landing pad at the top where you can take a quick breather... The extreme exposure is almost over.Entering the crack in the ridgeExiting the crack and gaining ridge proper... Lots of intentional breathing to stay calm and steady through that work around.No pictures of the final step... it's technically just as difficult as any of the prior cruxes, but with much less exposure and only about 8 feet of climbing.Pretty viewsMandatory summit selfie with my partner in crime.Looking back on the East Ridge of Anderson from Petroleum.Getting out of the wind. That lake doesn't have a name, but it should be Pacman Lake...
My GPS Tracks on Google Maps (made from a .GPX file upload):
Some great pics! I enjoyed looking at your journey and recalling my trip up that peak from the same spot a decade or so back. Nice report on one of the more interesting areas in the Sawatch range.
@blazintoes - I try to check all sources before posting a TR, but I hadn't thought to look under "North Couloir East" for info on the NE Ridge! I'll throw a section in the TR noting the alternate route. The dihedral in your photo looks like a ton of fun :)
I tried that a few years ago and got to about your photo 8 and realized I was in over my head.
Caution: The information contained in this report may not be accurate and should not be the only resource used in preparation for your climb. Failure to have the necessary experience, physical conditioning, supplies or equipment can result in injury or death. 14ers.com and the author(s) of this report provide no warranties, either express or implied, that the information provided is accurate or reliable. By using the information provided, you agree to indemnify and hold harmless 14ers.com and the report author(s) with respect to any claims and demands against them, including any attorney fees and expenses. Please read the 14ers.com Safety and Disclaimer pages for more information.
Please respect private property: 14ers.com supports the rights of private landowners to determine how and by whom their land will be used. In Colorado, it is your responsibility to determine if land is private and to obtain the appropriate permission before entering the property.



 Download GPX file used in this map