| Report Type | Full |
| Peak(s) |
Hoosier Ridge - 13,362 feet |
| Date Posted | 02/19/2022 |
| Date Climbed | 07/02/2021 |
| Author | MaryinColorado |
| Additional Members | mtngoatwithstyle |
| Hoosier Alpine Roller Coaster |
|---|
|
Hoosier Ridge 13,352' - The Alpine Roller Coaster I don't like actual roller coasters, so it seems somewhat apropos that Hoosier would remind me a little bit of real roller coasters, albeit I would enjoy it more than a real roller coaster and throw up a lot less (exactly zero times, for the record). I went back to some notes I took about the hike. I wrote, "The ridge run may be completely bonkers." I'm still trying to process why Hoosier kicked my butt so badly. 4000' - 5000' day, no problem (relatively). Back-to-back peak days of 7000'+ gain and 20+ miles, no problem (relatively). But Hoosier with its 20 million ups and downs broke me though probably more so mentally rather than physically. 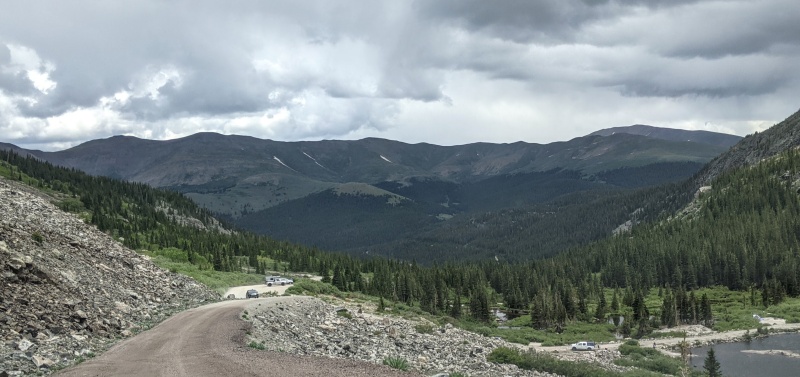
Stats I honestly didn't believe these stats afterwards, but I do think they're correct, and I have never been given any reason to distrust my tracking mechanisms before. The published route says 3000' gain, and several trip reports indicate around 3000', but overall range from a sampling of other trip reports for Hoosier only (not counting the Reds) range from 2500' to 3700'. It begs the question: who is correct? It's kind of like those weather forecasts where they give an actual (2500) but then also a feels-like (3700). Tornadoman provided me with some insights based on the Caltopo elevation profile that lead me to believe my stats are likely on point with only minor deviation due to the nature of GPS tracking.
My math is not an exact science here, but you gain approximately 2110' from start to summit and then gain 482' on the return (but feels like 1000'). The first 1.7 miles is essentially a straight up ascent to where the ridge starts. After that, the alpine roller coaster kicks into high gear. Is It That Bad? My partner in crime for this hike was a stylish mountain goat! (mtngoatwithstyle) Truly, this partnership was one of the most redeeming qualities of the day; we are not only friends but also peak stewards for CFI. So, we both enjoy the alpine immensely and could experience this peak together while having great conversations along the way. To be fair to Hoosier Ridge, it is a peak with a spectacular tundra environment. We really picked a great day to be up there, so the roller coaster aspect aside, aesthetically the peak offers lovely terrain and wonderful surrounding views. Hence, despite my grumbling about the nature of the route, this is actually a peak I would repeat (and likely will have to since I want to go back for both the Reds). Where the Hike Begins Park in the lot at the summit of Hoosier Pass off highway 9. If you're coming from the south, the lot will be to your left, and if coming from the north the lot will be to your right. You can't miss it. (Well, you can, but that's another story.) Directly across highway 9 from the lot, you'll see what appears to be a gated dirt road with a sign next to it; this is where the hike begins. NOTE: crossing highway 9 is real-life Frogger and the extent of danger you'll experience in your day, hopefully. Once on the other side, follow the dirt road to the right (southeasterly) and not to the left. The trail you may see going to the left is something completely different. 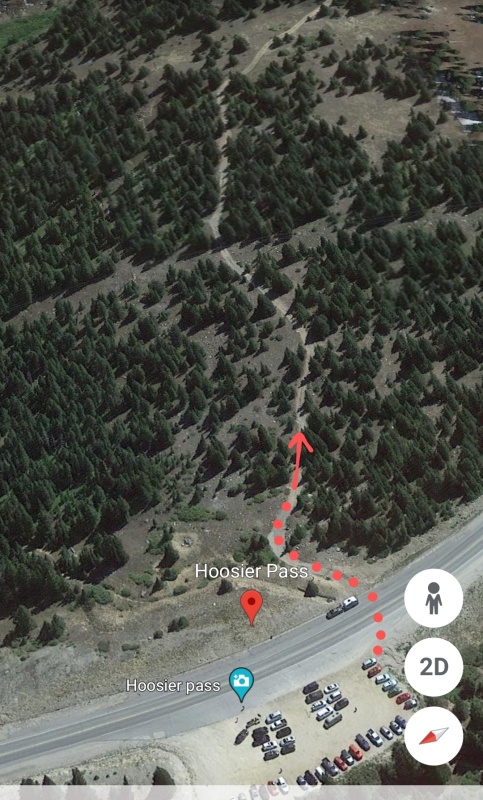
The Hike You'll follow the road southeasterly for a little bit, gaining a small amount of elevation. The road will eventually hook northeasterly instead, and here's where you'll start thinking about your escape route because you'll need to deviate from the road and hit the tundra. The best place to accomplish this is basically after you clear the trees and before you re-enter another set of trees. Visually, this should also make sense in that you should be looking straight up at the starting point of the ridge, and that's where you need to aim. 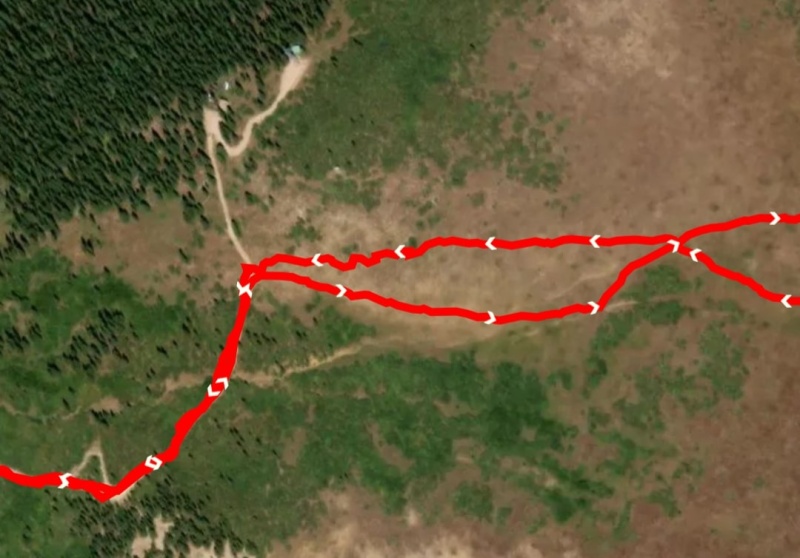
We set out early enough that we were able to enjoy first sunlight on peaks across the way, such as Quandary, North Star, and Lincoln and Co. 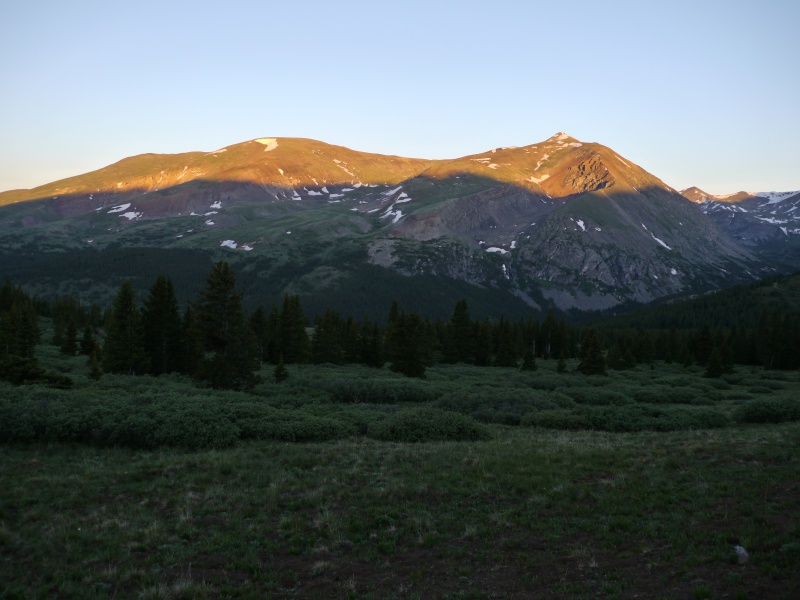
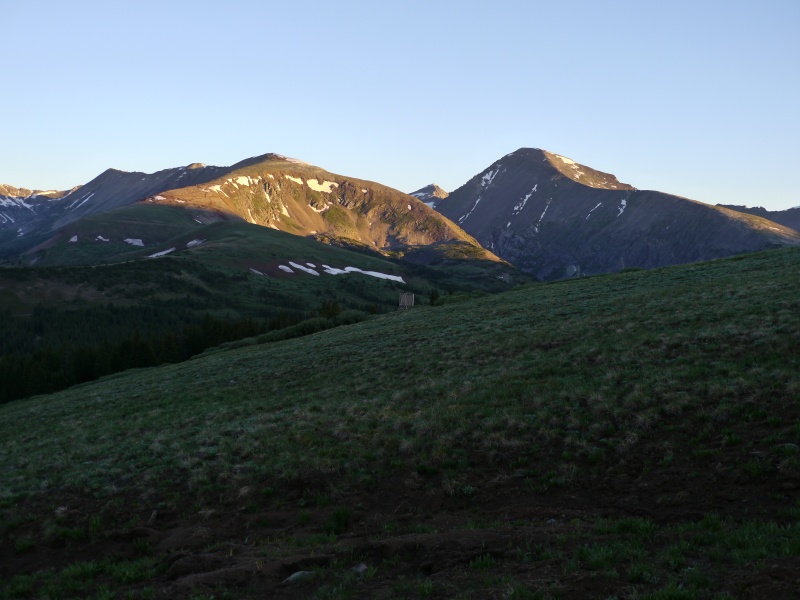
The tundra was a really deep green, and there were patches of wildflowers here and there, the likes of Redstem Cinquefoil, Sky Pilots, and others. And eventually, we ourselves were finally greeted by sunlight. 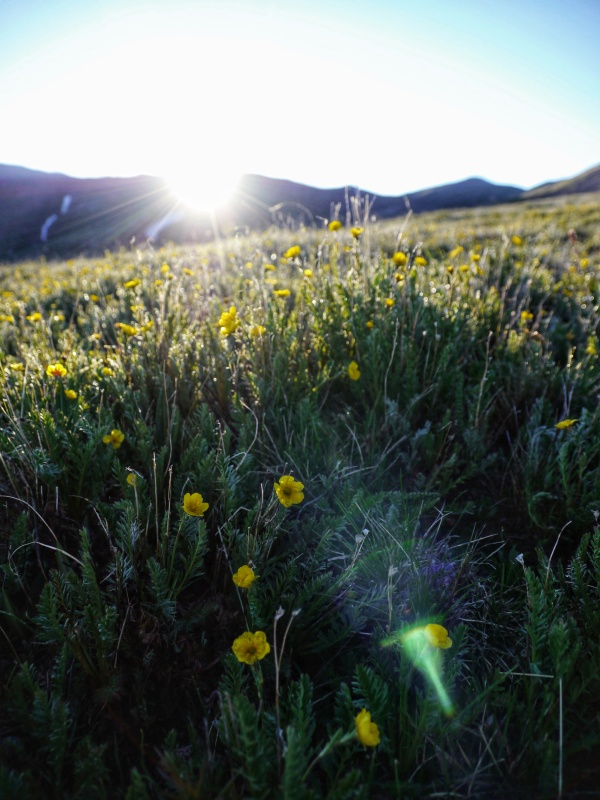
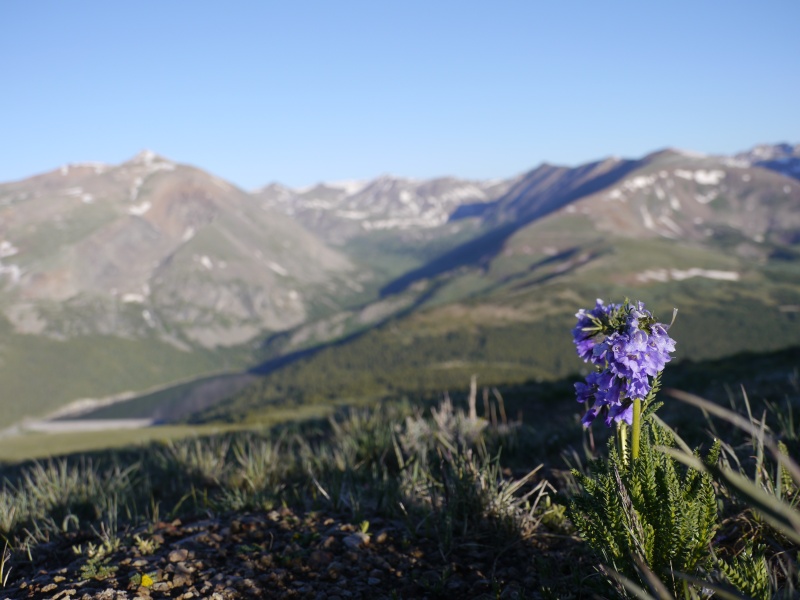
Once you reach that "end point" of the ridge (or I guess the starting point, in this case), you've reached a spot a lot of people hike to but never go beyond. So, be the over-achiever that you are, head north, and follow the ridge until you've lost count of ups and downs. (I think there are 10 up-down combos along the ridge to the summit, but don't quote me.) The route is straightforward, just stay on the ridge and just go over each hump in whatever fashion suits you. I barely took any pictures along the ridge, but here's a scenic look behind us as we plodded along. Your eyes do not deceive you if you spot a faint social trail coming down our most recent hump. It only goes for a short way, so it's probably the result of folks going up onto the ridge for the views but not actually wishing to hike the whole thing. 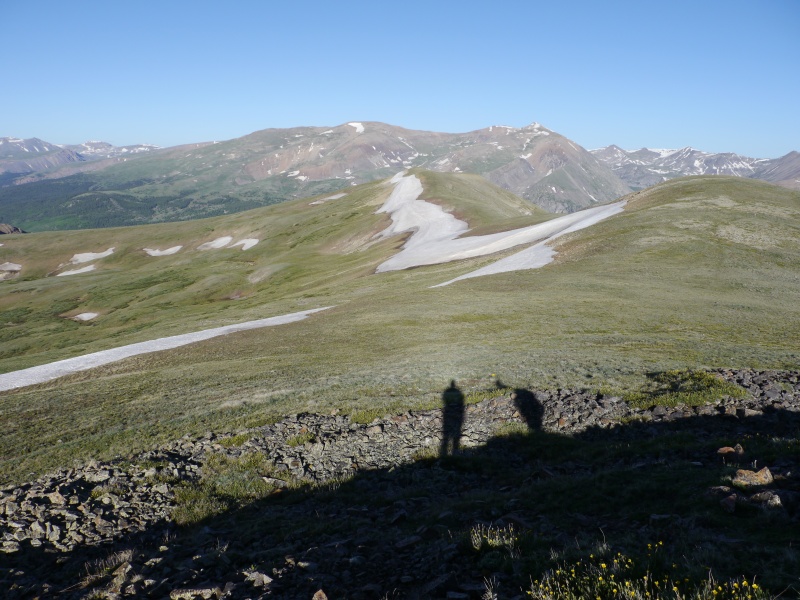
We enjoyed a great view of Silverheels along the way! 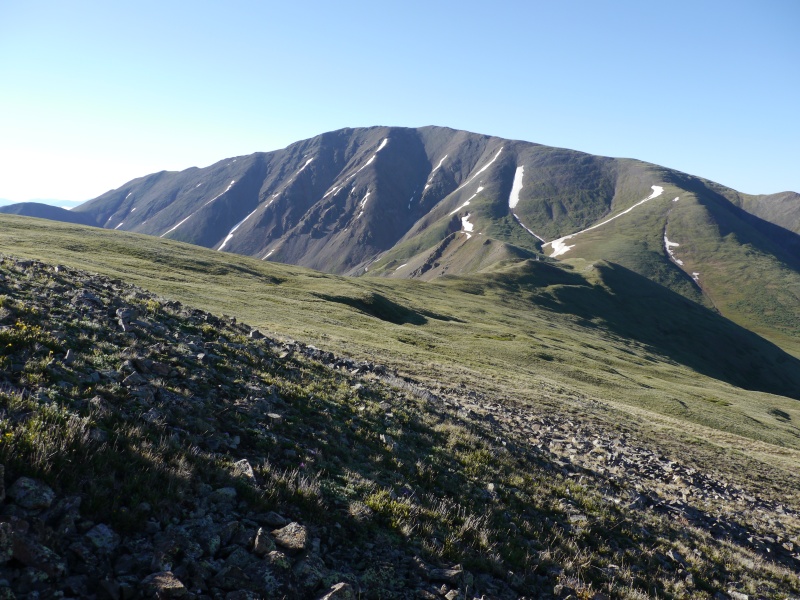
ARE WE THERE YET??? When the ridge finally takes a more northeasterly turn, you can start rejoicing because this is a sure sign the summit is near! (Your joy will overshadow the looming reality that you'll have to go all the way back. Ha!) Once you've reached the summit, if you were planning to add on Red Mountain and/or Red Peak, obviously those are fair game. 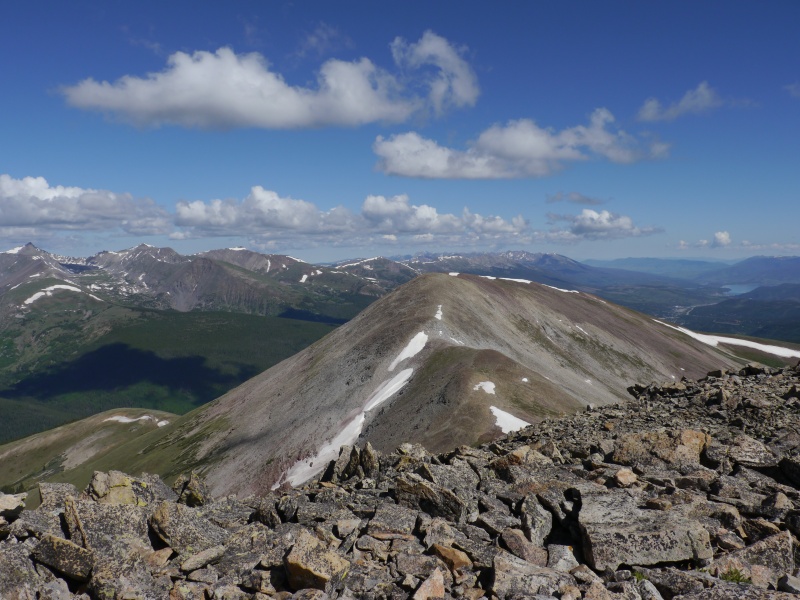
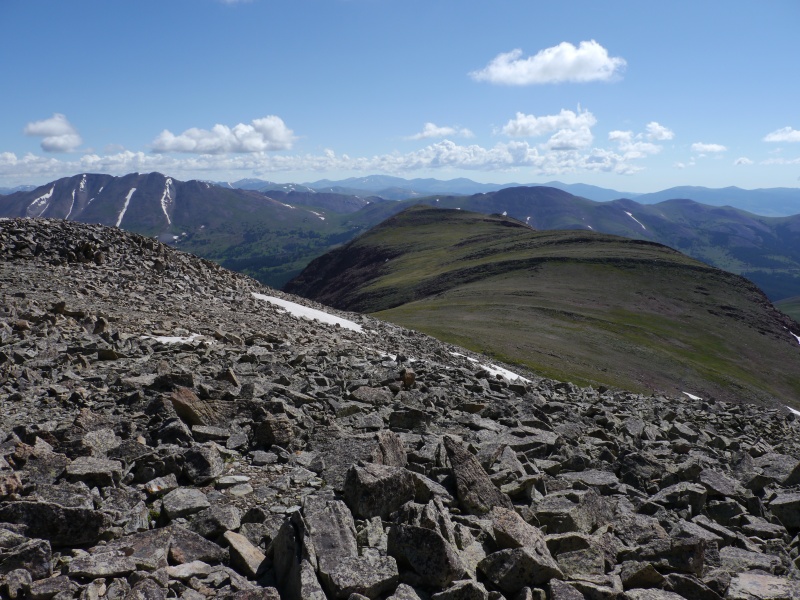
If you want to have that sudden realization that you have to go all the way back, all you need to do is look back at how far you've come. 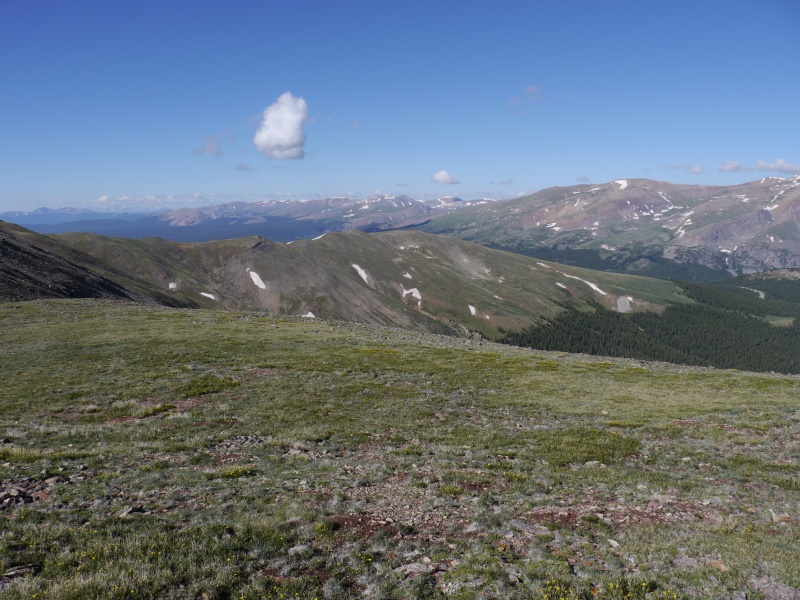
Some of the best views from the summit, in my opinion, are of the mighty Q across the way! 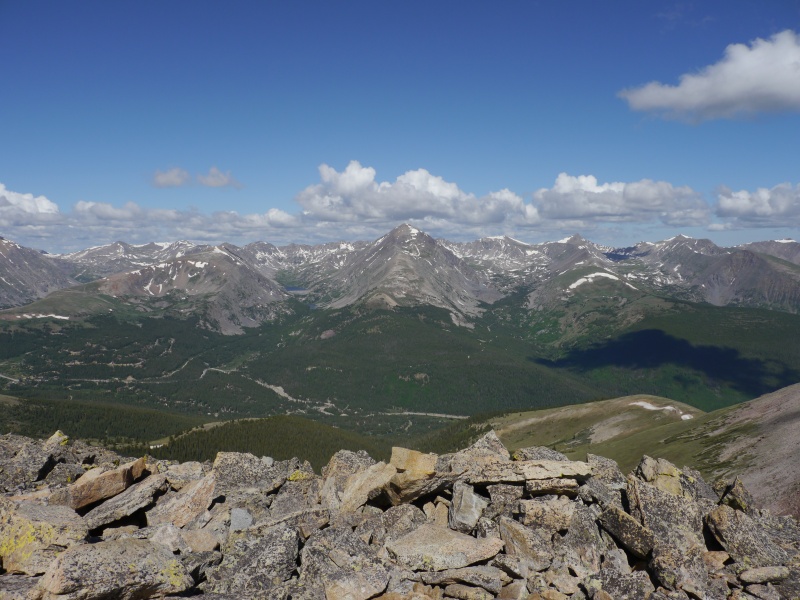
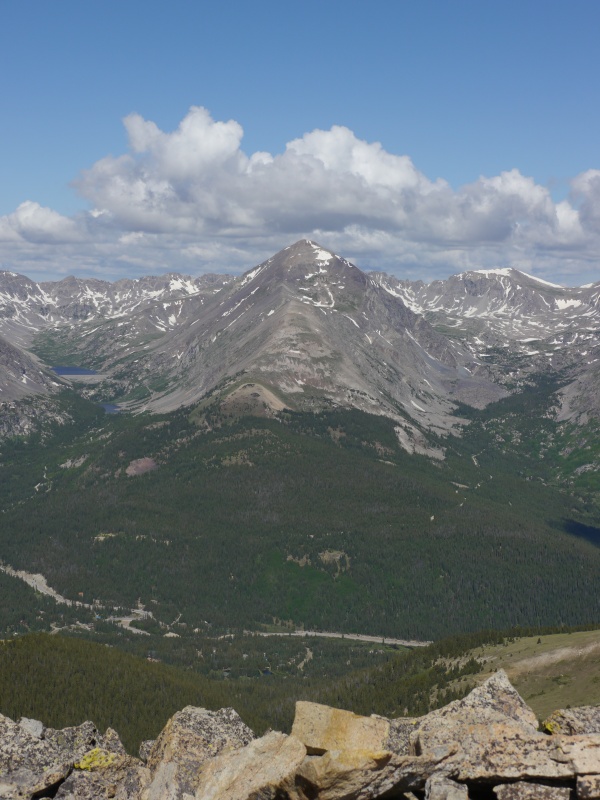
Given some rapid cloud build-up, and given how long you stay exposed on the ridge, that was another good reason for us not to add on either of the Reds. This brings me to a really important point about doing this peak on any day that isn't a 100% clear weather forecast. The ridge is long; the ridge is high; don't stay too long or else you'll die. Ok, that last part is a bit dramatic; however, if you're a person who's anxious about lightning (which I am), then being on such a long ridge during storm build-up is not usually the greatest experience. I wouldn't have been AS anxious except that the clouds really did seem to build a lot faster than what I'm accustomed to. 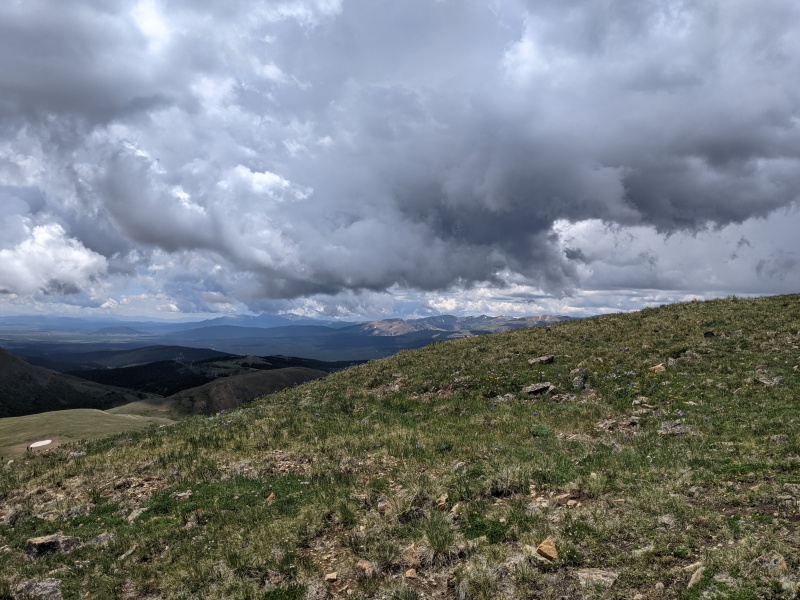
We got to the end point of the ridge, and I felt a little relieved now just by nature of ditching the ridge in favor of elevation loss despite not being out of the woods. By now, we were hearing cracks of thunder nearby, and the storm activity across the way over the DeCaLiBron was impressive. We survived another game of Frogger and were safely back to our vehicles. 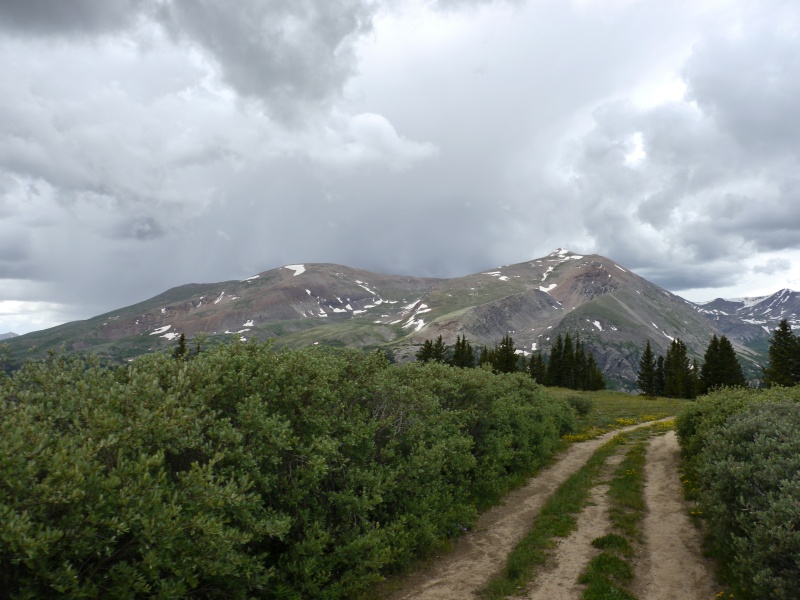
Closing Thoughts You know how you have a challenging day out in the mountains - or don't particularly enjoy a peak - and then afterwards you mysteriously forget that and go, "Yeah, I'd do that again!" That happens to me all the time; however, this is one exception. I remember feeling annoyed inside because of the tedium of the ridge, and my dislike for it hasn't quite left my mind. That said, however, I would actually repeat this peak because I think the redeeming qualities outweigh the non-redeeming qualities.
My first attempt at Hoosier was actually during calendar winter, and we ended up having to turn around. I look back on that, remembering the snow coverage, and I actually think this route might be easier with some good snow pack especially for the more rocky up-down combos because in dry conditions the rocks are a bit ankle-twisty. So, on a great winter weather day, I would not be opposed to another "go" at a Hoosier snowflake. Curious to hear what others' thoughts are about this peak! Cheers! As with all things beautifully outdoors, please practice Leave No Trace principles, but by all means take pictures and leave a trip report. Happy 13ering to all! |
| Comments or Questions | |||||||||
|---|---|---|---|---|---|---|---|---|---|
|
Caution: The information contained in this report may not be accurate and should not be the only resource used in preparation for your climb. Failure to have the necessary experience, physical conditioning, supplies or equipment can result in injury or death. 14ers.com and the author(s) of this report provide no warranties, either express or implied, that the information provided is accurate or reliable. By using the information provided, you agree to indemnify and hold harmless 14ers.com and the report author(s) with respect to any claims and demands against them, including any attorney fees and expenses. Please read the 14ers.com Safety and Disclaimer pages for more information.
Please respect private property: 14ers.com supports the rights of private landowners to determine how and by whom their land will be used. In Colorado, it is your responsibility to determine if land is private and to obtain the appropriate permission before entering the property.
