| Report Type | Full |
| Peak(s) |
Grizzly Peak - 13,997 feet Garfield Peak - 13,778 feet Red Mountain - 13,481 feet |
| Date Posted | 09/15/2021 |
| Date Climbed | 09/11/2021 |
| Author | daway8 |
| Grizzly-Garfield-Red loop |
|---|
|
This TR covers the loop from Grizzly to Garfield, over the gnarly traverse to Red then down the other side. Since Grizzly and Garfield both have lots written about them I'll only briefly highlight a few points about them and focus primarily on the traverse to Red and on the option for doing Red without the traverse. The few who have written about Red Mountain B all seem to agree that the ridge over to Garfield is a fairly nasty little section. For me, the traverse wasn’t all that bad – I only feared for my life a couple times… As I starting writing this in my normal beta driven style I couldn't help but feel a little bit like I was describing "the three terrors of the Fire Swamp" - so I gave up and decided to just run with that theme. Hopefully I can help guide the next poor soul through without them getting munched on by the ROUS's (well, except I haven't figured it out as good as Westley...) In this case, ROUS's are not Rodents Of Unusual Size but Routes Of Unusual Sketchiness So included in this report will be:
If you haven't caught on by now, this report will have a little extra flare than my normal trip report but will still have the typical large, bolded section headers for those wanting to jump to specific beta. Loop Route: McNasser Gulch lower trailhead - Grizzly Peak A east ridge - Garfield Peak A - Red Mountain B - Peekaboo Gulch - FS 393 to McNasser Gulch Stats: ~10mi, ~3,700ft gain, 9h 34min total time (average moving speed 1.5mph) 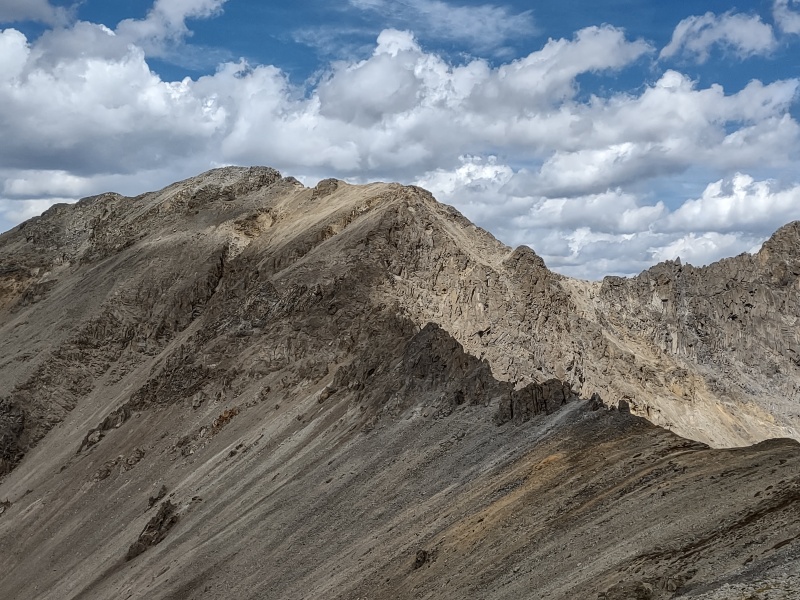
Trailheads First a few boring setup details: the trick to making this an effective loop, without tackling that traverse in both directions, is to park at the lower trailhead for McNasser Gulch, go up the standard route for the Grizzly/Garfield combo then do the traverse to Red. If you make it there alive (haha, just kidding - I think there might be a semi-reasonable route if you hit it just right - but I didn't...) well, anyways, you then drop down to Peekaboo Gulch and stroll the 4WD road back to McNasser (being glad at the end of the day that you parked at the lower trailhead and not the upper). The one slight issue is that there isn't really any parking at the "lower trailhead" except for maybe one or two vehicles (there's lots of room at the upper trailhead). But there are various pull-offs throughout this valley so you can likely find something not too far off, just be careful to respect the few patches of private property. 
Grizzly Peak A and Garfield Peak A With Grizzly being the highest 13er in Colorado, there is a lot of beta out there about it. Most people seem to go on happily living their lives with just the highest 13er in Colorado and it's easy companion which bears the name of a sometimes humorous cat (or was it named after someone else?) I'll just highlight a quick few details relevant to making this a loop - and point out some of the ominous warning signs... 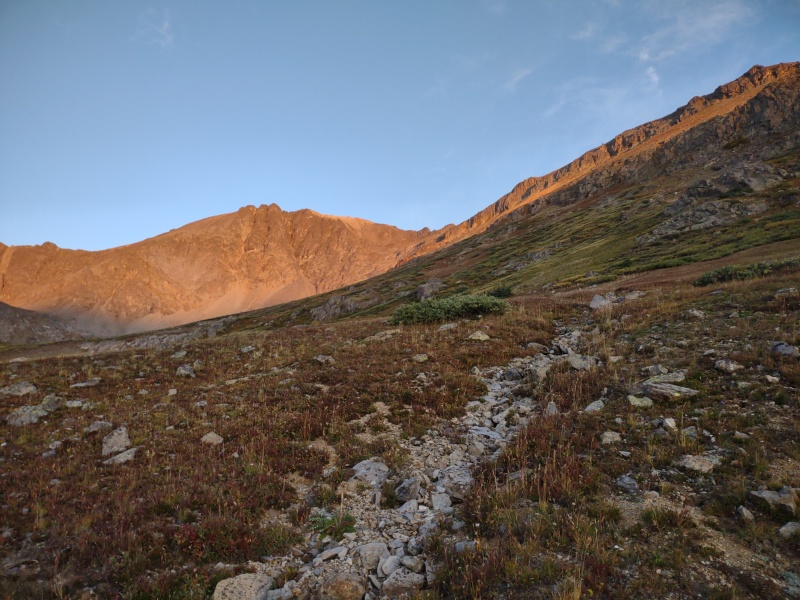
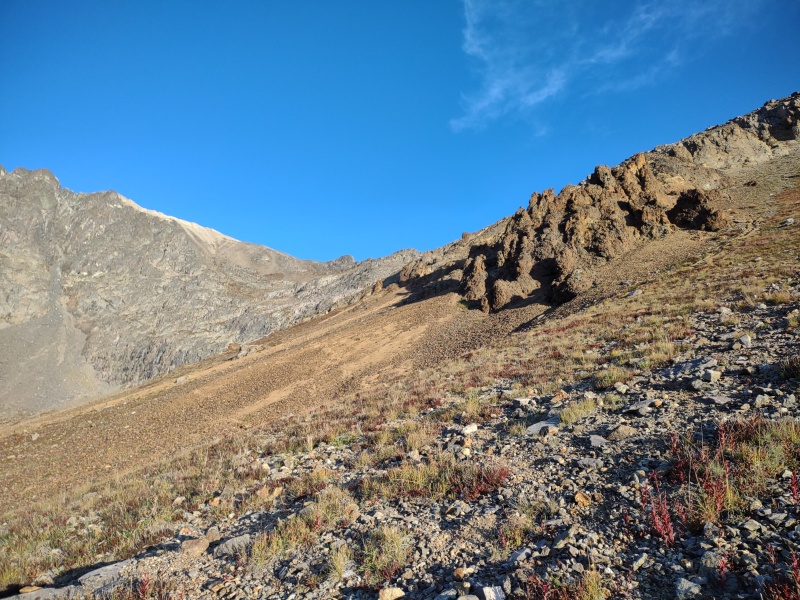


The main thing about Grizzly is that it is rather heavily guarded by cliff bands all over the place. But if you follow the route description you can eventually find and exploit some weaknesses to get up through them. Then you can cut right to hit the ridge directly via steep tundra if you're tired of dealing with loose rock (those cliff bands practically vomit out scree in large quantities - that's the other main defense for Grizzly). As you proceed up the mountain, pause every now and then and gaze at the vast amounts of scree being vomited all over the place by so many of the mountains in the area. This will forewarn you about the rock quality in this region (and help conceal the fact that you're gasping for breath in the thin atmosphere). Ask yourself how did those huge piles of scree end up at the bottom of all the mountains? Um, perhaps because the entire mountain range is crumbling into little tiny pieces any time a fly sneezes... (ok, it wasn't quite that bad but there is a LOT of loose stuff around these peaks). 
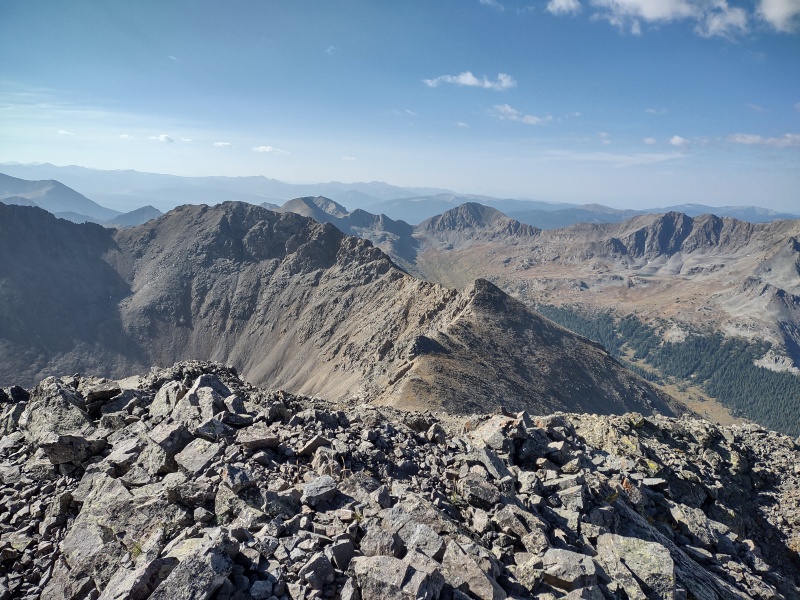
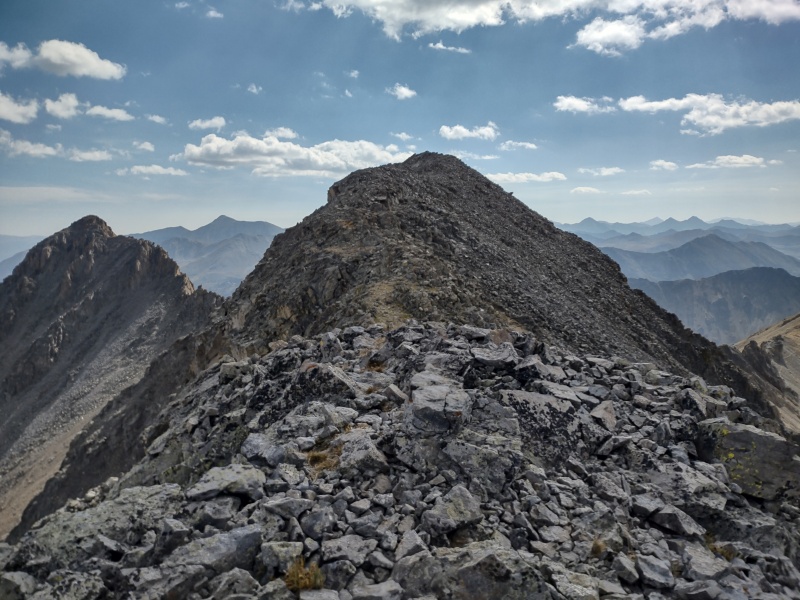

I'll also note that part of the original appeal of this loop was the idea of getting some fun scrambling in around Grizzly/Garfield with what sounded like some optional class 3 or beyond that might be fun. Not so much. The features are there and look real tempting but even the Elks seem far more stable the the rock around here. I tried scrambling up one optional feature off to the side on the way up Grizzly that would have been class 4 or maybe low 5th class but abandoned it quickly after having first a couple small rocks pop right out then a chunk twice the size of a grapefruit which I thought was part of a solid wall just broke free with hardly any force applied. I stared in disbelief at the now homeless chunk of rock in my hand, placed it on the ground and decided I didn't need any optional scrambling that day... Garfield was pretty straight forward but soon was coming the traverse... The Infamous Garfield - Red Traverse (aka The Fire Swamp) If you've made it this far without figuring out the references then you've clearly missed one of the greatest movies ever and need to stop here and go watch The Princess Bride (or just roll your eyes and look at the pictures if you're only here for the beta). So what are the three terrors of the Fire Swamp? We've already mentioned the ROUS's - that leaves the "flame spurts" and the "lighting sand" - or in this case the "rock spurts" and, yes, the "lightning rock." The "rock spurts" were already alluded to at the end of the section just above (with the king sized grapefruit). Only they don't necessarily have "the popping sound preceding each" as is the case with the flame spurts in the Fire Swamp. So you just have to be ready at all times for pretty much anything to perhaps break loose. Thankfully the king sized grapefruit ended up being the largest individual rock I broke loose that day (yes that qualifier is significant - stay tuned...) There's really only a very short section of this traverse that is sketchy - but it really packs the sketch in when it does show up. After extensively reviewing my photos and notes and seeing how heavily defined of a trail there is across much of this, it's obvious that many more people must have done it than represented by the few trip repots on this site. I'm inclined to suspect this might possibly be doable without turning into total sketch but alas, if that is so, I certainly didn't nail this one on the first attempt. But maybe my beta can help someone else do a better job... 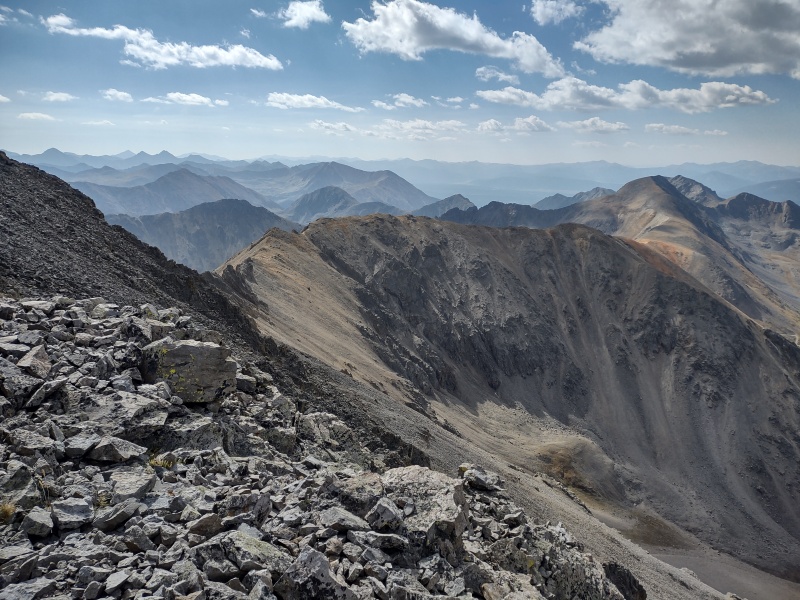
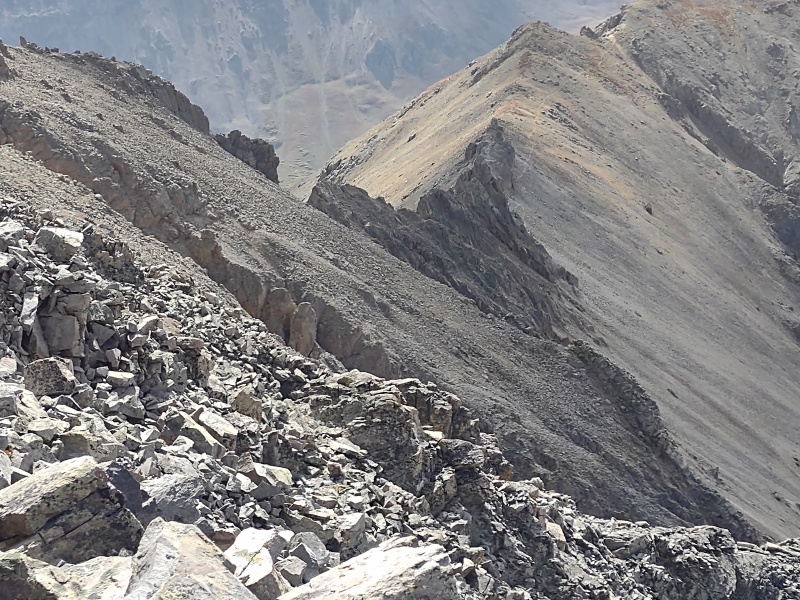
As you're approaching Garfield you'll begin to catch sight of a pretty obvious and decent looking trail from Red over towards Garfield on the right (west) side. That's because that trail was forged by all the many who dared to approach the Fire Swamp from that direction and then turned around and ran away in terror (running in terror creates some nice ruts...) Actually you'll find trail segments on both sides but they tend to disappear in the middle - just like all the foolish hikers who venture here, bwahaha!!! (ok, I'm having too much fun with this one...) 

There was a little easy scrambling to come down Garfield to the top of the traverse. That's when you first encounter the ROUS's. At first glance I thought: "Hey, this might actually be fun!" Then I encountered the first few "rock spurts" and start thinking: "Hmm, I might survive this..." Being deterred by the "rocks spurts" I then was lured down the slopes to attempt a bypass, only to discover the third terror of the Fire Swamp: "lightning rock." [You may recall Buttercup was "clever enough to discover" the "lightning sand" which they barely survived]. Well I was "clever enough" to discover "lightning rock" - as in the kind of rock that tries to bury you alive... I've been on plenty of scree and shifting rock before but never have I seen such a large volume of rock move in unison - it must have been at least 10 feet below me and 10 feet above with a couple feet on either side that all started to slide together towards the waiting cliff below! (Perhaps now you can begin to see why this route has enlivened my flare for the dramatic...) 

I was dumb enough to have started down the most worn section which was closest to being dirt, thinking to myself: "Oh, this looks like it might be a path." Moments later that thought was amended to: "Oh, this looks like the path where all the debris slides down the mountain and plummets off that cliff below me!" It was about then that a large portion of the slope started sliding down the side of the mountain with me on it [Buttercup: "We'll never survive" Westley: "Nonsense. You're only saying that because no one ever has."] 

The sound of a thousand rocks sliding in unison might possibly make for some soothing white noise if it were a recording you were listening to while laying in a soft, warm bed. It's not, however, a very soothing sound when you're standing on top of those rocks. I wasted no time side stepping to the right, both because the average rock size was slightly larger there and it lined me up better with the hump below rather than the plunge into the Pit of Despair. I was concerned that the rest of the slope would just start moving as well but thankfully it didn't and even the large section I had displaced soon settled again into an uneasy equilibrium. As I was coming down I could see off to my left (East) a trail running alongside the right (West) side of the ridgetop. The question was how to get there in one piece? 

There were a series of humps where I went down to that made not quite a complete ledge to walk across back to the left, towards the middle of the ridge. I started stepping very slowly and lightly to work my way over in that direction. I'll also give a tip of the hat here to headsizeburrito who put up a trip report with GPX tracks posted which I downloaded. I think somewhere around here I stopped and asked myself "Where did the Burrito go?" That helped confirmed where I needed to correct course to (though I waited a bit late to check the tracks). 

I looked down some of the gullies to see if maybe I could just bail off the ridge. They all looked far worse than the ridge itself and given my recent experience with the "lightning rock" I concluded there was no way I was going down those things. Getting back over near the center of the ridge to where the trail was at was (along with what I had just come down) pretty much the sketchiest part of the whole ridge, which actually - after carefully reviewing my photos, I think it was really just this one small section that I needed a better route for. Had a found a nice way to connect to that trail segment then you probably wouldn't be reading all these Princess Bride references... 
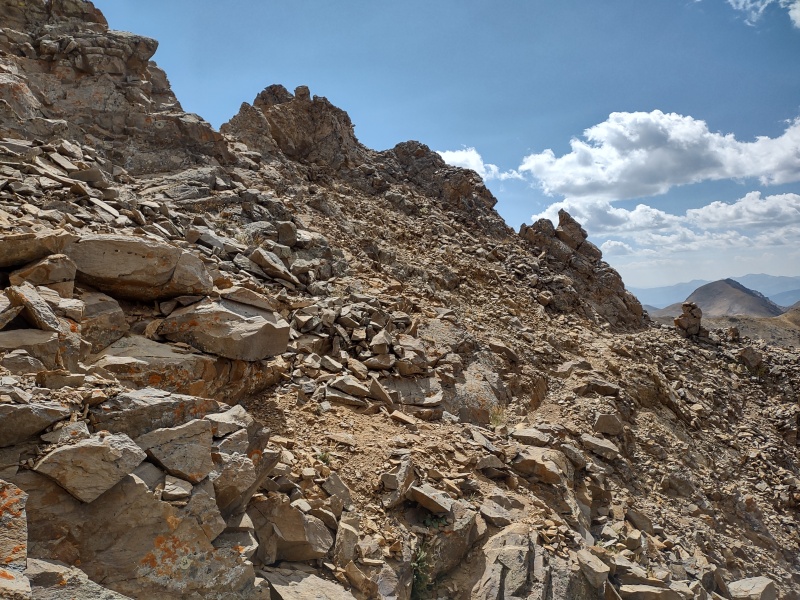
The trail is pretty obvious when you get to it but as to how to connect that trail to the section of the ridge closer to Garfield - well that's the crux of this route. I put in a dashed line at my initial next guess if I were to try it again and that seems to be maybe in the general area where the tracks by headsizeburrito go. If I had it to do over I would probably do the traverse starting from Red and going to Garfield because that way you start on a solid trail and go up instead of down on the worst terrain. 

There were a couple more minor challenges still but the worst was over at this point. There was one wall with a U-shaped rock structure on top. I didn't take good note of the height but I think it was maybe just a little taller than me. I was paranoid about the rock quality but made it down without issue. I probably did a couple easy class 4 moves here, though I likely could have found a class 3 option with some more looking. 

This was right before getting to the band of crumbled white rock draped over the ridge. To pass that I again looked down the side of the mountain but it was again way too steep and loose. So I did a mildly uncomfortable step around move of the rock feature just past the white band (again the rock quality was putting me on edge with all the obvious fractures, but this rock held too). 

After that the trail faded somewhat upon reaching more ugly terrain but it looked like there might have been a hint of a trail in the rocks dropping down below all the ugly features. This time the slope heading down off the west side of the ridge was a little less steep so I decided to slowly test the descent. At least at this point there were no longer any cliffs below me - just a very, very long scree tumble awaiting if anything went amiss. But this scree slope wasn't anywhere near as unstable as the "lightning rock" encountered earlier so I made it down and around without issue. 

At the bottom there was a short, skinny path squeezed between two large rocks that was calling my name. I was sick of scree and wanted to regain the ridge as soon as possible. So I squeezed up into it - and very nearly got stuck... But with a lot of scraping and pulling (I really should carry a smaller pack for these type ridges...) I got up through it. 

From there it was easy scree up to the ridge and the clear, obvious trail. I looked back to see if there was some other obvious route I had missed but the ridge proper looked pretty darn gnarly and given how loose so much of the ridge was I wouldn't want to try that. 

I then took some time at the far end to snap several more photos to study to see if I could spot a better path for the next poor soul. Not really. I could imagine that, if I had spent the night up there, the ridgeline would have said: "Good night Westley. Good work. Sleep Well. I'll most likely kill you in the morning." 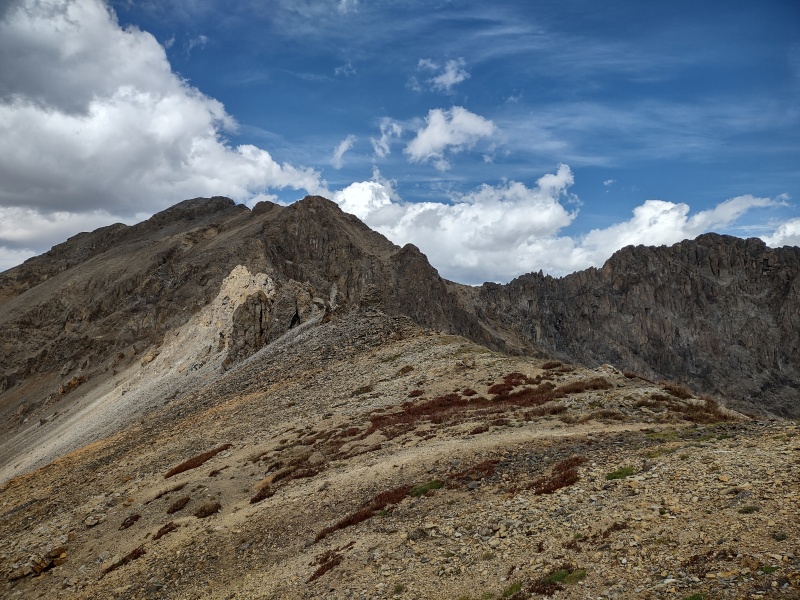

Red Mountain B So once you're past the gnarly stuff on the ridge it's just a simple easy stroll over to Red Mountain B. You won't see why it's called Red until you go up and over the summit. I'll go ahead and describe this in some detail so anyone who wants to do just Red, without that sketchy traverse, can simply reverse this description. 

You could drop down about anywhere along the ridge. I picked a gap between a couple of rock chunks just to have some manner of landmark to go by. After that its steep tundra/dirt. Steep enough to be a pain but not so steep as to be crazy (like some other slopes I've done recently - but that's for another trip report...). 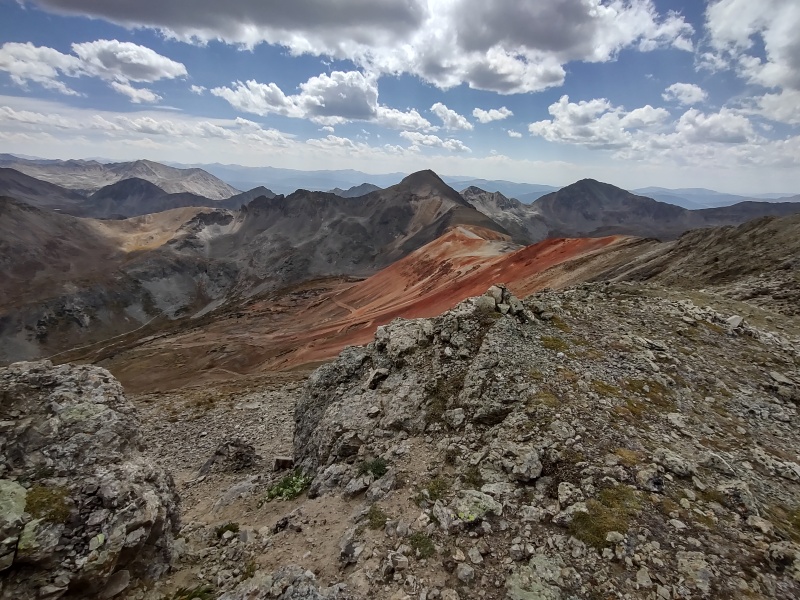
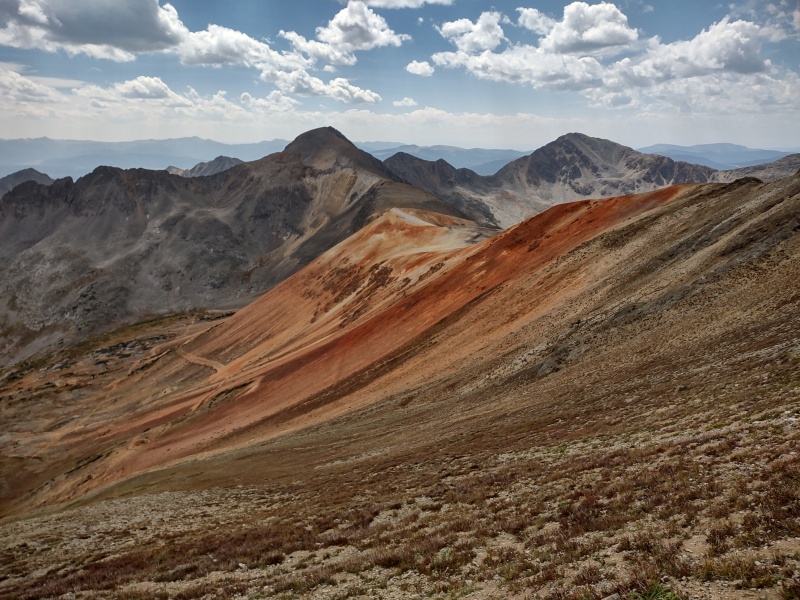
I aimed for just before where the side of the mountain turns red and then went straight down from there. I then aimed for a break in the willows at the edge of the meadow below. This ended up being a small drainage ditch dropping down below. 
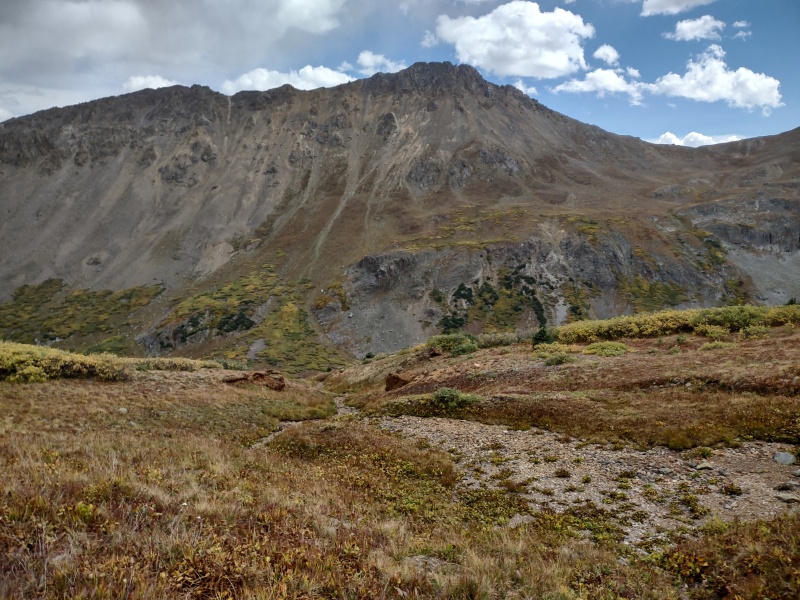
A look back up the path to the ridge shows easy tundra to the right of the red section - just aim up for somewhere between the rock chunks and pick the path of least resistance if you want to go up this way. Coming down into that drainage I feared I would plunge into the willows but instead was delighted to stumble across an old mining road. This mining road actually shows up in GAIA on the USFS 2016 layer, labeled as Peekaboo Gulch Trail. 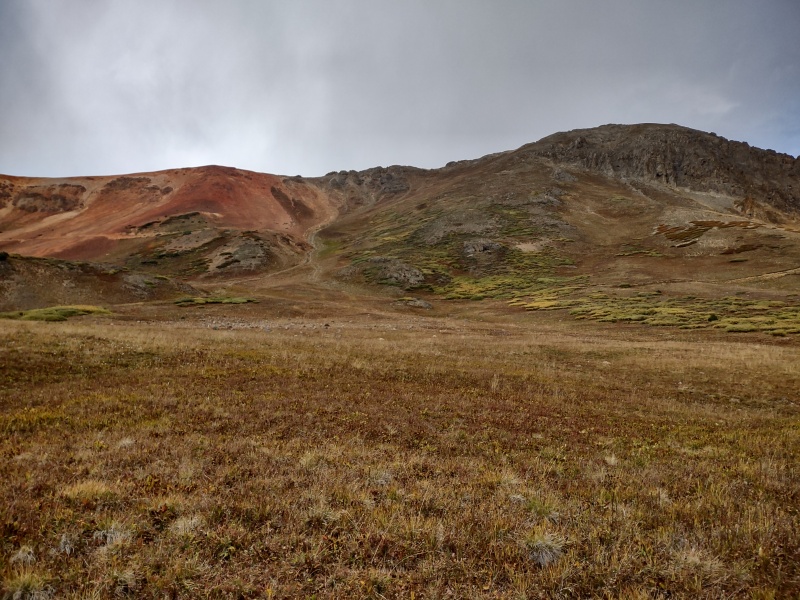
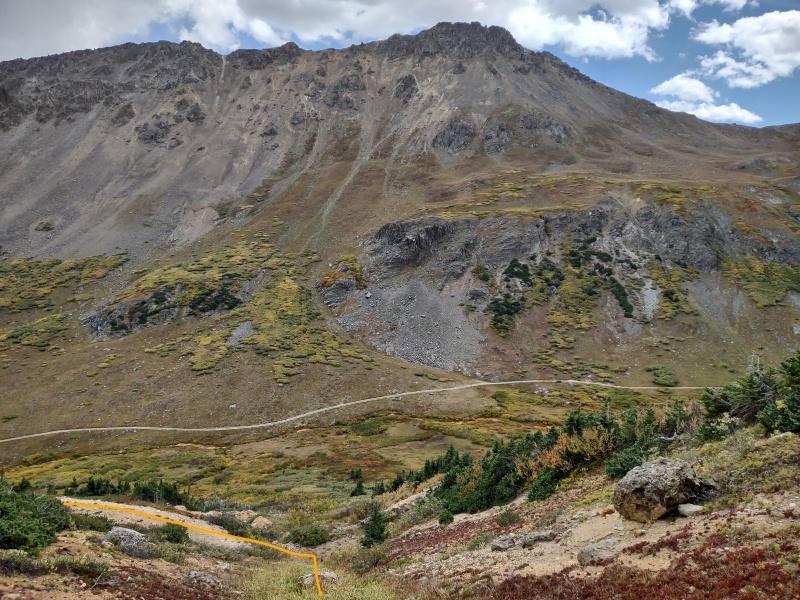
The road is starting to get overgrown in places and in a brief section or two there was still a little bit of squeezing through willows to do but that's way better than full on willow bashing. 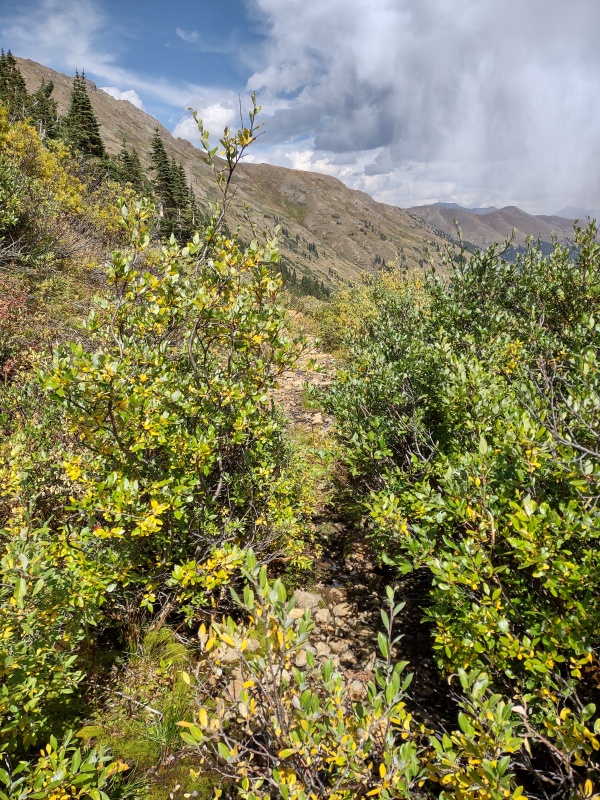

Eventually that old mining road spills out onto the active 4WD road below (FS 393, which carries on from FS 391 - the road you take past La Plata to get to these trails). The old mining road starts out really, really faint but the couple gullies cutting through the hill above can give you a clue where to find it if you're starting your trek from this side. The one thing I neglected was to look for a specific place to park near here but if you make it out near this point you'll be past the private property and on forest service land so there's some flexibility on finding spots. If coming the other way, turn right at the cabin to follow FS 393. 
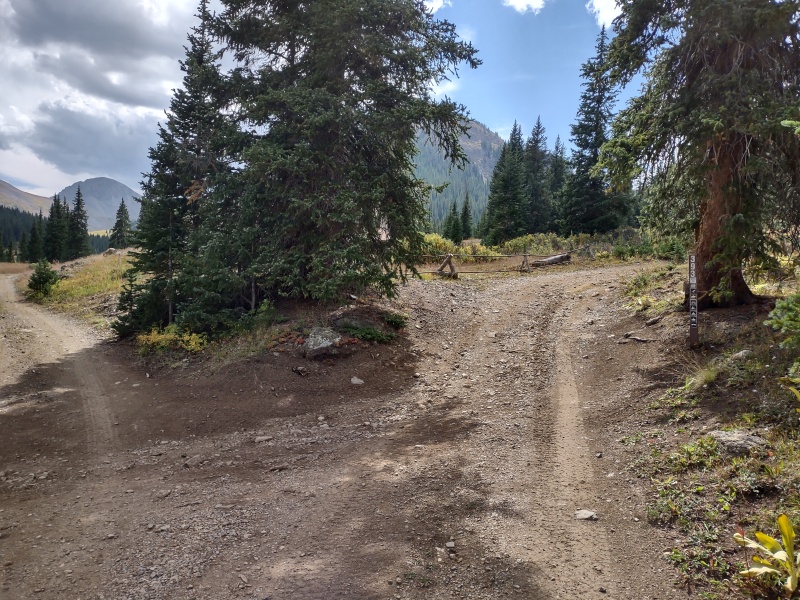
My Times: 5:17am start from McNasser Gulch lower trailhead 5:48am made it to the upper parking area (lots more parking space here than below) 8:20am gained the ridge after a long pause below 9:20am on upper portion of the ridge, Grizzly in view 9:31am Grizzly summit 10:10am top of hump between Grizzly and Garfield 10:40am Garfield summit 12:24pm made it alive across the worst of the traverse 12:30pm Red Mountain B summit 12:48pm descend on Peekaboo side 1:54pm made it to the junction of the old mining road and FS 393 2:28pm at the junction with the cabin 2:51pm back at the Jeep at McNasser Gulch lower trailhead GPX NOTE: You may need to tweak the route between Garfield-Red a bit. In general stay just west of the ridge crest. GPS Track(s) on Google Maps (made from a .GPX file upload):
View Map
Thumbnails for uploaded photos (click to open slideshow): 


|
| Comments or Questions | ||||||
|---|---|---|---|---|---|---|
|
Caution: The information contained in this report may not be accurate and should not be the only resource used in preparation for your climb. Failure to have the necessary experience, physical conditioning, supplies or equipment can result in injury or death. 14ers.com and the author(s) of this report provide no warranties, either express or implied, that the information provided is accurate or reliable. By using the information provided, you agree to indemnify and hold harmless 14ers.com and the report author(s) with respect to any claims and demands against them, including any attorney fees and expenses. Please read the 14ers.com Safety and Disclaimer pages for more information.
Copyright: Route information, text, risk factors, maps, GPX files, charts, photos, 14ers.com-created map imagery, flythroughs, and other content provided in this route description are copyrighted by 14ers.com and may not be copied, reproduced, republished, distributed, modified, or used to create derivative works without prior written permission.
Please respect private property: 14ers.com supports the rights of private landowners to determine how and by whom their land will be used. In Colorado, it is your responsibility to determine if land is private and to obtain the appropriate permission before entering the property.