Download Agreement, Release, and Acknowledgement of Risk:
You (the person requesting this file download) fully understand mountain climbing ("Activity") involves risks and dangers of serious bodily injury, including permanent disability, paralysis, and death ("Risks") and you fully accept and assume all such risks and all responsibility for losses, costs, and damages you incur as a result of your participation in this Activity.
You acknowledge that information in the file you have chosen to download may not be accurate and may contain errors. You agree to assume all risks when using this information and agree to release and discharge 14ers.com, 14ers Inc. and the author(s) of such information (collectively, the "Released Parties").
You hereby discharge the Released Parties from all damages, actions, claims and liabilities of any nature, specifically including, but not limited to, damages, actions, claims and liabilities arising from or related to the negligence of the Released Parties. You further agree to indemnify, hold harmless and defend 14ers.com, 14ers Inc. and each of the other Released Parties from and against any loss, damage, liability and expense, including costs and attorney fees, incurred by 14ers.com, 14ers Inc. or any of the other Released Parties as a result of you using information provided on the 14ers.com or 14ers Inc. websites.
You have read this agreement, fully understand its terms and intend it to be a complete and unconditional release of all liability to the greatest extent allowed by law and agree that if any portion of this agreement is held to be invalid the balance, notwithstanding, shall continue in full force and effect.
By clicking "OK" you agree to these terms. If you DO NOT agree, click "Cancel"...
Ruby to Grays Traverse: Gratuitous Class 4 on a Class 3 Ridge
The purpose of this trip report is to highlight how fun this short class 3 ridge from Ruby to Grays (from the Argentine Pass trailhead) can be if you go out of your way to make it needlessly difficult, lol. While I’m pretty sure you could easily keep this ridge at class 3 – probably even easy class 3 – we managed to find plenty of difficult class 3 terrain plus a number of short, purely gratuitous class 4 segments and, with some effort, even milked it for a few class 5 moves.
If you’re looking for the kind of detailed route descriptions I sometimes do, this isn’t one of them. If you’re looking for a realistic portrayal of what a normal hike up this ridge would be, this isn’t one of those. This is a showcase of how a couple rookie climbers can dramatize a fairly ordinary ridge to make it look more impressive. As such, the pictures might make it look imposing to other rookie climbers but I’ll admit up front that many of these photos were intentionally framed for dramatic effect – this was a play day on an easy ridge. If you took the easiest variation it would be much easier than Quandary West Ridge and thus a great ridge to warm up your class 3 skills on, with the option to up the difficulty level if you so desire.
Route: Argentine Pass TH – Ruby Mountain A – ridge traverse to Grays – Torreys – back over Grays – down Grays South Ridge.
Stats: 8.7mi; 4,916ft; 10h 12min (lots of play time, plus my partner on this hike was HikesInGeologicTime so, well...)
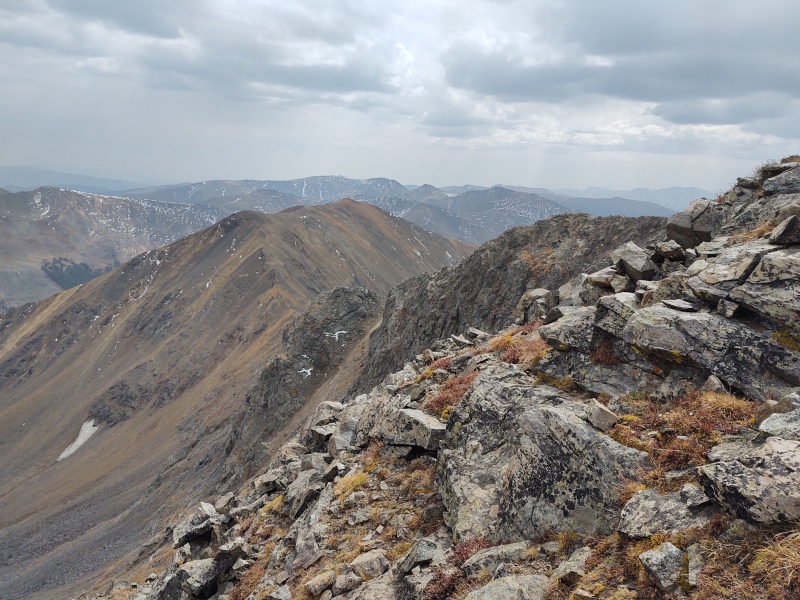
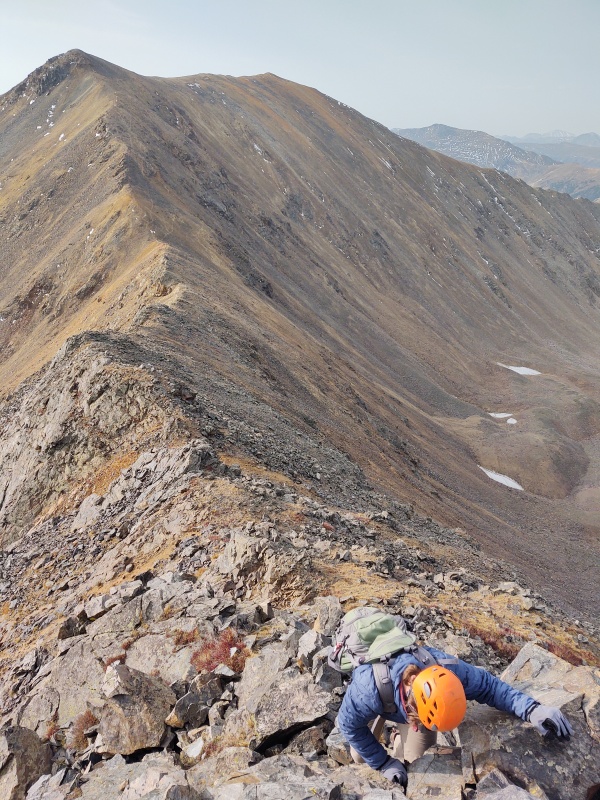
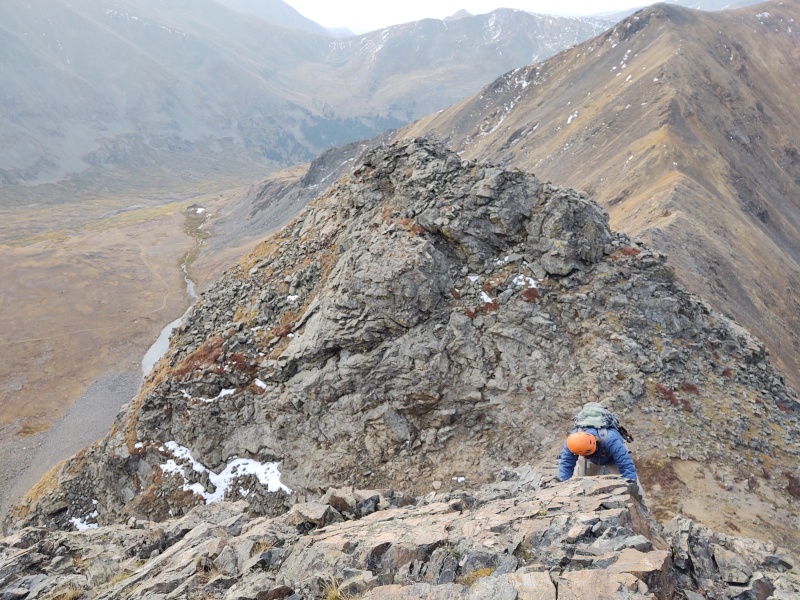
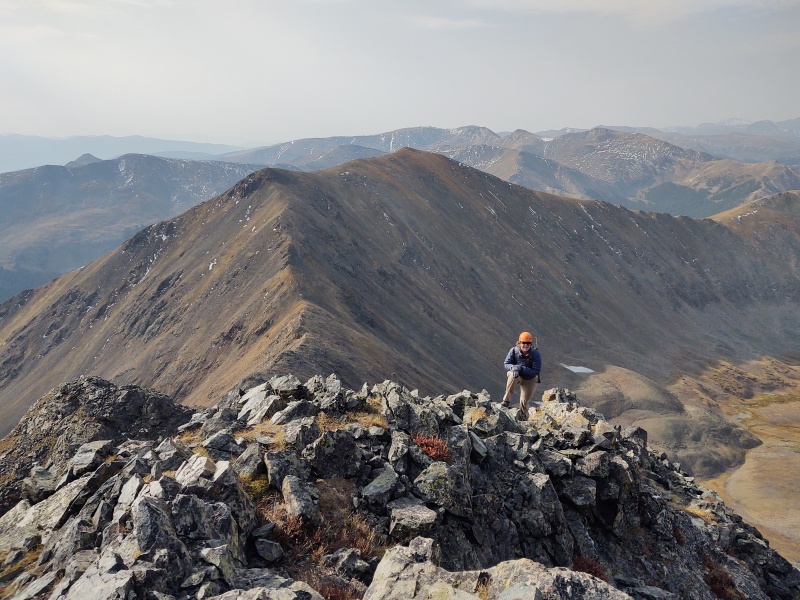
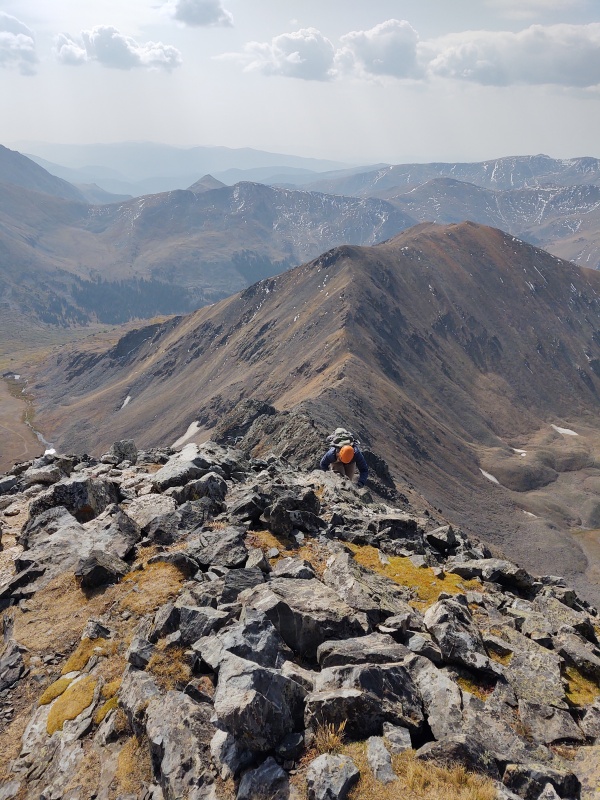
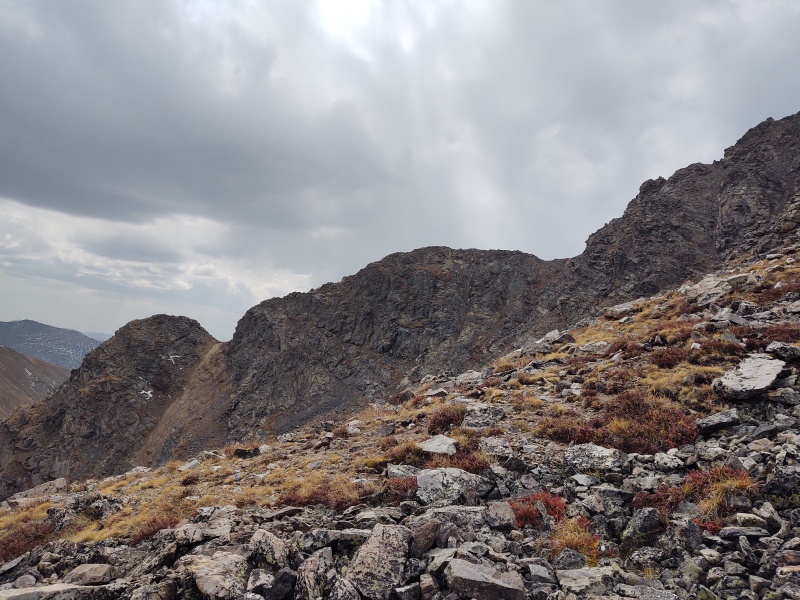
Looking back over much of the ridge towards Ruby Mountain A.
In the prelude to this adventure I had posted an inquiry in the forum regarding the difference of class 4 vs 5 in the hopes of accurately describing ridges such as this. While the responses didn't provide quite the degree of clarity I had hoped for, that thread did yield a couple great lines which we merged and quoted throughout the day in regards to being a "gumby epic'ing on 2-move wonders." That we were indeed this day, but sometimes even hitting 3 or 4-move wonders!
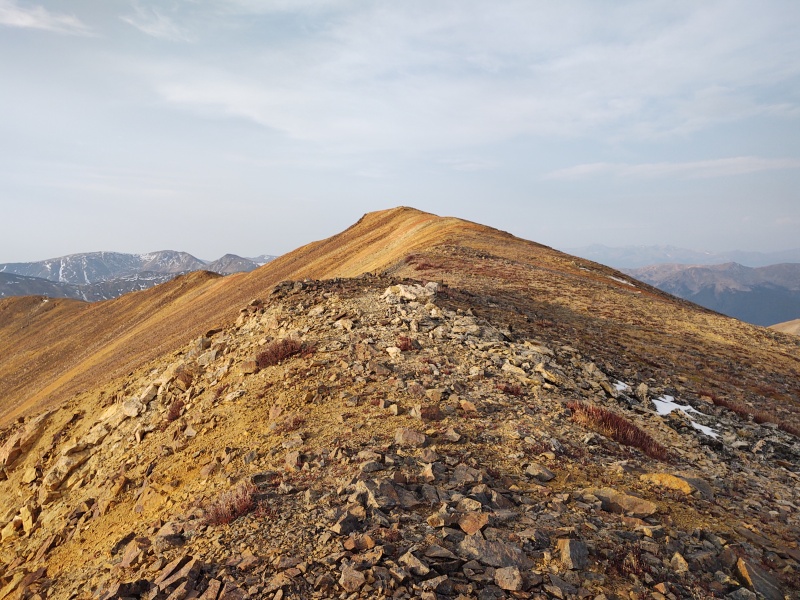
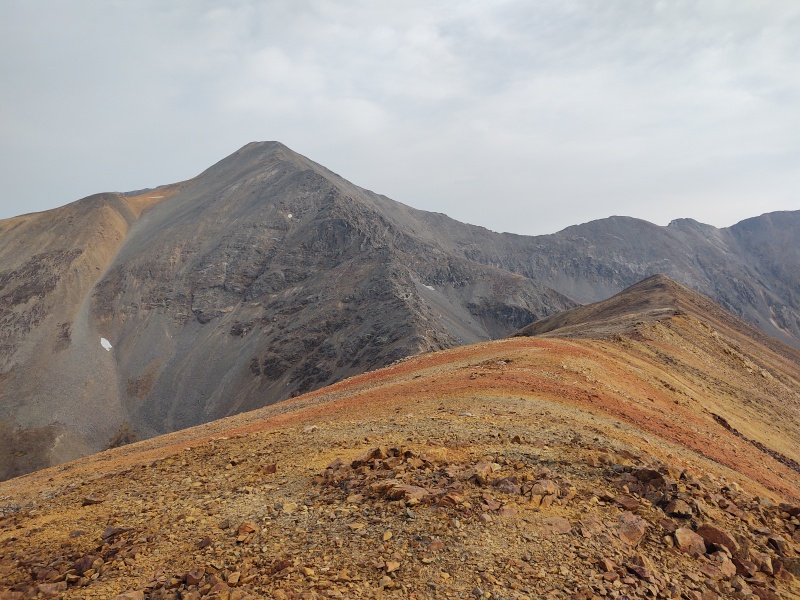
Ruby does indeed have some interesting color.Looking over to Grays at the traverse to come.
This report will be heavy on photos that were framed more for dramatic effect than for informational purposes but there will be a couple of actually informative photos in here too for those looking for useful beta.
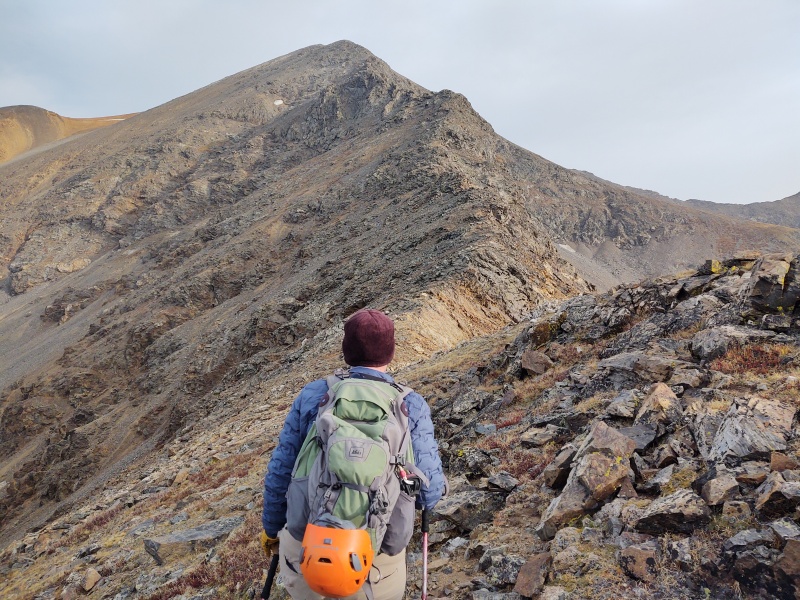
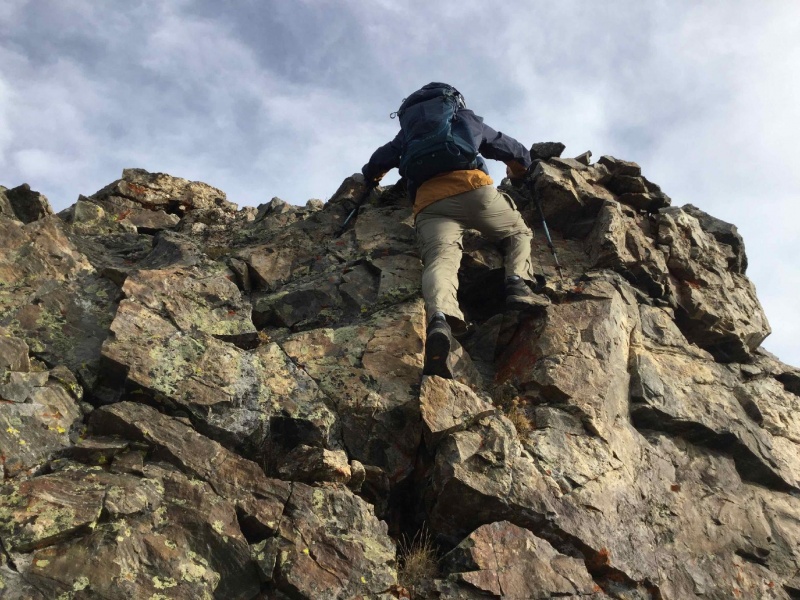
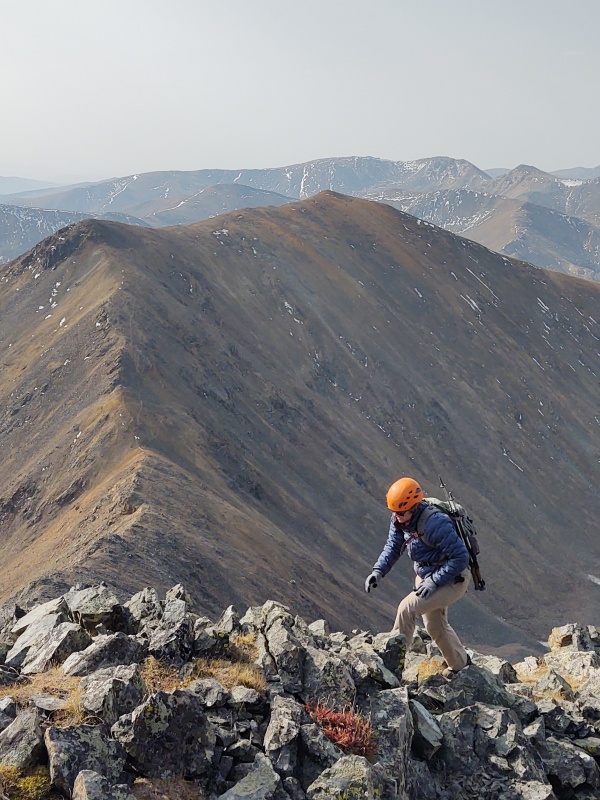
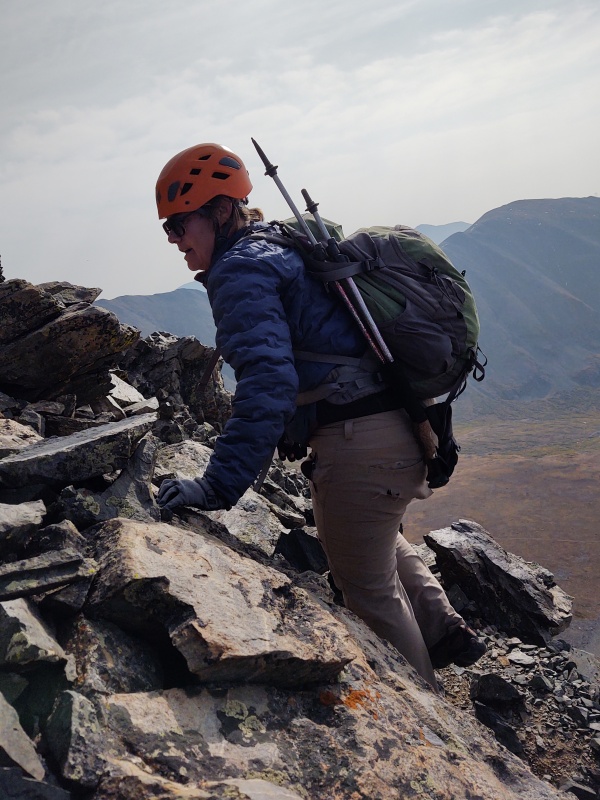
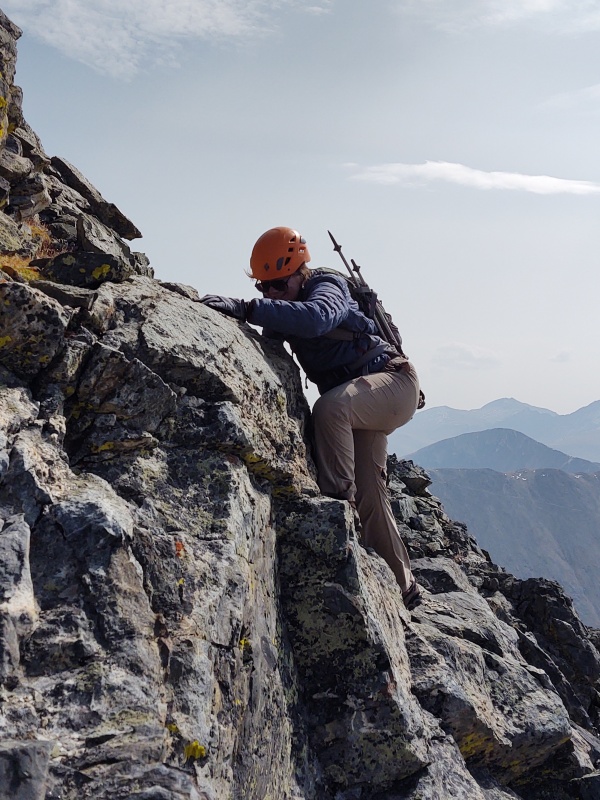
Switching from the beanie zone......to the helmet zone.
Helmets might be an overkill for this ridge - especially if you're doing it solo and sticking to the easiest path - but when you're a couple gumbys doing epic 2 or 3-move wonders it doesn't hurt. Besides it makes all your Facebook friends think you must be doing something really serious!
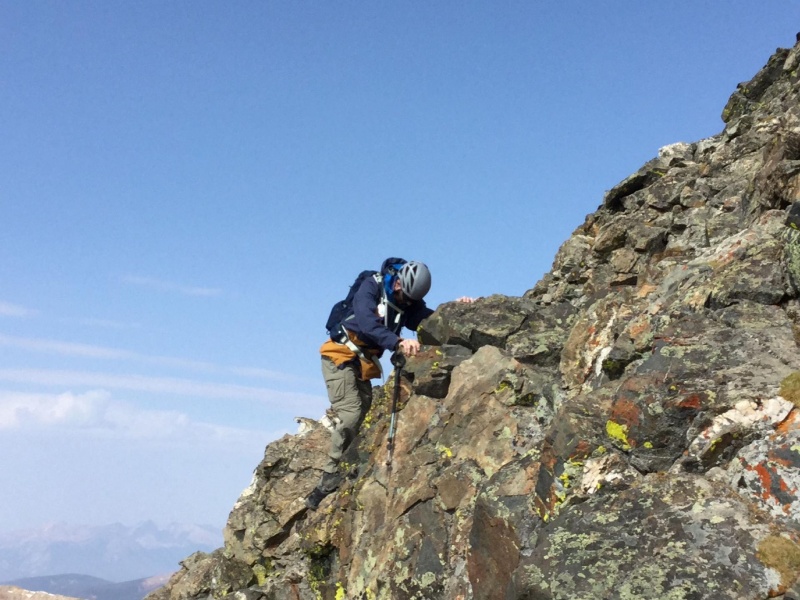
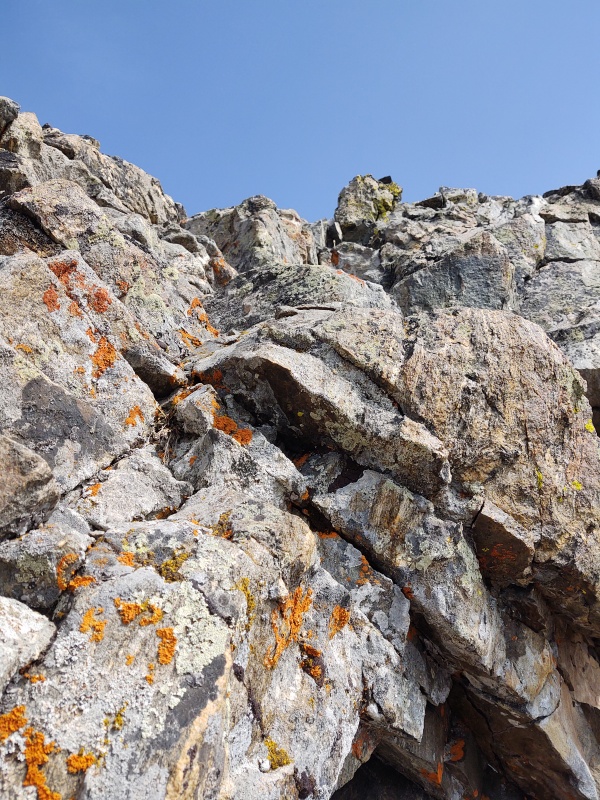
Begin intentionally dramatized photo angles...Even weeny moves look more dramatic when framed against nothing but sky...
At a few different points along the ridge we'd turn to one another and say something along the lines of:
"Well there's an easy gully that goes right up this little tower."
"Yep, not taking that one - boring..."
"Ooouu... I see an epic gumby move over there!"
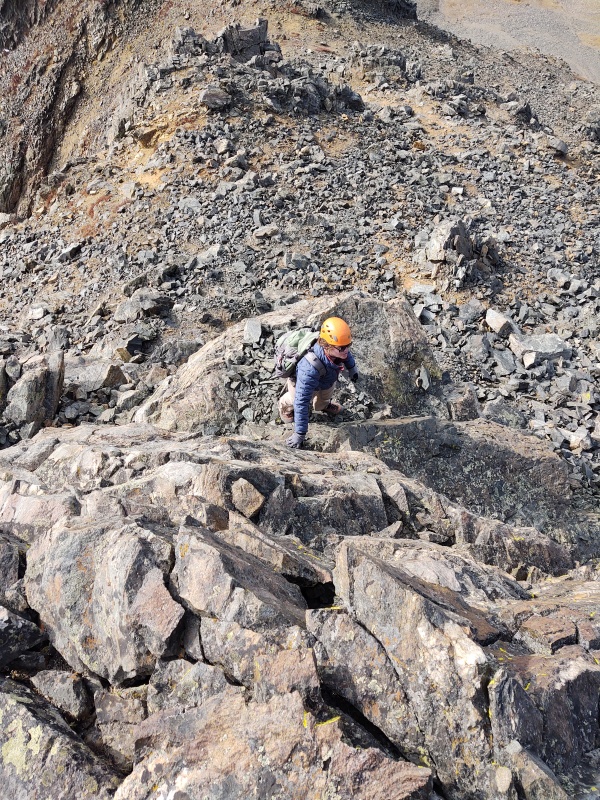
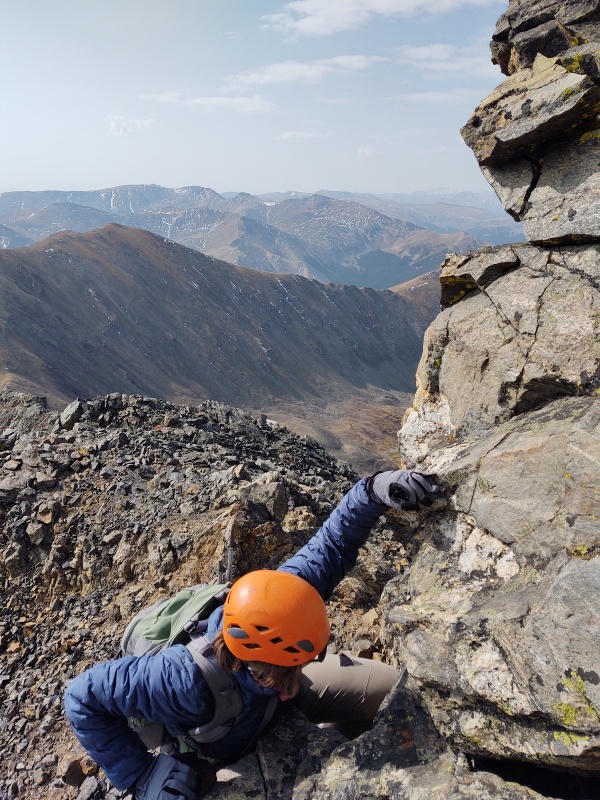
Capture that reach...So here's an informational photo - you can see there's a trivial gully just left of center for boring people to take - we opted to go up to the right...
Many times over on this ridge we would valiantly step over a class 2.14 rock, coast right up over a class 3.4 boulder, masterfully divert away from a class 2.9 gully and instead scramble up 8 to 10 feet of a class 4.2 rock face! Epic indeed!
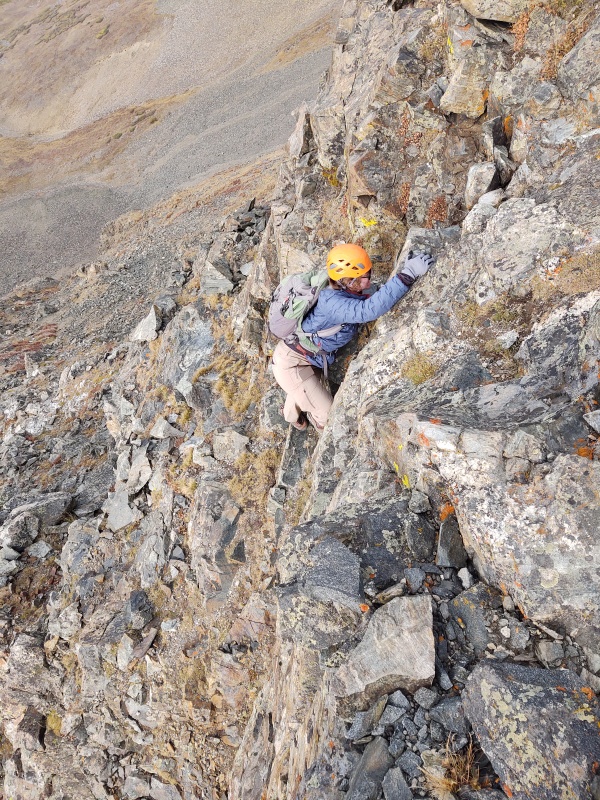
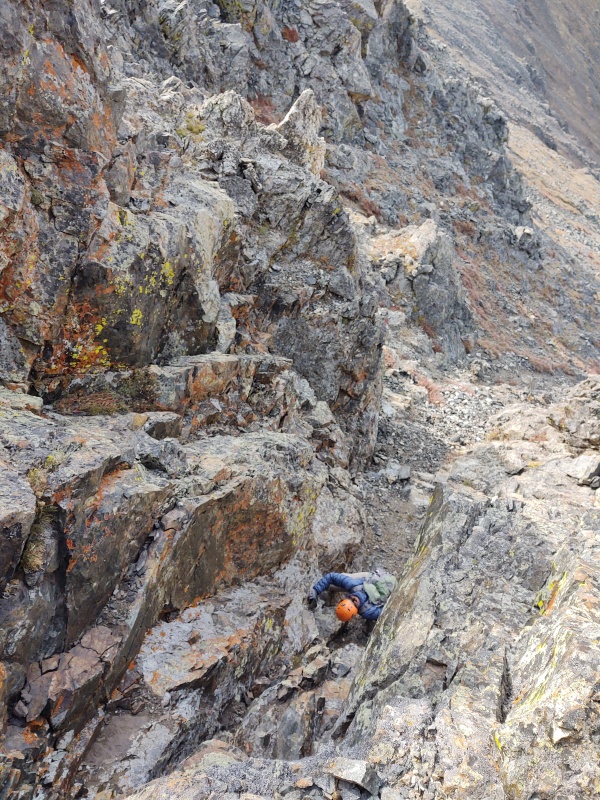
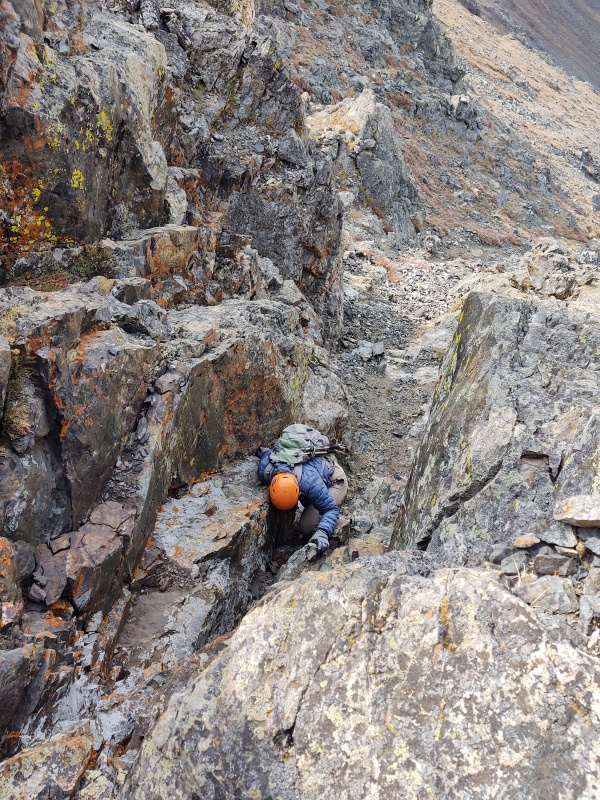
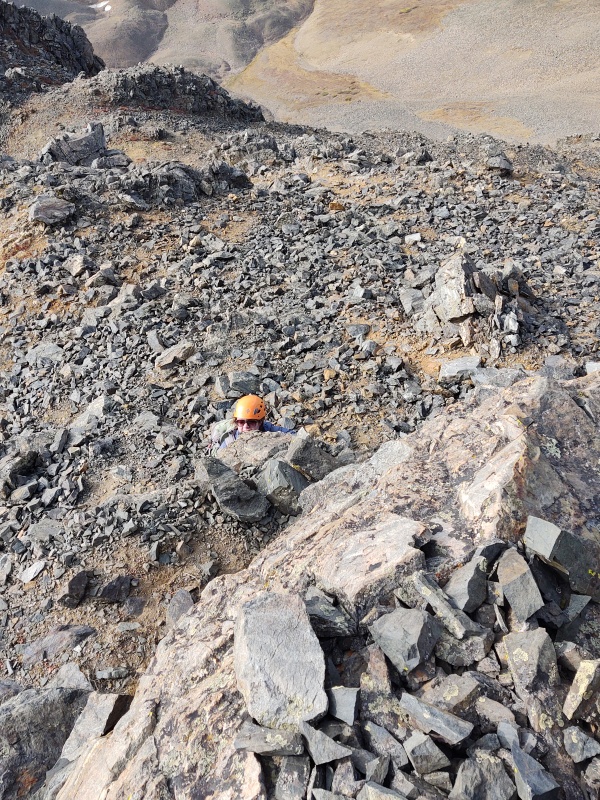
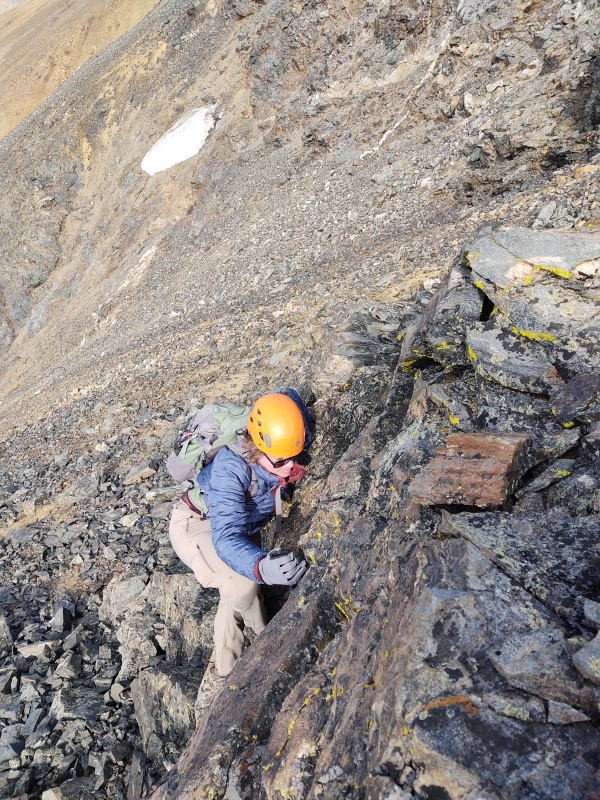
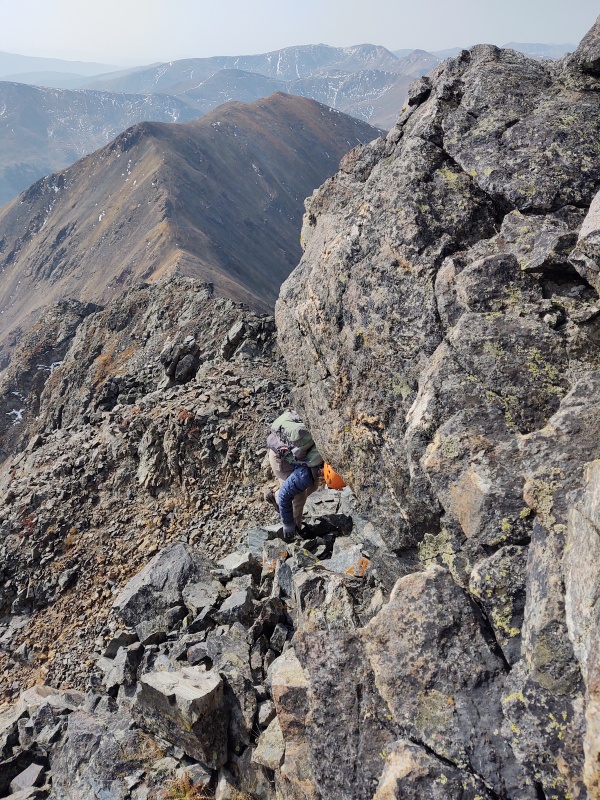
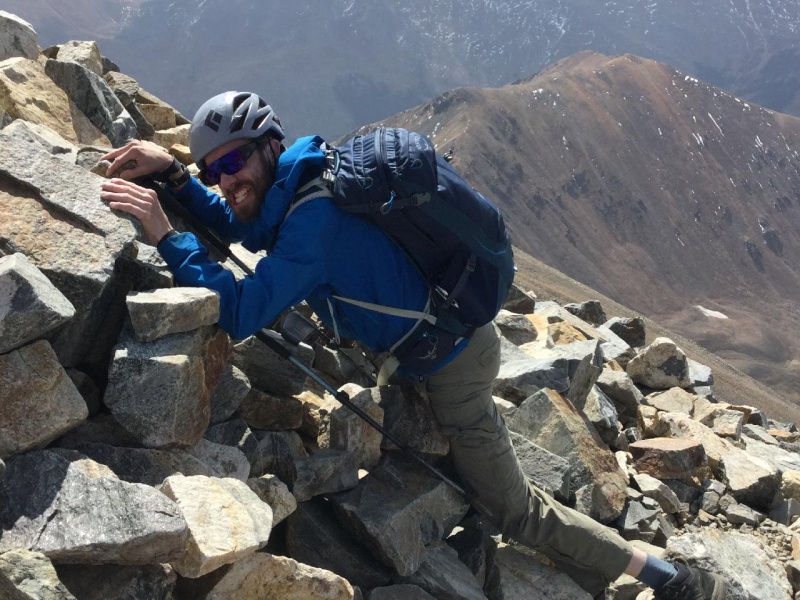
Always be sure to cut out the context for dramatic effect - in this photo I was at least several hundred... centimeters up this cliff face.A grimace always makes the terrain look tougher too.
Since my partner, HikesInGeologicTime, was demonstrating an aptitude for setting SKT's I took the opportunity to frame some sweet looking shots now and then so as not to get too far ahead.
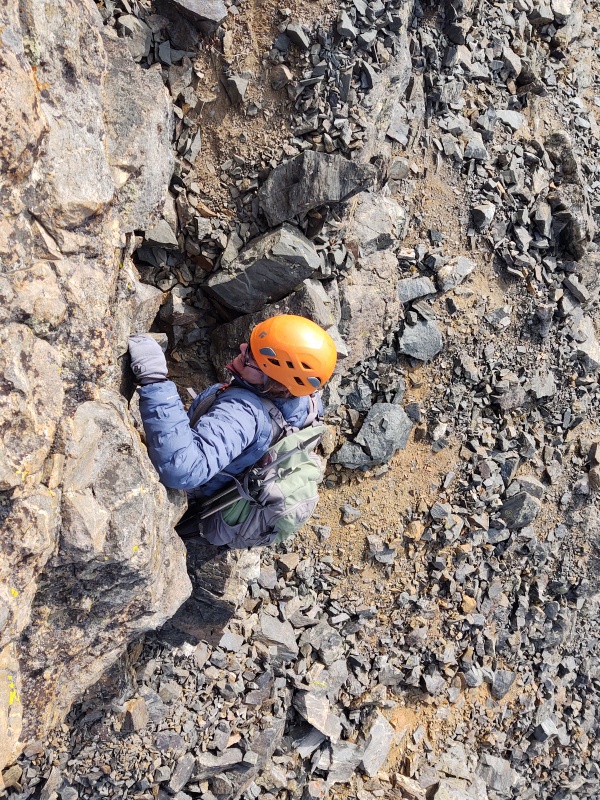
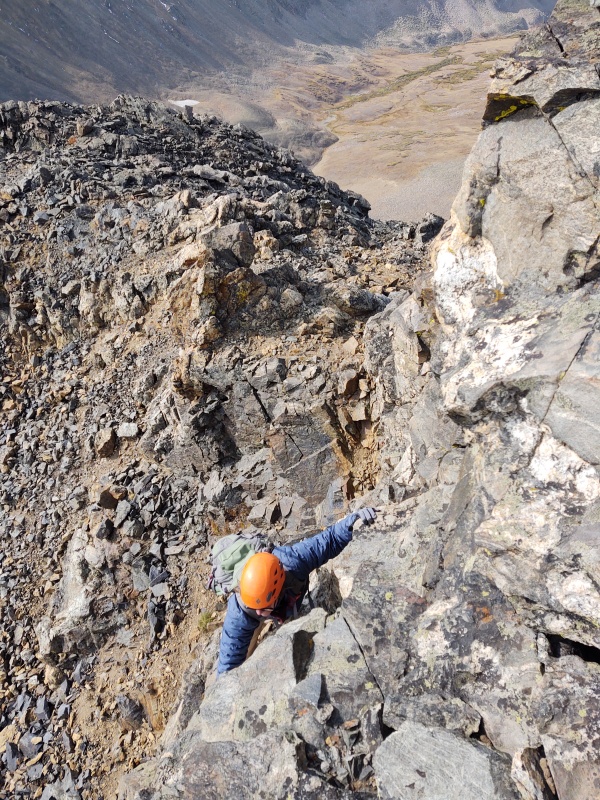
Keep the camera close to the ground and near the rocks for optimal effect...A legit 3-move wonder - though cameras always tend to make exposure look way more dramatic than it is.
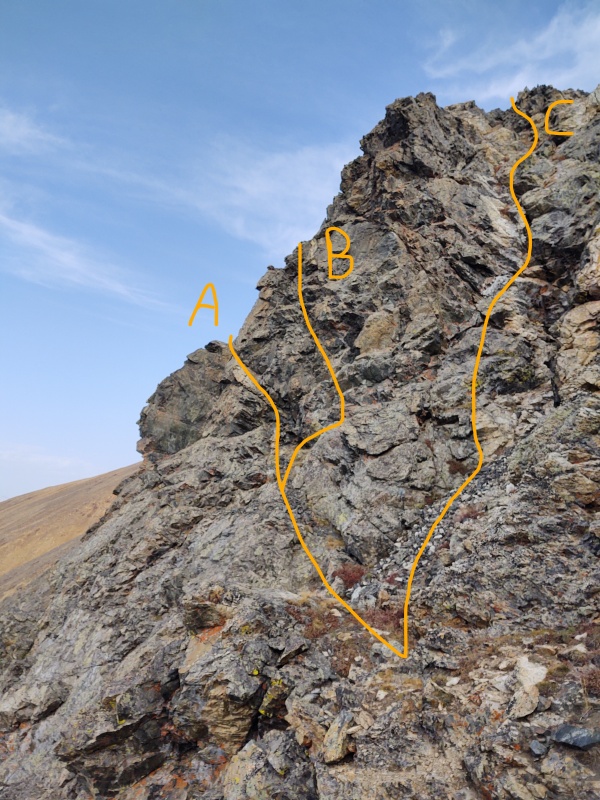
From time to time on this ridge I ended up biting off more than I could chew. The best example is the photo shown that I afterwards dubbed Wannabe Tower. As we approached it my climbing partner said:
"We could go up that rock gully..."
"Nah, that looks weeny" I responded.
Instead I was drawn right away to option A which looked to have a nifty little ledge wrapping around the tower to unknown adventures beyond. There were fantastic handholds available and at least one super solid foothold but I couldn't find anything for my right foot to connect on to launch me up onto the ledge.
It didn't help that I was wearing somewhat dilapidated boots (even though I just bought them a couple months ago...). I was so sure I would be able to easily hop up on that ledge but I just couldn't quite find that one foothold I needed to get up cleanly and was reluctant to try to pull myself up onto unknown terrain without being sure I could reverse the move if needed. So I briefly called out:
"Hey, can you cup your hands together and boost me up onto this ledge - just kidding, never mind..."
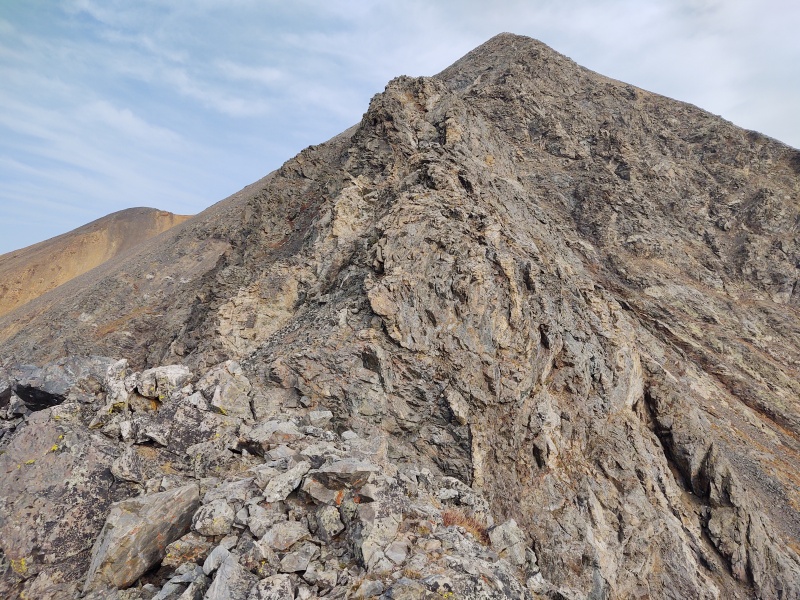
The Wannabe Tower - bailed on options A and B and eventually settled for C.Close-up of option A that I was oh so close to making work - I'll have to come back and try again some day...
At that point I saw a class 4 wall with abundant solid holds all over the place - I think maybe somewhere near where I scribbled in option B, though it doesn't quite look right from this angle. So I gave up on the ledge and instead went for the wall.
"Oh yeah, this looks good!" I said as I made the first move or two straight up.
Then I become uncomfortably aware of the fact that I wasn't on auto-belay (nor any rope for that matter) and when I looked down at the rocks below me they didn't seem quite as soft as the mat at the climbing gym either...
After another couple looks up and down I decided that wall was just a little steeper than I was comfortable with, especially after noting a slight bulge or two here and there on the way up it. In the gym I would have done that without hesitation but out here I decided not to push it and reluctantly said:
"Well ok, I'll take the weeny class 3 rock gully."
Actually it turned out that little gully was better than it looked - I stayed to the left side of it so as to maximize the challenge and thus try to save some face from my two bailed routes next to it.
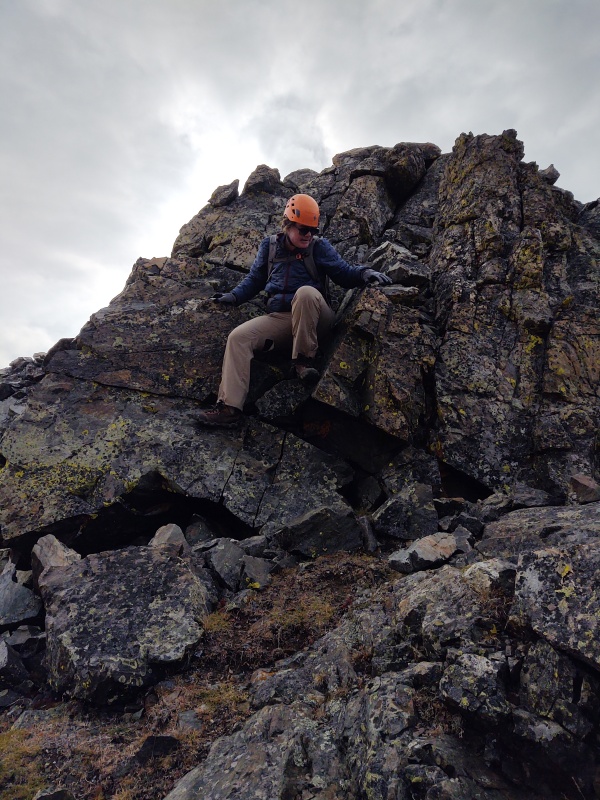
At the bottom of the class 3 rock gully on Wannabe Tower.Moving up...
For my shorter hiking partner the easiest route right up the middle proved to be adequate for some fun. The tower was perhaps 15 -20 feet or so tall and so afforded the opportunity for a few different epic gumby moves on the way up.
This spot is one where you may be forced to do some legit class 3 moves since I'm not sure there was a good go around at this little tower (but we didn't bother looking very hard). Coming right up the middle is the easiest.
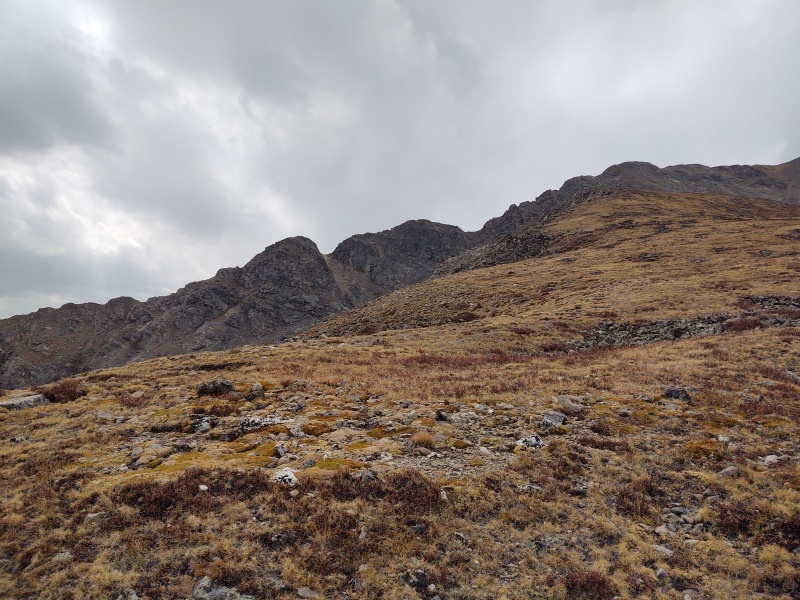
Almost up it.Back on easier terrain with Ruby in the background.
Generally speaking the features on this ridge tend to have easy options and you can typically tell at a glance if you can easily get to the top by a given route.
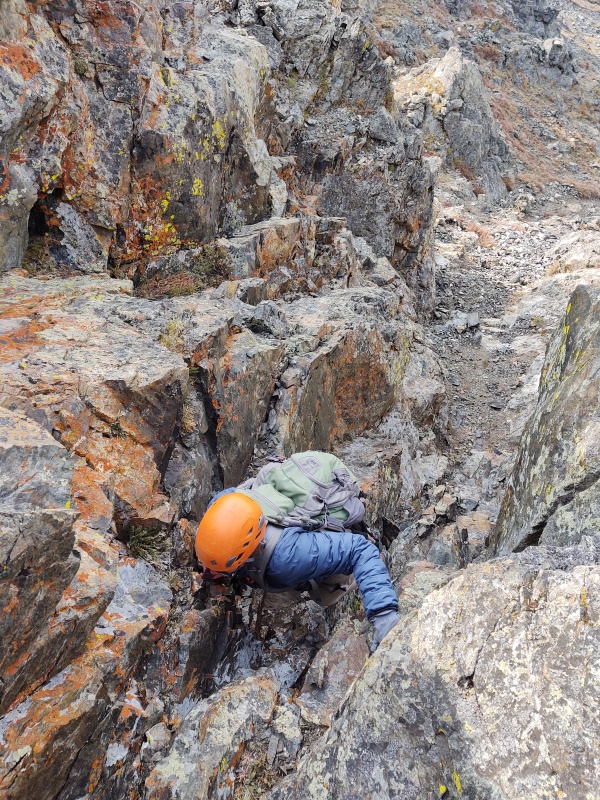
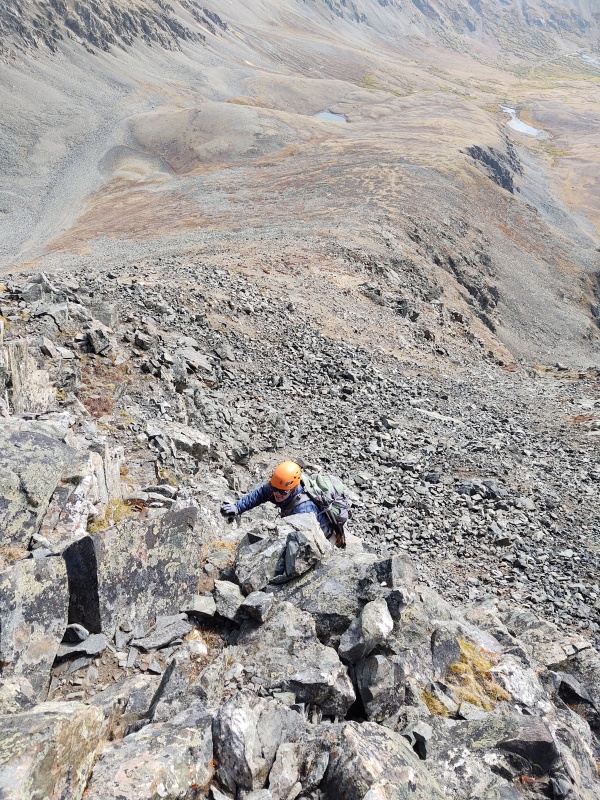
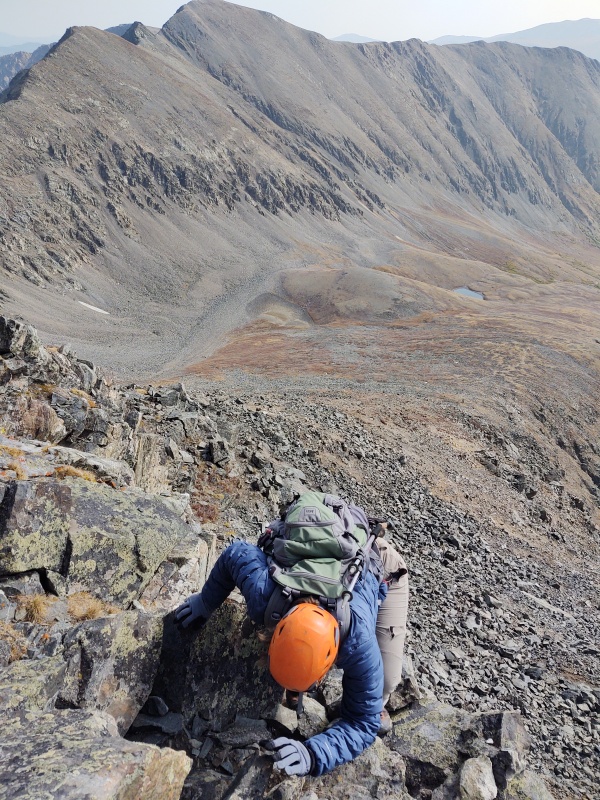
Some treacherous class 2.4 terrain...Another rock feature with a easy gully up the middle - naturally we went up the messy stuff to the right.Always looks more epic when you can only see the helmet - this was a HUGE class 3.3 wall, lol!The wind was a little nippy on this side - thus the layers...Conquering a mighty class 3.2 slab!True epic gumby territory requiring advance inspection of the route...This is where the rookies really shine (shhh, don't tell anyone the exposure here is an optical illusion...)It's all in the framing...The straight down, stretched out shots are always good for effect......as are the reaches.I'm not even sure how I took this one...That was epic!!!But wait, there's more!Full body commitment!There's plenty of fun rock on this ridge if you go out of your way to seek it out.Hmm, should have cut off the right side and angled to get more sky - then it would have looked more epic!
As you can tell if you've made it this far, this ridge was all about making life as difficult as possible (and then backing down until reaching what was as difficult as we were capable of). I'll again remind the casual climber glancing through these photos that almost none of what you see here is necessary - we were seeking out any little gratuitous chunks of difficult class 3 and/or class 4 terrain that we could find and having a blast hyping it up as much as we could (probably annoyed a few folks with our laughter echoing through the valley from time to time...).
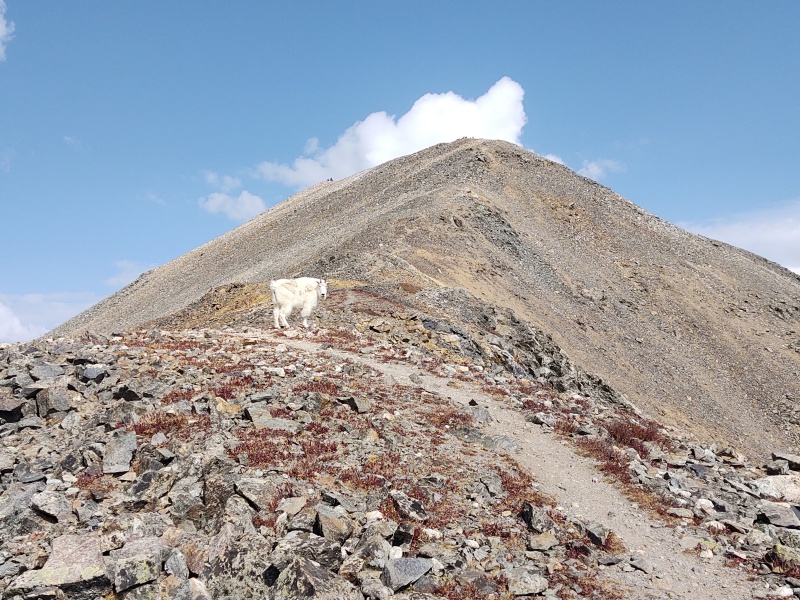
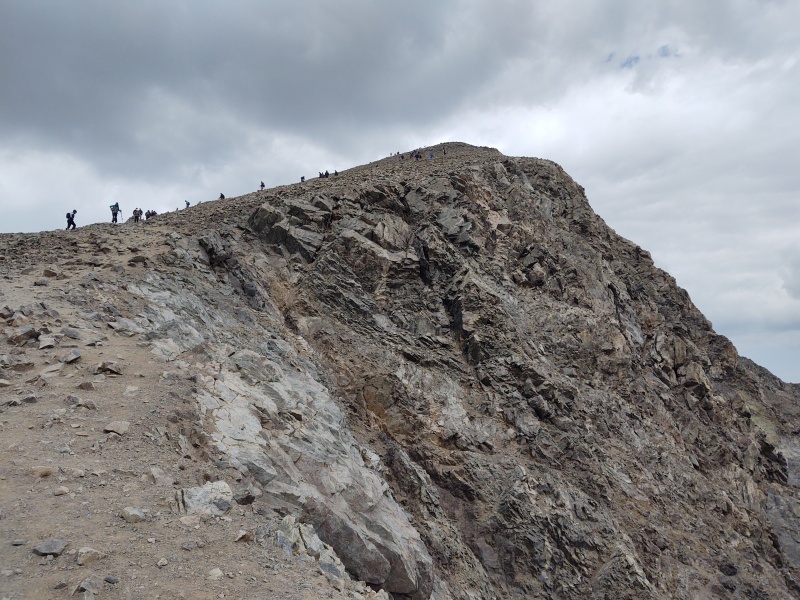
Almost out of the interesting region...We met one mountain goat as we got up near to the summit of Grays.
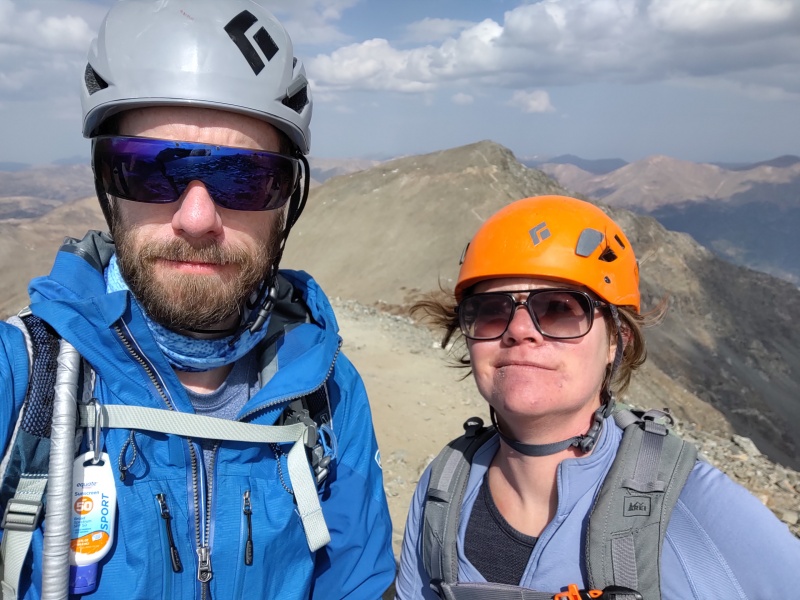
After we got up past all the scrambling terrain we were too lazy to take our helmets off. So we were pretty much the only two on top of the crowded Grays and Torreys summits cool enough to be sporting helmets on class 1 and 2 terrain at the top.
Me making the epic final ascent up the class 1.15d wind break at the top of Grays.Two badass epic gumby climbers looking cool with helmets on this treacherous class 1.1 terrain on the top of Grays.
We left our helmets on the entire time from Grays to Torreys and back up Grays - partly being too lazy to take them off and partly to see what looks we could garner by going between Grays and Torreys with helmets on.
The Saturday masses going up Torreys.Grays in the background - note the orange helmet still on...
For the descent we opted to just do the Grays Peak South Ridge back down to Argentine Pass TH. We were surprised and slightly dismayed at how crowed it was going down the backside of Grays - there were at least 7 or 8 people that we encountered! Good grief, such overcrowding after our solitary excursion across the ridge from Ruby - but then I guess that few climbers are elite enough to tackle all the class 2.15d terrain we had to conquer, not to mention the multiple class 3.3 pitches and the totally unnecessary class 4 moves we did or the low class 5 moves that we momentarily pretended we were confident enough to do in the wild...
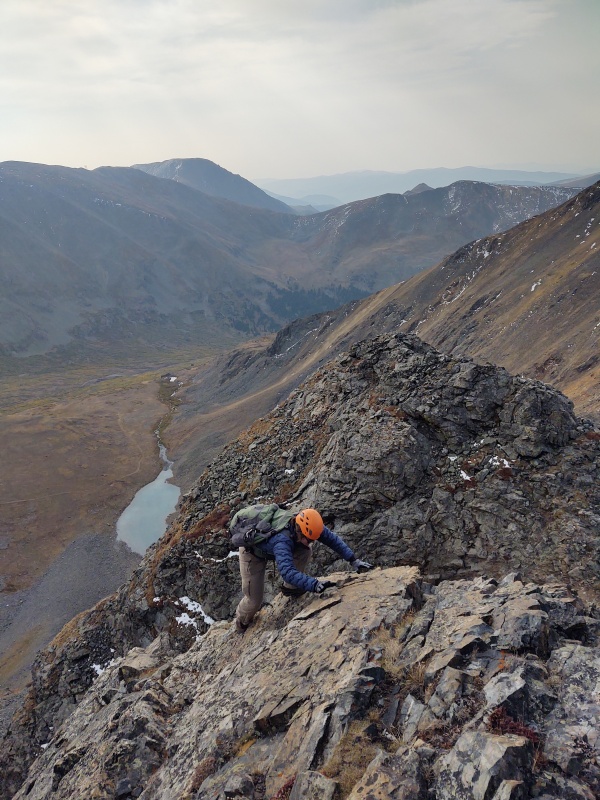
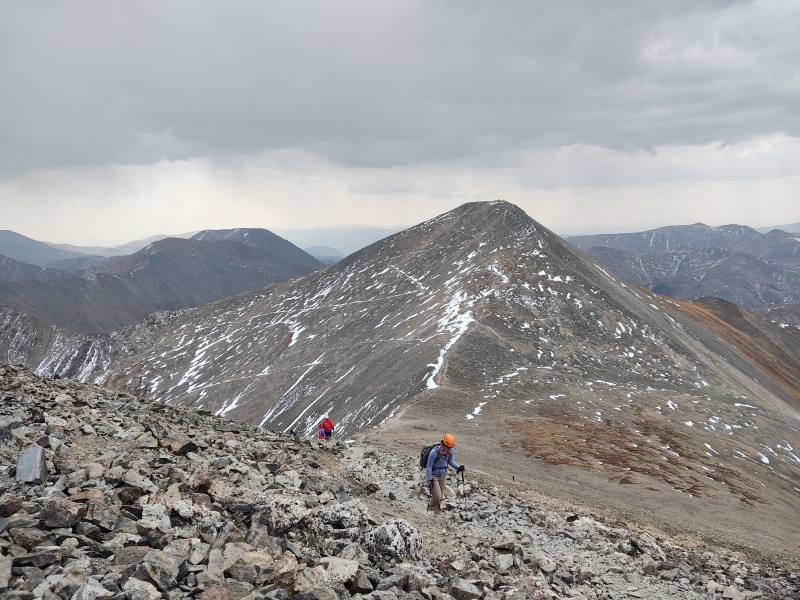
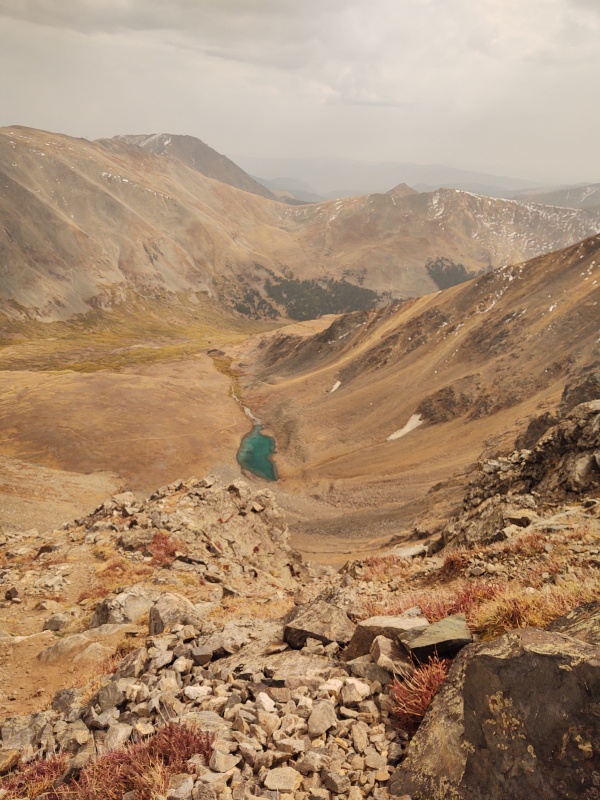
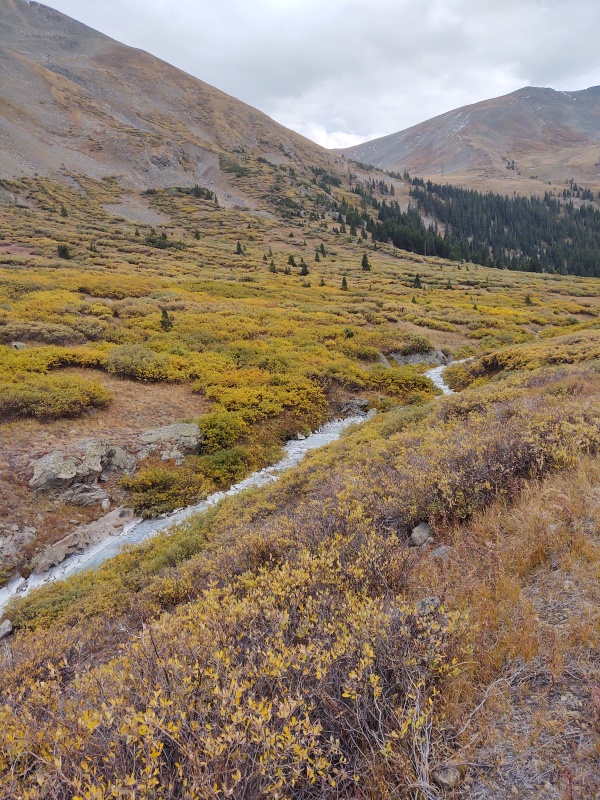
Nifty little lake down in the valley - shot taken through my sunglasses to try to catch the shading of the lake.Looking over at the ridge from Ruby as we came down Grays South Ridge trail.
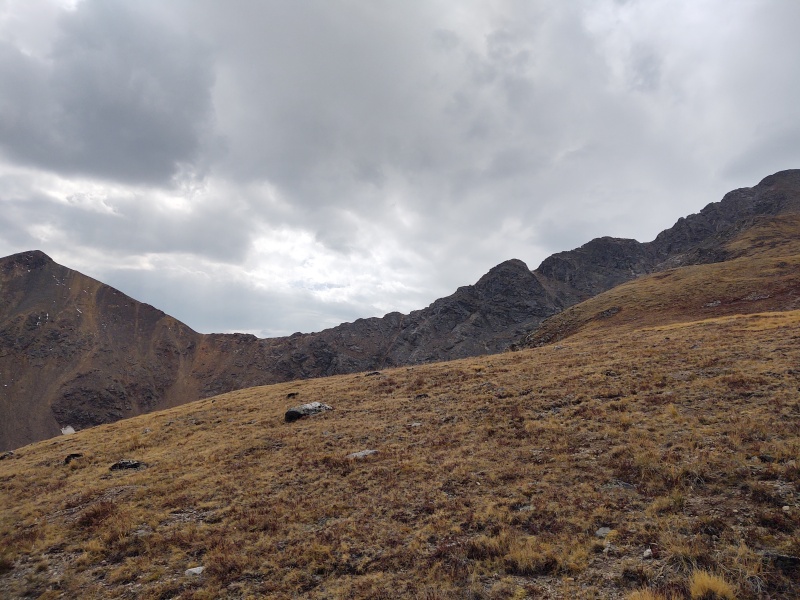
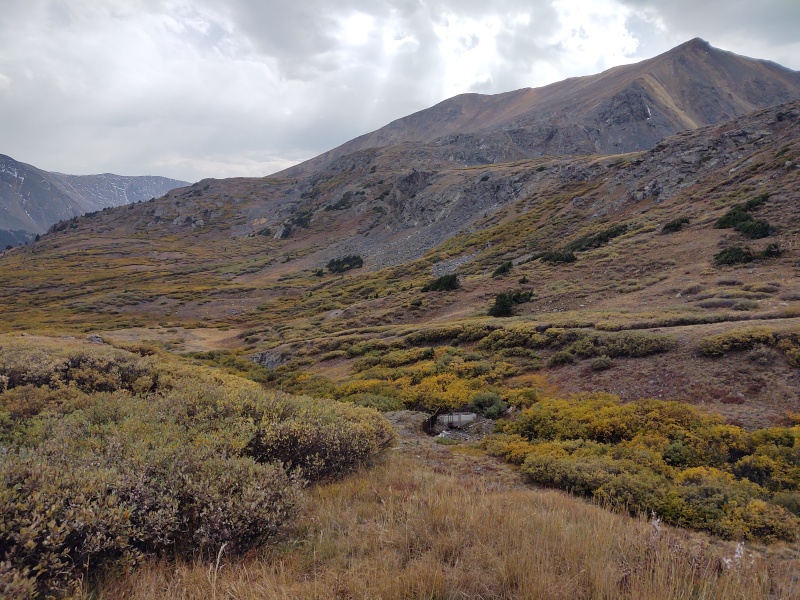
A broader view of the ridge with Ruby offscreen on the left and Grays off to the right.Most of the fun is around the humps seen here.There's a good trail that navigates you through the willows without issue.A view from further back of the ridge - Ruby is still off to the left - the interesting stuff doesn't start until you've dropped off the mid-point.
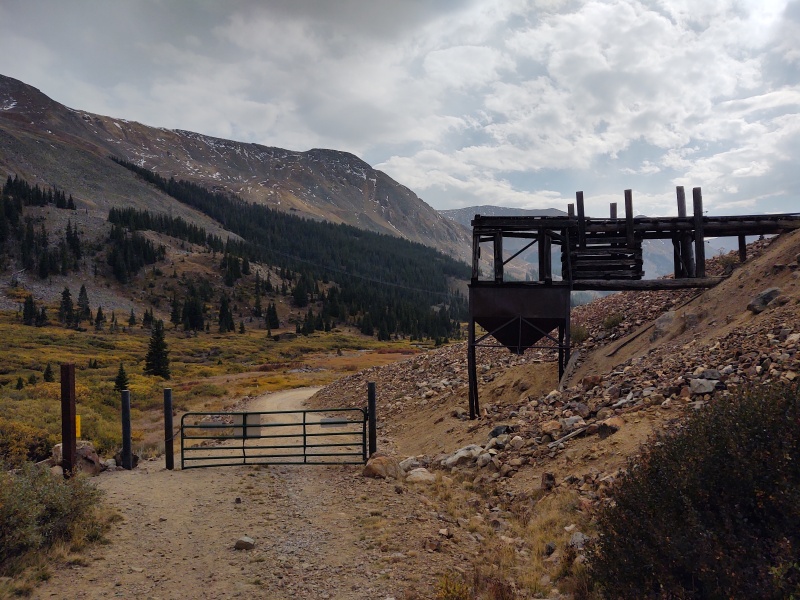
Fall colors amongst the willows plus the oddly white stream...This gate is maybe 50 yards past the trailhead.
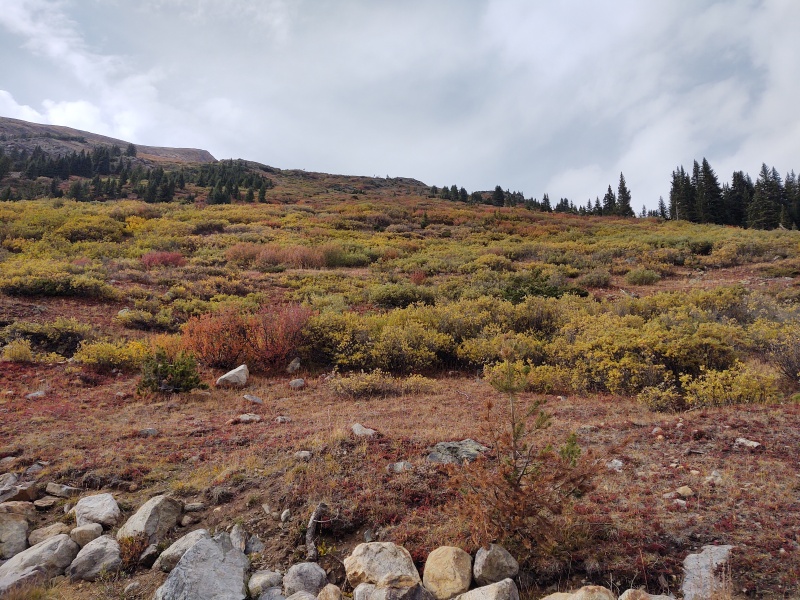
One last view of fall colors among the bushes and willows.
Our Times:
5:58am start from Argentine Pass Trailhead
8:00am summit Ruby
11:27am summit Grays after milking the ridge traverse for all it was worth (no, a normal traverse would not require 3.5 hours...)
12:18pm summit Torreys. Shared some of our epic adventures with the tourists hanging around.
1:25pm summit Grays... again.
1:48pm start down Grays South Ridge trail
4:08pm back at the Jeep.
My GPS Tracks on Google Maps (made from a .GPX file upload):
How could you not include the most challenging obstacles I faced that whole day (besides the Class 2020 re-ascent of Grays, that is)?! If the whole valley wasn't annoyed by our laughter, they surely must have been irritated by my diaphragm's continued freak-outs!
I myself am hoping for more two-, three-, four-, maybe even FIVE-move Gumby epic-ing to come!
Was going to write a trip report about our experience until I saw yours. We basically did the same thing - finding those gratuitous Class 4/5 sections amongst the easy Class 2+ bypasses. Your report captures the art of contrived scrambling perfectly lol nice work!
Caution: The information contained in this report may not be accurate and should not be the only resource used in preparation for your climb. Failure to have the necessary experience, physical conditioning, supplies or equipment can result in injury or death. 14ers.com and the author(s) of this report provide no warranties, either express or implied, that the information provided is accurate or reliable. By using the information provided, you agree to indemnify and hold harmless 14ers.com and the report author(s) with respect to any claims and demands against them, including any attorney fees and expenses. Please read the 14ers.com Safety and Disclaimer pages for more information.
Please respect private property: 14ers.com supports the rights of private landowners to determine how and by whom their land will be used. In Colorado, it is your responsibility to determine if land is private and to obtain the appropriate permission before entering the property.


")
")
")
")
")
")
")
")
")
")
")
")
")
")
")
")
")
")
")
")
")
")
")
")
")
")
")
")
")
")
")
")
")
")
")
")
")
")
")
")
")
")
")
")
")
")
")
")
")
")


