As I’m working through completing the bi-centennials -- and nabbing tri-centennials as I can ð – I’ve been looking for fun ridge scrambles to connect peaks. I didn’t see much beta for the ridge between Blaurock and Rinker. This was an enjoyable ridge I thought I’d share with others.
Have no fear. The ridge from Blaurock to Rinker goes. I’d rate it upper Class 3. The worst of the moves can be bypassed, and the worst I saw was Class 4 anyway. Just keep your heads up and four points of contact. The exposure is not bad, but the ridge is filled with loose/shifty talus! There are three difficulties on the ridge, which you can climb directly over (Class 4) or bypass. Throughout the ridge the bypasses were easier on the west of the ridge crest, but there is often a passable route on the east as well.
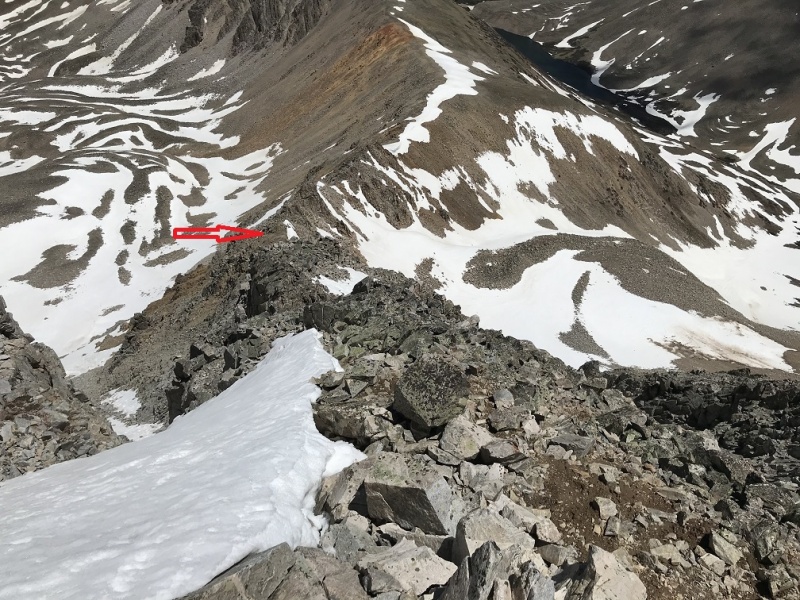
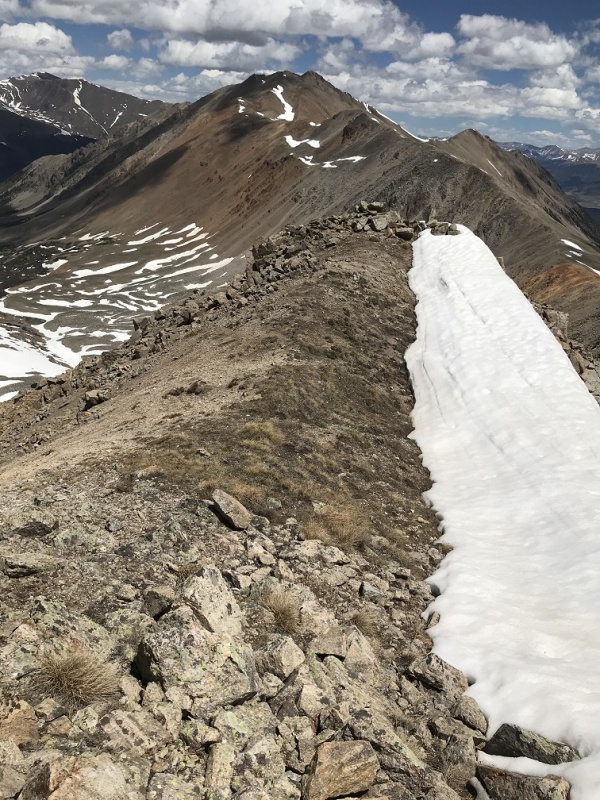
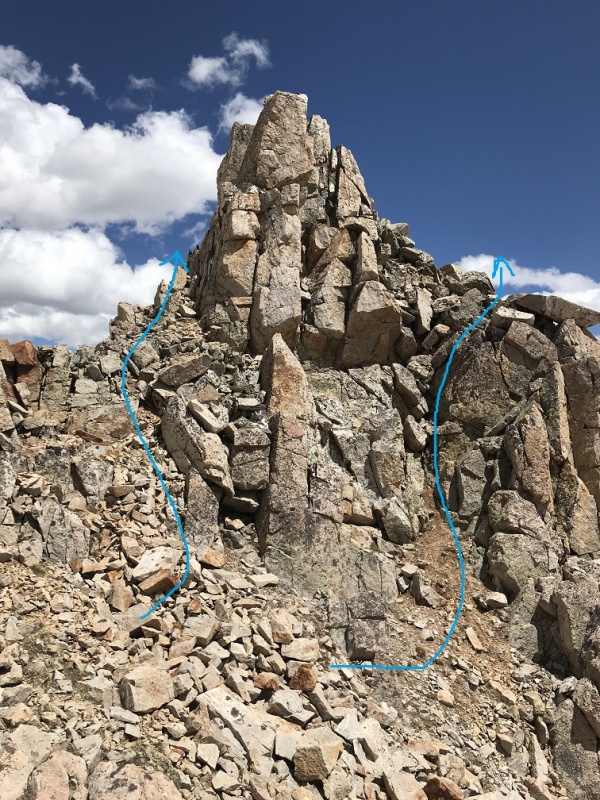
Image 1 is an overview of the ridge taken on the return back to Blaurock. You want to keep to the prominent rib shown by the red arrow. There are steep gullies on either side of it.
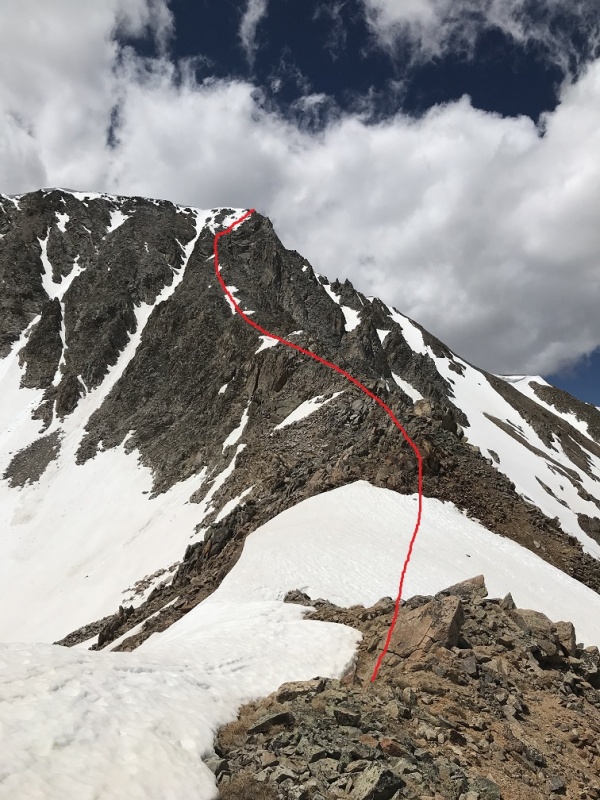
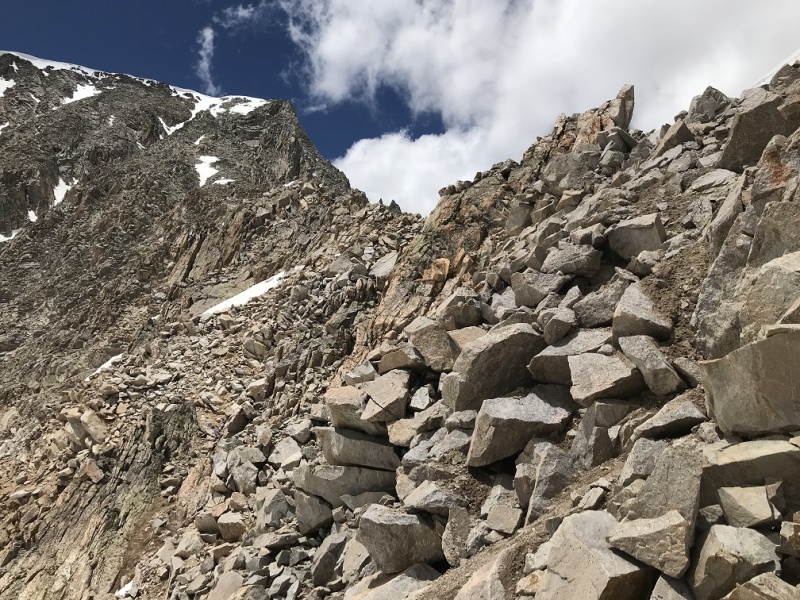
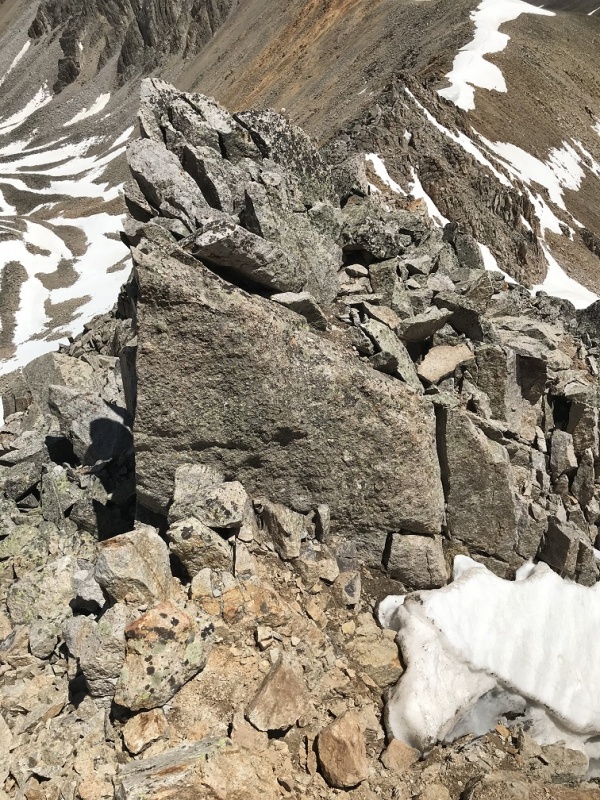
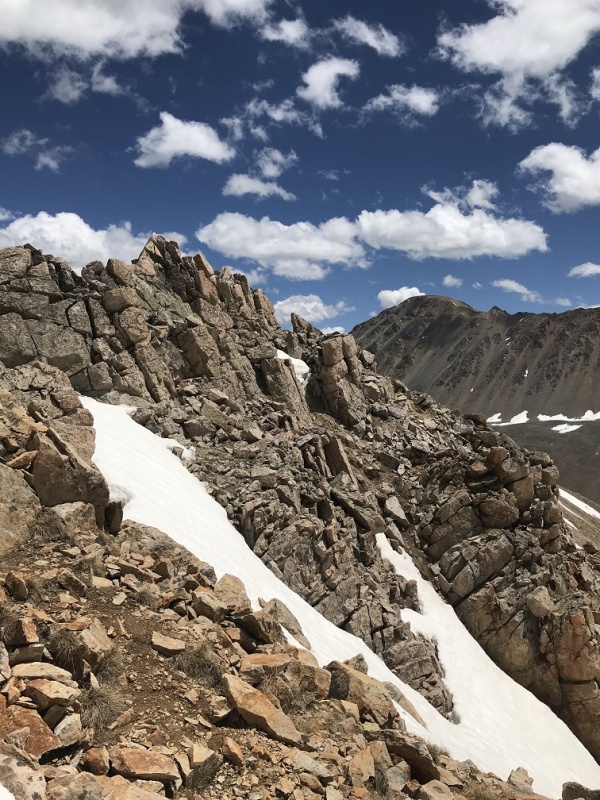
To begin, walk west from the summit and begin the descent--Image 2. Keep to the rib. You can see that the gullies to the left and right get steep quickly. The red arrow shows a flat grassy patch, which is where the difficulties begin. Image 3 shows a view back toward the summit. The rocks are somewhat loose so test your holds.
Once you reach the grassy spot in Image 4 you're 1/3 done! The difficulties are the middle third, and then you have another 1/3 of Class 2+ before hitting the wide-open tundra of the ridge. Continue over the bump and hit the first difficulty--Image 5. You can bypass this on the west side if you want to keep it to Class 2. Sticking to the right introduces some fun Class 3+ or 4 downclimbing.
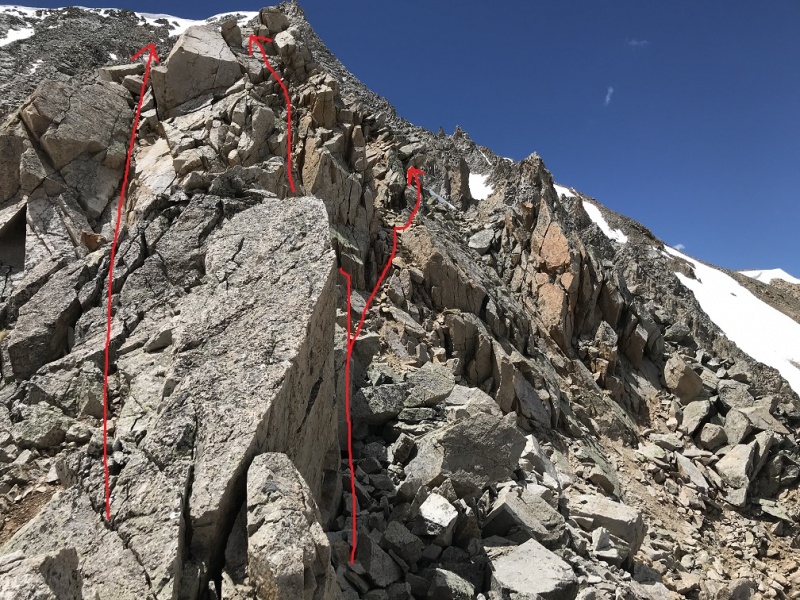
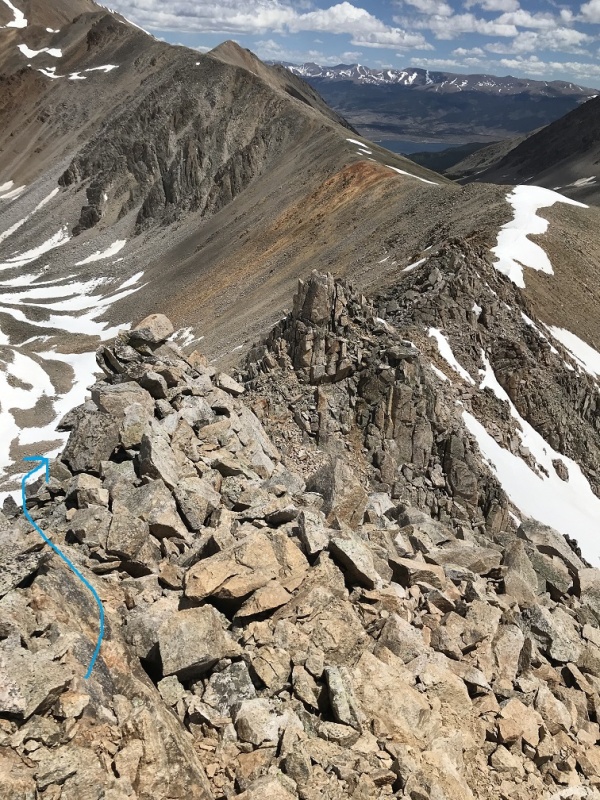
Image 6 is looking back toward Blaurock after downclimbing the first difficulty. Two arrows show the Class 3+/4 cracks, or you can bypass on the west. Image 7 shows the remaining scrambling. The two foreground bumps are the next two difficulties. You can bypass the first to the west via the blue arrow. The final difficulty presents a Level 2 skirt around on the left or a direct Class 4 on the right--Image 8.
The scrambling is basically done. You have another 1/3 on Class 2+, and then beautiful open tundra. The remaining route to Rinker is straightforward and really quick.
I've tried to upload a .gpx file showing the route. The three difficulties are marked "Class 4" #1-3, numbered on the way back up to Blaurock. The location marked "Scramble" is the end of the scrambling. From there on it's open tundra and easy walking to Rinker.
Anyway, hope y'all enjoyed the write-up. This is a really fun ridge and neat way to connect some 13ers. Have fun :)