Download Agreement, Release, and Acknowledgement of Risk:
You (the person requesting this file download) fully understand mountain climbing ("Activity") involves risks and dangers of serious bodily injury, including permanent disability, paralysis, and death ("Risks") and you fully accept and assume all such risks and all responsibility for losses, costs, and damages you incur as a result of your participation in this Activity.
You acknowledge that information in the file you have chosen to download may not be accurate and may contain errors. You agree to assume all risks when using this information and agree to release and discharge 14ers.com, 14ers Inc. and the author(s) of such information (collectively, the "Released Parties").
You hereby discharge the Released Parties from all damages, actions, claims and liabilities of any nature, specifically including, but not limited to, damages, actions, claims and liabilities arising from or related to the negligence of the Released Parties. You further agree to indemnify, hold harmless and defend 14ers.com, 14ers Inc. and each of the other Released Parties from and against any loss, damage, liability and expense, including costs and attorney fees, incurred by 14ers.com, 14ers Inc. or any of the other Released Parties as a result of you using information provided on the 14ers.com or 14ers Inc. websites.
You have read this agreement, fully understand its terms and intend it to be a complete and unconditional release of all liability to the greatest extent allowed by law and agree that if any portion of this agreement is held to be invalid the balance, notwithstanding, shall continue in full force and effect.
By clicking "OK" you agree to these terms. If you DO NOT agree, click "Cancel"...
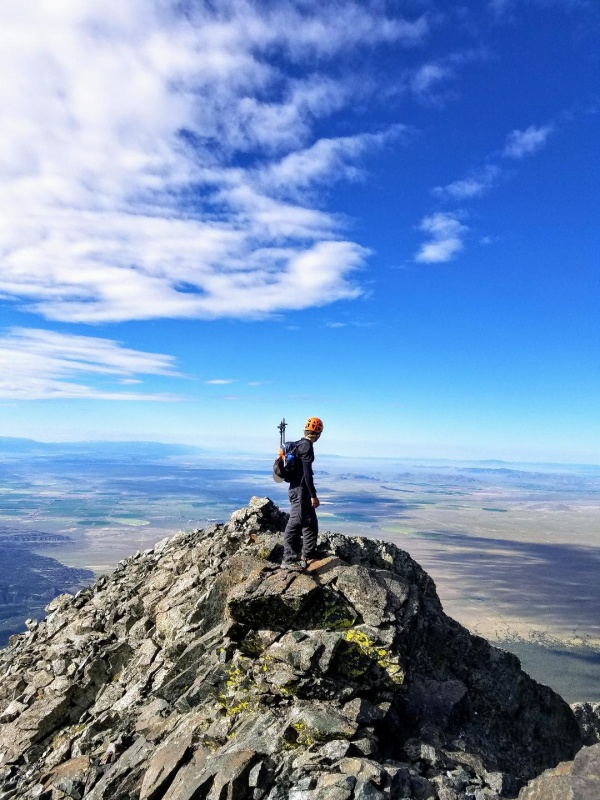
The Southwest ridge route to Little Bear has been gaining a lot of interest lately, so I thought I'd put together a quick trip report. Last summer I used this ridge twice to summit Little Bear, and I will attempt to describe it using both trips. On my first climb, my partner and I encountered a snowy ridge as this was the morning after the summer soltice snow storm. My second climb the ridge was dry.
Day: June 23, 2019 and July 28, 2019
Peaks: Little Bear Peak and South Little Bear
Trailhead: Como Road
Route: Southwest Ridge
The Southwest Ridge route to Little Bear Peak can be broken into 4 sections:
1st- The Bushwack
2nd- The Boulderfield
3rd- The ascent up South Little Bear
4th- Traverse from South Little Bear to Little Bear Peak
Both my climbs to Little Bear Peak started very early after long drives from Fort Collins. For the first one I started at 1:00 am and for the second climb I started at 2:00 am. Unfortunately, sleep wasn't possible before either climb. For each I parked 1.1 miles up the Como Road in a large pull out which I think is meant for camping. The elevation was only 7800 feet. From here I crossed the road and headed Northeast over desert terrain towards the ridge. At first the vegetation was very sparse as we traveled over gravely ground with a moderate slope. Slowly the incline increased as we ran into more trees and then thick brush. At 9800 feet and about 3 miles from Como Road we reached Tobin Creek, and this is where the vegetation got machete thick. After crossing the creek we went up a steep, heavily forested bank to the beginning of the ridge. The ridge is narrow and rocky at first, and then widened to a boulderfield as we emerged from the trees. From here it was a steep, endless rock hop up talus to the top of the boulderfield and the ridge proper at an elevation of 12,900 feet.
Nearing the top of the boulderfield
After gaining the ridge Little Bear Peak comes into sight and it's still a long ways away. The Hourglass route can be seen just above some snow remnants in the pic below. Happy to be finally on the ridge, we continued over rocky terrain towards what I call the camel humps.
Finally on the ridgeLooking back towards top of boulderfieldCaption Here
The camel humps are a series of rocky bumps on the ridge. Easy climbing but it was annoying to gain and then lose altitude multiple times. The last hump didnt need to be fully climbed as we lost elevation again to go around a cut in the ridge. From here we began climbing in ernest towards South Little Bear. The ridge noticeably narrows here and begins to slowly turn towards the north.
Camel humpsLooking back down ridgeA good overall view of ridge (taken on descent)Caption Here
Before the final ascent to South Little Bear there is a knife-edge that needs to be crossed. It wasn't particularly difficult, but the exposure is off the charts. It was possible to walk across, but it felt better to slide across while grabbing the top of the knife-edge. After the knife-edge the ridge made a sharp turn to the North as we scrambled to the summit of South Little Bear, an unranked 14er.
Approaching a snow covered knife-edgeKnife-edgeKnife-edge and turn to the north to climb South Little BearApproaching dry knife-edgeKnife-edgeFinishing off the knife-edgeLooking back at the knife-edge and ridgeStarting final climb towards South Little Bear summitCaption HereClimbing up to South Little Bear SummitSouth Little Bear summit and views of Ellingwood and Little Bear-Blanca traverseLooking towards Little Bear summitSouth Little Bear
The views from South Little Bear were stunning, especially during my first ascent with everything being covered in snow. Ellingwood, Blanca, LB-Blanca traverse and Little Bear Peak itself all revealed themselves. From here there was a good look at the traverse from South Little Bear to Little Bear Peak. It was definitely intimidating looking down to the saddle, especially with snow.
Ellingwood, Blanca and LB-Blanca traverseLooking across to Little Bear on first ascentLooking across to Little Bear on second ascentCaption Here
There are a couple choices from here to get to Little Bear. You can go, A) the direct route down the spine of the mini knife-edge, B) drop down just to the left of mini knife-edge to find a ledge leading to the saddle(this move is not super difficult but, like the mini knife-edge, the exposure is high) or C) and this is the easiest way, there is another ledge back a bit coming off the summit of South Little Bear.
Me going directly down ridgeJeff taking ledge from South Little Bear. Ledge starts in the upper right of pic just above the snow patchesAnother look at the ledge
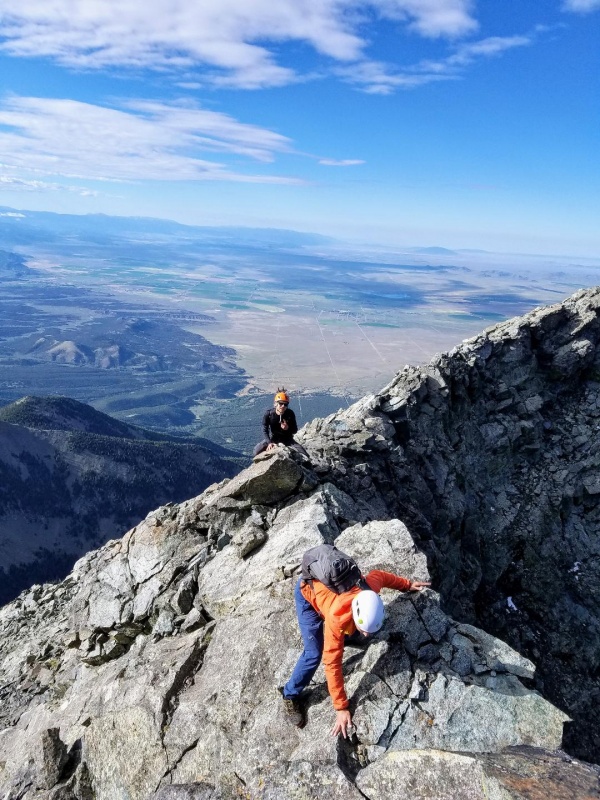
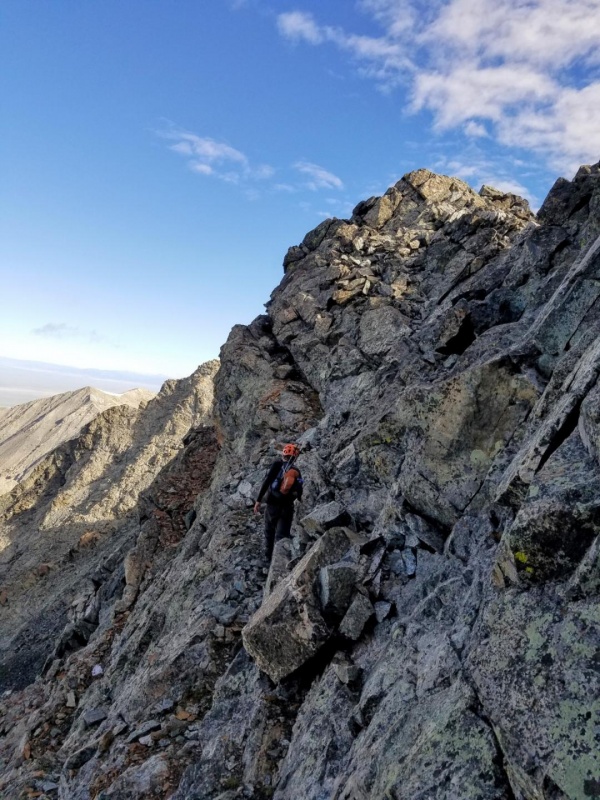
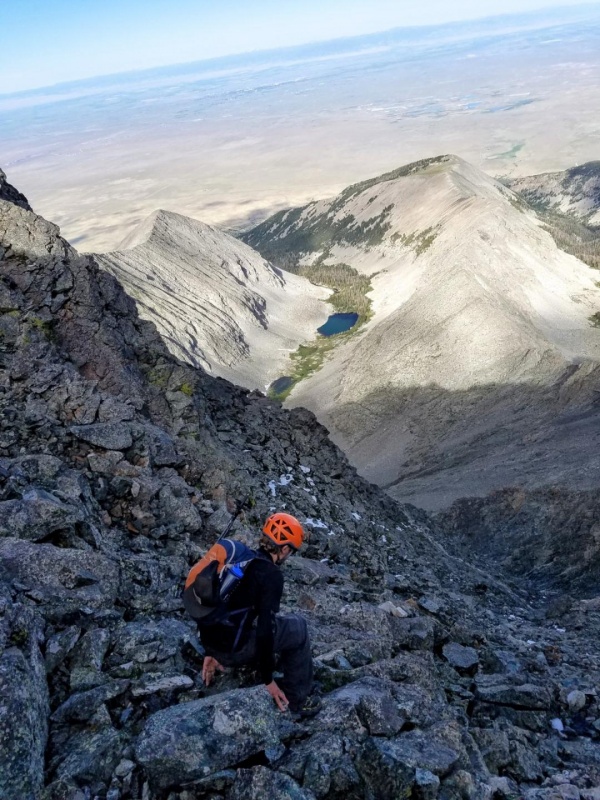
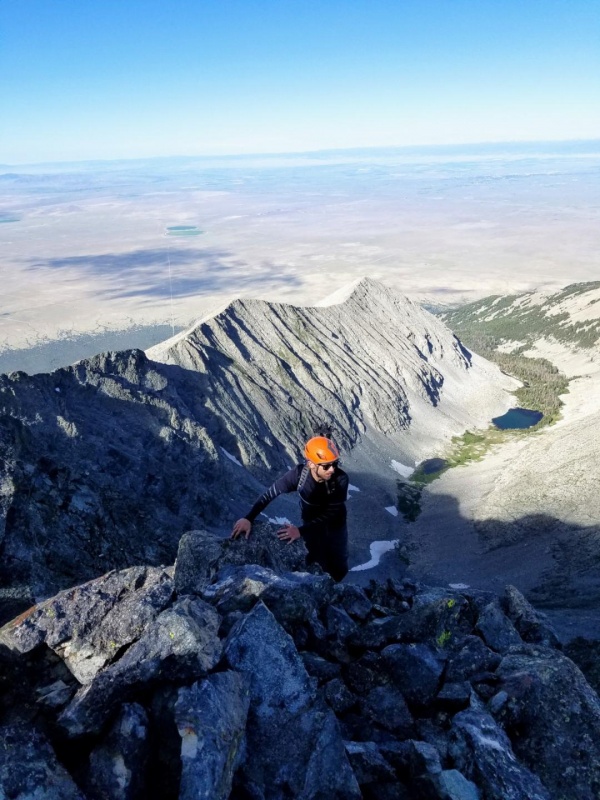
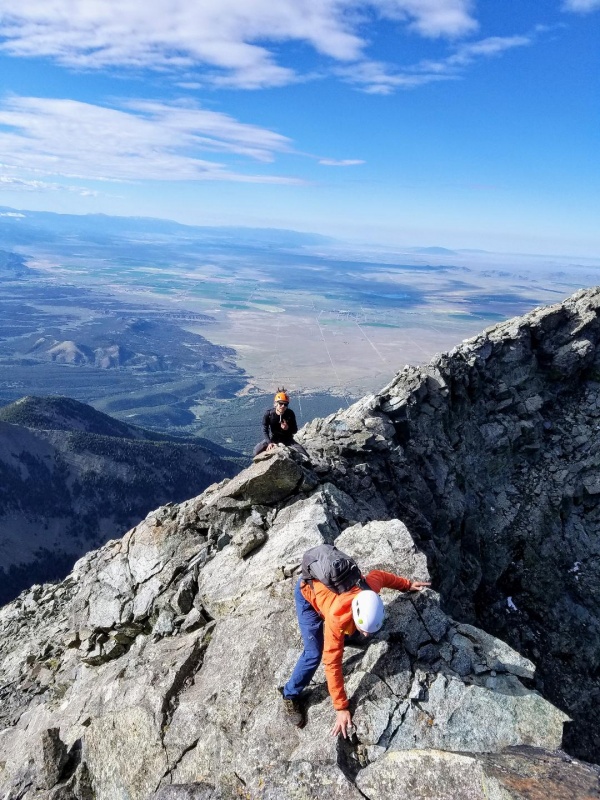
Once at the saddle you can go up the ridge for a fun class 4 climb, or you can continue along the ledges for an easier route. The ledges eventually connect back to the ridge with much easier climbing then the direct ridge approach. Once back on the ridge proper there's an enjoyable class 3 scramble to the summit.
LedgesClimbing back to ridge from ledgesAlmost back to ridge with a beautiful view of the valley far below and Little Bear LakeBack on ridge for final scramble to summit
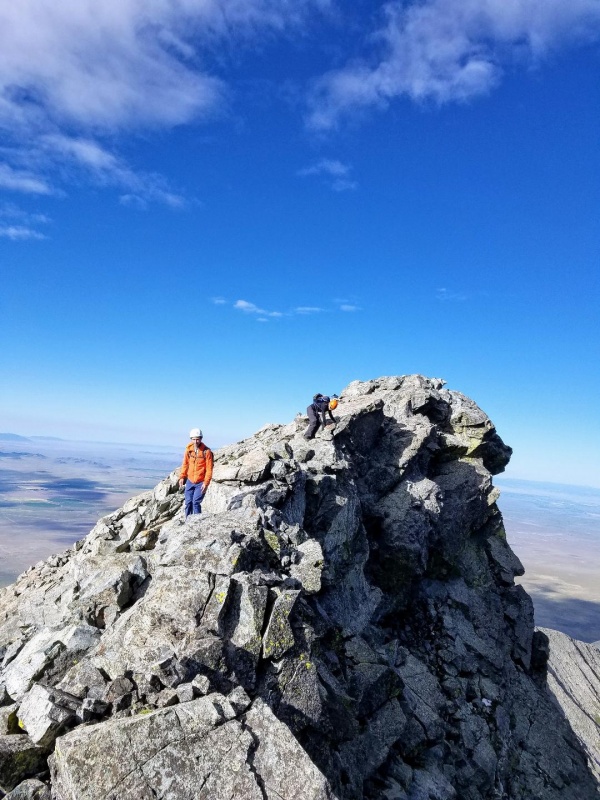
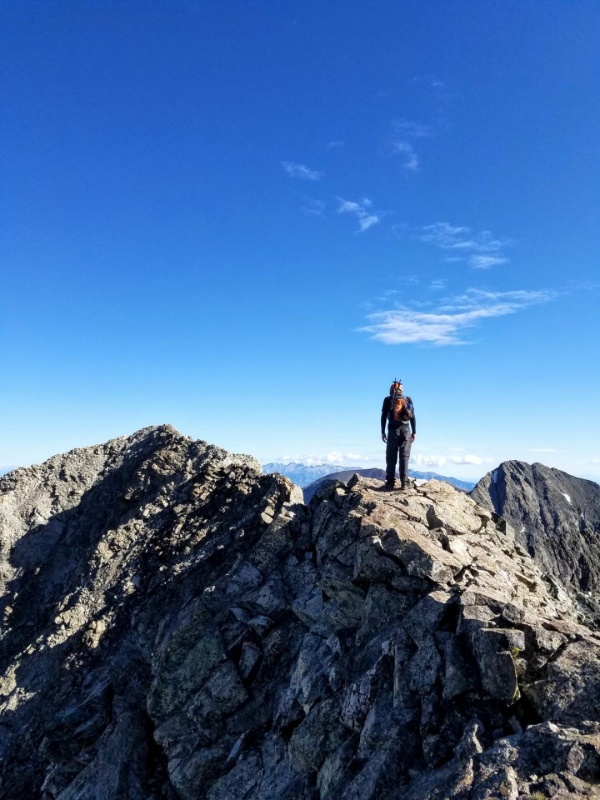
Before reaching the summit there's a cool catwalk to cross with incredible views. After that it's an easy scramble to the summit.
Catwalk, Ellingwood and BlancaKeyton crossing the catwalkOne last scramble before summitKeyton finishing strong!View from summit back to South Little BearA snowy summit pic with Blanca to the leftLittle Bear-Blanca traverse
For my descents off Little Bear I did two different routes. On my first climb my partner and I decided to do a loop, and we went down the hourglass route to Lake Como. We then walked the entire length of the road back to our cars for a total distance of 14.5 miles car to car. The pictures below show my hourglass descent. There was still a lot of snow on this route for the first day of summer. On my second climb of Little Bear I descended back down the Southwest ridge. I gotta say that getting down Little Bear was much harder on my body than going up, especially the boulderfield, and took just as long to descend than it did to climb. Took 13 to 14 hours each time.
Looking down the Hourglass from just below summitRopes in the HourglassHourglass
GPS Track(s) on Google Maps (made from a .GPX file upload):
for these TRs. I haven't read this fully yet, but a quick scan looks like you are attempting to answer all the questions I have about this route. Can't wait to absorb all of this!
Climbing that route twice in the same year is the definition of insanity. The high part of that ridge is a blast, if it just didn't take so much effort to get there!
greenonion - Thanks! I hope you enjoyed reading the rest. Good luck if you attempt! It's a fun route.
Ben - Thanks! I was happy to share the beta for such a fun route. Glad we got to enjoy the ridge together!
Tornadoman - I just did that ridge for the 3rd time in less than a year. I must be really insane! You're right though, the upper part of that ridge is as good as it gets!
Caution: The information contained in this report may not be accurate and should not be the only resource used in preparation for your climb. Failure to have the necessary experience, physical conditioning, supplies or equipment can result in injury or death. 14ers.com and the author(s) of this report provide no warranties, either express or implied, that the information provided is accurate or reliable. By using the information provided, you agree to indemnify and hold harmless 14ers.com and the report author(s) with respect to any claims and demands against them, including any attorney fees and expenses. Please read the 14ers.com Safety and Disclaimer pages for more information.
Copyright: Route information, text, risk factors, maps, GPX files, charts, photos, 14ers.com-created map imagery, flythroughs, and other content provided in this route description are copyrighted by 14ers.com and may not be copied, reproduced, republished, distributed, modified, or used to create derivative works without prior written permission.
Please respect private property: 14ers.com supports the rights of private landowners to determine how and by whom their land will be used. In Colorado, it is your responsibility to determine if land is private and to obtain the appropriate permission before entering the property.