Download Agreement, Release, and Acknowledgement of Risk:
You (the person requesting this file download) fully understand mountain climbing ("Activity") involves risks and dangers of serious bodily injury, including permanent disability, paralysis, and death ("Risks") and you fully accept and assume all such risks and all responsibility for losses, costs, and damages you incur as a result of your participation in this Activity.
You acknowledge that information in the file you have chosen to download may not be accurate and may contain errors. You agree to assume all risks when using this information and agree to release and discharge 14ers.com, 14ers Inc. and the author(s) of such information (collectively, the "Released Parties").
You hereby discharge the Released Parties from all damages, actions, claims and liabilities of any nature, specifically including, but not limited to, damages, actions, claims and liabilities arising from or related to the negligence of the Released Parties. You further agree to indemnify, hold harmless and defend 14ers.com, 14ers Inc. and each of the other Released Parties from and against any loss, damage, liability and expense, including costs and attorney fees, incurred by 14ers.com, 14ers Inc. or any of the other Released Parties as a result of you using information provided on the 14ers.com or 14ers Inc. websites.
You have read this agreement, fully understand its terms and intend it to be a complete and unconditional release of all liability to the greatest extent allowed by law and agree that if any portion of this agreement is held to be invalid the balance, notwithstanding, shall continue in full force and effect.
By clicking "OK" you agree to these terms. If you DO NOT agree, click "Cancel"...
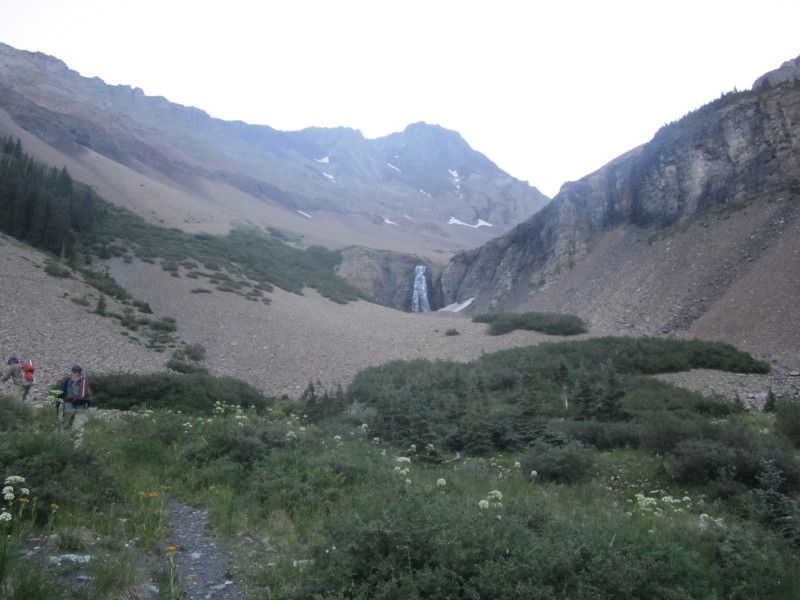
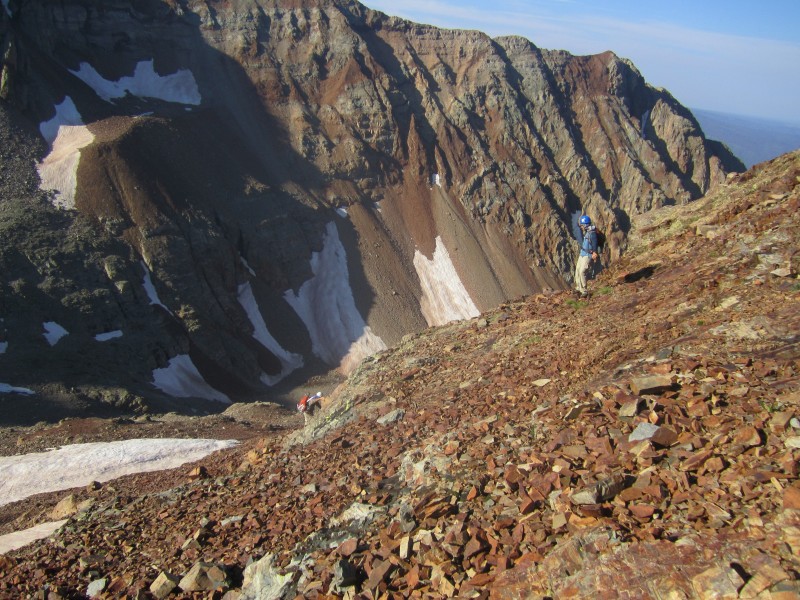
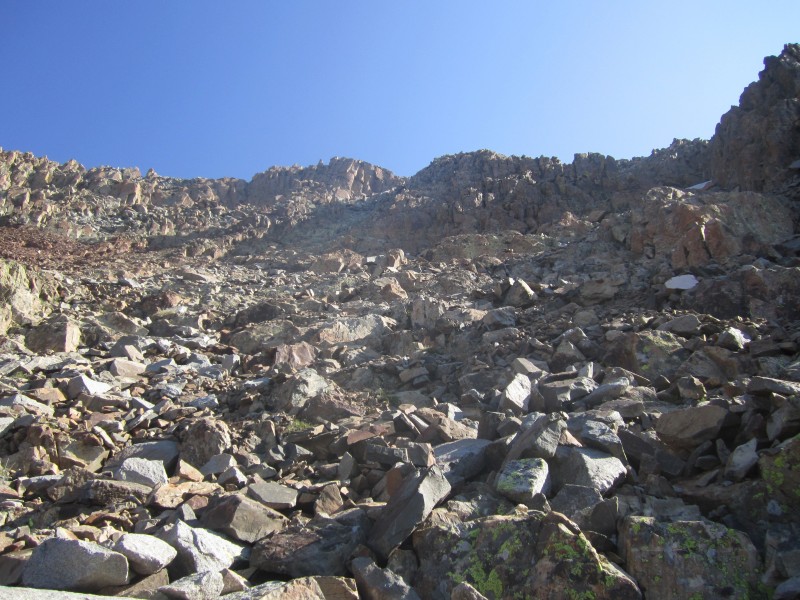
After conquering Wetterhorn Peak on Friday, we drove to the next trailhead and prepared for our next climb. We arrived at Kilpacker around 8:30 - 9:00 PM the evening of July 18, and quickly set up camp. There were already a few people camping in the small area that the trees cover. We managed to pitch our tent on the far left end went to bed. We got up early around 4:15 AM in order to get on the trail. Last year we were turned around by bad weather and so this year we were not about to miss our chance again. Thankfully, we saw stars in the sky early in the morning as this was a good sign of the day to come. We put our headlamps on and hit the trail. We were not the first to be on the trail as two other groups were already out there. The hike through the woods goes pretty quick in the dark and we popped out in the meadow area as the sun was coming up. Once you cross the stream in the trees, you begin the ascent up to the bowl of El Diente. Not long after this, you hike through some willows and make it to the area just below where the talus death march begins. Here is a picture showing this area:
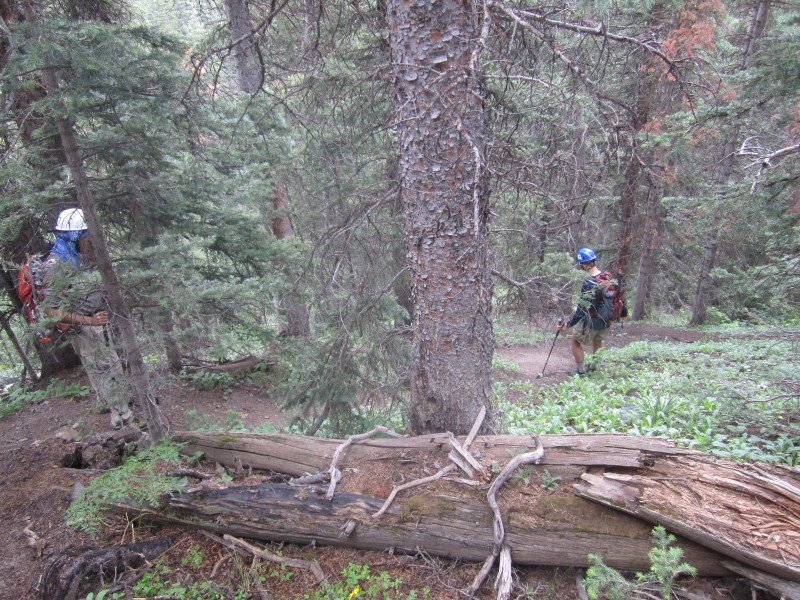
Before you leave the trees completely, you must climb a very steep section of dirt. This is a picture showing this section while we are coming down:
Right after you get started on the talus, you run into this little patch of trees on the hill and the trail gets very steep through their in order to gain some altitude so that the trail can traverse the talus slope on the other side.
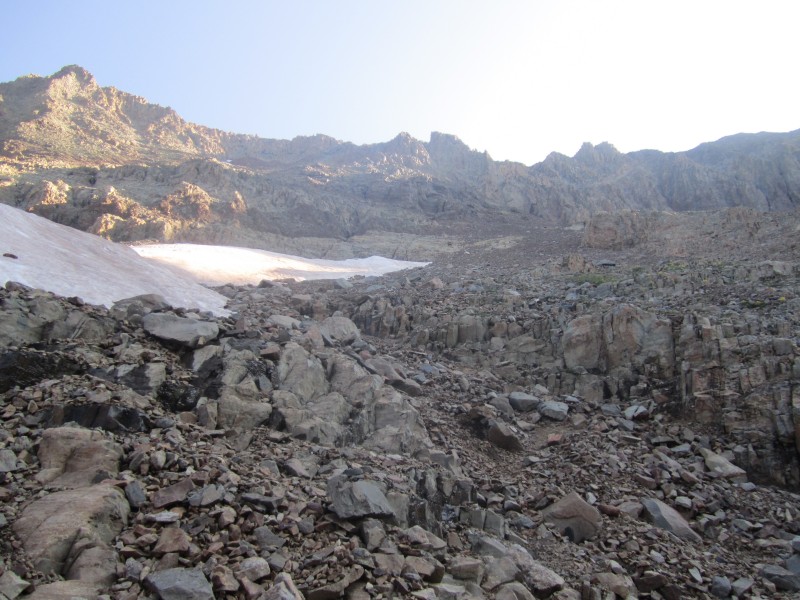
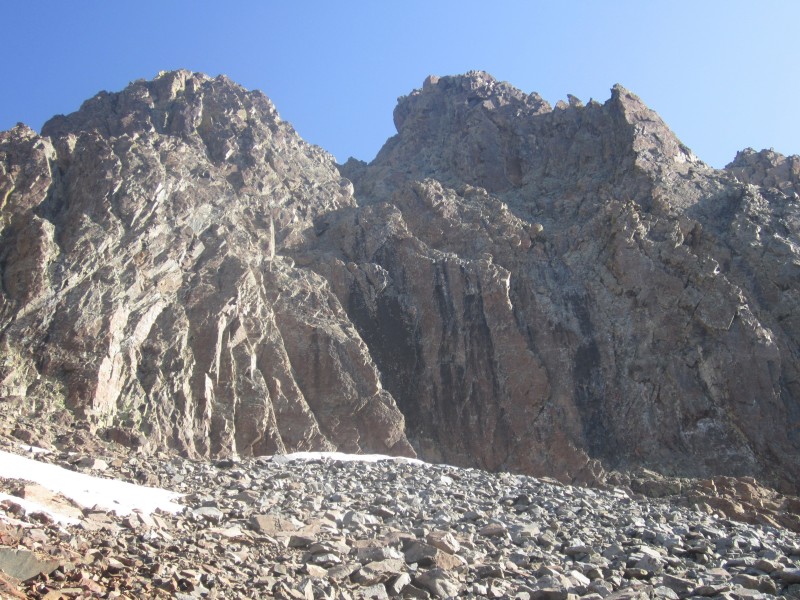
After this, you follow the talus trail all the way up the left side of the Kilpacker drainage until you hit the bowl. Immediately upon entering the flat portion of the bowl, you will turn left and start heading up the face of El Diente. Here is what you seen from the bottom of the bowl:
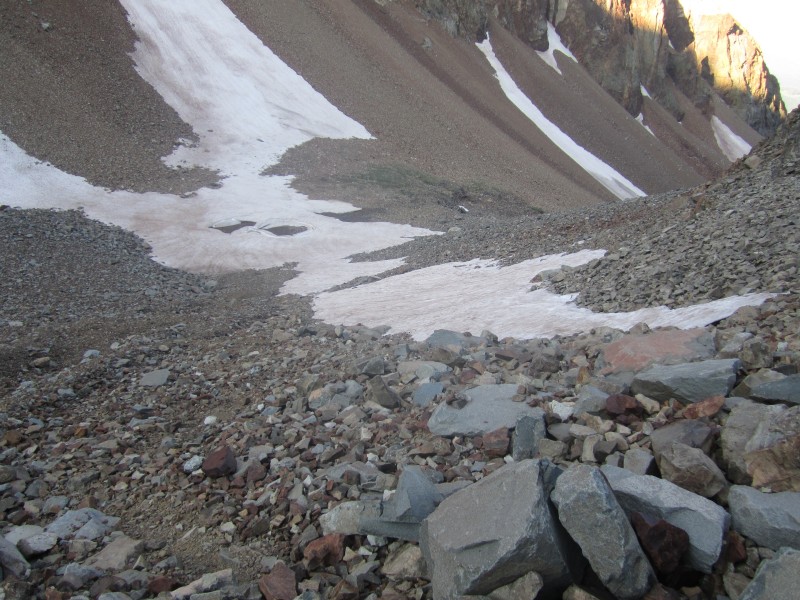
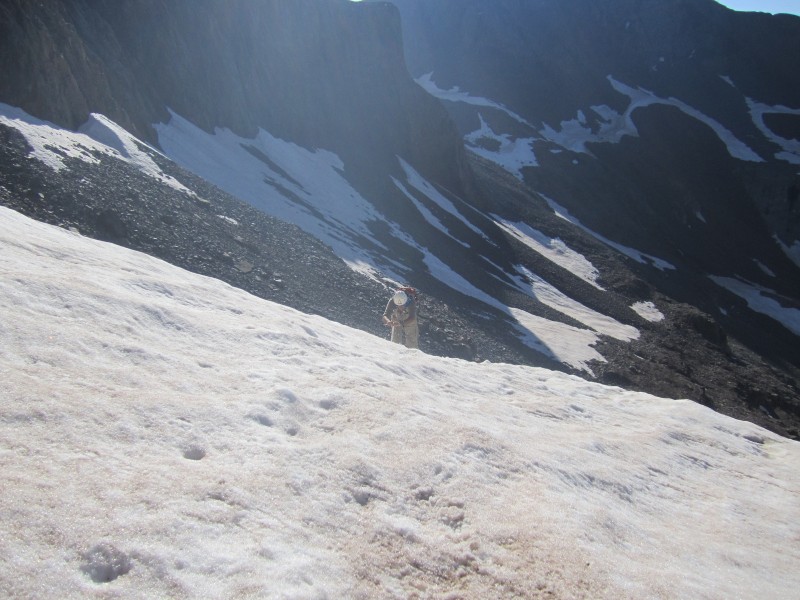
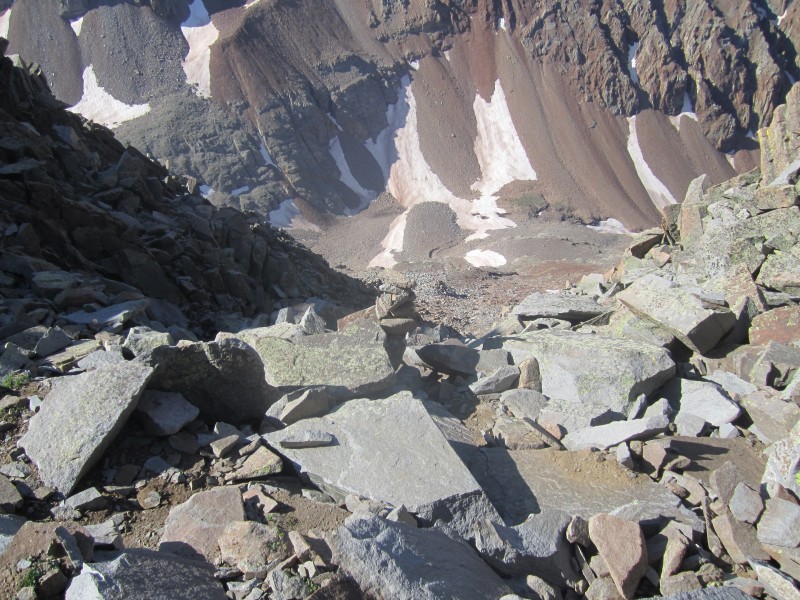
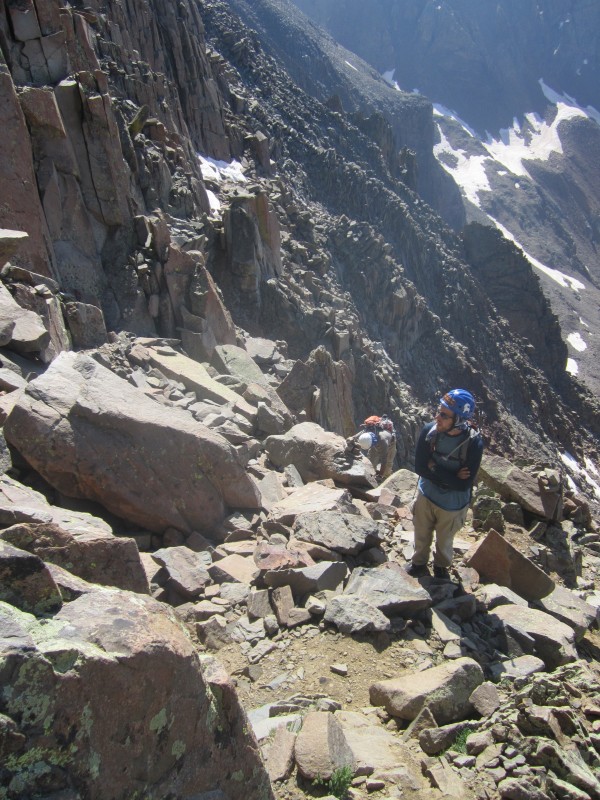
Once you start heading up the face of the mountain, stay to the right of the first snowfield. This is a picture looking down from part of the way up and you can see the snowfield we veered to the right of. You can still follow trail for the most part through here but the trail begins to head right across some talus.
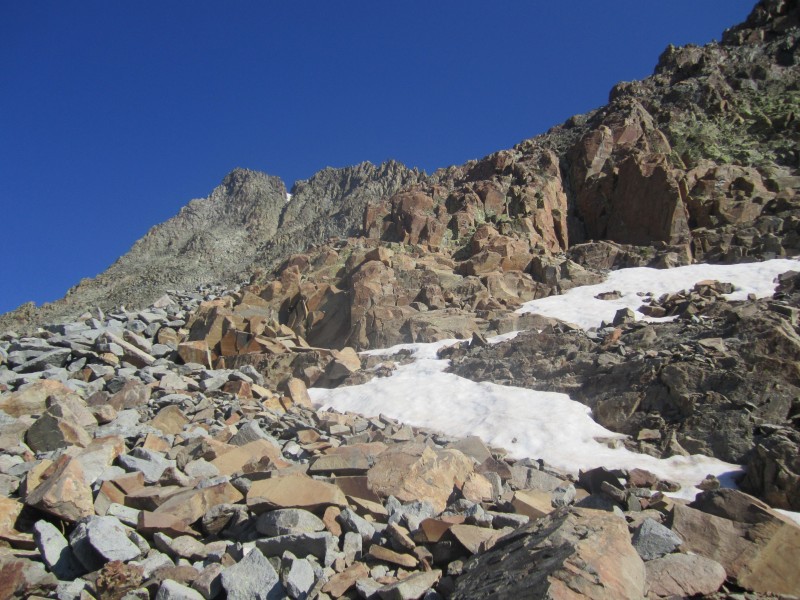
We are now at the top of the first scramble through the talus. This is where you make a turn to the right and head for that knob of rock in the right side of this picture just right of the edge of the snowfield:
Once you get just passed that knob, you soon find out that there is still a snowfield that blocks the trail is it traverses across the mountain and then takes a left heading back up. We did not bring our crampons on this climb (only microspikes), so we decided to climb straight over a cliffy area to avoid the snowfield. This brought us exactly to where we needed to be which is below the black rock wall as you traverse to the left before heading up to the grey gully. Here we are coming over this cliffy area and you can see the snow we avoided.
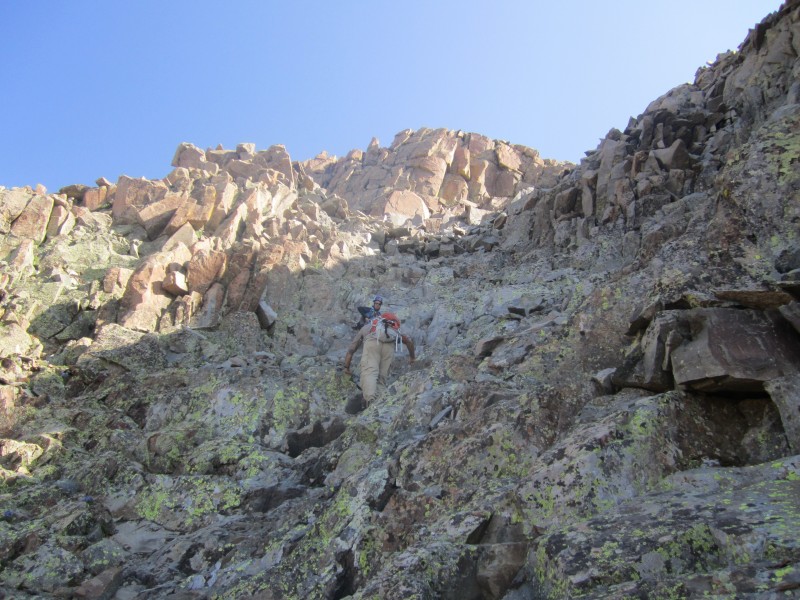
Here is my brother standing at the top of the cliffy area we came up on:
After this, we were right below the black rock wall:
As you head up left passed the black rock wall, you run into another snowfield at around 13,500. There is no good way around it and so we went over it. We put on our microspikes and got our ice axe out to be safe.
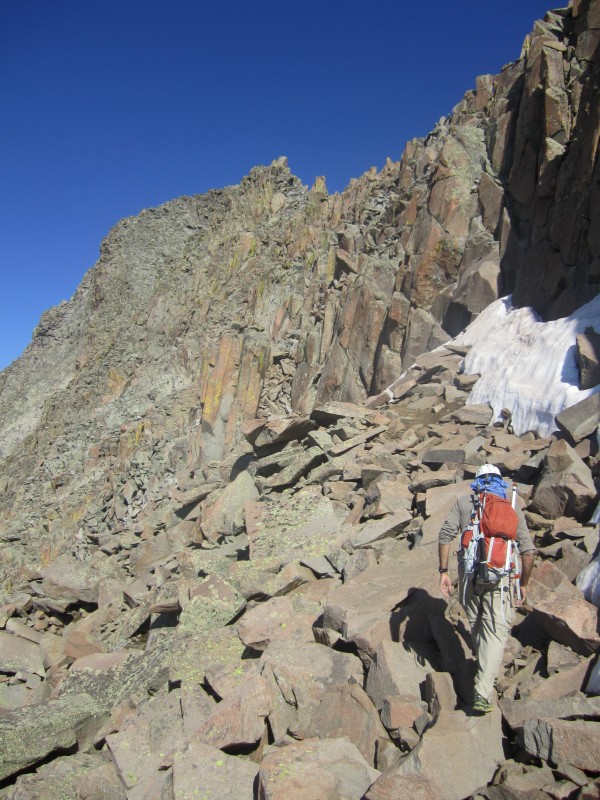
Once you are passed this snowfield, you will come around a red rock rib and turn right. Here is the red rock rib at the top of the snowfield:
Here is your view as you head to the grey gully which is toward your right as you head up. Many people head to the left and go up a different "grey gully," but some ladies in front of us told us that it was filled with loose rock, scree, and was quite miserable. Needless to say, they went down the correct grey gully after we crossed paths with them on their way down. You are heading straight up and a little to the right from here to enter the grey gully:
Once you reach the grey gully, there is a nice class 3 move to get going into it and then the rock gets a little less steep. However, it is loose and crappy throughout. Here is a picture of my dad beginning the class 3 portion:
Here is some video going up the grey gully:
This is what the grey gully looks like:
Here are my dad and brother in the grey gully:
Here is a picture looking down the grey gully. Yes, that's a lot of crappy, steep rock to climb up:
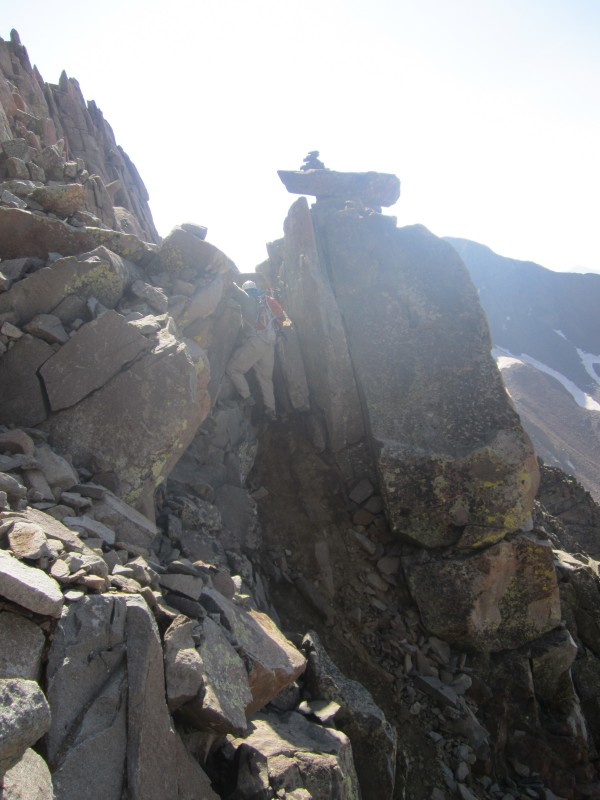
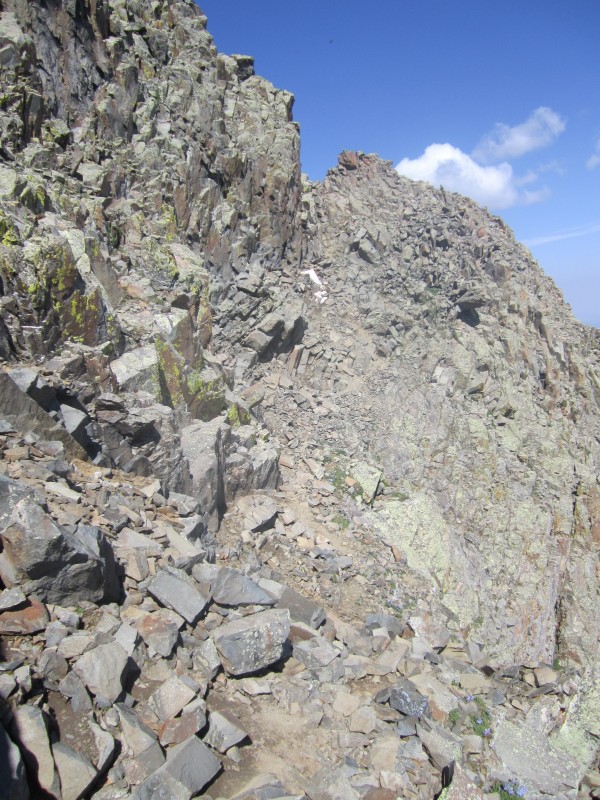
The top of the grey gully is marked with this cairn. You will know you are on the right track when you see it. This will take you to right below the organ pipes:
Scrambling just below the organ pipes and above the grey gully:
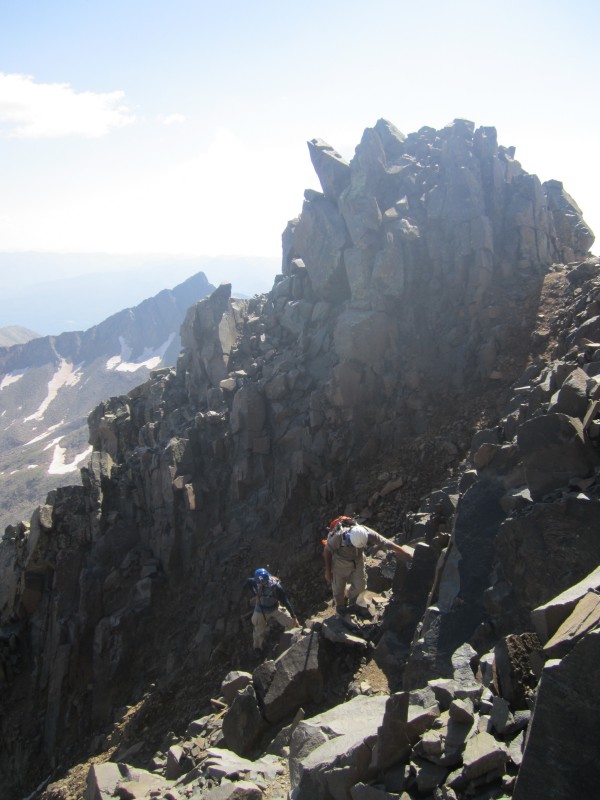
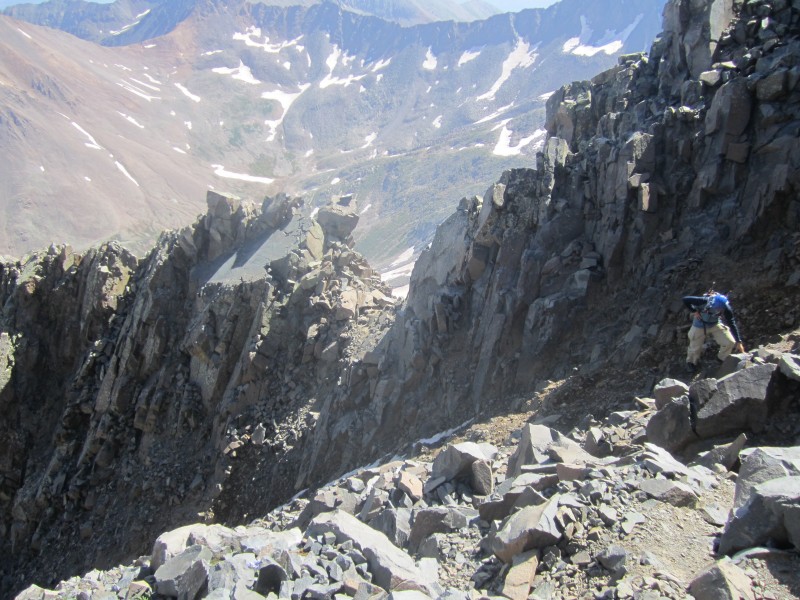
Here is the ridge you have leading up to where you cross over to the other side. You stay on the left side of this ridge.
Here is part of the face that you traverse where my father is coming down below the rock cairn. It's steep with exposure and you can actually cross a little higher where my brother and I did with a little less exposure.
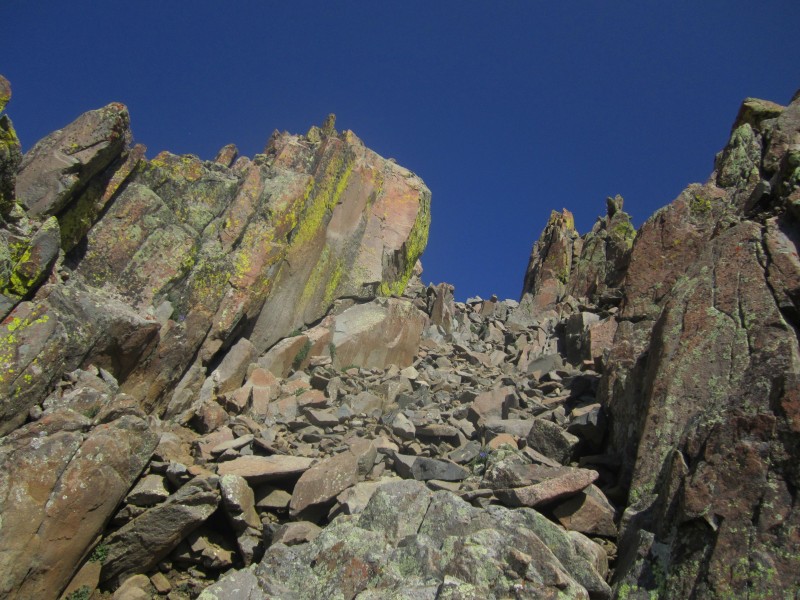
Next, you head up the gully with the yellow/green rock on the side to gain the ridge and cross over it to the other side. Here is the gully:
Here is a picture of what it looks like right after you cross over the ridge to the other side:
Now you are aiming for the key hole that will take you around a rock rib and into the area where you make the summit ascent. This is a picture of the rest of the back side of the ridge before you hit the key hole:
Video of back side ledges:
We have now made it through the key hole and this picture is looking back and where we turned going through it and are now making the summit ascent:
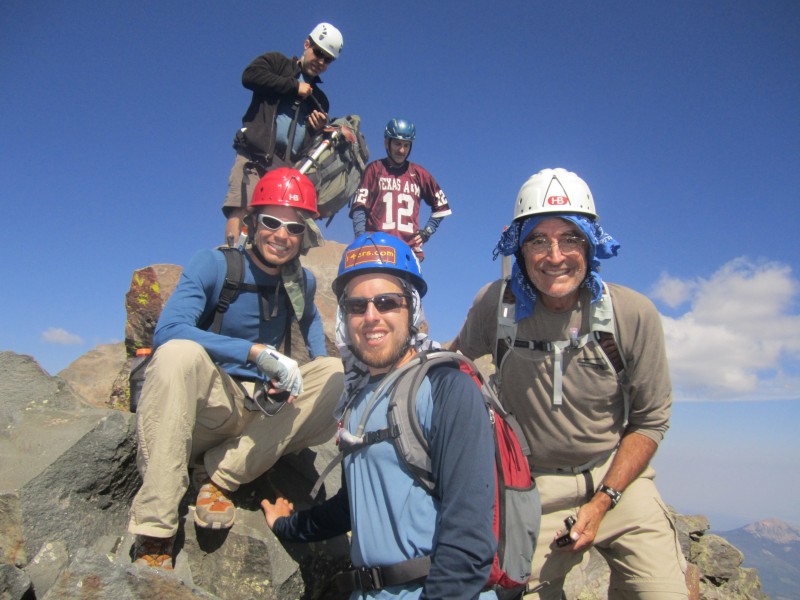
It's a quick pitch up to the summit and quite a bit of fun. Just be careful as there is some exposure when you make that turn through the key hole. We made it! That's Aggieclimber86 in the background! It was nice sharing the summit with you!
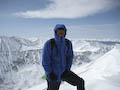
Here is a shot from the top looking over at Wilson Peak:
Summit Panorama:
We spent just a few minutes on the summit and then started down. I can't remember the gentleman's name but we shared the summit with a guy that completed his final #54 14er on the top of El Diente! What a privilege! He hiked back down the Rock of Ages side after we left the summit.
So we followed the same basic route down without anything of note until we came to the 12,500 foot snowfield. This is the one that we avoided going up by hiking over the cliffy area. However, we were not about to avoid it on the way down as we are all about glissading whatever we can to avoid hiking over loose talus. Here we go!
So my brother and I glissaded down the 12,500 field first. My dad was last. This snowfield just happened to be a little smaller, icier and faster than any others we did on Snowmass (see my Snowmass Mountain Trip Report). So, my father gets going and apparently a little too fast. I freeze on the camera and don't notice that I forgot to keep moving it as I see him get going a little to fast and then out of control. Well, he was never completely out of control as he swung around into a self arrest after not being able to stop glissading. Here is the action packed video where I miss the action:
Everything turned out alright but this is now the second time on a 14er my father has self arrested going "down" a snowfield. The other time just happened to be on Broken Hand Pass going down from the Crestones.
On our way out, the weather stayed perfect for us and we captures some nice pictures in the meadow with El Diente Peak in the background:
My GPS Tracks on Google Maps (made from a .GPX file upload):
take ice axe and practice self arrest 7/23/2014 11:34pm
I am the ”Dad” in the trip report and would like to emphasize the importance of taking along an ice axe on any significant snowfield AND knowing how to use it for self-arrest, whether you are crossing, ascending, descending, or glissading the snowfield.
I think I talked to one of you on Saturday night after you hiked this when you were setting up camp at Rock of Ages TH. Thanks for the beta you provided. It was a miserable day of hiking Sunday but at least I knew what I was in for after talking to you.
Yeah, we were not at Rock of Ages on this trip. That was last year when we did the Wilson Group. Let me know if you have any further questions about El Diente from Kilpacker.
Caution: The information contained in this report may not be accurate and should not be the only resource used in preparation for your climb. Failure to have the necessary experience, physical conditioning, supplies or equipment can result in injury or death. 14ers.com and the author(s) of this report provide no warranties, either express or implied, that the information provided is accurate or reliable. By using the information provided, you agree to indemnify and hold harmless 14ers.com and the report author(s) with respect to any claims and demands against them, including any attorney fees and expenses. Please read the 14ers.com Safety and Disclaimer pages for more information.
Please respect private property: 14ers.com supports the rights of private landowners to determine how and by whom their land will be used. In Colorado, it is your responsibility to determine if land is private and to obtain the appropriate permission before entering the property.