Ellingwood Arete
Peak: Crestone Needle
Route: Ellingwood Ledges, aka "Ellingwood Arete"
Difficulty: Gr. III, 5.9 variation
Date: September 9, 2012
Length: 11 miles RT
Vertical: 4400 feet
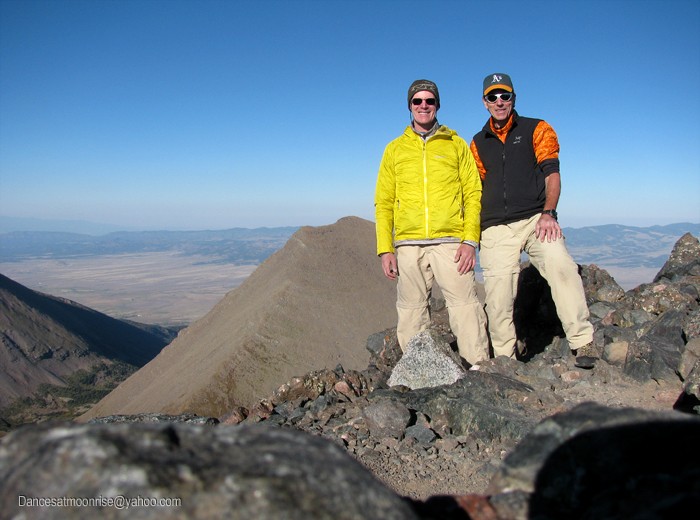
Ascent Party: John B, Jim D

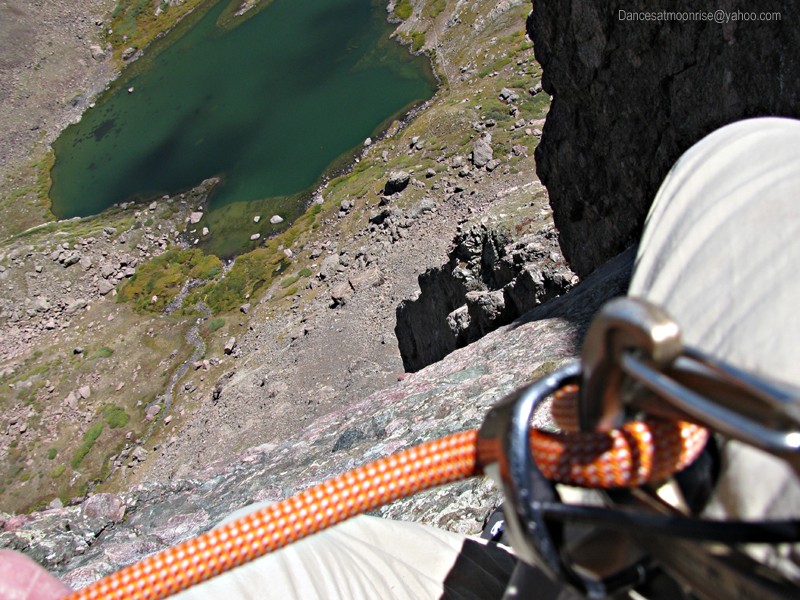
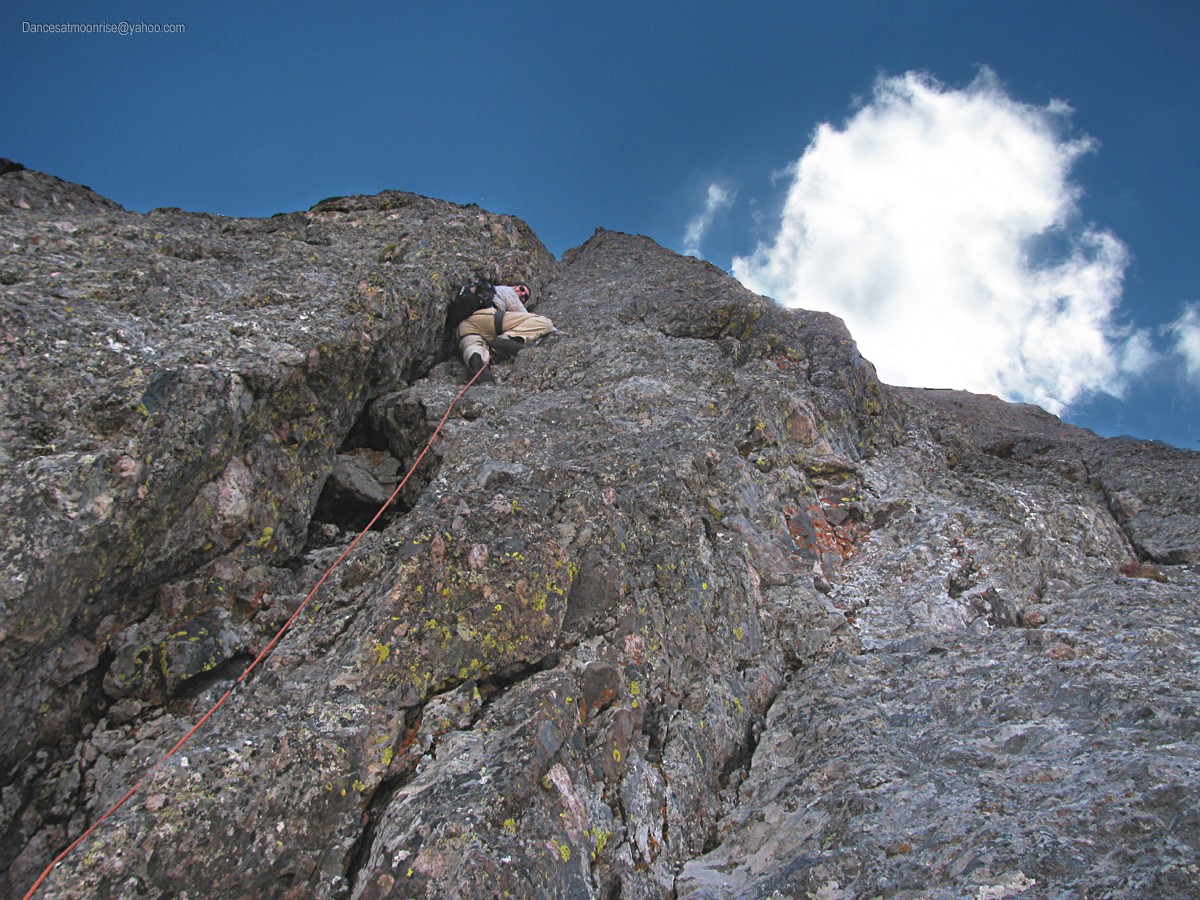
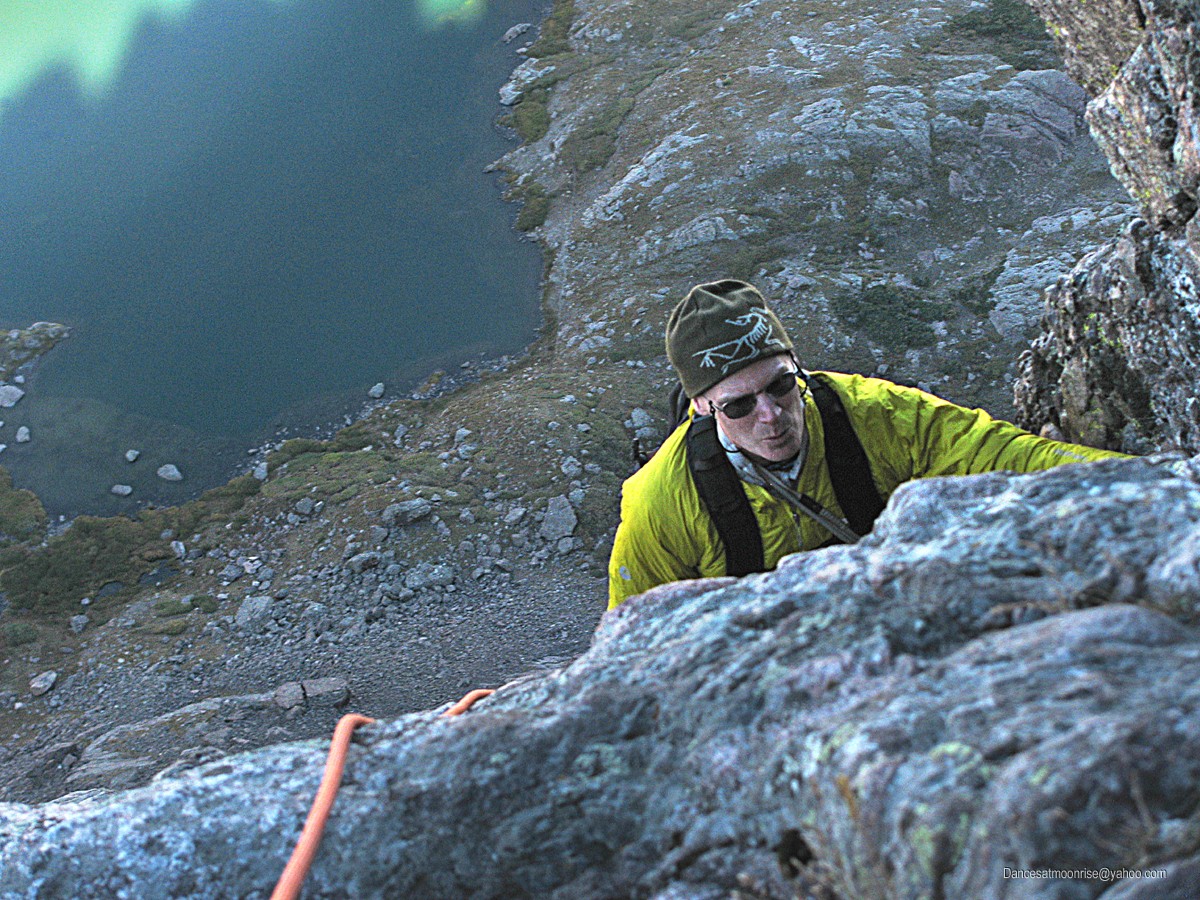
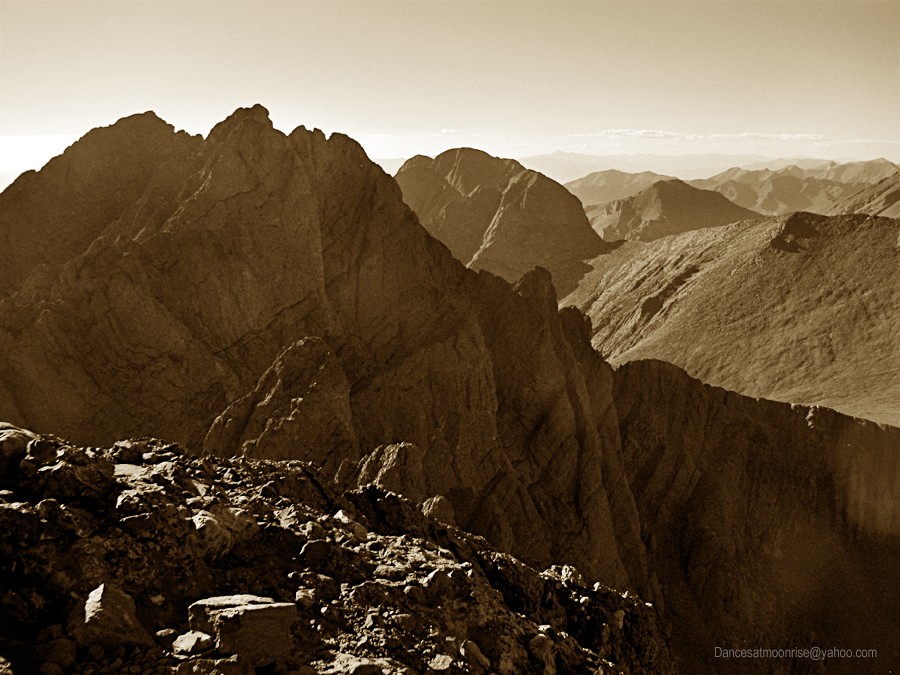
John tops out on the crux pitch, 2000 vertical feet above the Upper South Colony Lake.
I first learned about Ellingwood Arete many years ago when a friend and junior classmate gave me Roper and Steck's Fifty Classic Climbs of
North America. Then while doing the 14ers in 2010, the opportunity presented itself to get recon photos and get some familiarity with the approach
and descent. The route certainly looked impressive, with the upper section looking much harder than the 5.7 claimed for the standard line. I've
always appreciated Roper and Steck's criteria defining a classic climb: "The peak or route should look striking from afar, have a significant climbing
history, and offer excellent climbing."
September is a great month for alpine climbing. Sunday's weather looked perfect for a front door start.
From the 2010 Peak/Needle TR:
"Albert Ellingwood was a Colorado professor of political science, who is also reputed to have been one of the few US climbers capable of handling
a rope at the time, according to climbing historian Chris Jones. He and Eleanor Davis are credited with the first ascent of the Crestone Needle
on July 24, 1916, via the SE ridge/gully. It was the last of the then-53 14ers to have been climbed. Interestingly, it was not until nine years later
that they returned with a party of four to claim the Ellingwood Ledges route on the NE aspect."

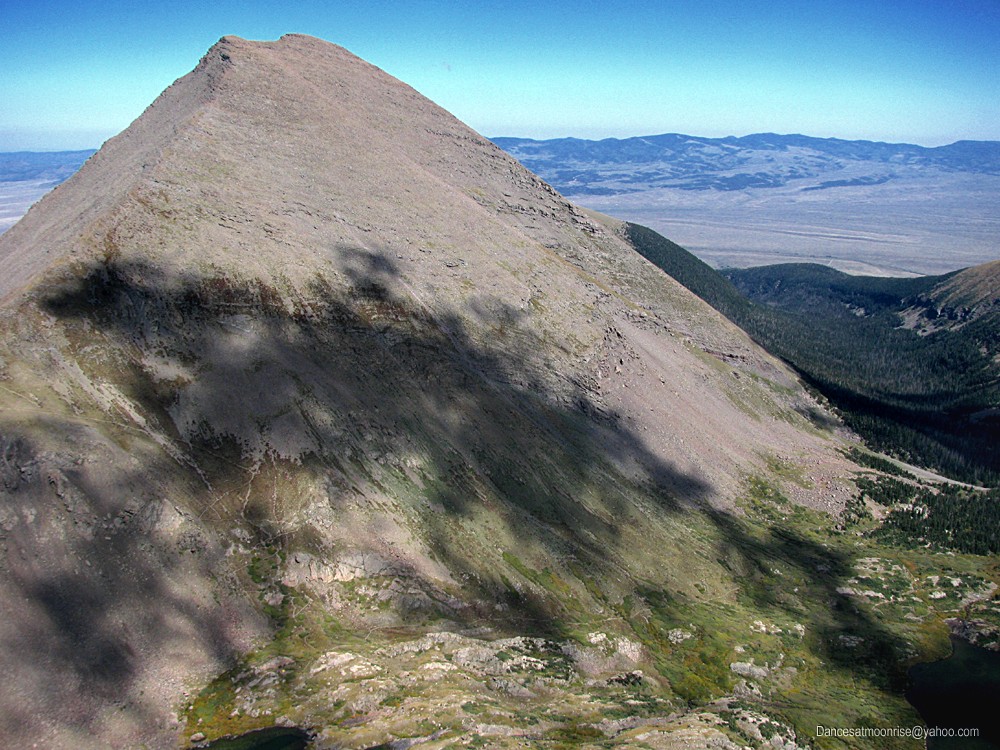
First view of the "hand" above Broken Hand Pass.
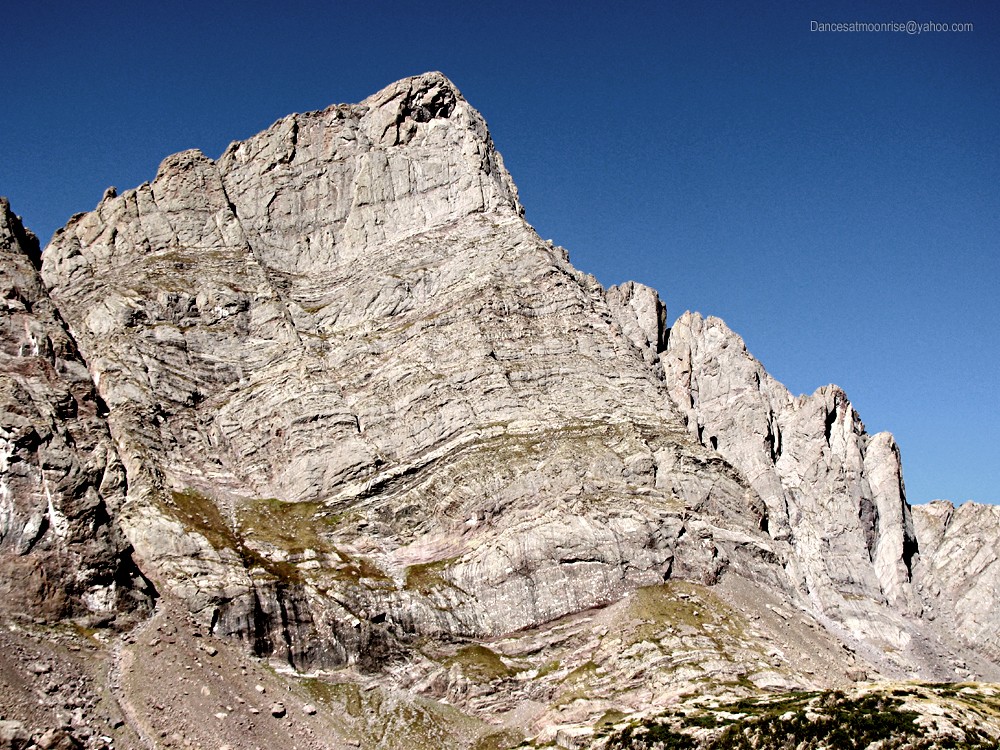
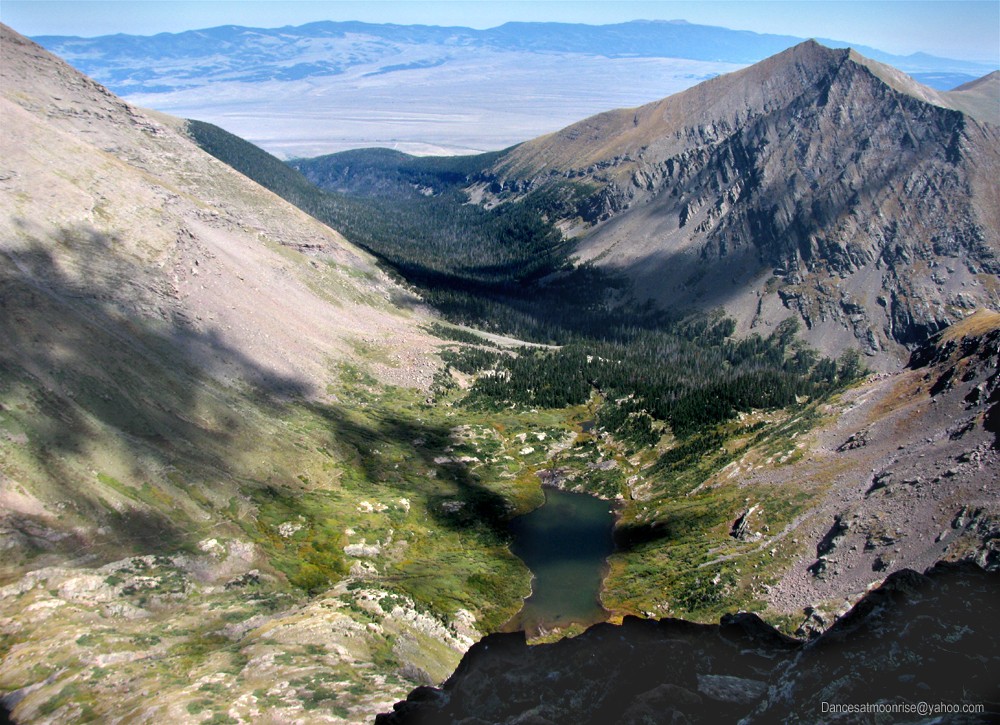
Ellingwood Arete seen from near the lower South Colony Lake.

The Arete viewed from near the upper lake. The direct start begins at the very top of the talus cone above the left half of the lake.

The upper pitches.

Top of the first pitch, Direct Start.

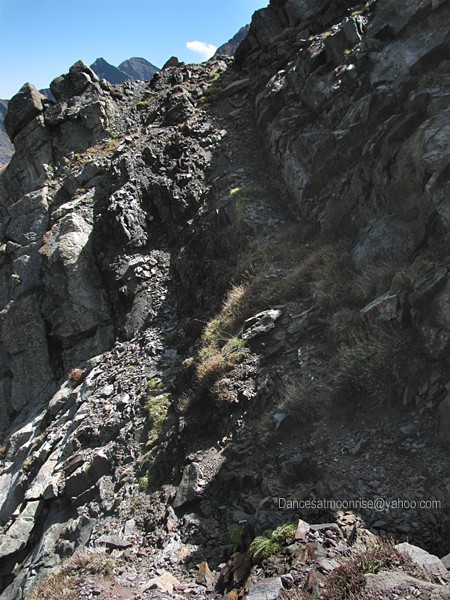
Top of the second pitch, Direct Start, looking to climber's left. The loose third-class
ledge is taken to access more open third-class terrain.
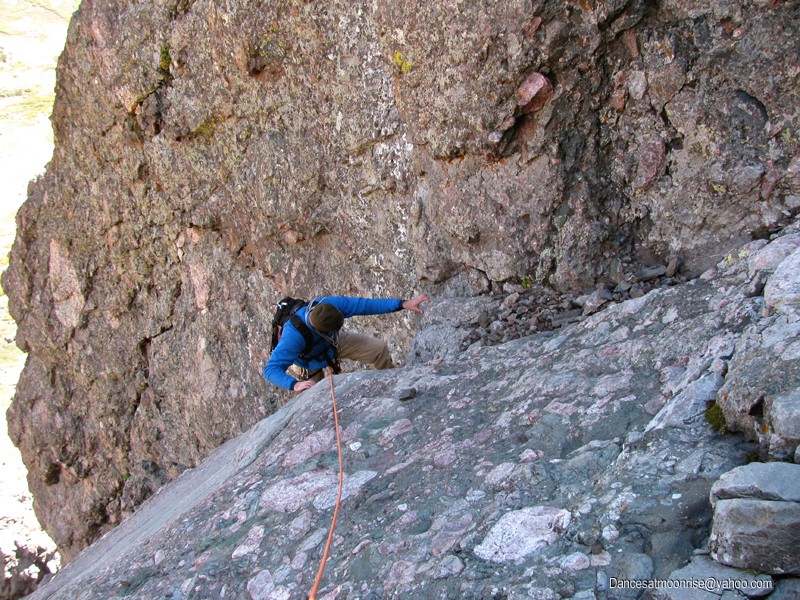
Third class section. Not nearly as problematic as I'd worried. John felt it was some of the most fun climbing on the route. I agree.
Climbers' Info
We'd heard and read plenty on this route; it was confusing. So hoping our reflections on the route are helpful. I'll try to keep it simple. Here's our take.
-Direct Start.
There are some fun sections on the first pitch. The start of the second has loose rock lying over lower-angle conglomerate. Early in pitch two, the route steepens, with moves
over a crack which doesn't lend itself well to passive gear, generally true for most of the Direct. (Though the standard upper pitches protect well.) The Direct soaks up time.
We used several pitches to prevent rope drag. We both felt the Ledges start would be a more aesthetic way to climb this route; fourth-class non-stop fun to the business district.
-Rack.
Smaller cams may be helpful on the Direct (stoppers do not seat well in the down-flaring cracks and short crack runs.) Midsize and larger stoppers work well on the upper pitches.
Few necessary placements exist for anything larger than a #2 BD. We didn't find all the fixed pins that are reputed to be on the route. We took 7-10 slings, mostly two-foot and
a coupleof four-foot slings. John brought a set of DMM Wallnuts, and a set of DMM offsets. These are like the old saddle wedges, with a recessed central area on the face of the
stopper which helps make placements more solid. Rounding out the rack were Linkcams 0.5, 0.75, 1, and 2, and a #1 and #2 BD Camalot. The rack, with slings and all, came in
under five pounds. For the rope, we took a 70m x 8.9mm Mammut Serenity. A 60m single would work fine. Experienced alpine climbers wishing to go ultralight might find a 60m
half-rope to be perfect for this route. (A single strand half-rope - but not a twin-rope - should theoretically handle at least one full factor-two lead fall.)
-Route-finding.
The 14ers.com description is accurate, if detailed. Our oversimplification, in five easy steps, follows.
Step One: From the upper lake, locate the talus cone at the base of the wall. Hike up through grass on the left or talus on the right. At the very top of the talus cone, third-
class or rope up to ascend maybe 30 feet, up and left, to the base of the large righ-facing dihedral. This is the direct start. If you want the Ledges start, see Bill's description.
Step Two: After two full rope-lengths (done as three or four pitches if you value your rope,) one comes to some chossy, loose ledges capping the dihedral. Look for a narrow
ledge exit to the left, to more open terrain where one can see most of the wall above.
Step Three: Third-class up and left through open terrain to get over the steeper stuff above. The ultimate target is to end up just above the red knob. The knob should be
obvious, above and to the right. Going up and left yields lower-angle terrain, after which traversing back right on ledges yields a point on the arête just above the huge red knob.
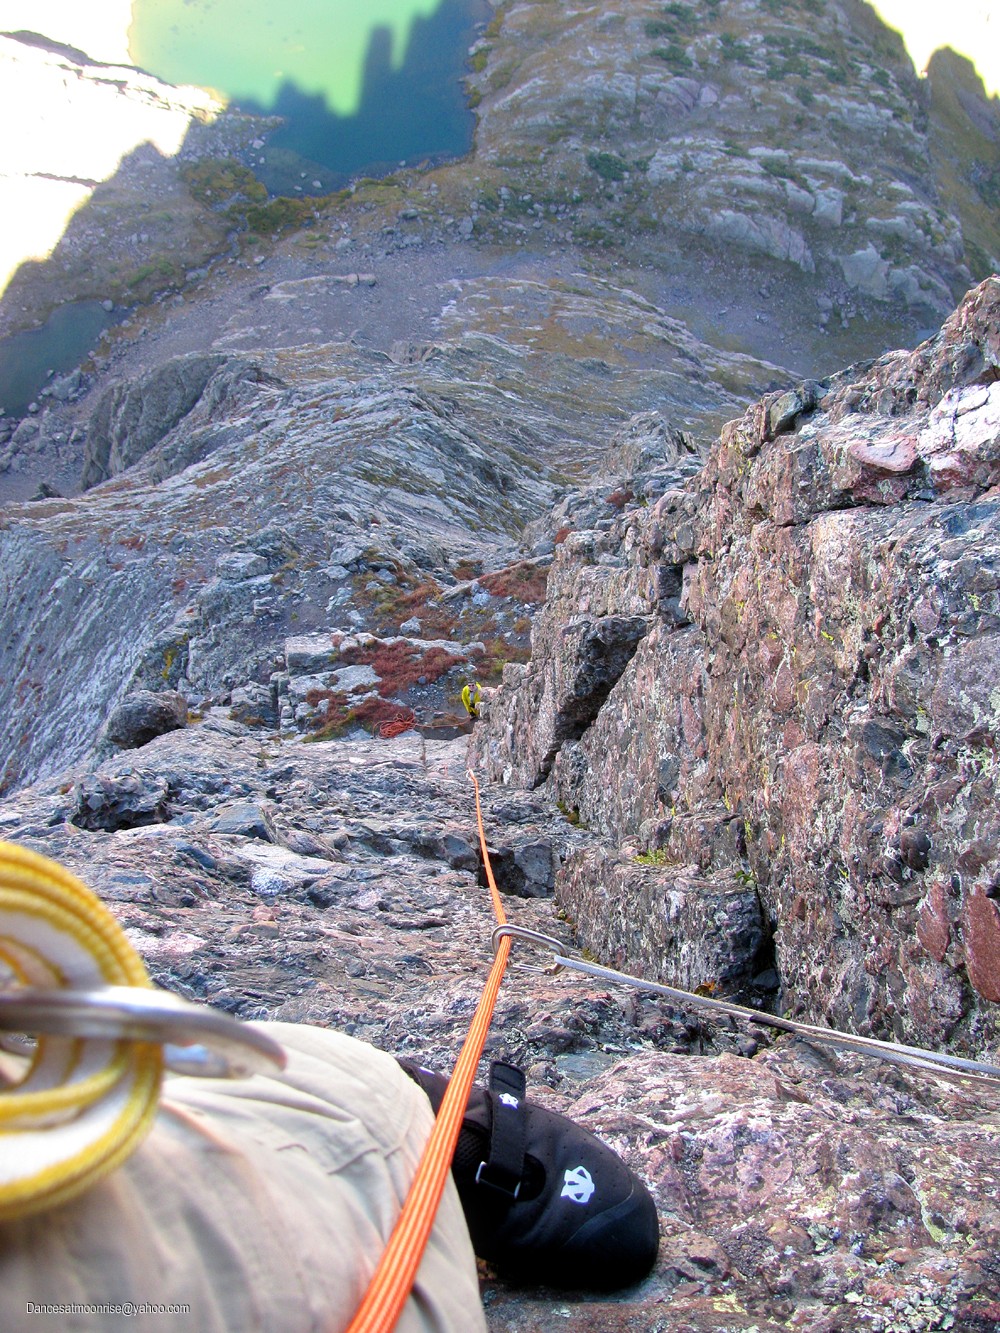
Step Four: Reaching a point on the arête just above the red knob, the classic pitches are about 100 feet above. (See images.) After one exposed move to the right,
protected by a large straight piton, the rest of this 100-foot section is class 3.
Step Five: From here, the fifth class climbing to the summit is self-evident. Two longer roped pitches take one to a ledge about 100 feet below the summit. This last
100 feet can be done third-class. Don't forget to study the descent, especially if it hasn't been previewed. Basically, one wants to stay to the east as far as possible, which is
in a gully for the first half of the descent, and crosses over into some complex terrain further east to reach Broken Hand Pass.
-Weather and time.
Roped climb times will vary, depending on risk tolerance, number of climbers, technique, and experience. We should not have been surprised that with a casual attitude, relaxed
pace, and the Direct start, it took us just under six hours from lake to summit. While prepared for this time expenditure, it was unexpected. More than two hours was spent
on the Direct. The Ledges start would definitely be faster. Car to car total time was about 13 hours. To put this into perspective, it took 9 hours to gain both the Needle and
the Peak, car to car, on September 17, 2010.
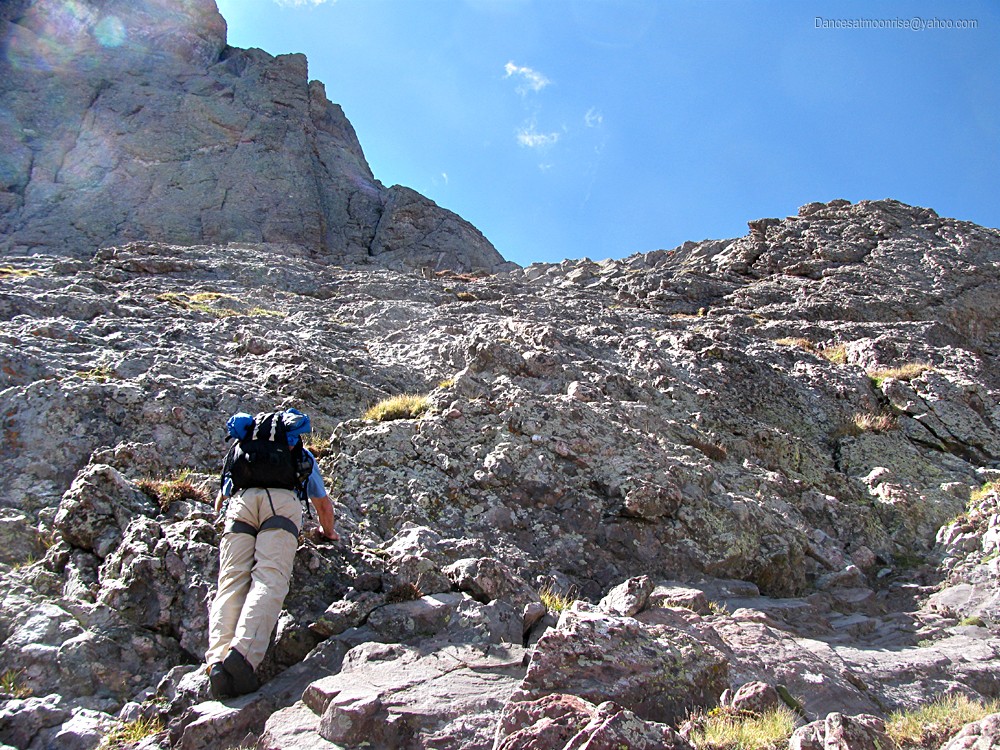
-"Fourth Class" section.
My pre-climb worries about this section proved unfounded. The rock is solid and lower-angle than it appears. We never felt uncomfortable or exposed, despite the extreme
appearance of this section from the lakes.
-Upper pitches.
The upper pitches are classic, and well worth the effort. We enjoyed the 5.9 variation. There was not much difference in difficulty between this and the 5.7 "crux" pitch above
it; both seemed very reasonable. We didn't find nearly the number of fixed pitons expected, but it was not an issue.
-Descent.
Study it beforehand. Having the 14ers.com description may be helpful. The route is cairned. Poles and spikes may be helpful on the loose sections below the gully getting to and
below Broken Hand Pass.
-Additional thoughts.
For the more ambitious, an early start may be combined with the traverse for a fun long day, gaining both peaks. And for those interested in first ascents, there appear to be some
nice fifth class lines, seen from Cottonwood Lake, on the southern walls extending from Peak to Needle, below the traverse.
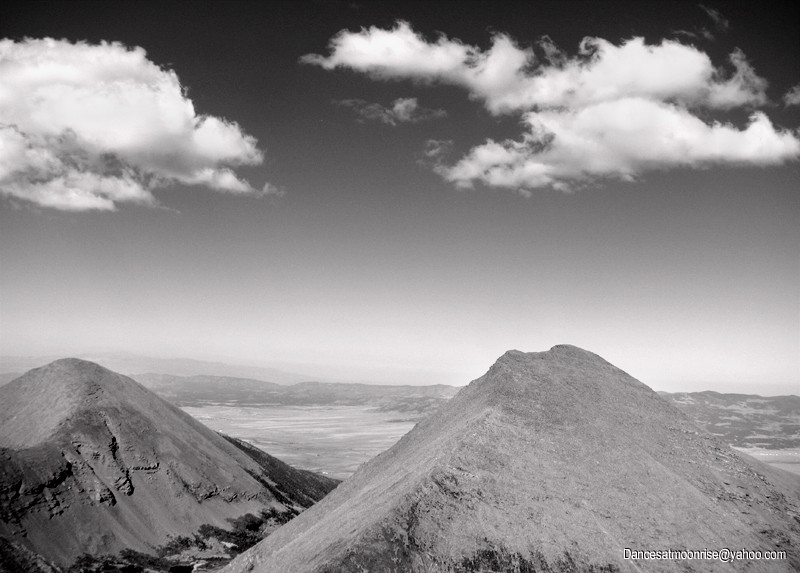
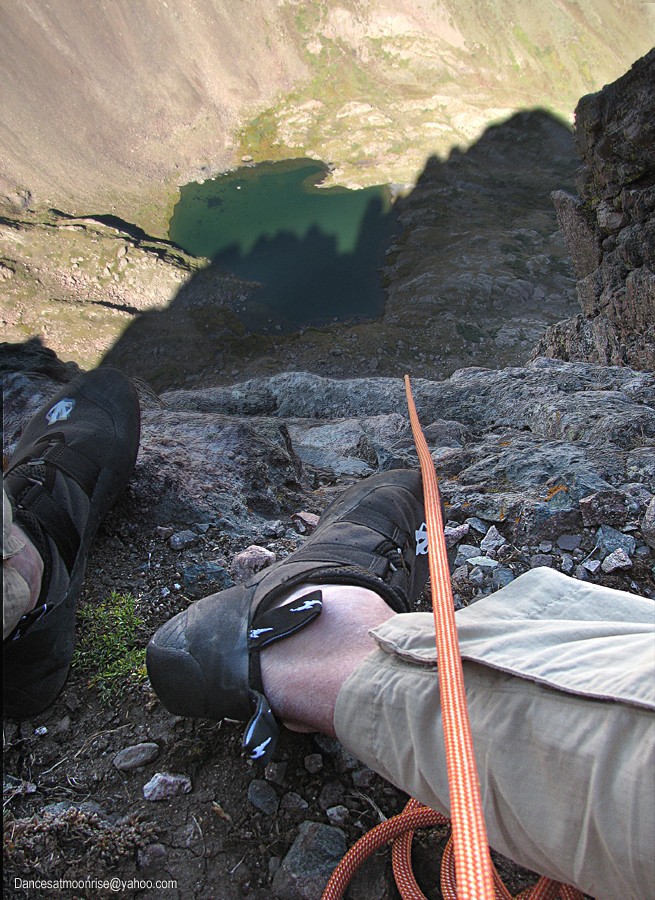
Looking back down to the trailhead, a few whispy clouds above cast mid-day shadows.

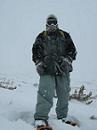
The day shift back at camp.

Beginning the upper pitches. The straight crack bisecting the small buttress is the 5.9 variation. The semi-lunar crack to the right, curving up and left, is 5.6.

Just above the Red Knob. After an exposed move protected by a piton, it's all third class to the base of the 5.9 crack.
John sending the beautiful 5.9 variation.

Climbers seen on Kit Carson's "Prow" (5.8.) 14ers.com member Natalie is seen on Challenger's summit. Congrats, Natalie!

The spacious belay ledge seen below marks the start of the 5.9 variation.

Cracks on the upper pitches lend themselves well to larger stopper placements.

We found far fewer pitons than the number reputed.

John moved the belay up for the crux pitch, mostly for aesthetic reasons.
The 5.7 "crux pitch."
Finally above 14,000 feet! The belay at top of the crux pitch.


Third-classing the final pitch to the summit.
Thanks for reading.
.
|