| Report Type | Full |
| Peak(s) |
Nevado Yanapaqcha 17,913 |
| Date Posted | 07/09/2022 |
| Modified | 07/12/2022 |
| Date Climbed | 06/08/2022 |
| Author | Camden7 |
| Peru Part II: Little Mountain, Big View |
|---|
|
If you have not read Peru Part I, I would recommend you do so, otherwise very little of this will make sense. If you pure goal is route info on Yanapaqcha, you are in the right spot. Chapter 5: Yah-nuh-poc-tchuh Wednesday, June 8th We dragged ourselves out of bed at 7:30 AM, at a quick breakfast, then packed up and left the Refugio a little after 9. 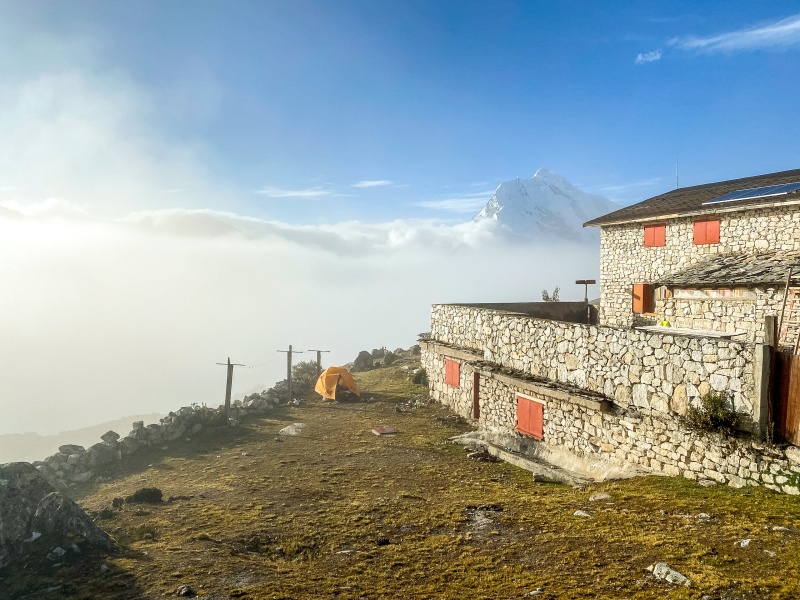
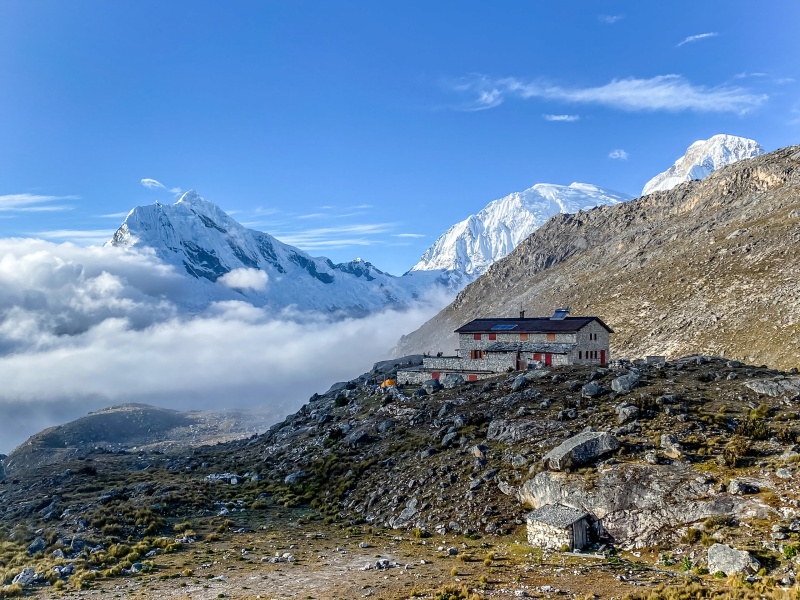
The way down was slow and painful, still hurting from the day before. After a few hours, we arrived at the Via Chopicalqui road at noon. Edgar (our guide) was there waiting for us just as planned. After surprising us with some much-appreciated fresh fruit, he flagged down a taxi, and drove 30 minutes up the pass to the Yanapaqcha Trailhead. It is at one of the highest switchbacks to the right, around 15,000 feet. 
The hike in to Yanapaqcha moraine camp can be described as two long, ascending traverses. The first is quite easy, being about 3/4 mile with 300 feet of climbing and 200 of descending, never too steep or slippery. The second traverse is a little tougher, being close to a mile long with 800 feet of climbing (and 200 of descending). It is quite steep in places, and even features some easy 3rd class rock ribs that must be crossed. Once at the end of the traverse, the trail drops 50 feet to cross a small stream at the mouth of a captivating alpine tarn. Camp is on the north side of this tarn. Being very tired from the previous days and that mornings depproach from Pisco, it took us an hour and 45 minutes to reach camp carrying two ropes, glacier travel gear, and all of our stuff ( = Heavy packs). It could be done in at least half an hour less if you were fresh. It didn't help that the wet season weather had persisted up to this point (weeks after it should be) and was continuing to do so. This meant it was snowing each afternoon, which translated to very slick mud and rocks on the trail. 
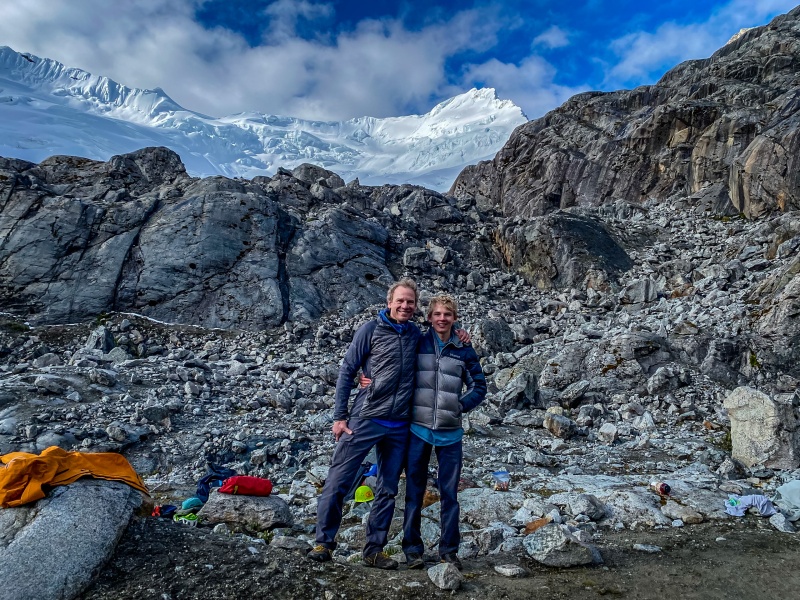
Camp was busy with 2 other teams taking up many of the tent spots, but thankfully there were plenty to go around. 
After setting up camp and having a tea and snack, we began to look more closely at the route for the following day, and talked about it with Edgar. It was quite funny listening to Dad try to say Yanapaqcha, but as a Turkish climber we had talked to earlier had said "You have to know the name. Out of respect for the mountain," so he eventually went from saying Yah-nuh-poc-cuh to yah-nuh-poch-uh to finally the correct pronunciation Yah-nuh-poc-tchuh. After talking with edgar for a while, we agreed that the standard route crossed under a large serac/cornice, and did not look safe. Because of this, we chose to target a different route, farther left (north) on the face. 
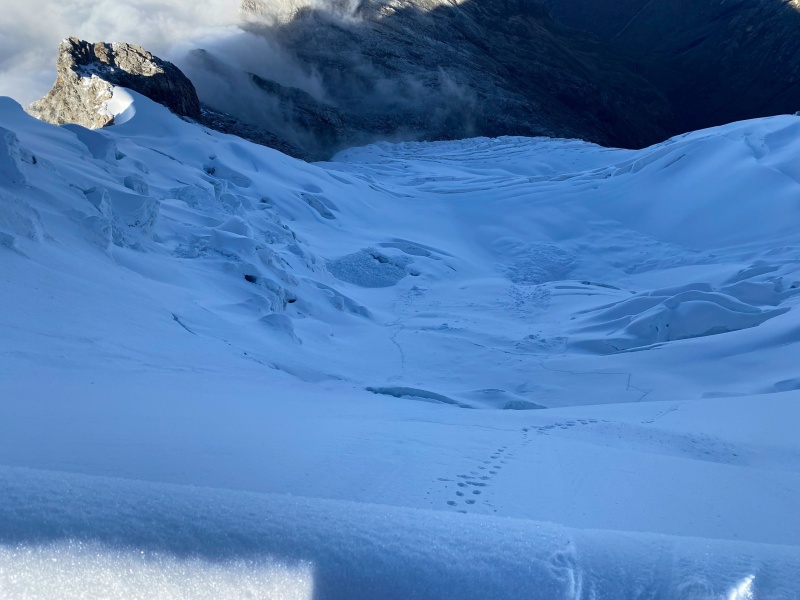
After a pleasent walk across the beautiful glacier slabs east of camp, we hit the pillows early, aiming for a 2:30 departure. Thursday, June 9th We set off 8 minutes later than planned, crossed the moraine, then began roping up. The moraine crossing is quick and painless, about 15 minutes on stable slabs and boulders. the path climbs about 50 feet out of camp, then drops 100 feet down to the glaciers edge. After another 15 minutes to put on crampons, unholster tools, and tie in, we set off. Gaining access to the glacier is a nice entrance exam, warranting 2 tools right out the gates. Although there are a handful of places to get on, we started further left than most, and I would recommend this option for sure. It saved a couple minutes of walking along the moraine, and was more interesting than the other choices. It started out with 35 feet of 45-50 degree glacier ice. It was so firm that a full force kick or tool swing did not get more than about a millimeter of purchase. After getting up that, an interesting series of solid and safe snow bridges traversed east through stunning ice formations and crevasses. Of course, you can't see any of it at 3 AM, but it was really cool on the way down. This route then rejoins the main path, which has a similar start but misses out on the ice sculptures, beginning about 500 feet further southeast. After the entrance exam, you can holster one tool. The section from 15,800 to 16,500 is characterized by long gentle sections of walking with steps of 30-40 degrees, most notably at 15,900 and 16,200. Aside from perhaps two 8 inch step-acrosses, the glacier is shockingly unbroken, and makes for very quick travel. Edgar used a trekking pole in addition to a single tool for this. Then, on a flat section at 16,500, without stopping, without a word, he stabbed his pole into the snow, drew a second tool from his pack, and continued walking. An ominous sign of what is to come. Above there, there is 100 feet of 40 degree snow, leading to another small bench. The route then traverses north because it is under a large icecliff. Although you cannot see it in the dark, there is a lot of active serac fall here. Most of it stops before reaching the path, but it is still not a good idea to linger until reaching the safer terrain at the northern end of the traverse. From here, the route climbs 200 feet up a shallow 45+ degree gully. The standard route then countinues up that gulley, which shallows further across a bench, then steepens to perhaps 50 degrees for the next 400 feet of rightward trending climbing, then 55 degrees for the final punch to the ridge. This part of the route crosses under a large cornice and several fragile-looking seracs, which made it unappetizing to us. We instead traversed up and left (north) at 16,750 to reach the aforementioned bench. This bench provides some easier walking to about 16,900. Then the upper face rears up in a wall of ice and fury. It becomes steeper as you climb, at first 45 degrees, then 50... 55... time to belay. At 17,050, a major bergschrund cuts across the face. It is the point where the nature of the terrain changes from comfortable without a belay (for me anyway) to serious, 2-tool, frontpointing. Getting across this bergschrund is the first crux of our route. It entails (or did at this time anyway) about 20 feet of 65 degree climbing including a large uphill step-across. 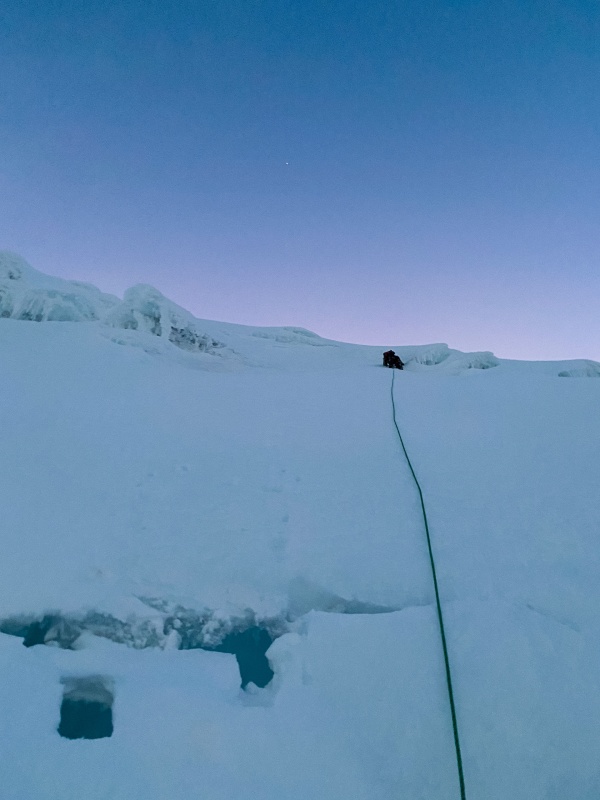
Above the first schrund, the terrain relaxes a bit, with 55 feet of 60 degree snow. Then comes the second crux and the hardest part of the route; a 20 foot 70 degree step. A layer of very firm snow provided good purchase, but this could easily be ice later season or on lower snow years. Above it, there is 250 feet of 55 degree snow leading to the overhanging cornice, which can be managed with a traverse to the north above an upper bergschrund (it doesn't cause any problems on the route as long as you stay right). Edgar climbed the two cruxes then continued another 100 feet to make a 70 meter pitch. Edgar belayed me and Dad up, then lead a second pitch, constituted of the remaining 170 feet of steep snow, then the traverse left to clear the cornice, and finally back right on the ridgeline to above the pitch where he could give us a good belay. 
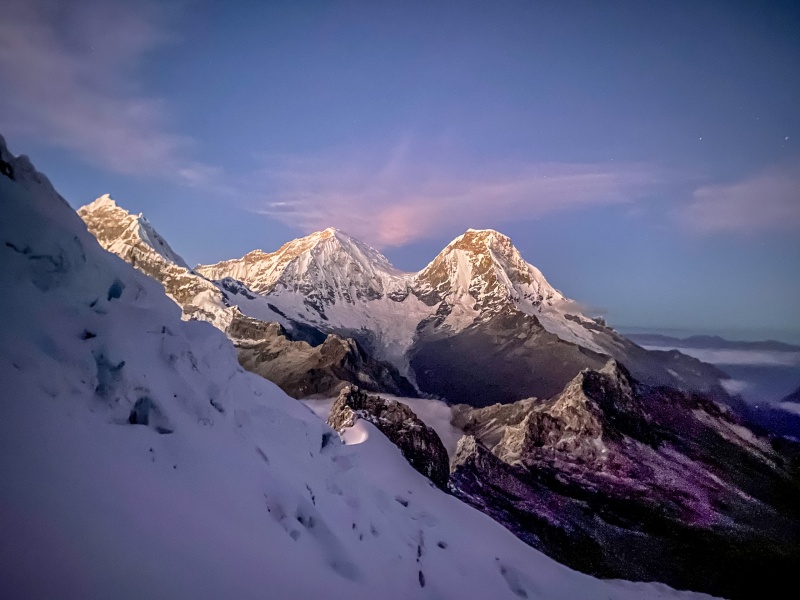
The sunrise was drawn out across many minutes, and we loved every second of it. 

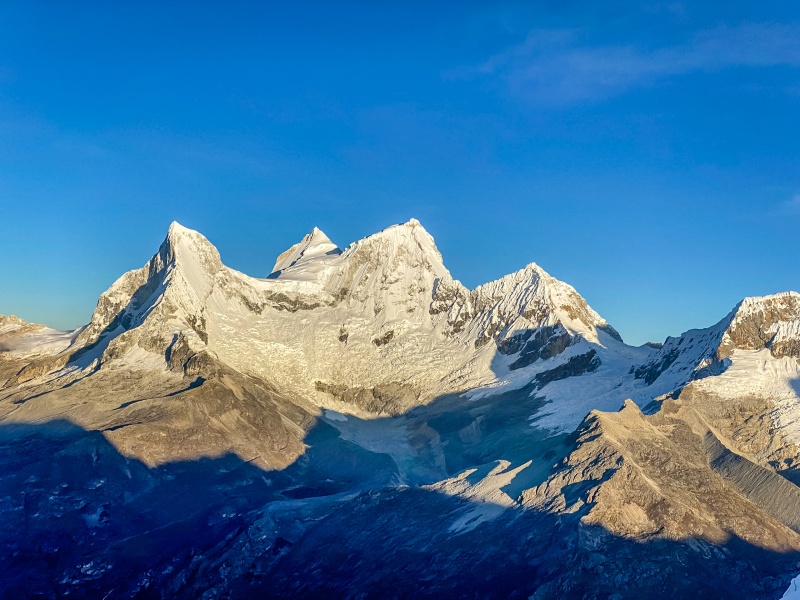
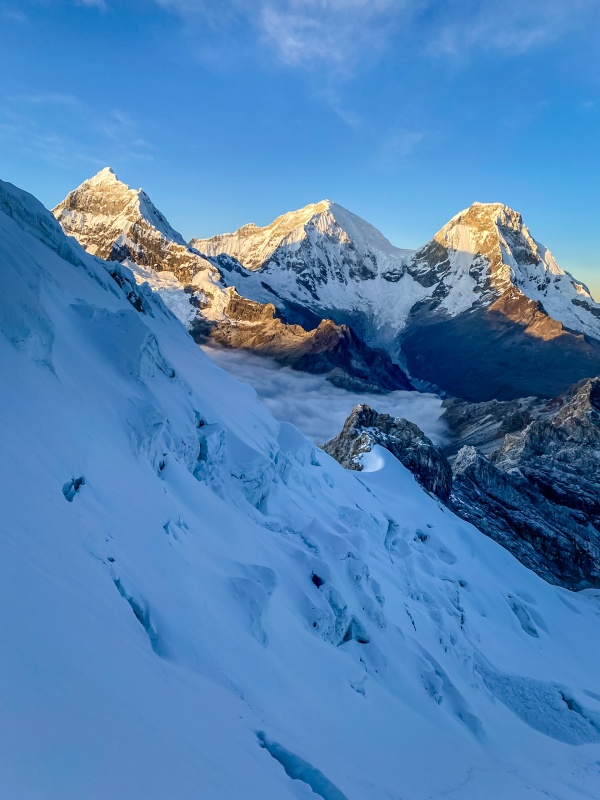
Once on the ridge, the view opens up to include the Amazon Basin and Chacraraju to the north. That mountain is INSANE. 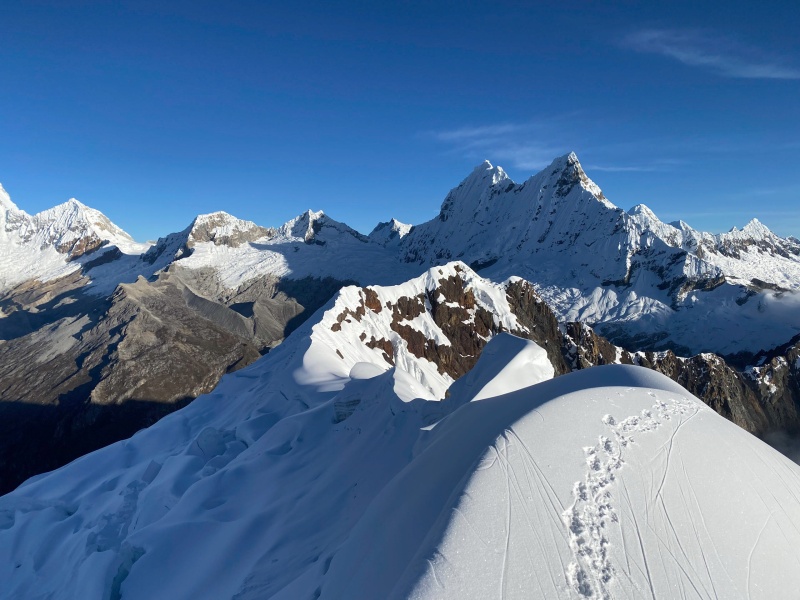
Then there is also the view across the northeast face of Yanapaqcha into the Amazon Basin. 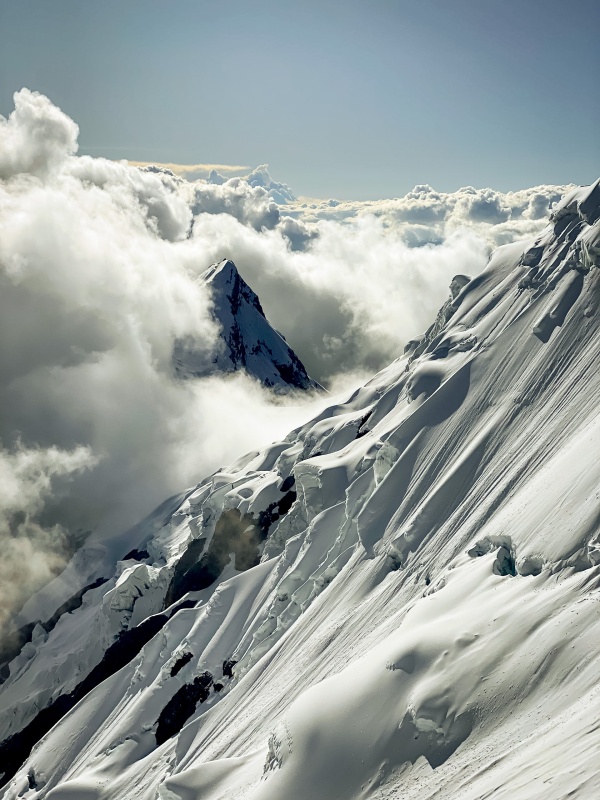
"Peru" "Ahh, that makes sense" From where we gained the ridge, a hundred meters of level but crazy exposed walking rejoin the standard route to tackle the summit mushroom. It is supposedly 500 feet from where the ridge is gained to the summit, but it seems like less and Gaia read 17,7something-or-other, well below the given elevation of 17,913. Many of the original surveyed elevations were too high. Seems this one might be too. Getting up the mushroom is not too hard, but it is probably close to 55 degrees, off camber, and very exposed. We didn't put any protection in, but many parties might want to, if any team member slipped, it would be fatal for the whole team. 
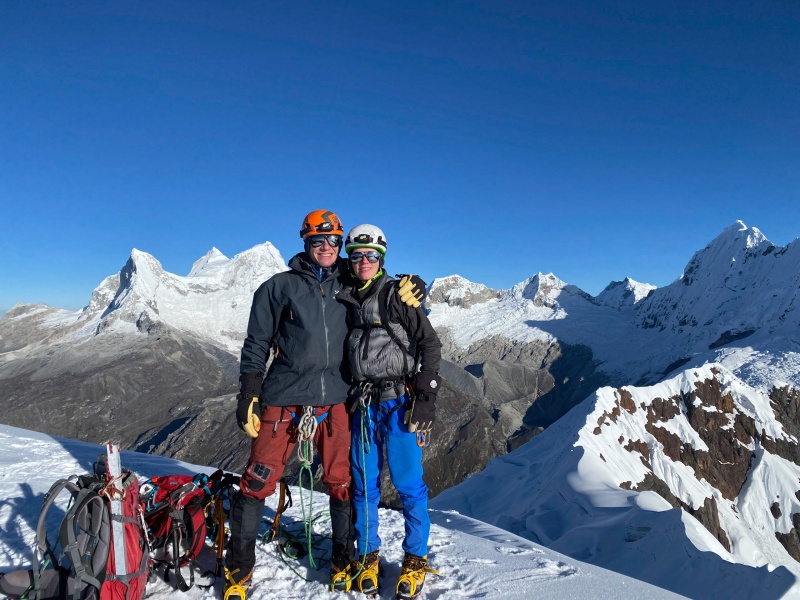
The summit of Yanapaqcha is one of the best, up there with Teakettle and Jagged in Colorado. It is as if it is made for lounging, a level platform with commanding views, just don't get too close to the edge. 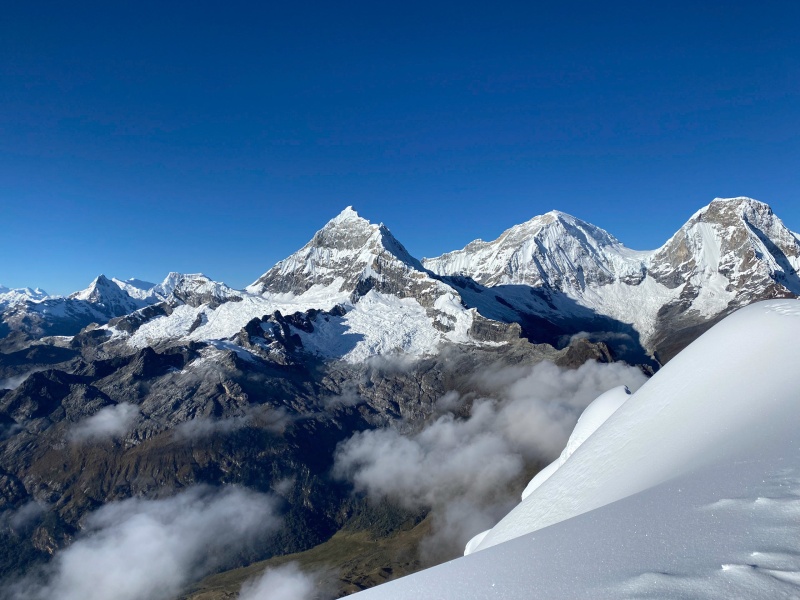
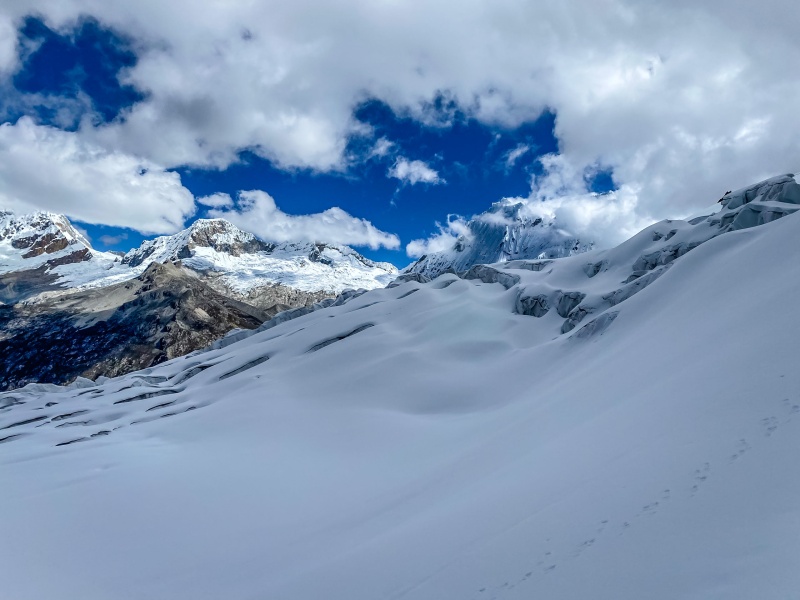
We rapped down the same line we came up. After we all did the first rap, we tried to pull the rope but all three of us pulling as hard as we could got nothing but rope stretch. Edgar soloed back up the 55 degree snow. Then up the overhanging cornice of unconsolidated floof. It is unknown how he managed this. Turns out the knot was frozen in. have the last person flip the knot over the edge. Works better that way. The lower part of the glacier was a pleasant and gorgeous walk. 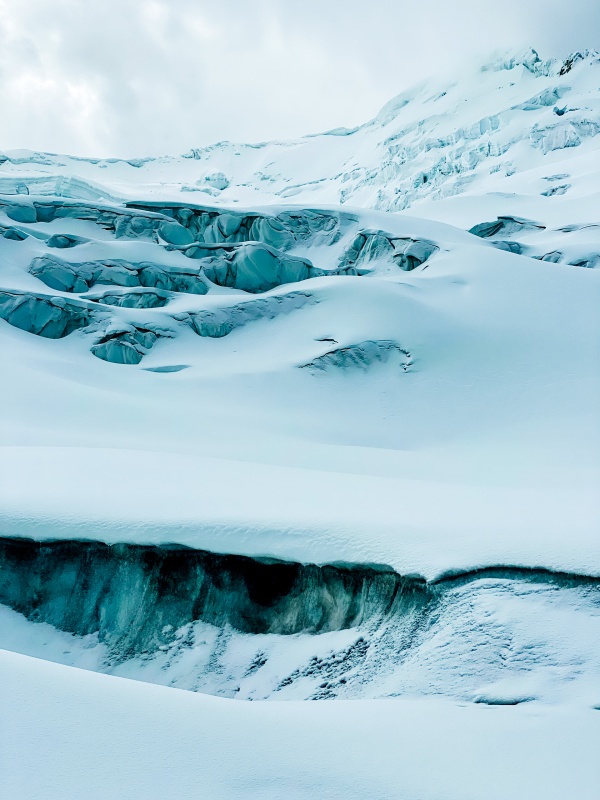


We quickly packed up camp, dragged ourselves out to the trailhead, and caught a taxi back to town, arriving just before dark. The best thing about 4 full days in the mountains is returning to a few hours of normal life. Showers and restaurants are incredible things. 
To continue reading see Peru Part III about Nevado Huascaran 22,205. Thumbnails for uploaded photos (click to open slideshow): ")
")
")
")
")
")
")
")
")
")
")
")
")
")
")
")
")
")
")
")
")
")
")
")
")
")
")
")
")
")
")
")
")
|
| Comments or Questions | ||||||
|---|---|---|---|---|---|---|
|
Caution: The information contained in this report may not be accurate and should not be the only resource used in preparation for your climb. Failure to have the necessary experience, physical conditioning, supplies or equipment can result in injury or death. 14ers.com and the author(s) of this report provide no warranties, either express or implied, that the information provided is accurate or reliable. By using the information provided, you agree to indemnify and hold harmless 14ers.com and the report author(s) with respect to any claims and demands against them, including any attorney fees and expenses. Please read the 14ers.com Safety and Disclaimer pages for more information.
Please respect private property: 14ers.com supports the rights of private landowners to determine how and by whom their land will be used. In Colorado, it is your responsibility to determine if land is private and to obtain the appropriate permission before entering the property.


