| Report Type | Full |
| Peak(s) |
Frontporch - 6,750 The Hobo - 7,000 |
| Date Posted | 05/23/2021 |
| Modified | 08/11/2021 |
| Date Climbed | 05/22/2021 |
| Author | daway8 |
| The Hobo & the Frontporch: easy Flatirons |
|---|
|
This is now the 3rd in my series of Flatiron trip reports - continuing with some easy class 4 routes and pushing a little into class 5. (For the previous ones see Flatirons Intro UPDATED and Der Zerkle: Southern Squeeze & Sunnyside Two) Included in this report will be:
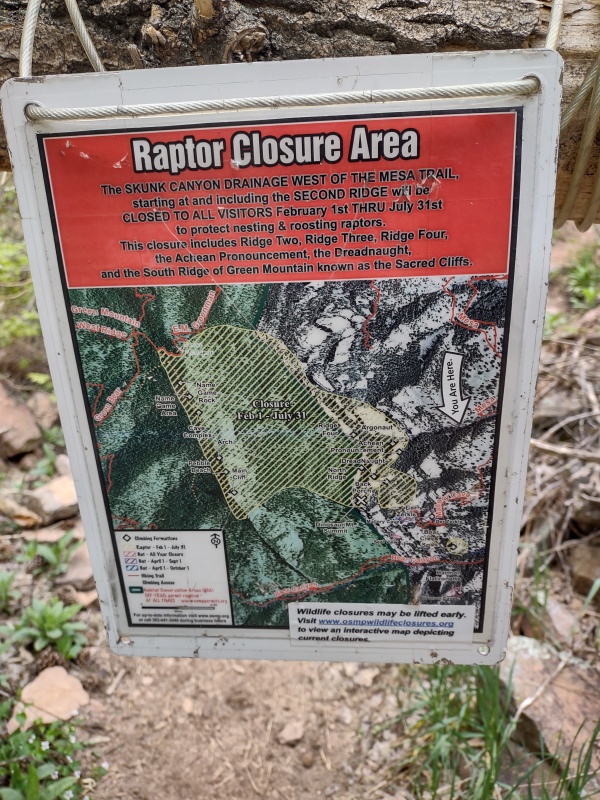
Look for large, bolded section headers to quickly jump to items of interest. DISCLAIMER: Standard little warning: Rock climbing is inherently dangerous and while you'll see a few references in this report to things that are "comparatively safe" and routes that are "easy" please be aware that people have died here and others have been seriously injured. A slight change in conditions, a slight difference in skill level or choice of footwear or the briefest lapse of caution can all have enormous impacts on your experience here. It's for sure a great place but do take appropriate caution! Closures: Please respect all wildlife closures - to the best of my knowledge the routes described here are currently open year-round but there are closure areas nearby (see overview maps below and signs on-site for more info). Motivation Why bother with the Flatirons and why post on a 14ers website? As I've said before, this is an awesome training ground and fantastic alternative for when the weather up high is iffy or when you just don't feel like wading through that springtime slush. It's a great place to build up confidence and increase your comfort level on exposed climbing prior to tackling harder class 3/4 ridges or those handful of class 5 routes going up to various summits. Overview Maps One of the best resources I've found for navigating to the different features in the Flatirons is this awesome website: https://maps.bouldercolorado.gov/wildlife-closures 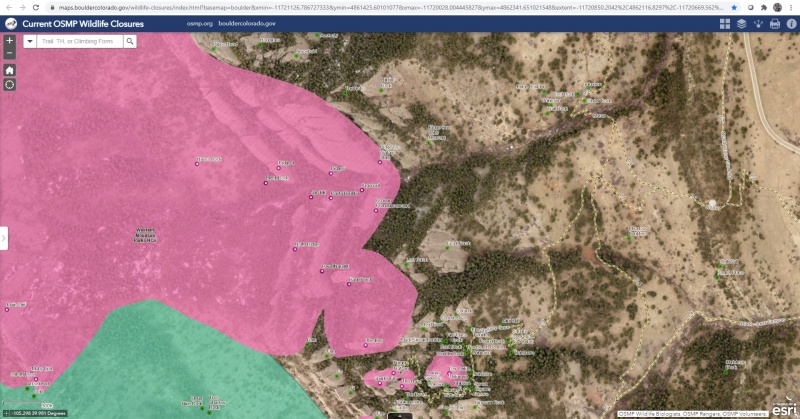
To get a map like this (which shows up in much better resolution than this snapshot) you'll need to click the 4 boxes at the top right and select the 2018 Imagery basemap for some stunning aerial imagery. This originally showed up better on mobile than my pc but with the above link the feature names and pink shaded regions for wildlife closures seem to show up properly. In theory you can access this on-site and highlight your current location but that feature doesn't seem to work well for me. 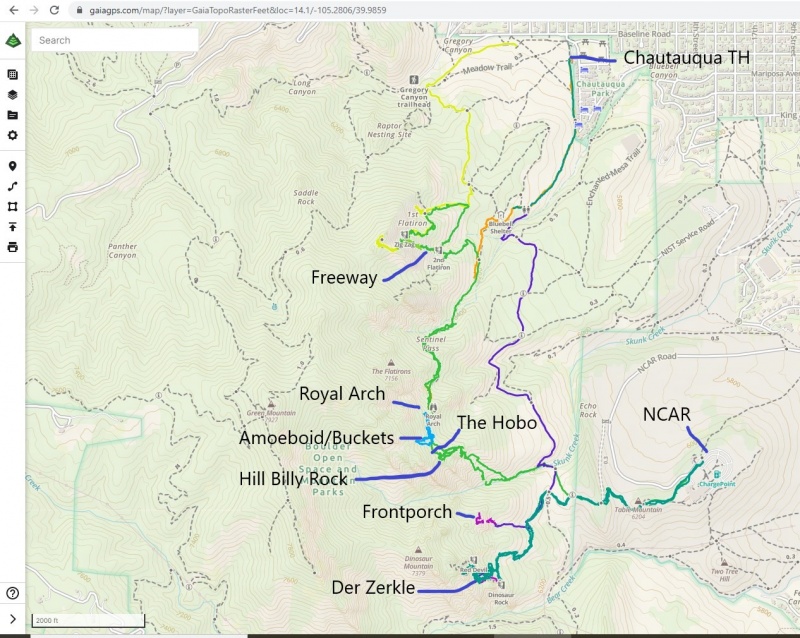
GAIA also has a reasonably detailed map of the main trails and some large features. If you add the slope shading layer you can pick out most of the features. The Freeway, Royal Arch, etc are easy to access from the Chautauqua trailhead but note that is a small & popular (=crowded) trailhead. The other routes I've been doing recently are most easily accessed from the NCAR trailhead with its enormous free parking lot. On the trip to The Hobo I was able to connect across to the Amoeboid and thus form a link between trailheads - so it is feasible to reach, for example, the Royal Arch from NCAR but that's not the most efficient route by any means. Frontporch Really, really liked this formation as a fantastic starter one. Has class 3/4/5 options – might possibly even be able to do class 3 to summit. I did mostly class 4 up the water groove in the middle then around and up the descent of the East Face Center route - described as either class 5.0 (Simon Testa) or class 4 (Gerry Roach). Sort of a toss-up depending on how you do it – it was more class 5-vy the way I did it. Whole bunch of options for easy routes that can be modified, backed off, linked up, etc and has walk off option on the back and potentially the sides. Very nice views from the summit. 

Started up East Face Center route but then water drainage to the left caught my eye. Hadn’t been on steep rock for a while – was feeling ok about going up but less confident on coming back down and route description called for an awkward 5.0 downclimb. So I opted to back down a bit then slide over to the water drainage and went straight up easy class 3 rock with maybe a class 4 move here and there. 
Be warned that there are a few spots here and there with a loose, thin plating of rock on top that can break off. This can be avoided with a little care. 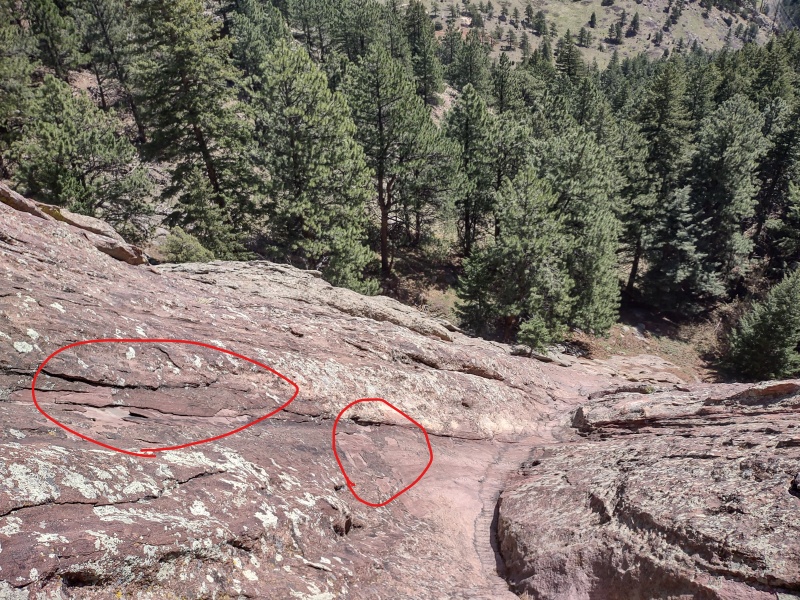
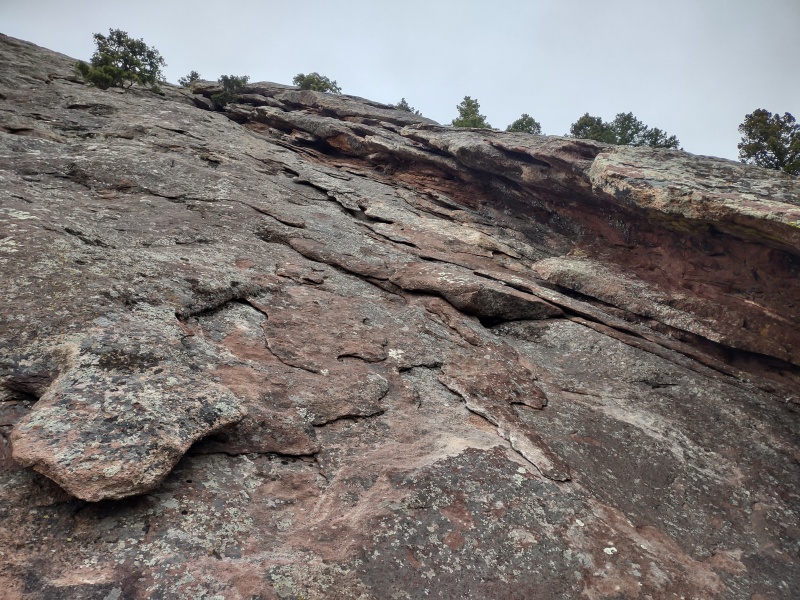
Just follow the water drainage up - some of this is worn pretty smooth but with a little care you can find decent holds. 


Plenty of relatively easy options (class 5.0, give or take) around but opted to stay in lowest part of the water groove. This led to an awesome looking slanted chimney type feature. 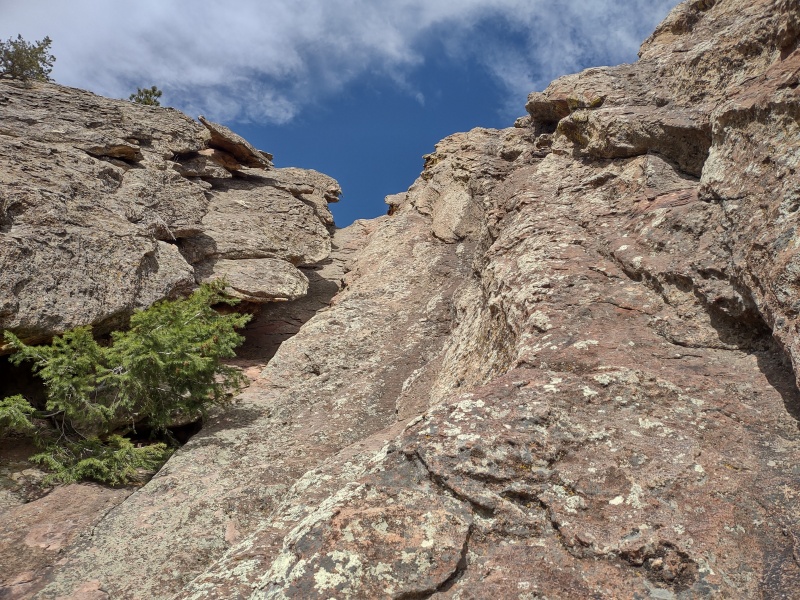
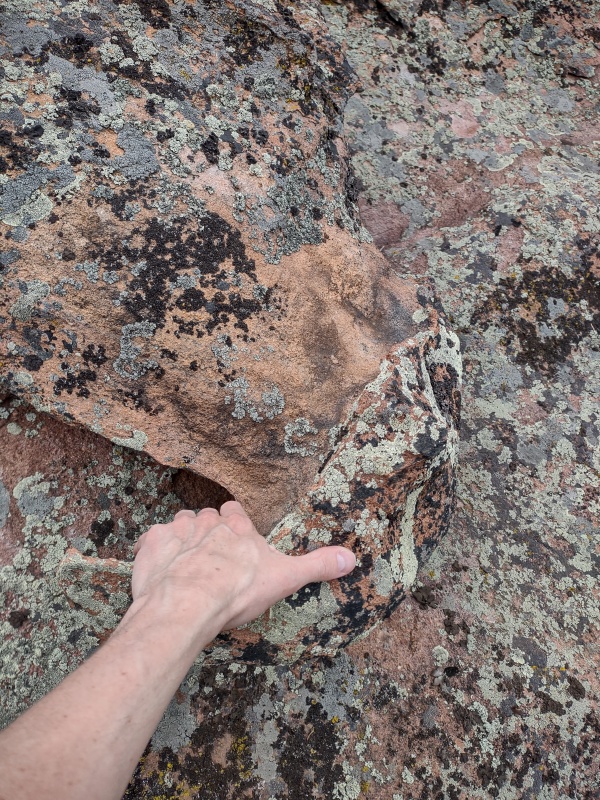
I was going to go up the left side under the overhangs but there were not very good holds and it had some loose dirt/debris. So instead took right side up enormous solid holds (some looked questionable but everything I tried held firm). Foot holds were a little more sparse – often just relied on friction against the slab with my climbing shoes, making sure my hand holds were bomber enough to take my entire weight if ever my foot should slip (never did). 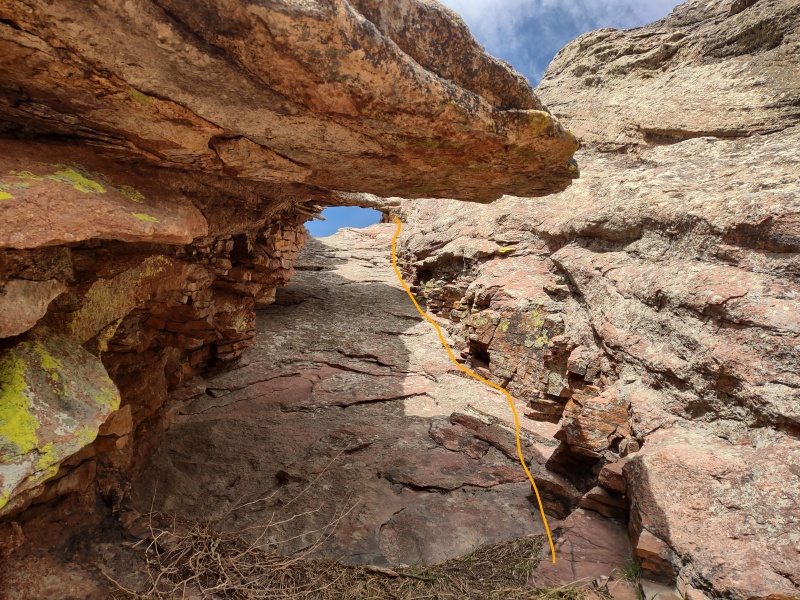
I'm never sure how to put a class rating on routes but found someone on Mountain Project mention this and call it "relevantly harder than 5.0 with little good pro." I'd say that's an accurate description. 
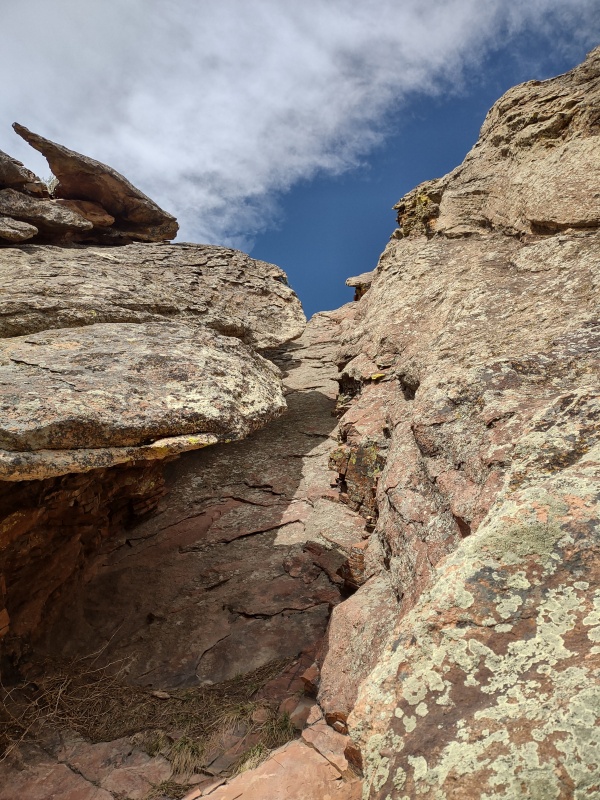
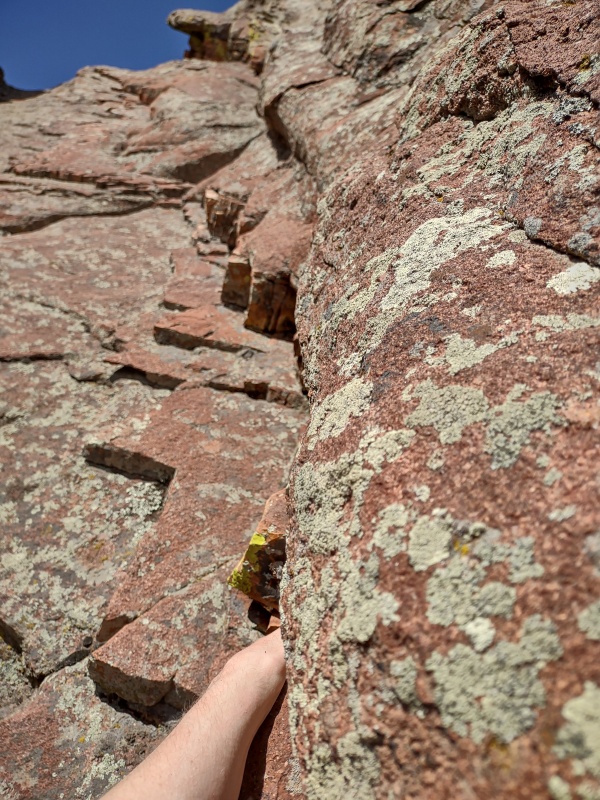
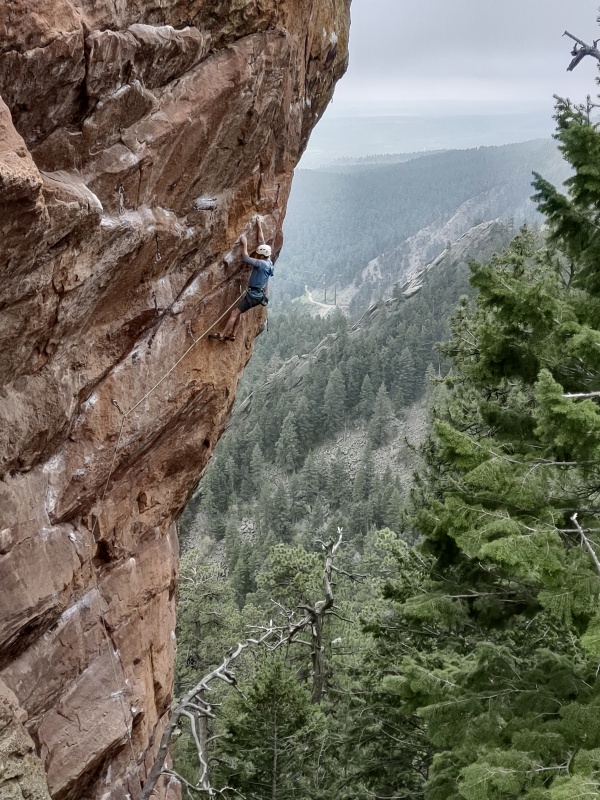
On the way down I was more confident going down the slanted chimney - enough so to pause and take the below action shots. But even so, I had been positioned such to be able to hold all my weight with my arms since my feet sometimes had nothing but friction to hold me there. When I finally placed my foot a on flat-ish spot for the first time in a few minutes I felt all sorts of tension, which I didn't even realize I was feeling, suddenly drain away - I guess my body was more uneasy than my mind this time around. 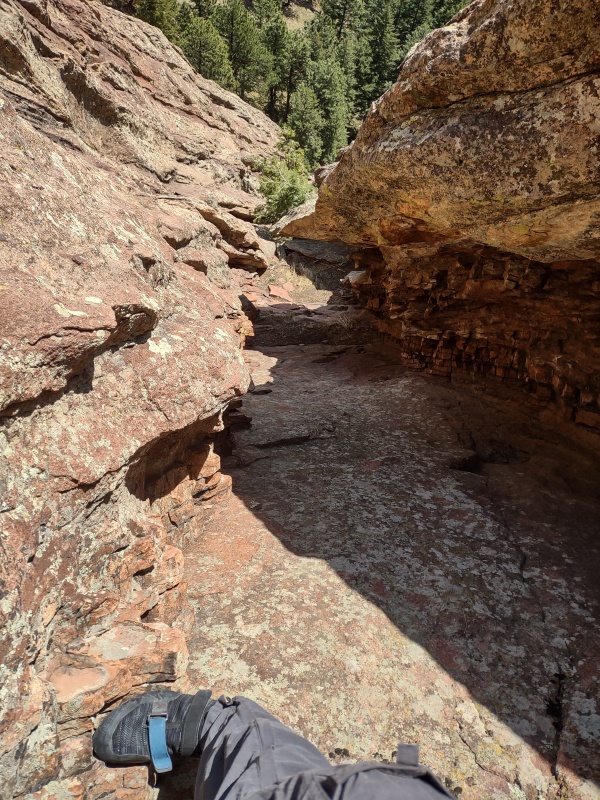
I could maybe have climbed straight to summit from the top of the slanted chimney (I dubbed this the Front Door) but it was at least low class 5. Opted instead to look for the “awkward 5.0” downclimb route that Testa described. I was very glad in the end that I did it first as a climb instead of a descent. 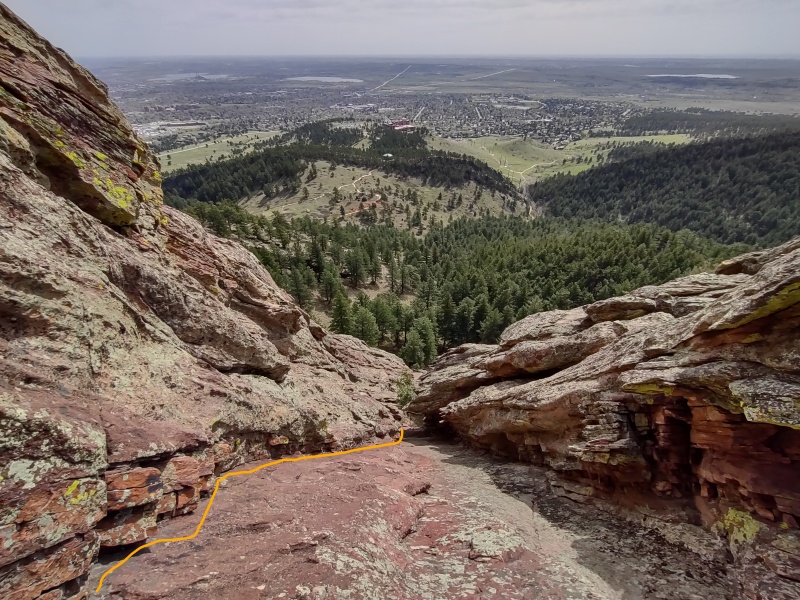
I didn't have any idea what awaited me at the top of this route and so I was pleasantly surprised to find an easy walk-off that also led quickly and easily to what's described as the awkward 5.0 downclimb for the East Face Center route of the Frontporch in Simon Testa's pocket sized guide book. 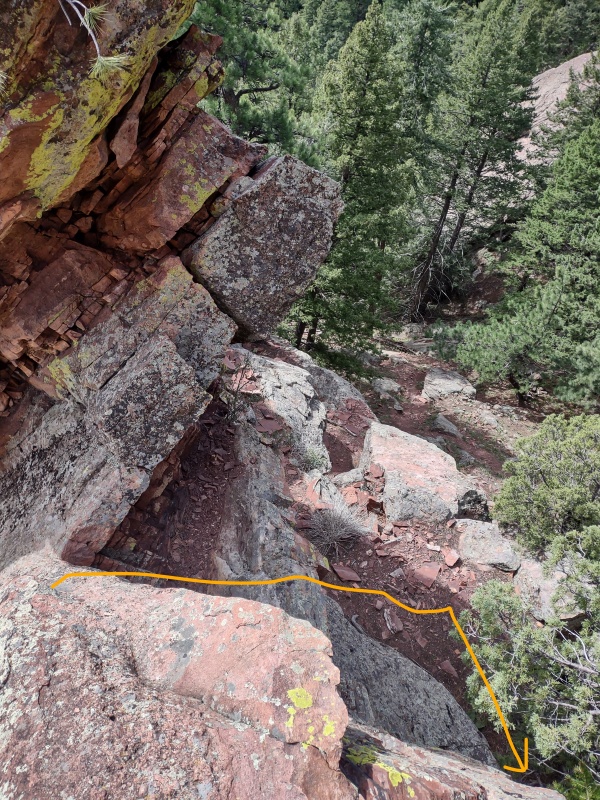
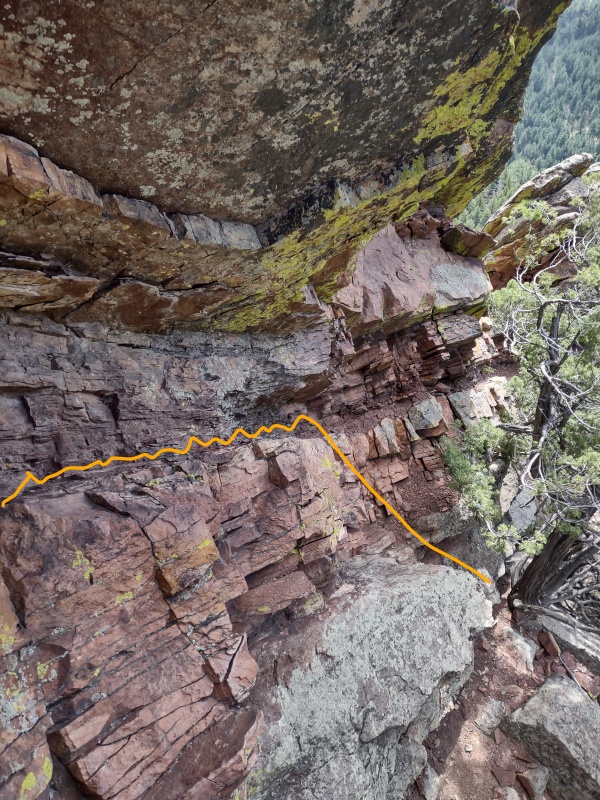
For the ledge portion I did a full sprawl crawl – could have probably stepped/climbed up without using the ledge (except as a handhold) but wasn’t 100% on being able to reverse that move so I did the ledge crawl instead (maybe 6 or 7 foot long ledge or so - see squiggly line in 2nd photo below). From there it was an easy walk up to the summit. 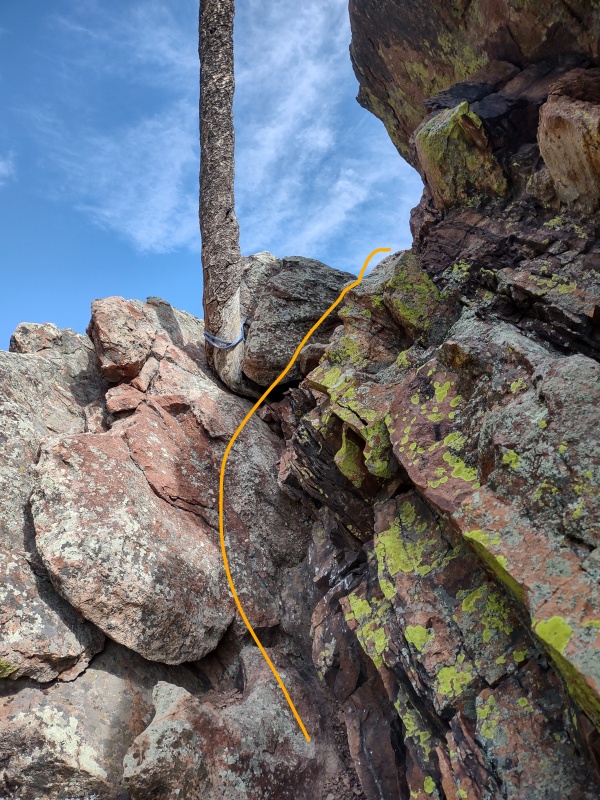
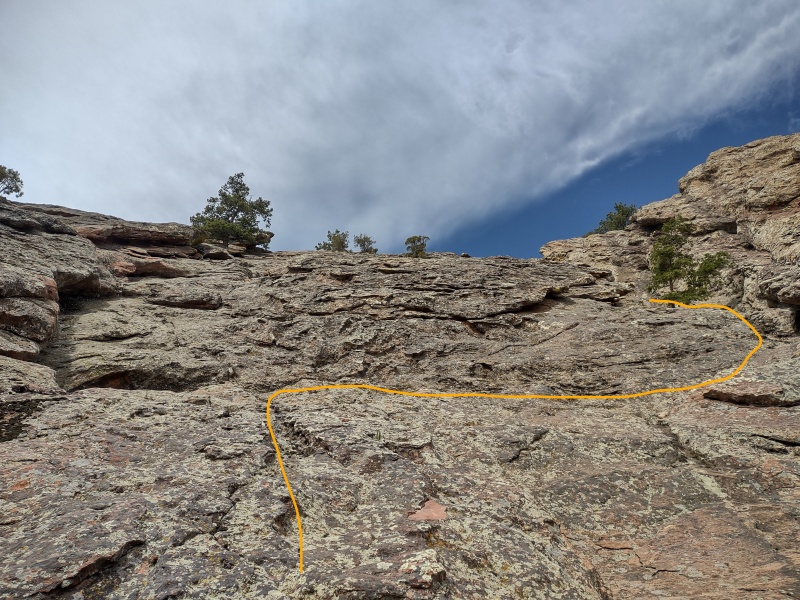
Edit: on a repeat trip I went up the East Face (w/ SnowAlien) and rappelled from the tree - a 30m rope was more than adequate. As the photo below shows, you can get the rope slightly snagged here but it wasn't anything serious (I'll have to try again at some point and manage the rope better - but hey, this was my first time outside a gym... 
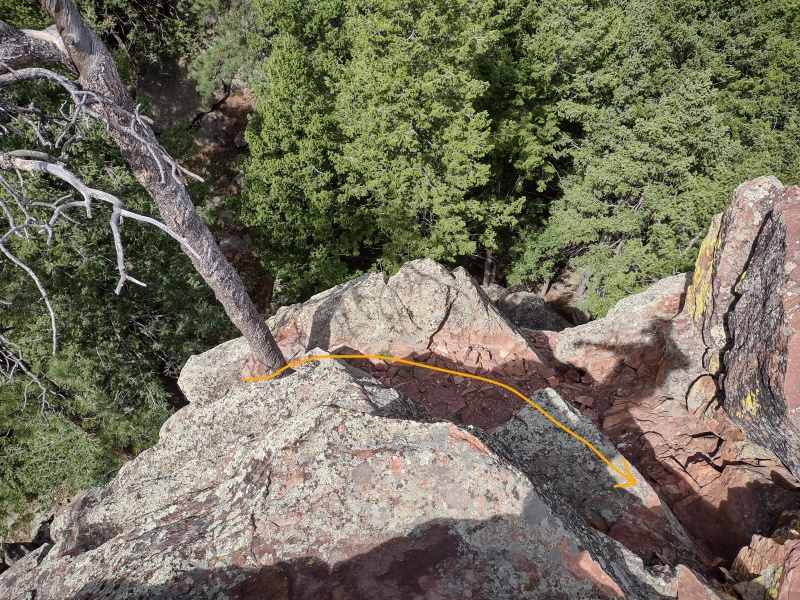
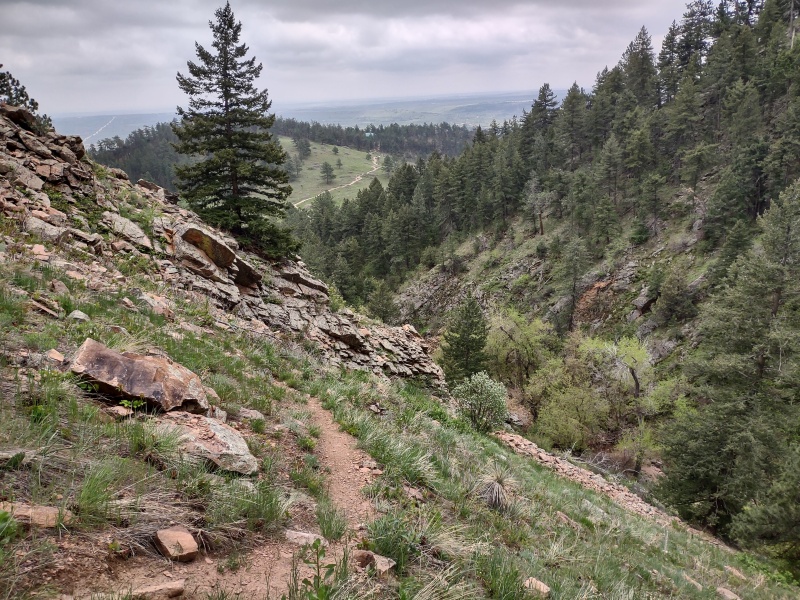
Started going down to my left (facing out east to Boulder) = really easy class 3 terrain. Started to see if I could bail off the side. Went down below a cool circular opening in rock and almost got down - had maybe 15ft descent of natural rock ledge steps but it was covered in a bunch of flakes of that mossy/moldy lichen stuff that would flake off and probably make it real slick so I didn’t try. Dubbed it the Side Door on my GPX tracks. Getting to Hill Billy Rock and The Hobo The route over to Hill Billy Rock, The Hobo and other such formations is a little bit of a chore but good for keeping those leg muscles in shape for 13ers/14ers. Initially it's just your typical Flatiron stroll but then you work your way up a hefty hill coming out of Skunk Canyon. 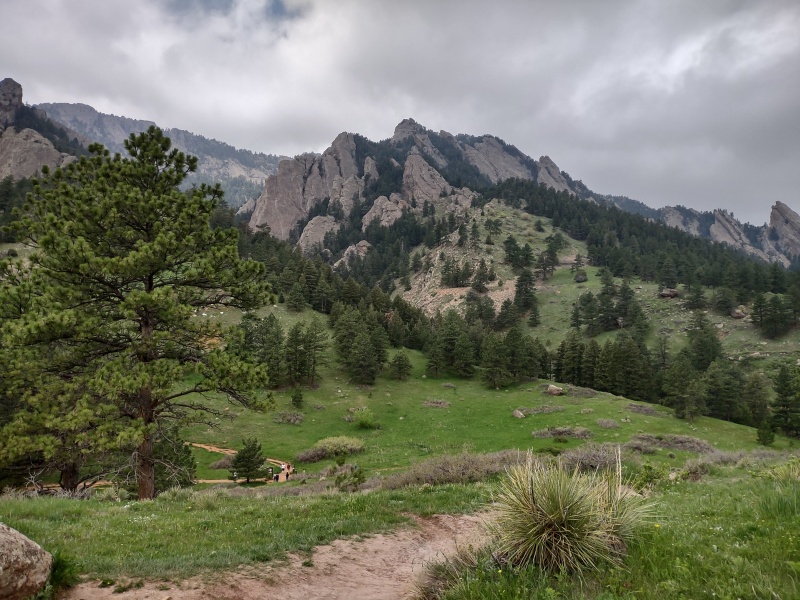
To get there follow the description in Simon Testa's excellent guide (The Best Flatiron Scrambles) for the route Stairway to Heaven (class 5.3) which could also be done along with this if desired. We veered off before the Stairway to Heaven. 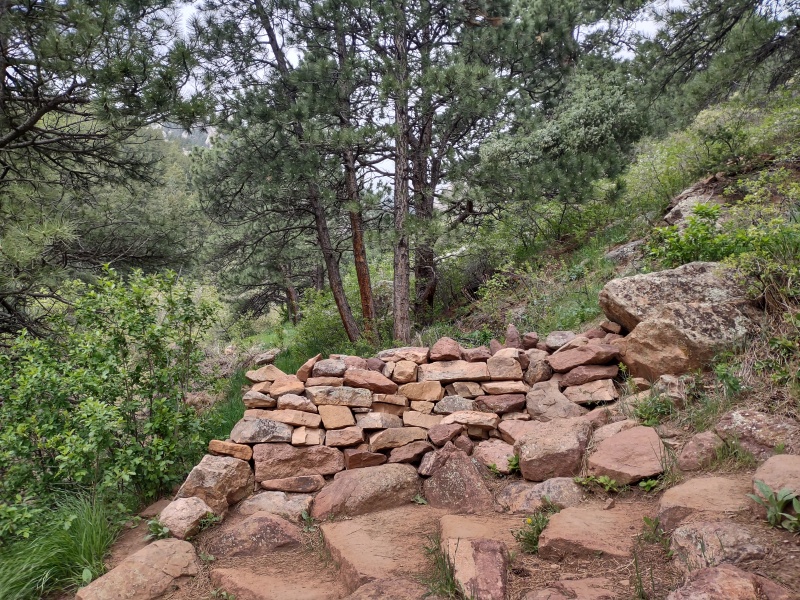

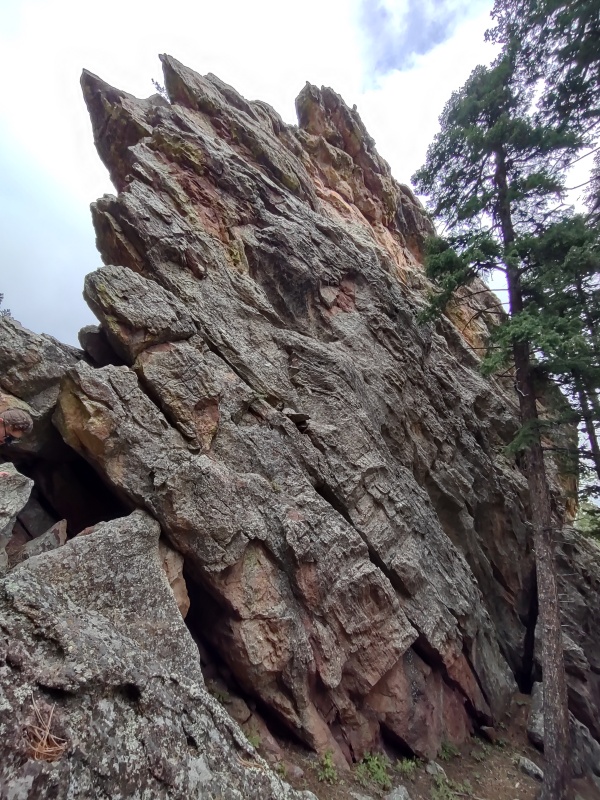
Hill Billy Rock (including sneak peek of sport climb route on the back) I only went a tiny ways up a few spots on this one, looking for the class 4 route Gerry Roach claims is somewhere in the middle. Maybe I just didn't hit the right line but it wasn't feeling class 4 to me. If you're interested, check back later as I'll likely return and try again later this year and likely just send the class 5 if I don't find the class 4 option. 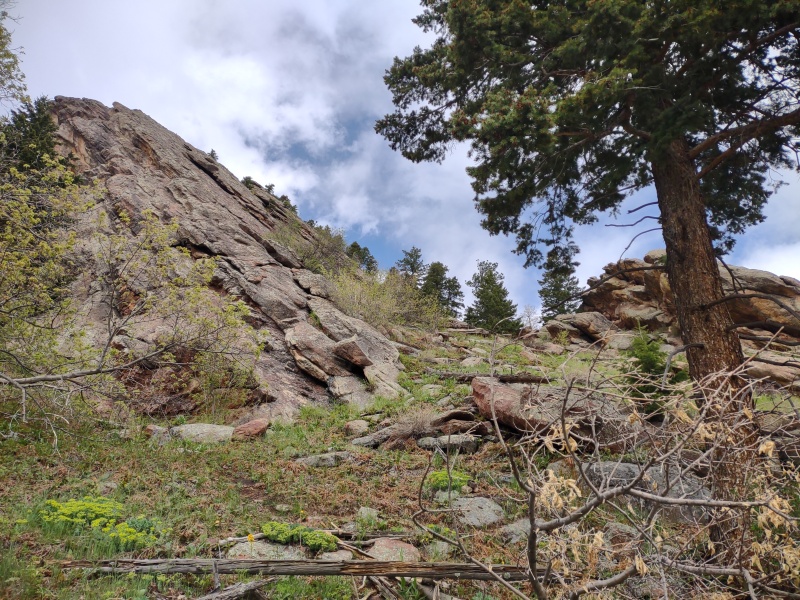

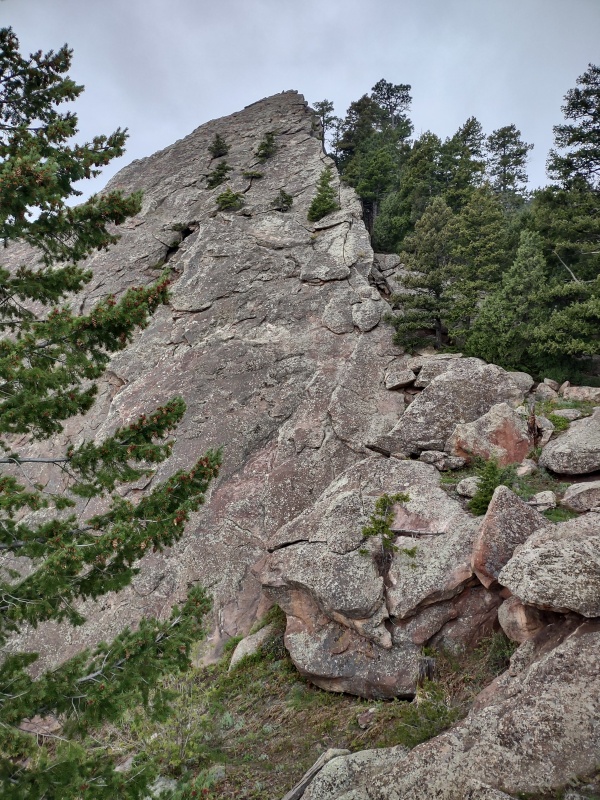
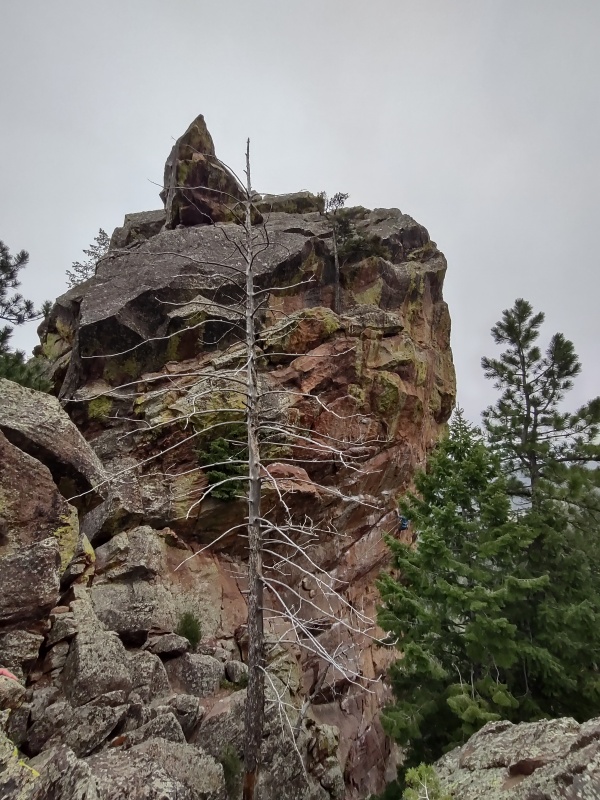
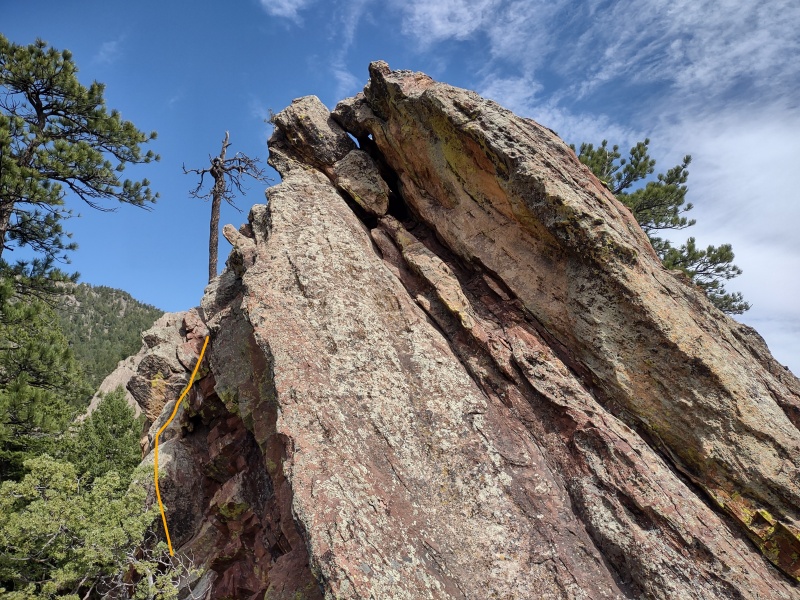
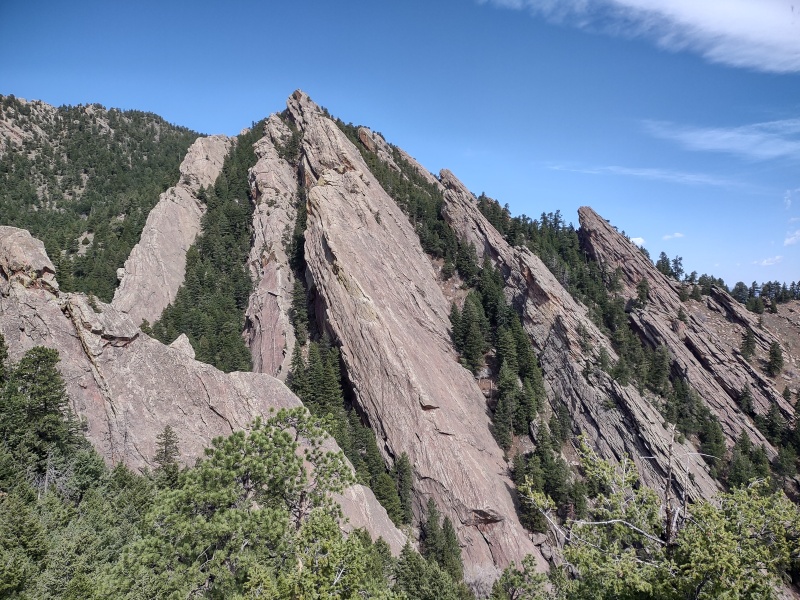
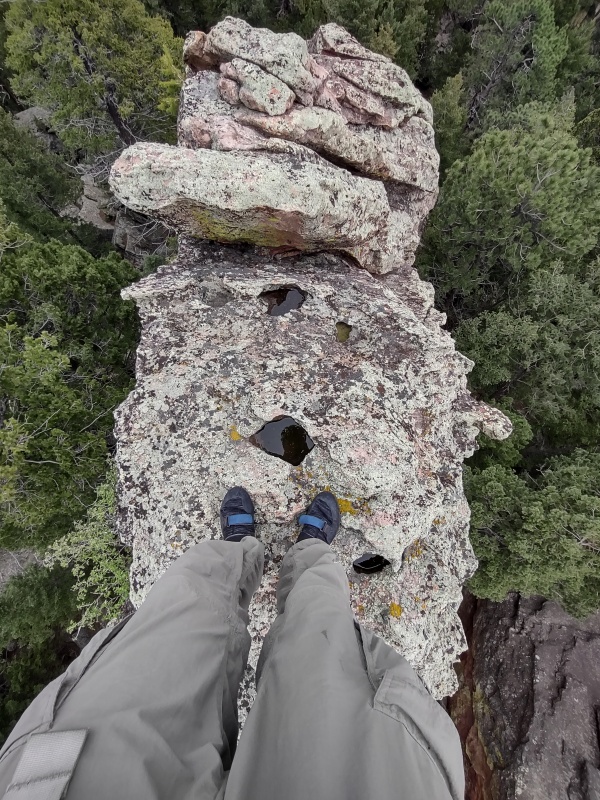
The Hobo (epic exposure on tiny class 4 summit) I absolutely loved this easy little class 4 Flatironette due to it's totally awesome summit! After seeing Gerry Roach's class 4 description of Hill Billy Rock turn out to perhaps be sandbagged (maybe I just didn't look hard enough) as I came around Hill Billy Rock and caught a first glimpse of The Hobo I was worried this too was going to be harder than described. But I was pleasantly surprised as I drew near to find it was indeed a very doable class 4 route with big chunky holds. 
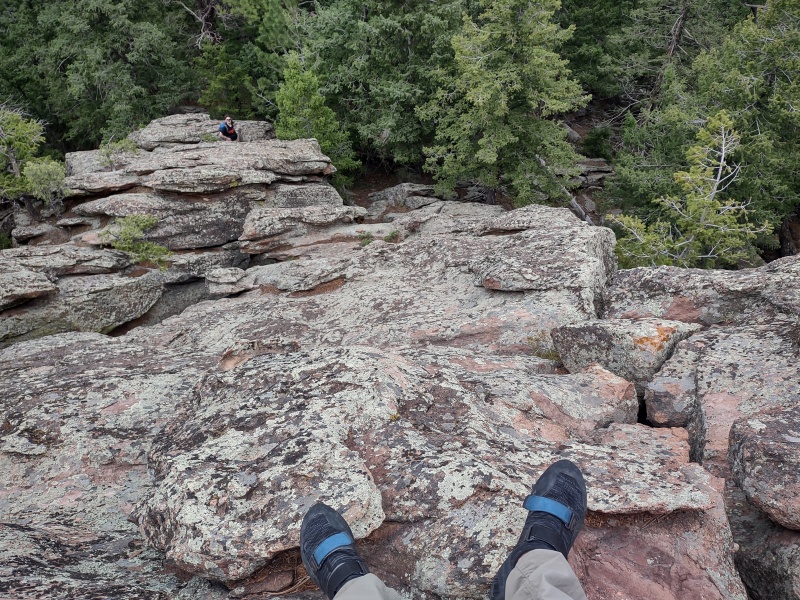
We later circled around and got some sweet views of the Hobo from below. Since I now know there's an easy class 4 downclimb I might come back later and try the sketchy looking 5.4 free solo route on the SW corner as described on Mountain Project: https://www.mountainproject.com/route/105760200/southwest-corner Edit: Made it back for the 5.4 free solo - stepped up just right of the spine (south face) then stayed pretty much on the jagged outer spine all the way up - I was a little uneasy at times since I didn't know if the route I took would go, but after it was over I concluded it really wasn't that bad. The rock is overall very solid and my suspicion that there would be plenty of huge holds was correct. Just below the summit there was one real short little knife edge type feature that I just saddle-hopped across. I'll have to do this one again sometime so I can enjoy it more, now that I know it's a solid route. 
As I said, this looked a little intimidating at first but the closer I got the easier it seemed. I followed the chunky stuff up the middle the stayed along the extreme right edge as it smoothed out a little near the top. 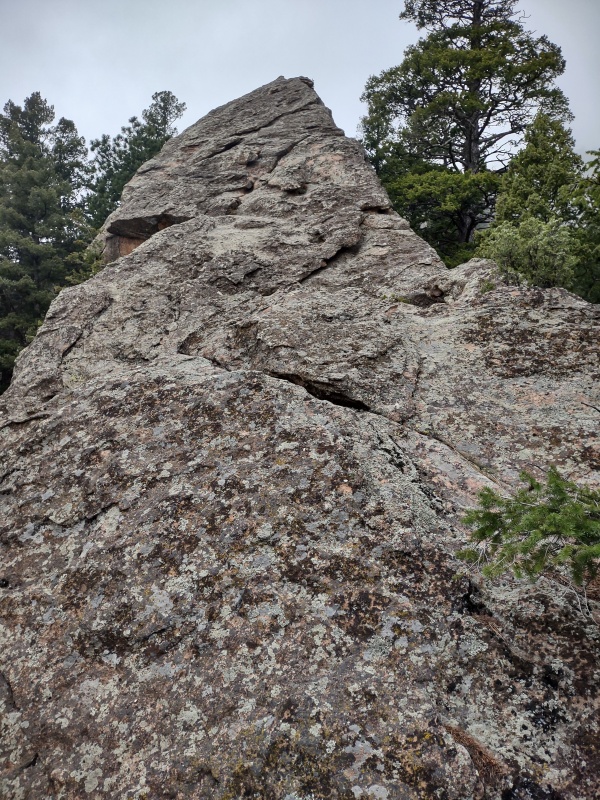


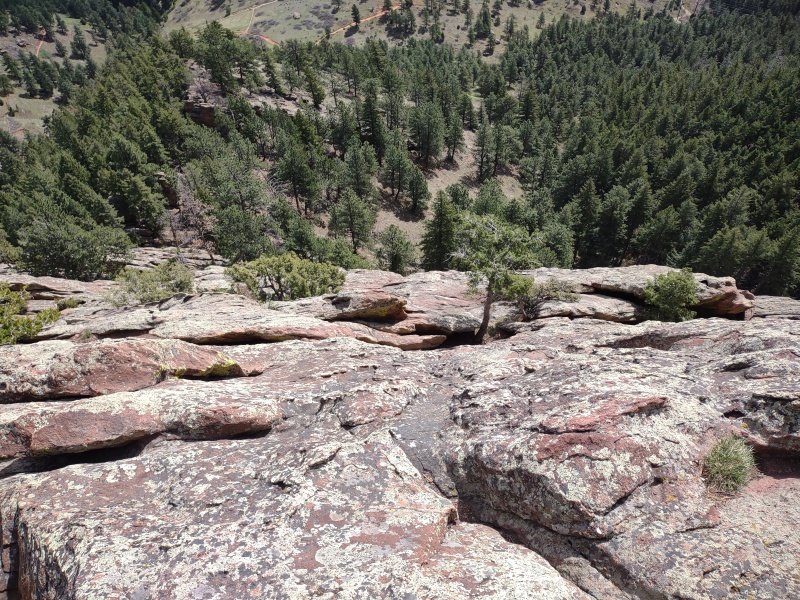
The summit is the absolute jewel of this little feature and my favorite thus far - even better than Der Zerkle! The exposure is epic. Mountain Project seems to indicate this is only 50 feet up - I had guessed double that. But it's pretty much a straight sheer drop on either side so that makes it feel taller than it apparently is. 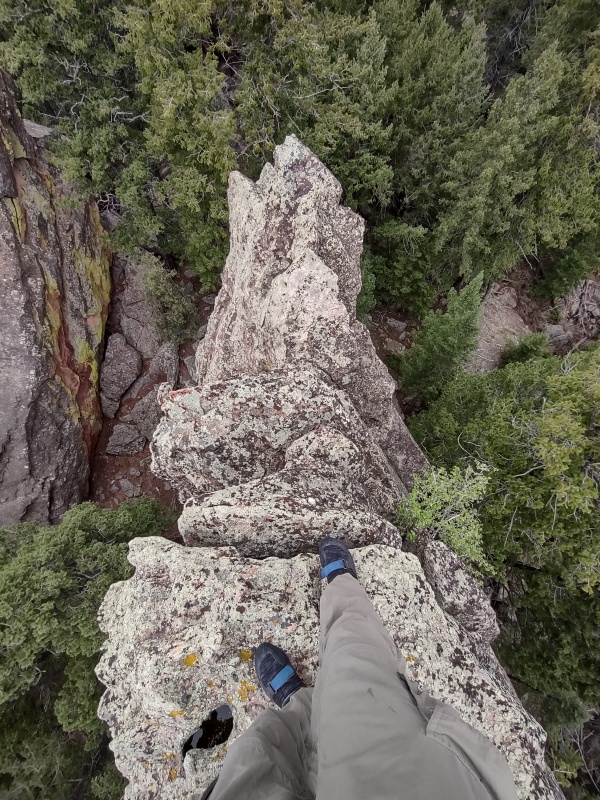


The downclimb, as always, was slightly more awkward especially near the top but it wasn't too bad given the other stuff I've done in my previous Flatiron reports. If you're new to this type of thing maybe start with the features in those earlier reports linked at the start of this one to gain some confidence. Then come enjoy this sweet little climb! 
Check back later this year as I'll almost certainly be back to this one to try doing some straight-up climbing instead of the slab stuff which makes up much of the Flatirons. I'm still having trouble uploading merged GPX tracks so I'm just including a partial for now. Thumbnails for uploaded photos (click to open slideshow): ")
")
")
")
")
")
")
")
")
")
")
")
")
")
")
")
")
")
")
")
")
")
")
")
")
")
")
")
")
")
")
")
")
")
")
")
")
")
")
")
")
")
")
")
")
")
")
")
")
")
|
| Comments or Questions | |||
|---|---|---|---|
|
Caution: The information contained in this report may not be accurate and should not be the only resource used in preparation for your climb. Failure to have the necessary experience, physical conditioning, supplies or equipment can result in injury or death. 14ers.com and the author(s) of this report provide no warranties, either express or implied, that the information provided is accurate or reliable. By using the information provided, you agree to indemnify and hold harmless 14ers.com and the report author(s) with respect to any claims and demands against them, including any attorney fees and expenses. Please read the 14ers.com Safety and Disclaimer pages for more information.
Please respect private property: 14ers.com supports the rights of private landowners to determine how and by whom their land will be used. In Colorado, it is your responsibility to determine if land is private and to obtain the appropriate permission before entering the property.