Download Agreement, Release, and Acknowledgement of Risk:
You (the person requesting this file download) fully understand mountain climbing ("Activity") involves risks and dangers of serious bodily injury, including permanent disability, paralysis, and death ("Risks") and you fully accept and assume all such risks and all responsibility for losses, costs, and damages you incur as a result of your participation in this Activity.
You acknowledge that information in the file you have chosen to download may not be accurate and may contain errors. You agree to assume all risks when using this information and agree to release and discharge 14ers.com, 14ers Inc. and the author(s) of such information (collectively, the "Released Parties").
You hereby discharge the Released Parties from all damages, actions, claims and liabilities of any nature, specifically including, but not limited to, damages, actions, claims and liabilities arising from or related to the negligence of the Released Parties. You further agree to indemnify, hold harmless and defend 14ers.com, 14ers Inc. and each of the other Released Parties from and against any loss, damage, liability and expense, including costs and attorney fees, incurred by 14ers.com, 14ers Inc. or any of the other Released Parties as a result of you using information provided on the 14ers.com or 14ers Inc. websites.
You have read this agreement, fully understand its terms and intend it to be a complete and unconditional release of all liability to the greatest extent allowed by law and agree that if any portion of this agreement is held to be invalid the balance, notwithstanding, shall continue in full force and effect.
By clicking "OK" you agree to these terms. If you DO NOT agree, click "Cancel"...
Peaks: Little Bear Peak, Blanca Peak and Hamilton Peak
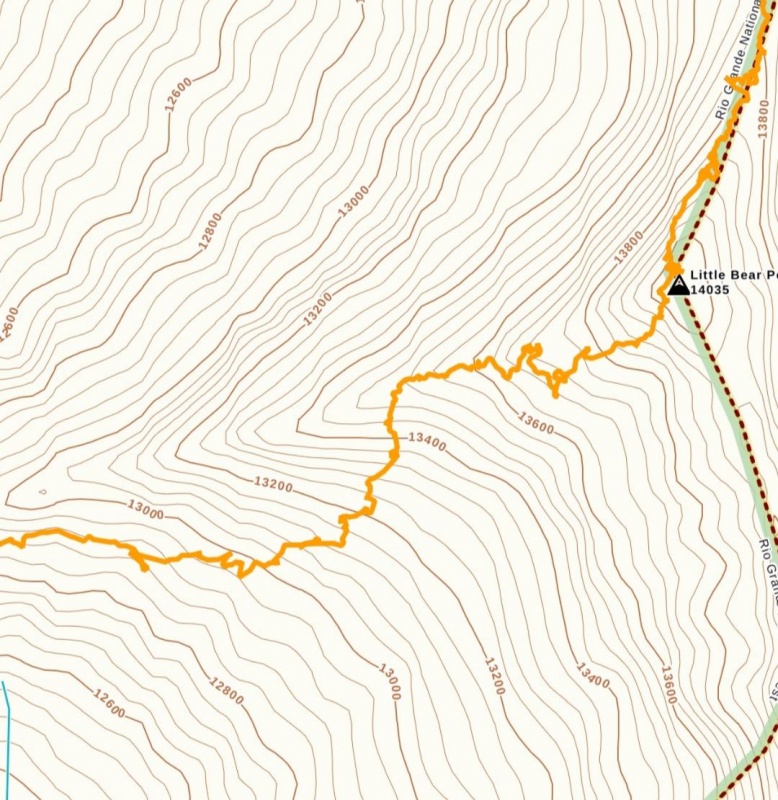
Mileage/Elevation Gain: 18.99 miles and 7585 ft of gain.
In this trip report I'll share an alternate way we took to summit Little Bear Peak. We did a variation of the West Ridge Direct route where we bypassed the 5.4 crux. I believe this route would make a better (and safer) standard route than going through the hourglass. Next, I'll share our traverse to Blanca Peak across one of the 4 Great Traverses and finally, an out and back we did to Hamilton Peak before heading back down Como Rd.
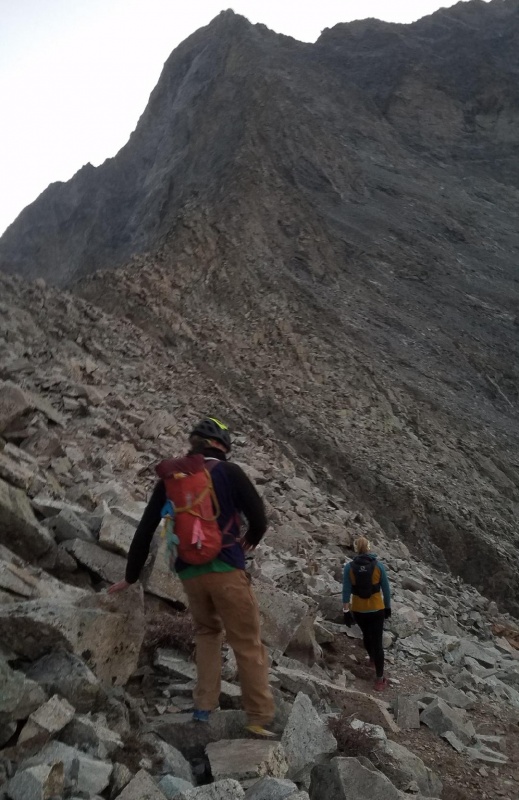
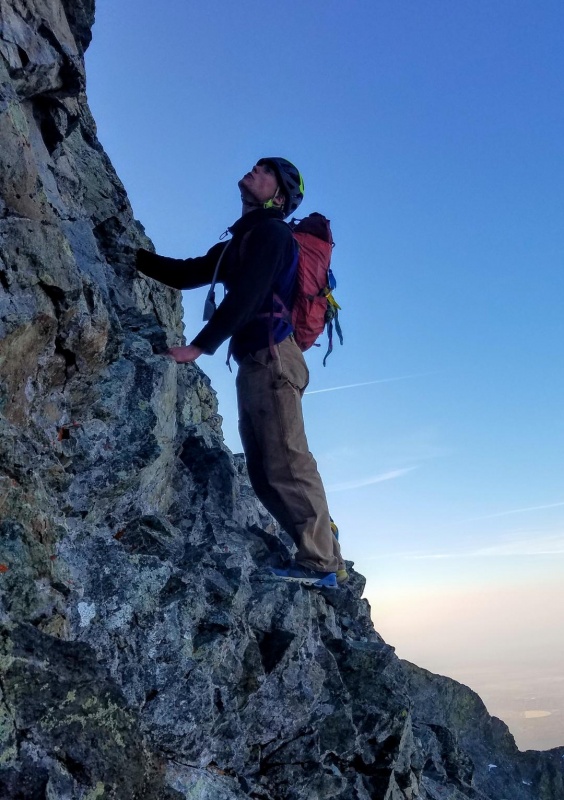
My group of three started climbing at 3:30 am from 8300 feet on Como Rd. I've come to the conclusion it's not worth the wear and tear on my truck to drive any higher. We then set a good pace up to the lake, and it was still dark when we entered the gully which would take us to the ridge. The gully was steep and loose, but there was plenty of solid rock on the far left to climb. It was just starting to get light as we topped out on the ridge. There was a faint trail to follow here as we climbed the ridge through the talus. Initially we stayed low on the ridge following the standard route. Just as the trail turned southeast towards the hourglass, we turned northeast towards a notch in the west ridge where we would join the direct ridge route.
West Ridge route to Little Bear PeakFollowing the standard route
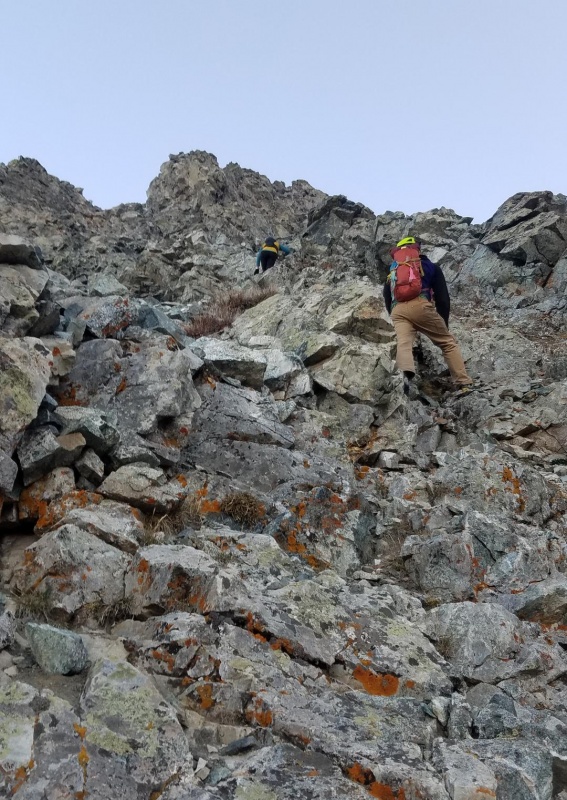
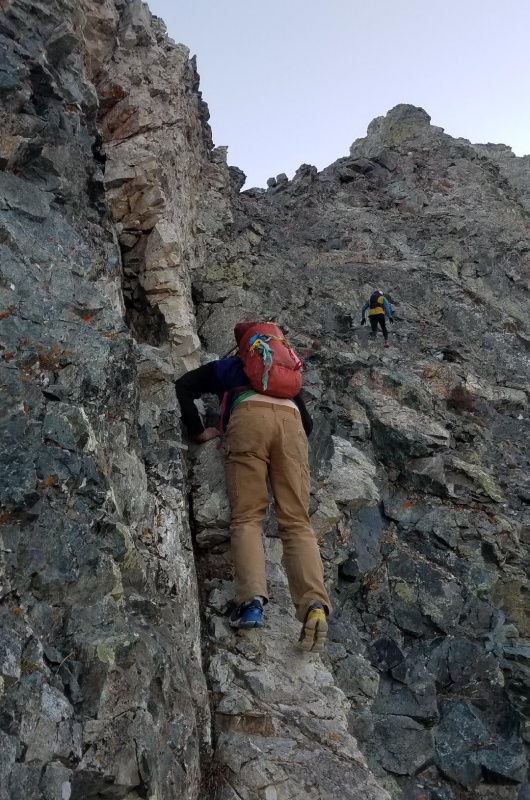
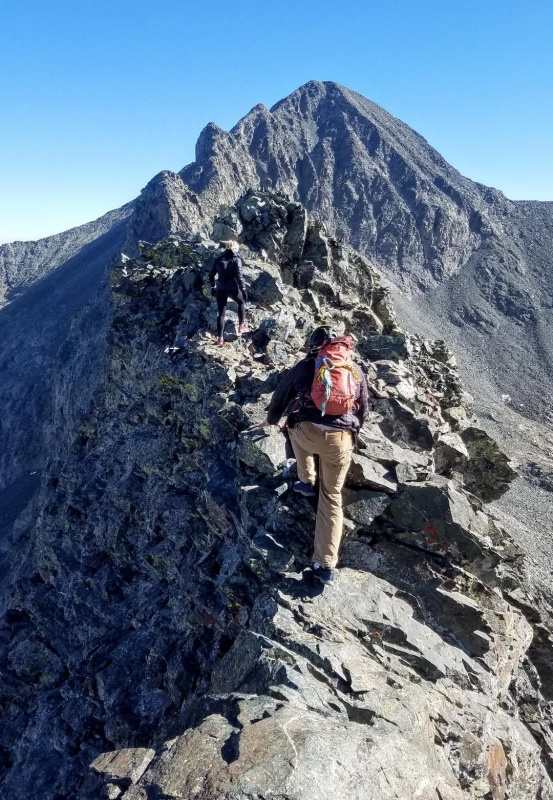
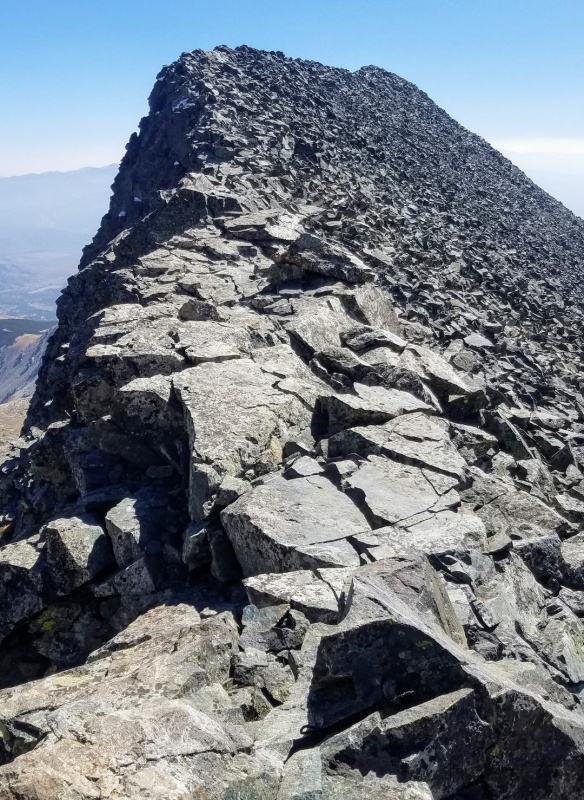
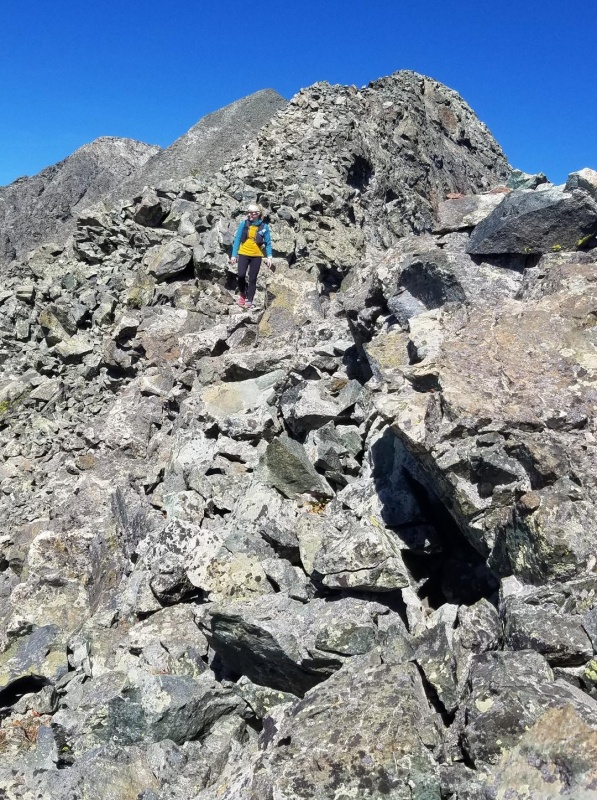
After a talus hop to 13200 feet we began a steep class 3 scramble directly towards the west ridge. The rock was mostly solid and fun climbing.
Class 3 scramble to ridgeMore scrambling
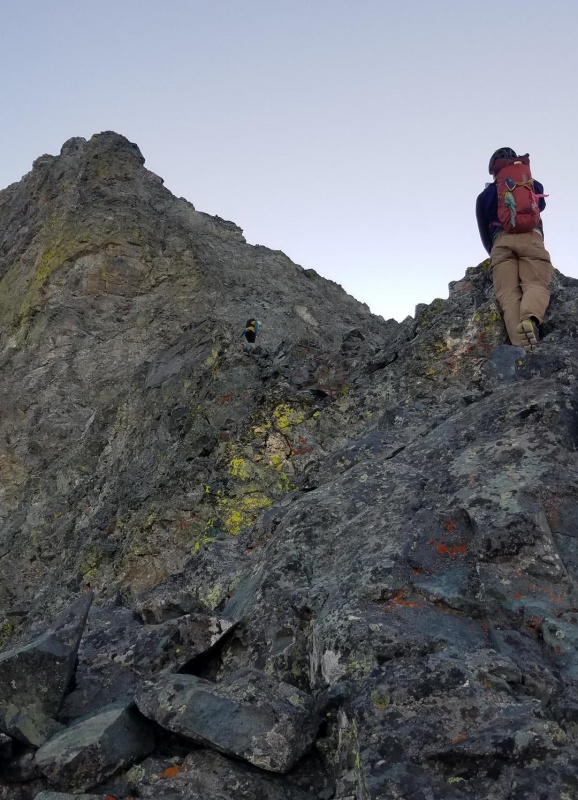
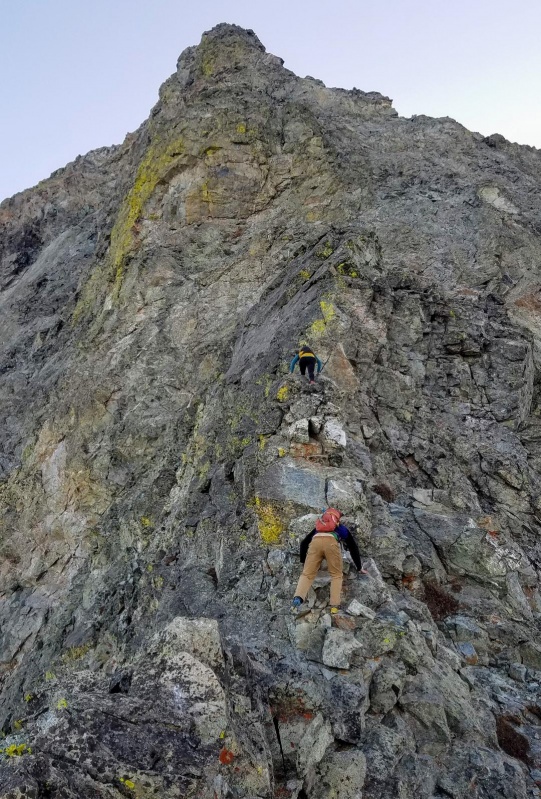
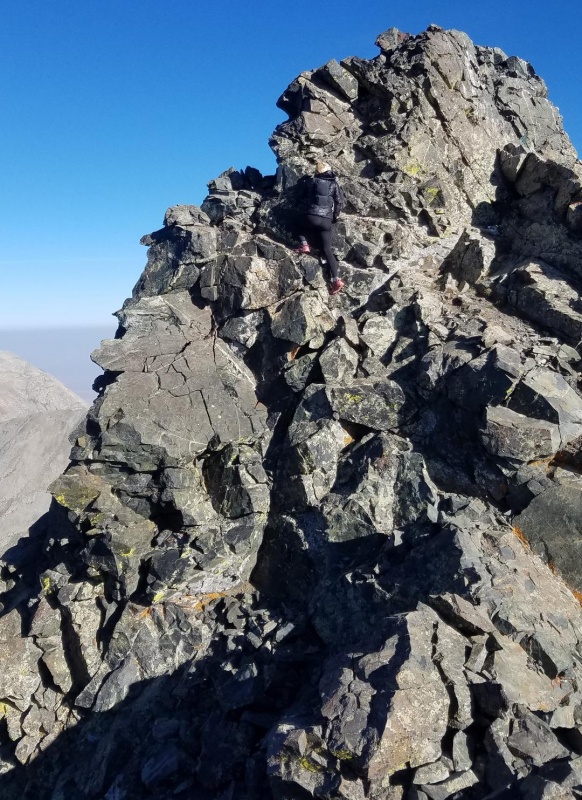
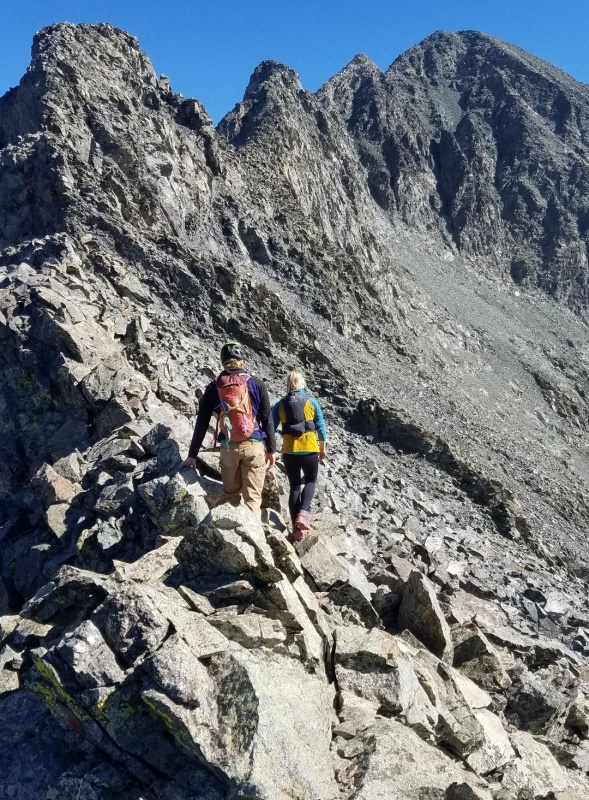
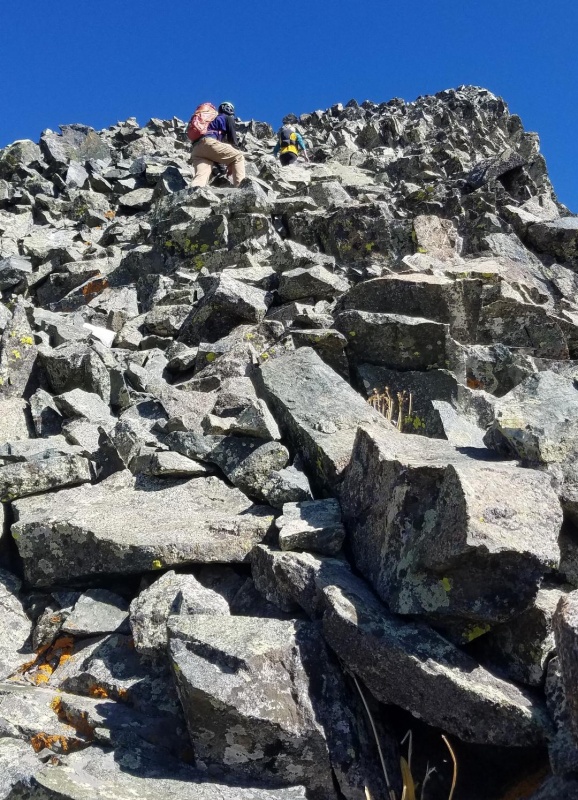
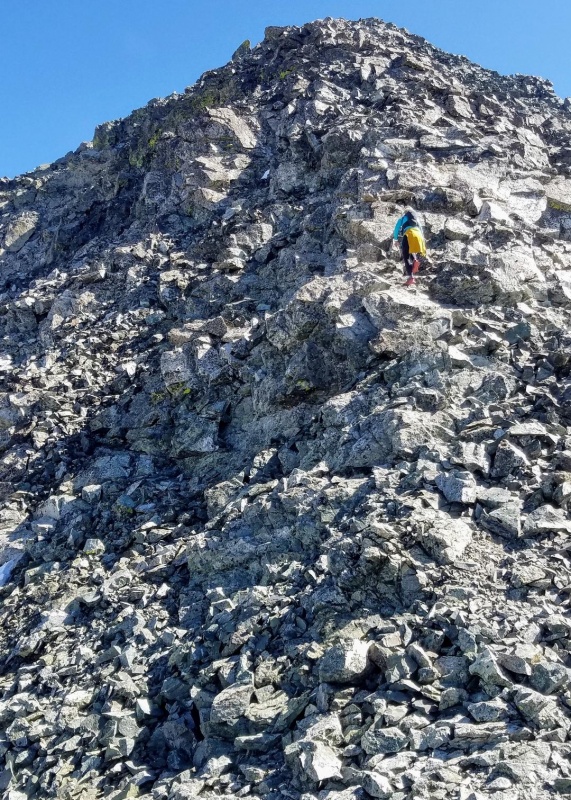
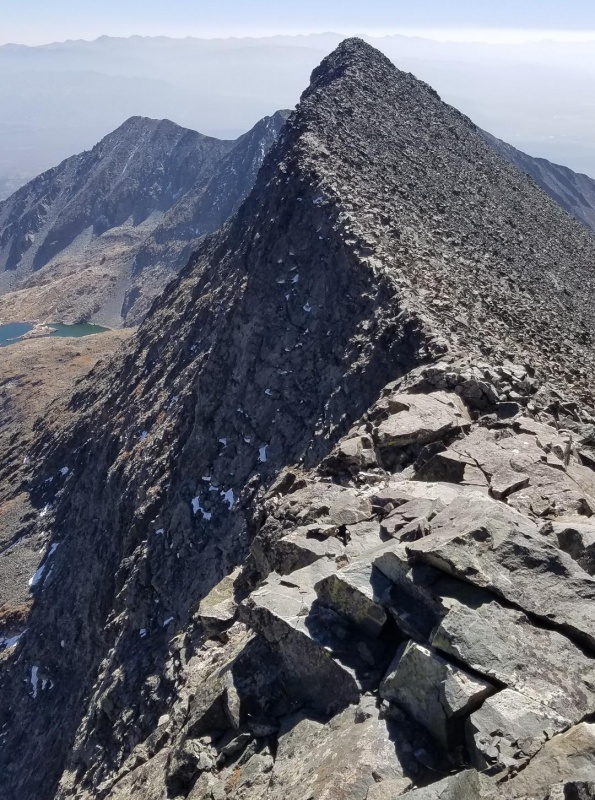
Once on the ridge proper the rock got even better with more nice class 3 scrambling. There was an occasional (maybe 2 or 3) class 4 moves that were a bit airy, but not extreme, and over solid rock.
Climbing the west ridge directFun section here as we approach the headwallLooking down the west ridge
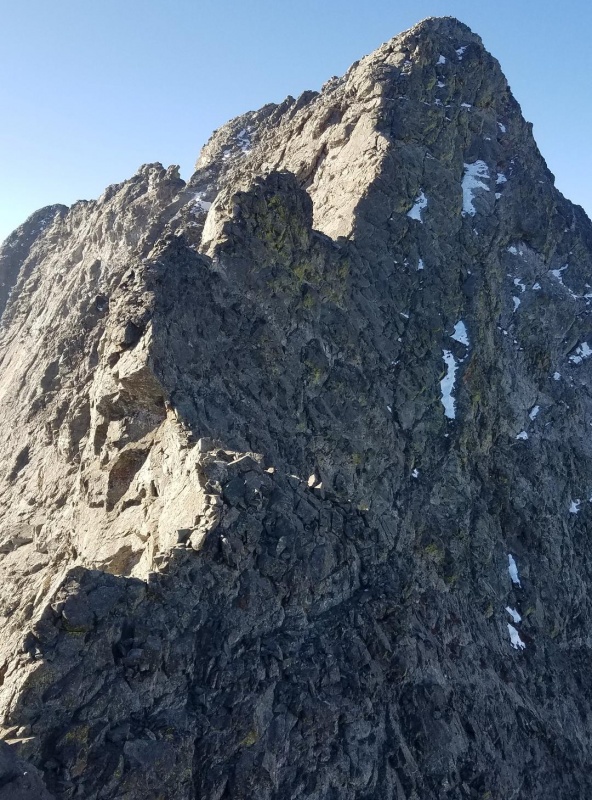
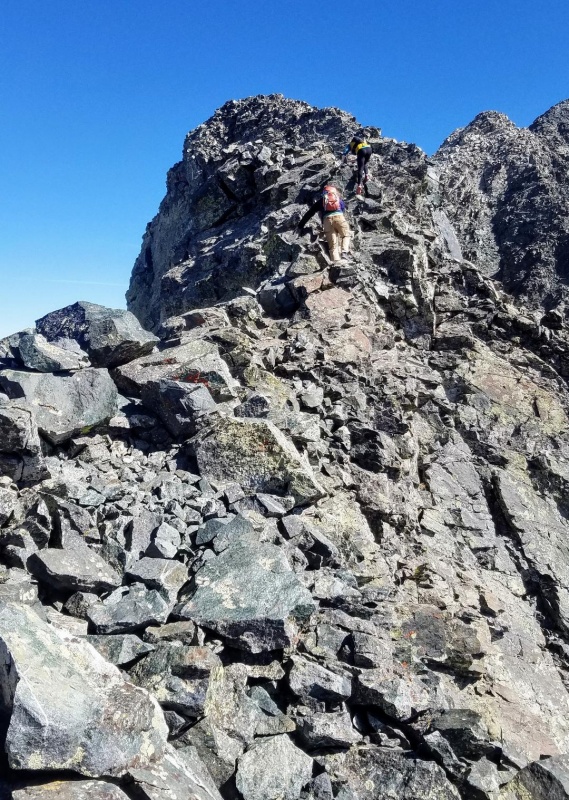
Eventually we ran into a headwall and attempted to find a way around or over it. We found there were several difficult, but doable options; however, I found a ledge that easily went around it and dumped us on the very upper section of the standard route. As I'm always up for the path of least resistance, we went with it, and there was an easy scramble here to the summit. Within 10 minutes I was standing on the summit of Little Bear Peak for my 4th time. I was a little shocked at how easy it was (relatively speaking). I had been expecting several class 5 sections on this route. Although I was prepared to take them on I was glad we easily bypassed them (following the path of least resistance).
This was a great route for those looking for an alternative to the Hourglass. It was probably shorter, less difficult and we encountered very little rock fall danger.The other option for avoiding the hourglass is the SW ridge. I've done this route 3 times and thoroughly enjoy the challenge of it (and highly recommend it); however, I believe this West Ridge Variation route would be a better option for most, over the arduous journey up the SW ridge.
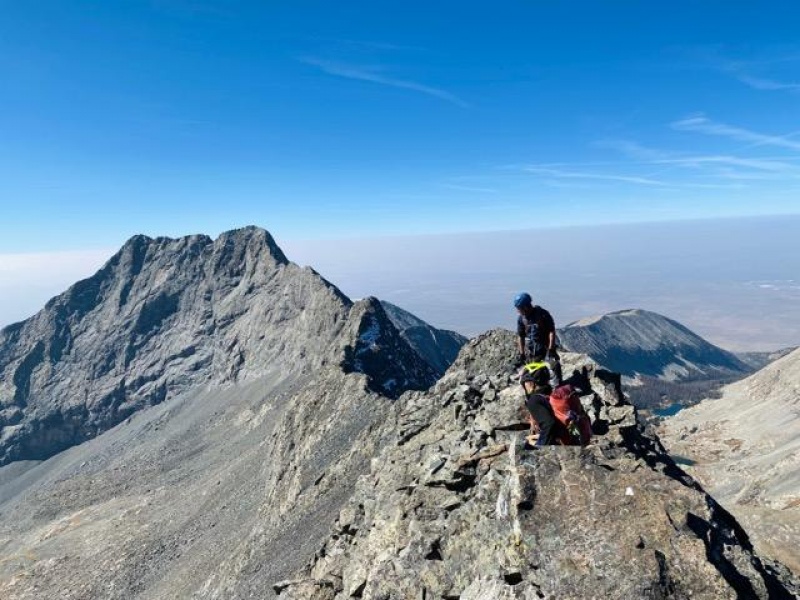
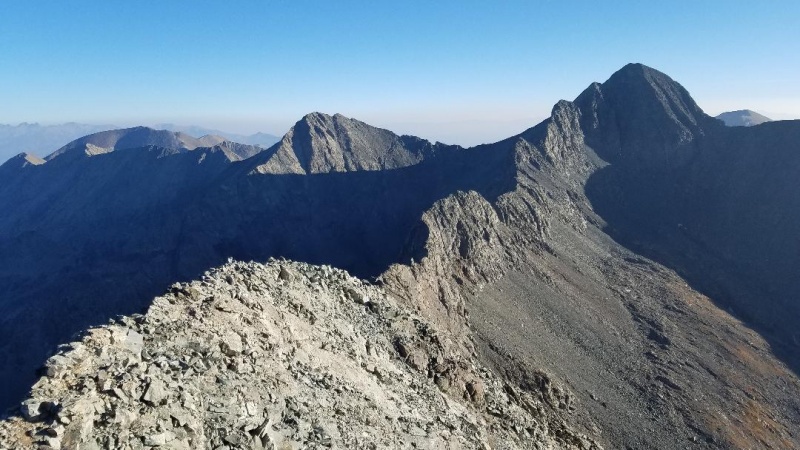
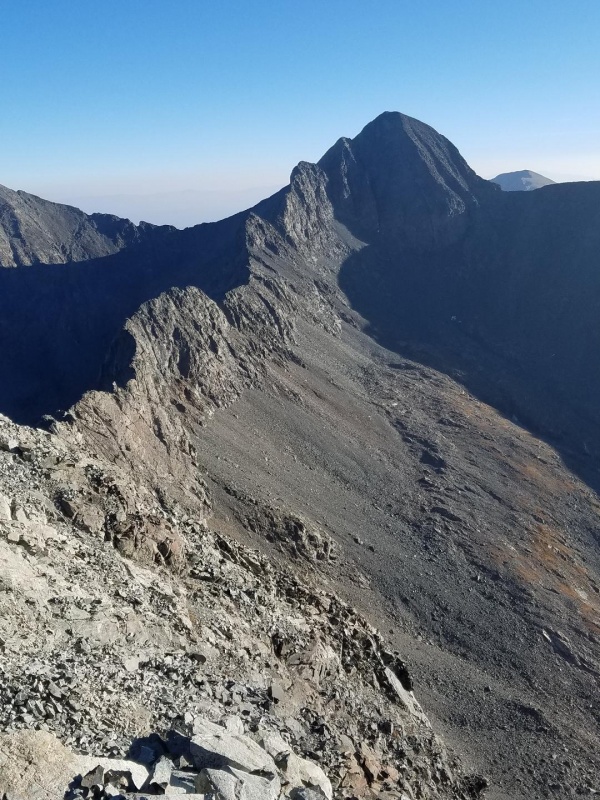
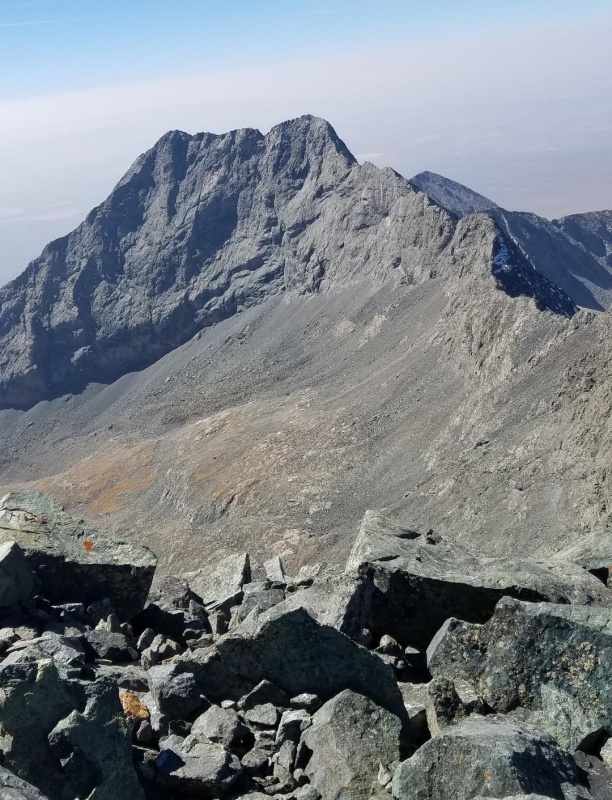
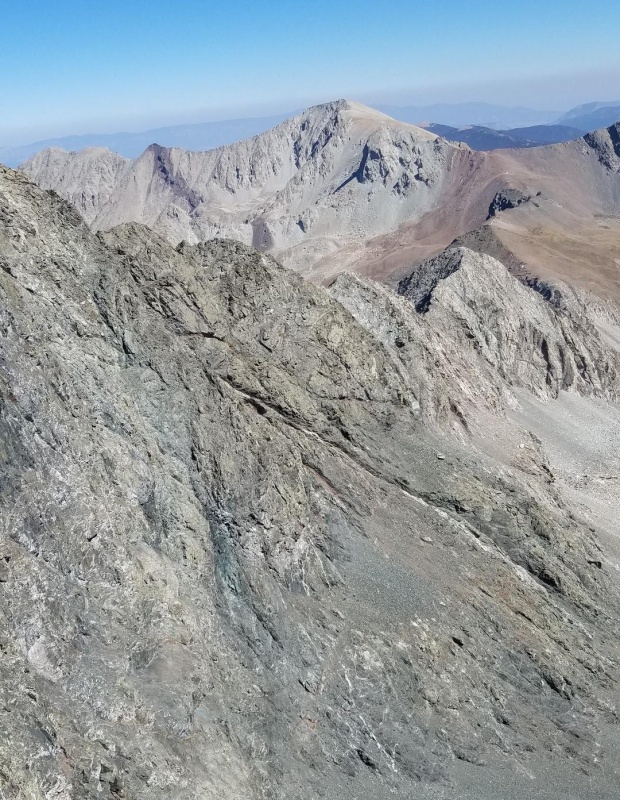
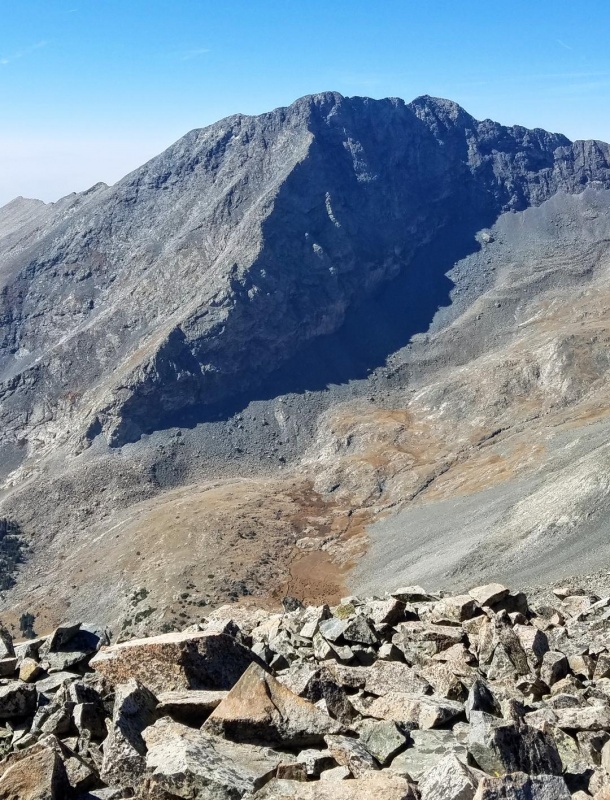
HeadwallEllingwood Point, Blanca Peak and the Traverse from Little Bear summitTraverse
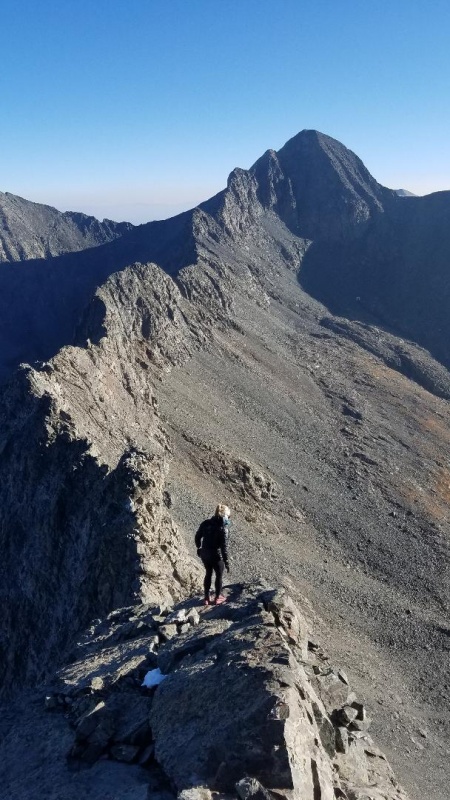
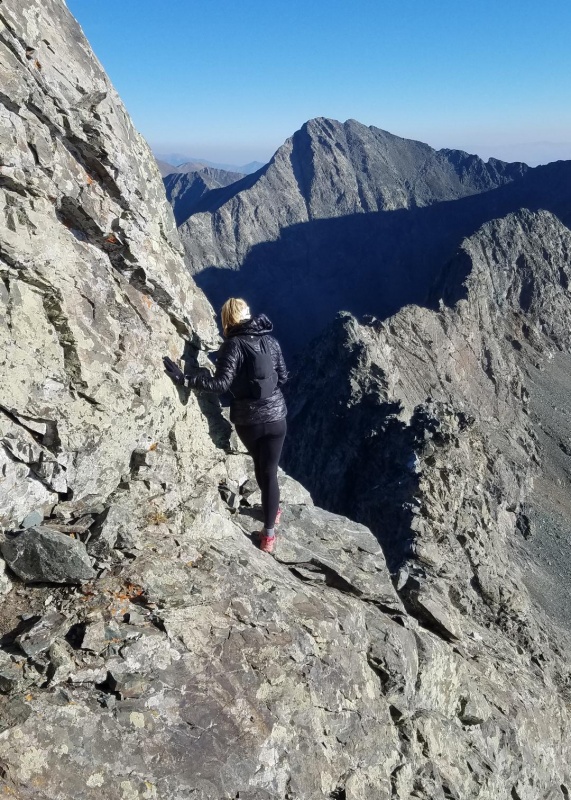
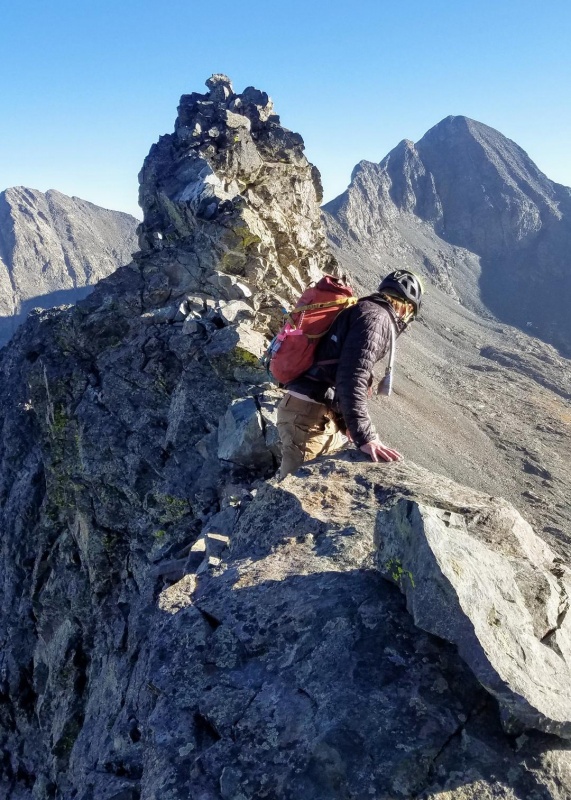
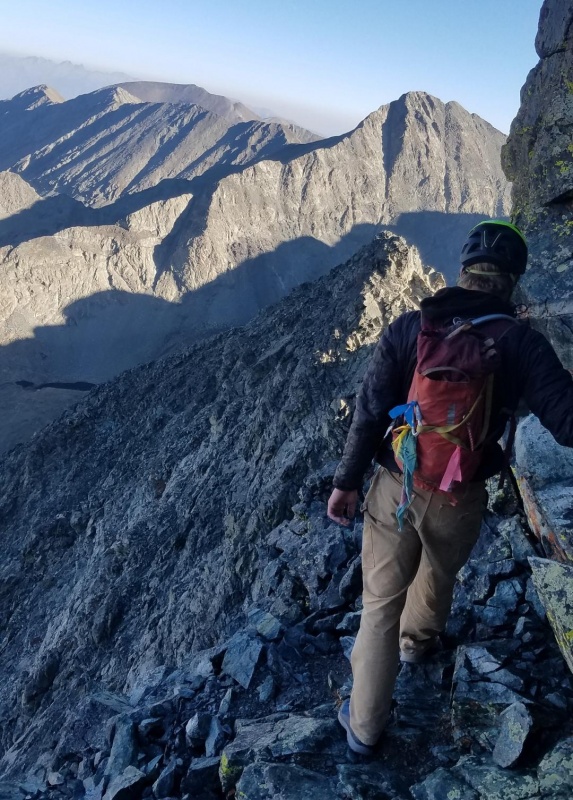
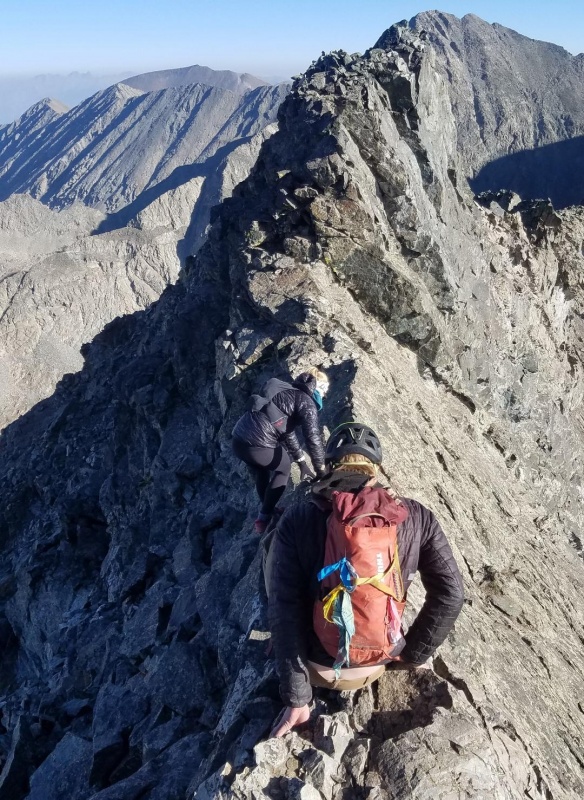
After a quick snack we were off for the Little Bear-Blanca Traverse and the last of the 4 Great Traverses for me. We headed north from Little Bear summit towards the down climb to the traverse ridge. Many call this down climb the crux of the route and it definitely felt that way. It is steep and highly exposed. The rock is very solid with good footholds though, so it was manageable with great care. It was challenging and fun, but I was very relieved to get past it. The other much talked about crux, Captain Bivwacko, didn't bother me much as I just slid under the overhang without difficulty.
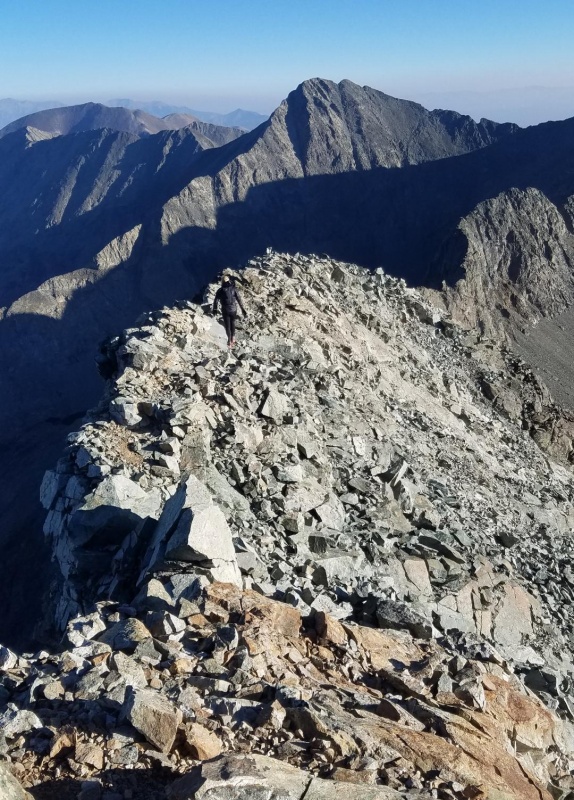
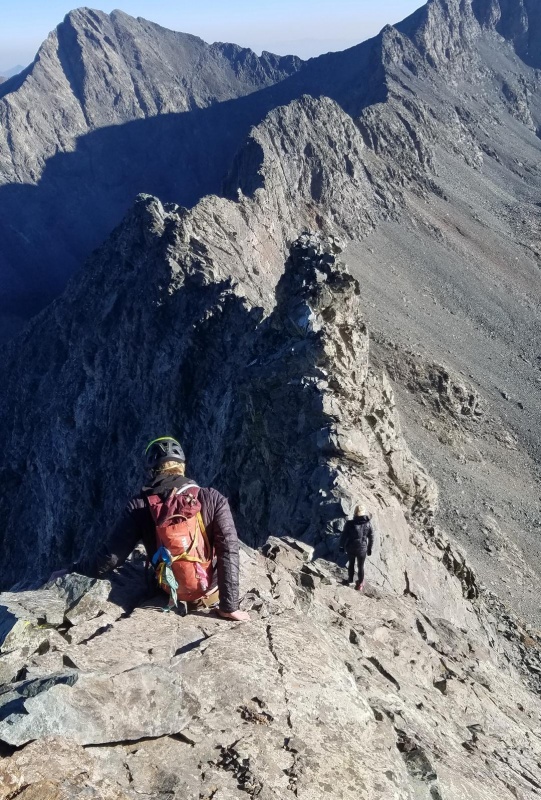
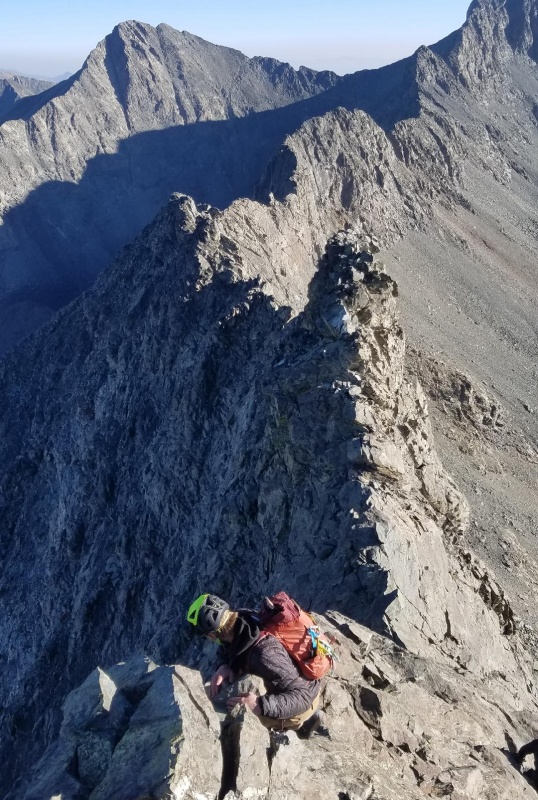
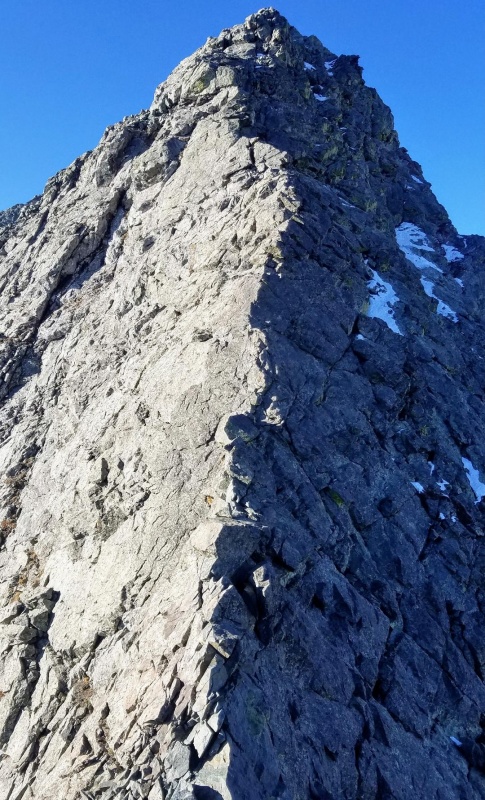
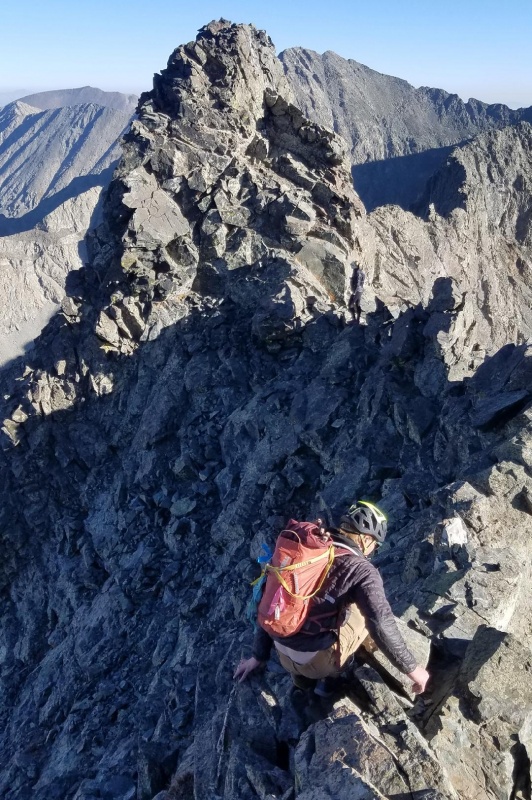
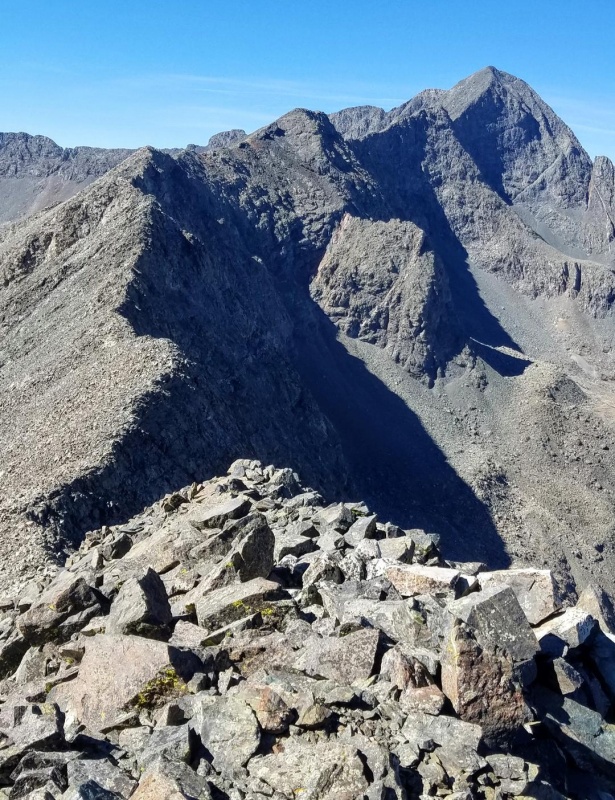
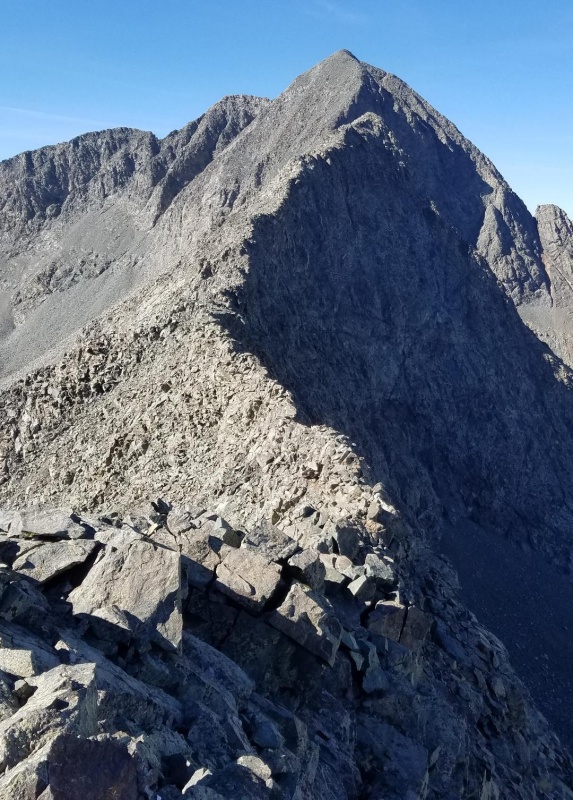
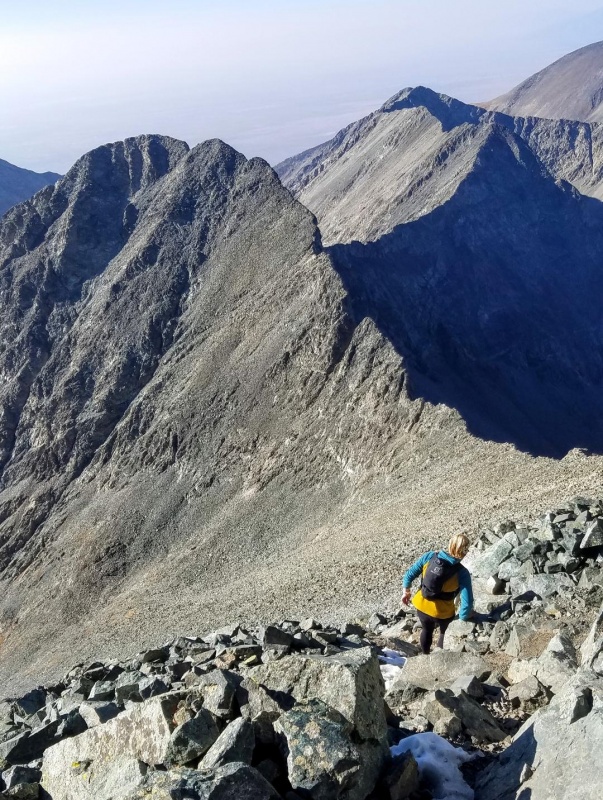
I will not go over the details of the rest of the traverse and will just share pics. There were way too many towers and highly exposed catwalks to remember specifics. There were more than enough class 4/5 moves along the way to keep the adrenaline flowing. It took us about 3 hours to reach the summit of Blanca Peak at a leisurely pace.
Heading north off of Little BearAnnie checking out the exposureApproaching the crux down climbCrux down climbTurning to face inward for down climbSafely at the bottom of the crux and looking at one of the many towers to comeLooking back at cruxOne of the easier towers to go aroundThere were many catwalks like this along the wayClimbing over a towerLooking back at Little BearPlenty of exposureA more mild section of the ridgeReturning to the ridge after going around a towerGetting closerOne of the few fat sections on the ridgeApproaching the last 3 towersClimbing up the first towerClimbing tower 2The final climb to Blanca PeakLooking back at Little Bear Peak
The Traverse was probably my favorite of the 4 Great Traverses. It was also probably the hardest as well, in my opinion. Not necessarily because it had harder moves, but more because it seemed to have many more difficult, highly exposed moves than the other traverses. In other words, there were more chances to make a mistake with a bad outcome.
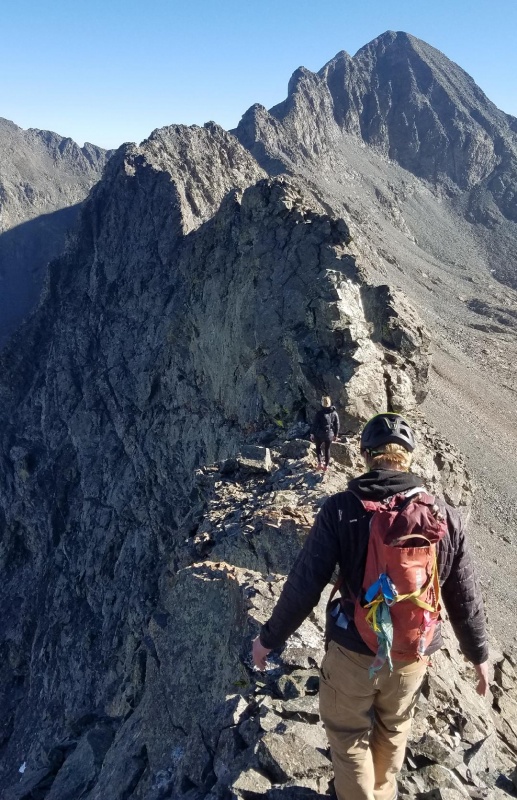
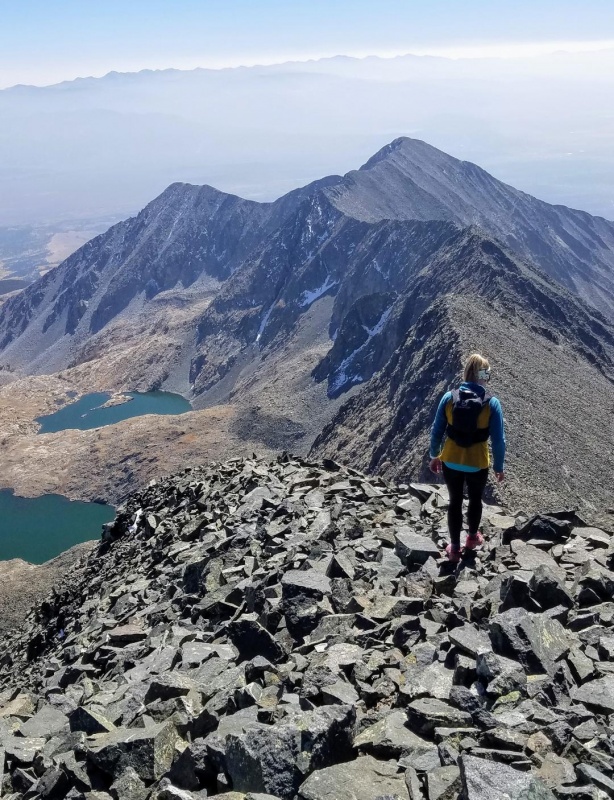
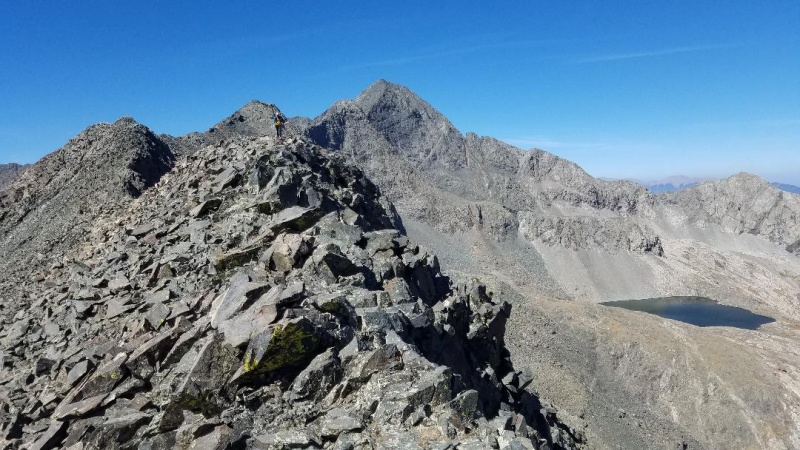
We didn't stay long on Blanca as we still wanted to get Hamilton Peak. I had just done this peak in June, but one of my partners hadn't yet and really wanted it. Apparently, I forgot how long the ridge to it took and I happily agreed. It was a 3.2 mile out and back to Hamilton Peak.
Looking out at the long ridge to Hamilton Peak. Winchell Lakes on the left
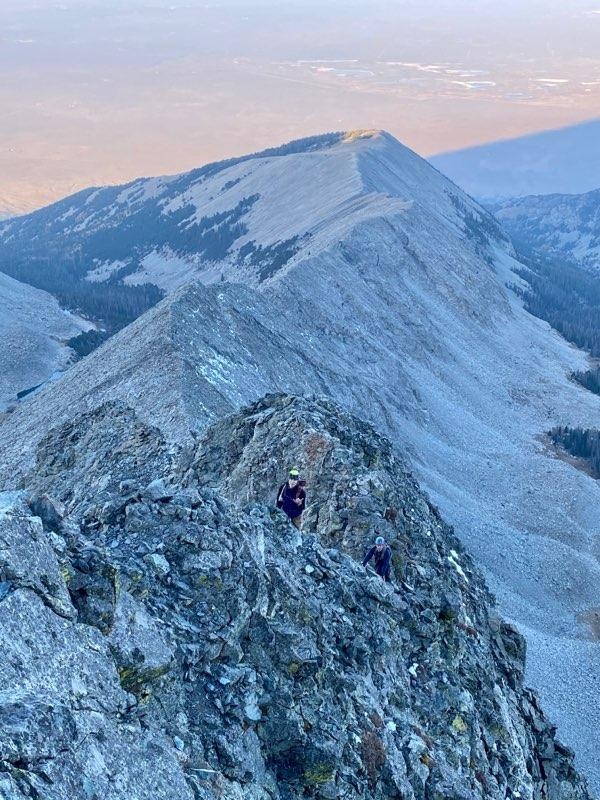
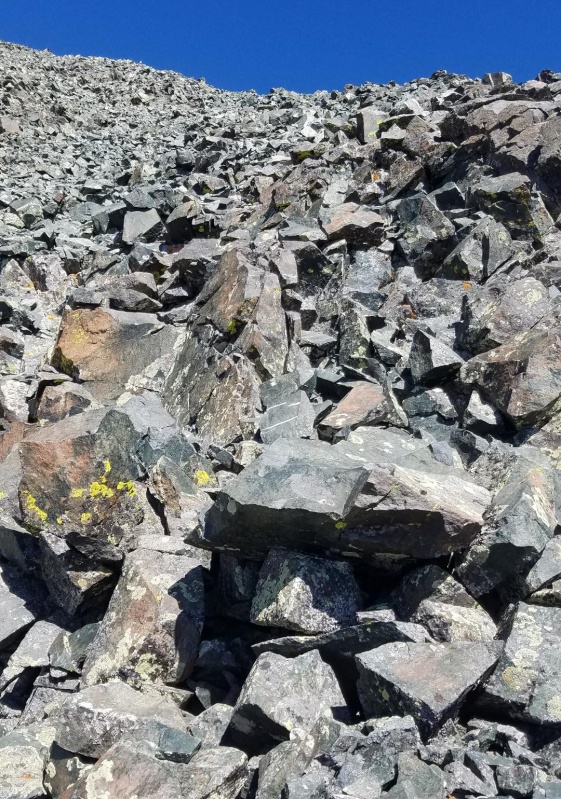
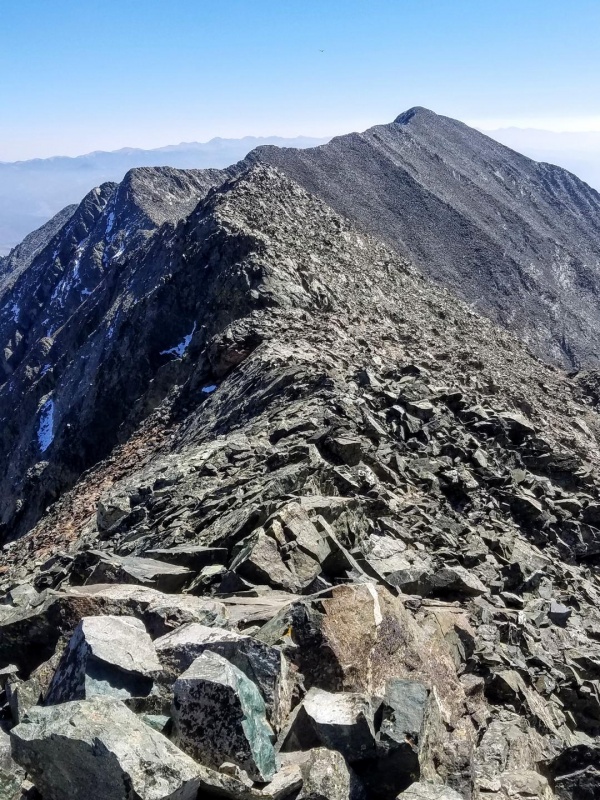
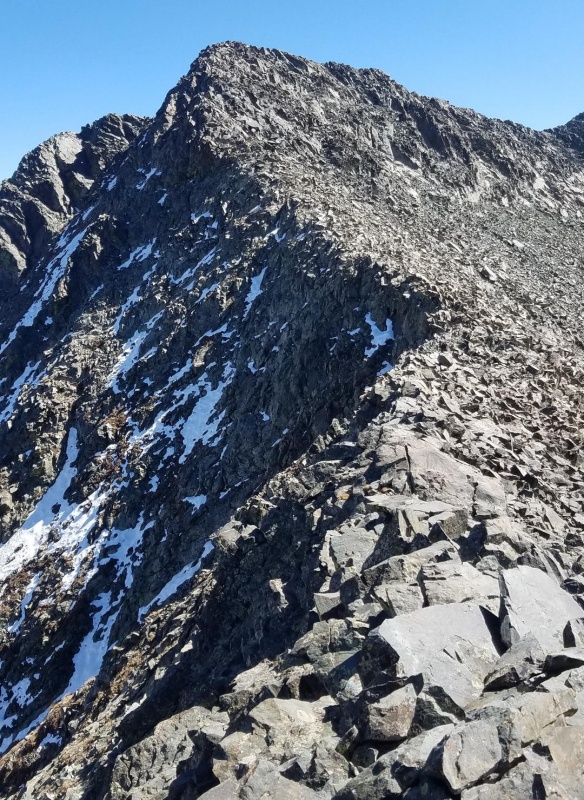
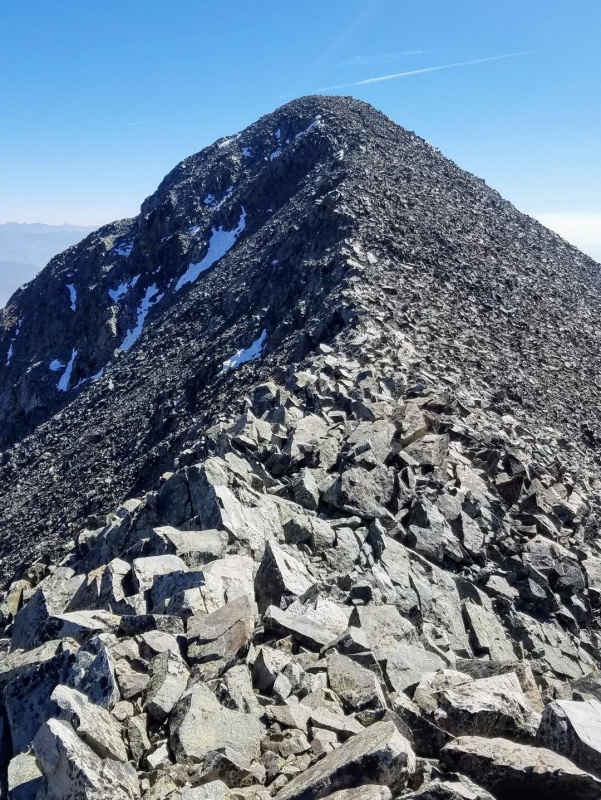
So we headed south off Blanca down a steep talus slope towards a small saddle 400 vertical feet below. From there we followed the ridge over many small points until reaching Hamilton. Most of the ridge was class 2+ with an occasional easy class 3 section. There was almost always extreme exposure to climbers left. While the right had a more gradual slope and could be used to avoid obstacles on the ridge as long as you didn't mind lose talus. It was always best to stay ridge proper though.
South slope of BlancaThis is the first and highest point on the ridge at nearly 14,000 feetLooking down Gash Ridge with Huerfano/Iron Nipple in the distance.Easy scramble herePlenty of exposure along the entire ridgeSome talus hopping. Blanca in the way backGetting closer to HamiltonLooking back at Blanca PeakA turn to the right at this ridge point for the final push to the summitFinal climb to the summitLittle Bear Peak from Hamilton PeakMt LindseyLittle Bear-Blanca TraverseLooking back at the ridge and BlancaOn our way home
The round trip to Hamilton Peak and back to Blanca took about 3 hours and 30 minutes. That pretty much ate up all my time, so I had to pass on getting Ellingwood Point too and headed down Blanca to Como Rd and my truck. My partner managed to run up Ellingwood Point to finish the slam and caught up down the road.
Finally back to Blanca PeakEllingwood Point while descending Blanca
My GPS Tracks on Google Maps (made from a .GPX file upload):
Hmmmm.... I have been up the SW ridge (rather enjoyed it- but it's arduous). Have been thinking I would like to summit with my wife, but the length of the SW ridge made me question that.... This west ridge with bypass might be the ticket. Thanks for writing it up!
I like how you have more pics of this traverse than most reports I've seen. Apparently, exposure doesn't bother you enough to put your camera away like they do in so many other reports. Typically, you see a report....here's some class 2, more class 2. I put my camera away for the exposed part. More class 2.
Tornadoman- Yeah SW ridge is great, but not for everyone (you had an interesting approach to that ridge). This west ridge variation is a great scrambly route with much less stress than the hourglass. Would be perfect for you and wife (you've got me thinking now)
tyger- Thanks for the nice comment!
12er- Thanks! I've got more pics. I was holding back haha. Yeah the exposure didn't bother me much (except maybe on crux down climb). I think you just get use to it and the ridge is so solid. Next year?
Supra- Talus? Yes, lots on Hamilton for you when you go for it.
Awesome job documenting and sharing the West ridge direct w/ variation on LB. Has me thinking too... Hope to hear something about a future descent as you mentioned. Great photos from the Traverse and Hamilton as well!
The west ridge direct part that is. And give us a nice GPS track. And build cairns. Lots of cairns. Oh, and take more photos, and put those nice lines on them telling us which way to go. For wussie flatlanders like me who want to do LB but would love to avoid the hourglass.
Didn't actually follow your variation but just knowing that it was there gave me greater confidence to go ahead and try the West Ridge Direct staying on the very top pretty much the entire way, which I really enjoyed!
Caution: The information contained in this report may not be accurate and should not be the only resource used in preparation for your climb. Failure to have the necessary experience, physical conditioning, supplies or equipment can result in injury or death. 14ers.com and the author(s) of this report provide no warranties, either express or implied, that the information provided is accurate or reliable. By using the information provided, you agree to indemnify and hold harmless 14ers.com and the report author(s) with respect to any claims and demands against them, including any attorney fees and expenses. Please read the 14ers.com Safety and Disclaimer pages for more information.
Please respect private property: 14ers.com supports the rights of private landowners to determine how and by whom their land will be used. In Colorado, it is your responsibility to determine if land is private and to obtain the appropriate permission before entering the property.


")
")
")
")
")
")
")
")
")
")
")
")
")
")
")
")
")
")
")
")
")
")
")
")
")
")
")
")
")
")
")
")
")
")
")
")
")
")
")
")
")
")
")
")
")
")
")
")
")
")


