| Report Type | Full |
| Peak(s) |
Pilot Knob - 13,746 feet Golden Horn - 13,789 feet Vermilion Peak - 13,909 feet Fuller Peak - 13,777 feet |
| Date Posted | 09/01/2021 |
| Date Climbed | 08/22/2021 |
| Author | pgres |
| Choss and Pretty Rocks |
|---|
|
Choss and Pretty Rocks Route Description: From Island Lake, Pilot Knob via the West Gully, traverse under the cliff band on the west side to the connecting ridge w/ Golden Horn, ridge walk (w/ gratuitous scrambling in the middle) to Golden Horn and then summit via the Southwest Ridge, Vermillion Peak via a traverse under the cliff bands to the saddle connecting Fuller and Vermillion, Then Vermillion and Fuller each by their standard routes. Approach: 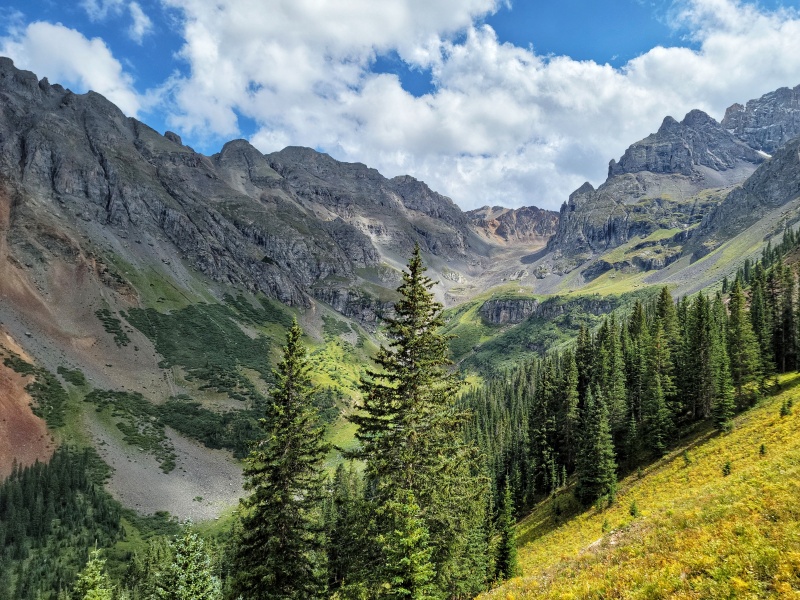
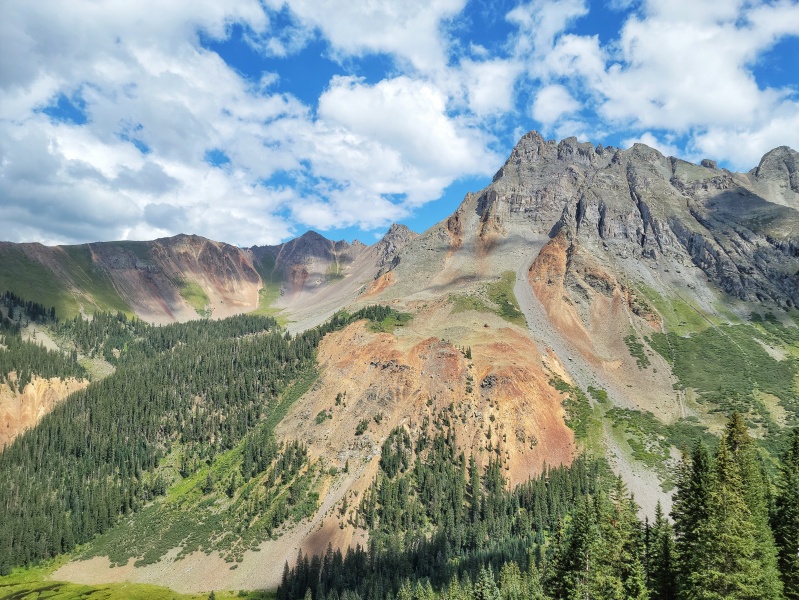

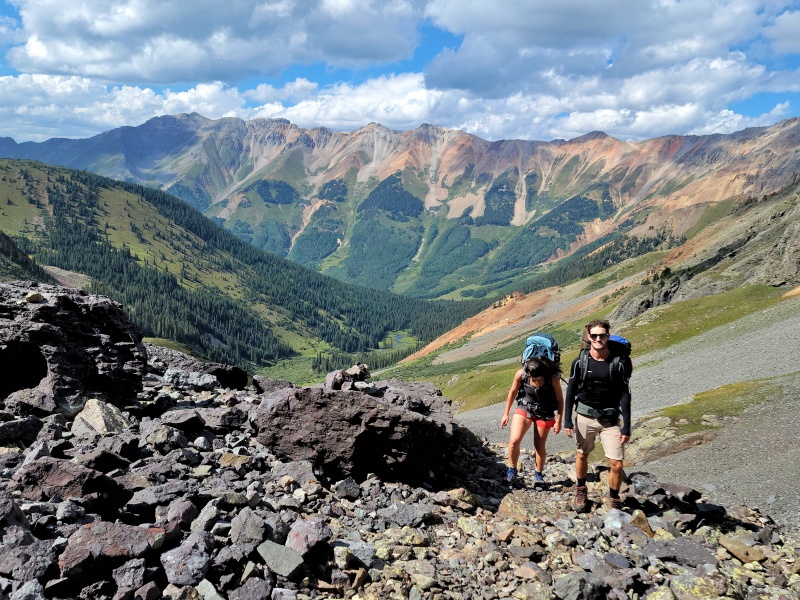

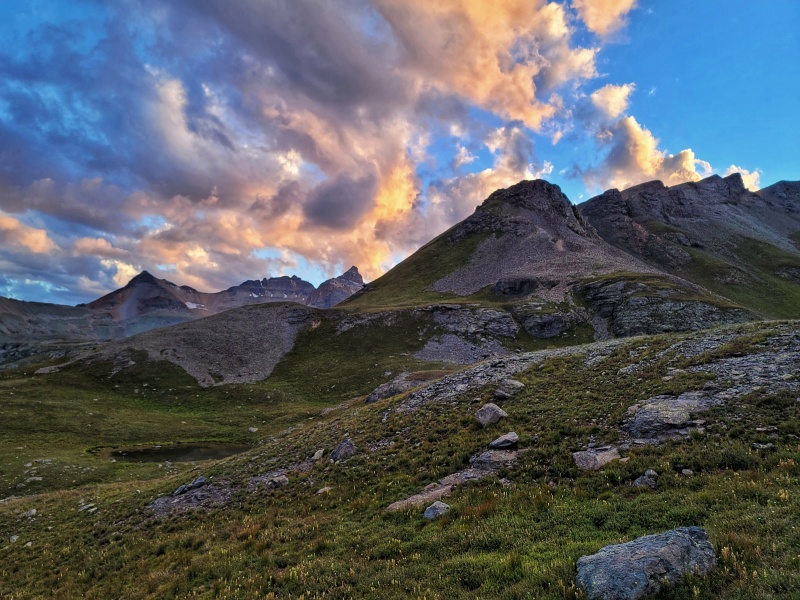
Pilot Knob: Approach Pilot Knob is without a doubt the most difficult and uniquely beautiful of the 4 peaks we climbed in the basin. We took the Class 3 Gully on the West side, though there is supposedly a Class 4 route on the East side of the ridge that gains one of two yellow gullies closer to the prominent middle bump in the ridge. We had a long day ahead of us and decided it would be smarter to keep things easier rather than harder. 

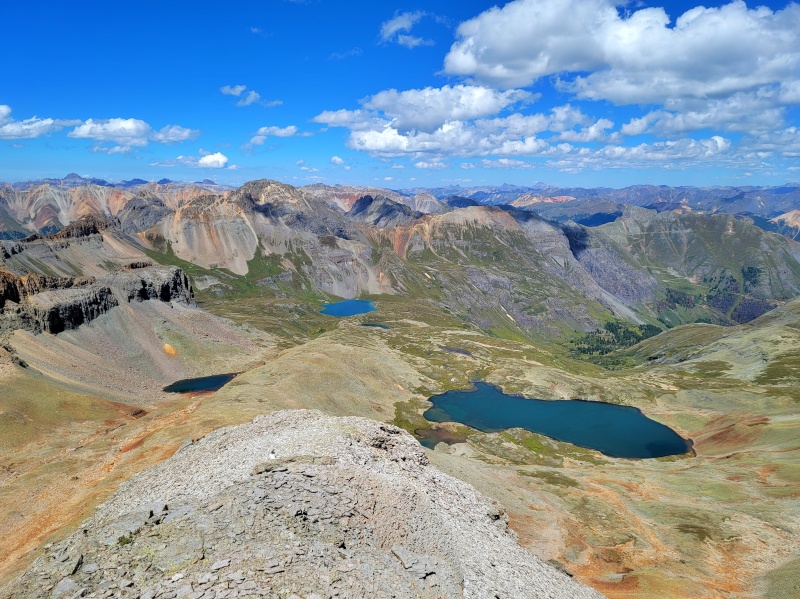
We followed the right side of the creek that feeds Ice Lake until we found a good place to cross higher up in the basin. From there, we contoured up through the basin until arriving at a bulge that basically took us up to the base of the scree field below the ridge. Initially, we looked at the gullies and tried to gain the ridge further to the right because the rock quality looked better (scrambling as opposed to scree surfing). When we topped out on the ridge, we realized there was no way to move to the left on the ridge to access the North side of Pilot Knob's summit. We were forced to descend and then traversed across the slope (sticking to solid rock) into the primary dirt gully. The solid line is our actual route (less the ridge top out and backtrack) whereas the dotted line is likely the most efficient way to gain the ridge. That being said, we found some interesting old mining equipment and and old mining shaft with our indirect route. 
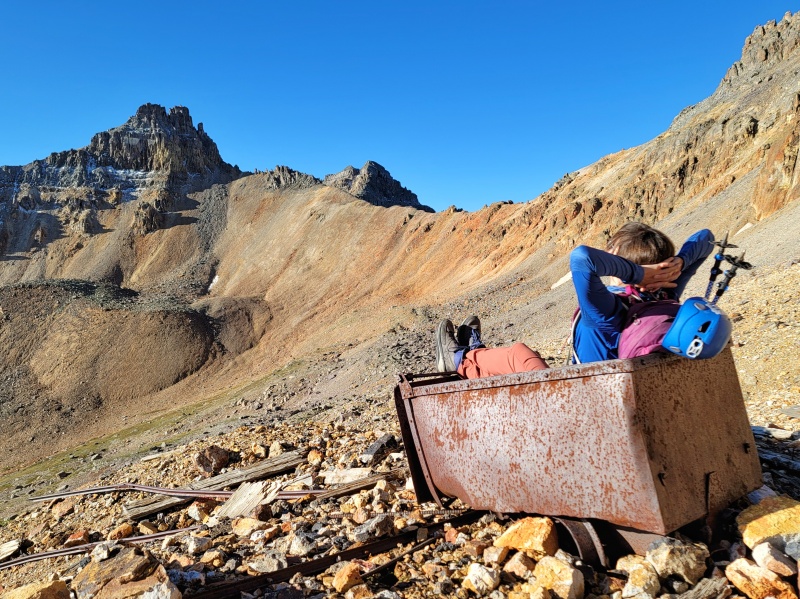


Pilot Knob: The Gully Once you gain the top of the ridge, traverse bellow the steeper rock to arrive below the ledge in the distance - there's a grey cairn on the grey rock, which becomes more obvious as you approach it. From here, you'll turn left and follow a faint path through the scree that traverses the west side of the cliff band. You'll continue to traverse until you find the first gully that looks even remotely climbable (Class 3 vs. 5.something-ridiculous). Turn left up the gully to gain the ridge. There's plenty of loose rock here though, so make sure your mindful of any partners below you! 


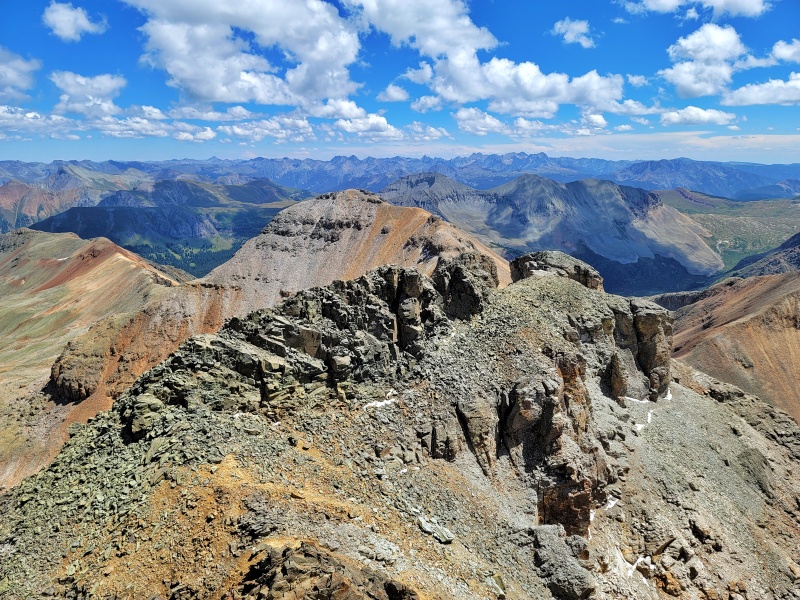
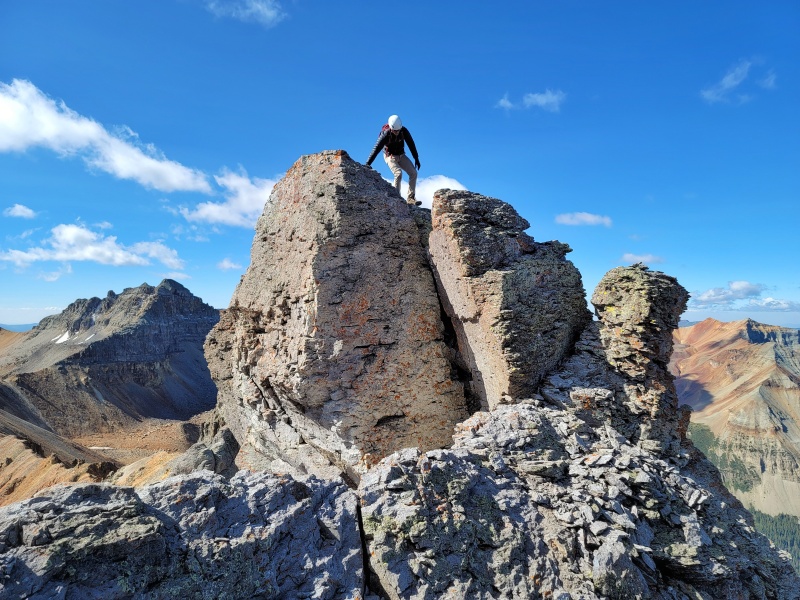
Pilot Knob: The Ridge The ridge is fairly straightforward and is one of the few were staying ridge proper is actually the easiest path to the summit. You'll be looking up towards the top of a tower that looks very airy and doesn't look like it goes, but it does. I actually got off route here and tried traversing around the right side of this high point. This very quickly put me in 5th class terrain that I had to backtrack from. Upon further investigation, we saw yet another grey cairn on grey rock that we had missed because it was hidden in shadow. We subsequently built a bigger cairn so it's better marked. You'll have an airy down-climb on the back side of the ridge high point. From there, you'll encounter a tower. We traversed around the left (West) side of the tower by following an obvious ledge demarking the rock. From there, approach the final summit block. The weakness in the rock band is hidden until you're closer, but you'll see a short gully that permits access to the summit block on the left side of the rock band. Enjoy the summit! This was definitely our favorite of the 4 peaks. 


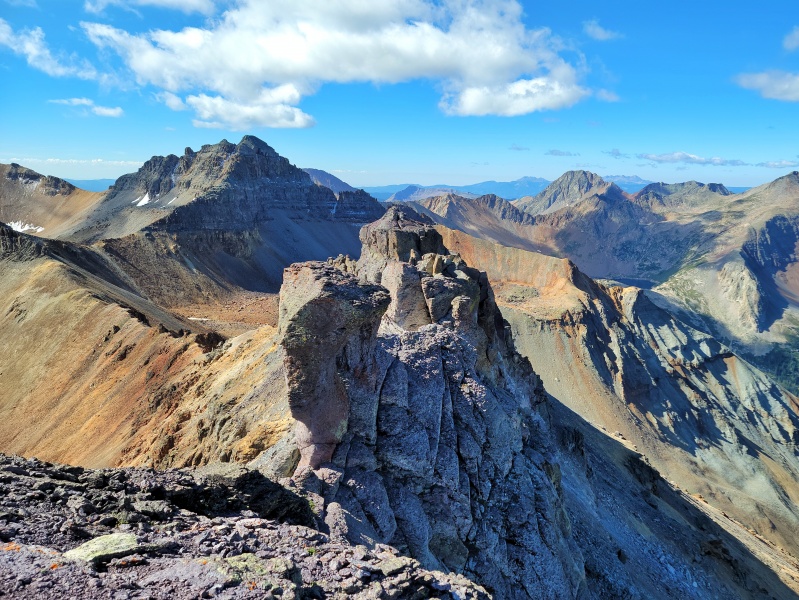


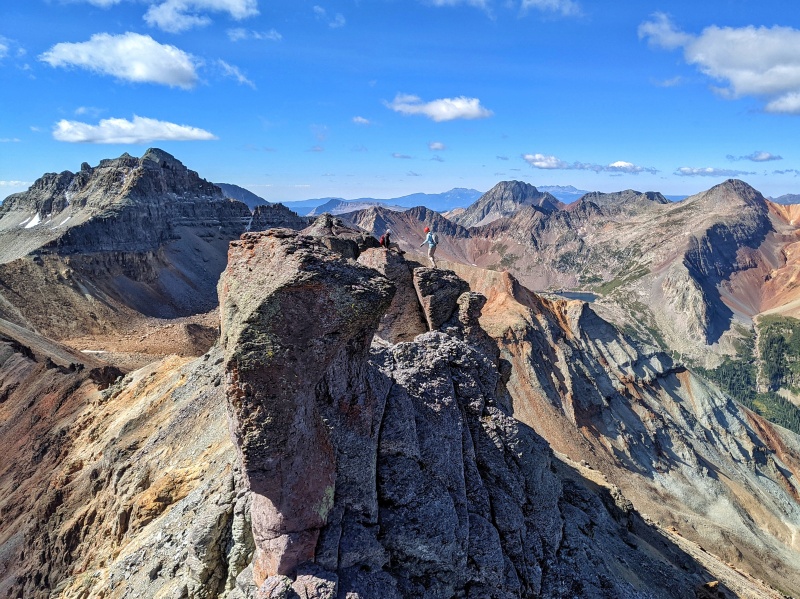

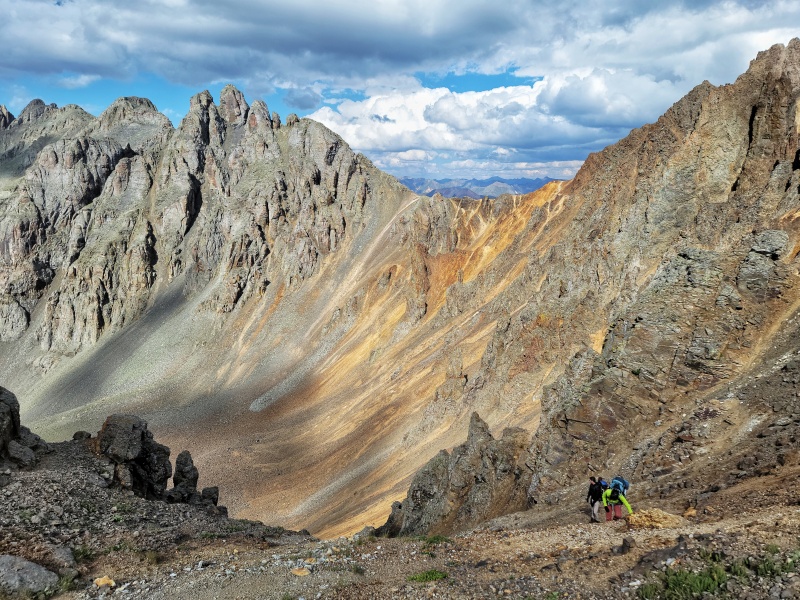
Pilot Knob: The Traverse Around the West Side The traverse around the west side of Pilot Knob's cliff band was the worst kind of terrain - extremely loose, shift, steep, and exposed. Think terrain that would normally be "screeable", but with exposure and basketball sized boulders mixed in with scree and dirt. We showered the mountain side below us with rocks every step we took. The traverse can be split into two sections, separated by a rock rib of sorts. We made a mistake on the first section and tried to traverse high, close to the base of the cliff band. In hindsight, our route would have been easier had we descended 50-100 feet to a lower-angle section of he hillside for the first section. If you go low and stay low, you'll be in a good spot for the next section, which necessitates going low to go underneath a cliff band. The second section went much easier. As the terrain allows, begin making your way up and towards the left to gain the ridgeline between Pilot Knob and Golden Horn (see photo below of the section right before gaining the ridge). Aim for the path of least resistance and you'll end up on a pile of grey rock below the south end of the cliff that makes up Pilot Knob's summit ridge. From here, cross over the ridge and descend down the East Side on grey choss and dinner plates before making your way to the right along the ridge. Once past the grey rock, the terrain eases and the majority of your difficulties are over! Staying on the "ridge" was extremely contrived and likely took us more time than had we descended back into Ice Lake Basin and gained the saddle for Golden Horn via the standard route. 
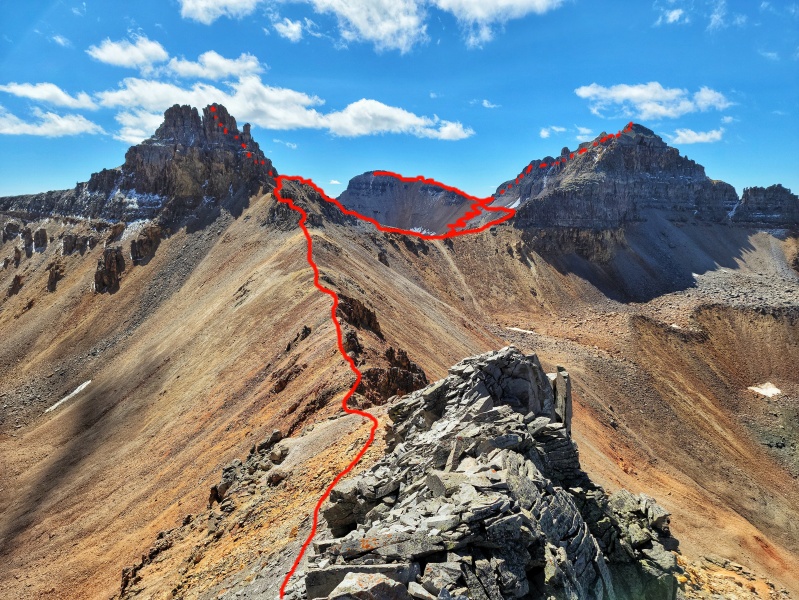
Golden Horn: Traverse and South West Ridge Route Once you're on the red rock, the traverse is fairly straightforward less a mound right before you reach Golden Horn. You can stay down and to the right of this section or climb directly up and over. I found directly up and over to be a lot of fun - lots of interesting pillars and towers. Aim for a notch in the Southwest Ridge of Golden Horn (should NOT exceed Class 2) and make your way onto the standard ascent route. Head in a general upwards direction to the summit! Routed finding is required, but the route should never exceed Class 3. The West summit is the proper summit, though the East summit is a more entertaining scrambling objective. After Golden Horn, descend down to the ridge between Golden Horn and Vermillion via the same route you took up. 
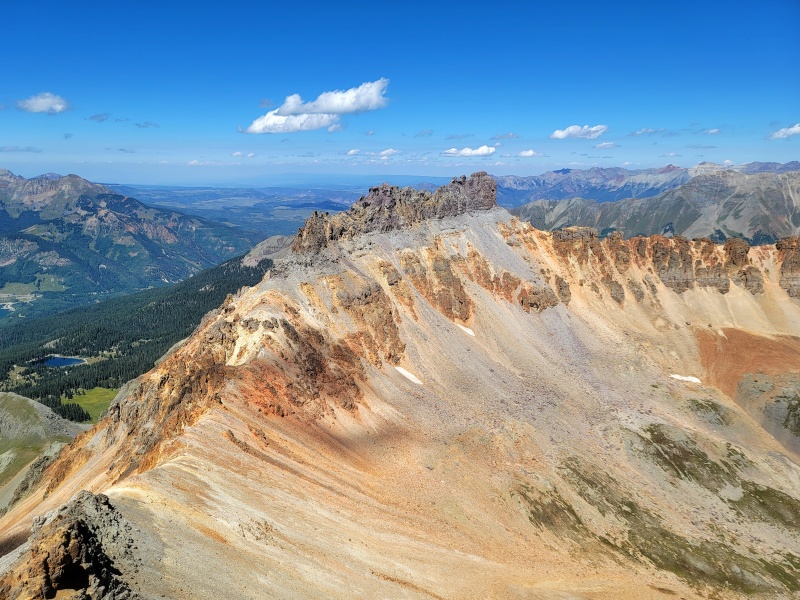

Traverse to Vermillion and Vermillion Summit We thought about making an attempt on Vermillion's NE Ridge to access the summit, but we're pretty worn out from the ordeal that was the West-side traverse around the summit ridge of Pilot Knob. From what we've read, it is possible to take the NE Ridge and it allegedly goes at Class 3 with careful route finding through some of the lesser cliff bands until you hit the final cliff band that makes up the top summit block. From here, beta says to traverse the ledge below this cliff over to the obvious couloir that splits the face and then ascend the couloir to the notch to meet up with the standard route. This all looked possible, but we decided to traverse across a ledge system that transitions into a faint use trail and meets up with the trail that zig-zags it's way up to the saddle between Vermillion and Fuller (see photo below)
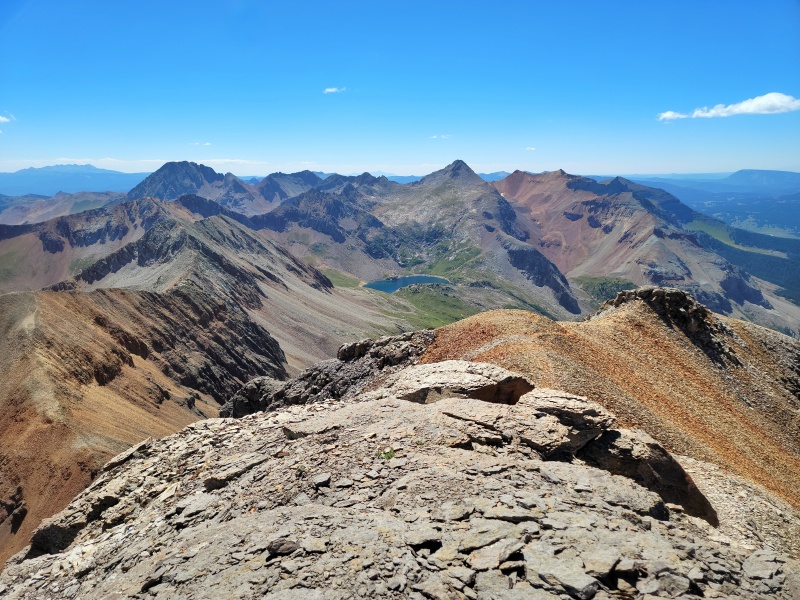
Traverse to Fuller and Fuller Summit: Retrace your steps down the saddle between Fuller and Vermillion and then hike the nice Class 1 trail to Fuller's summit if you're so inclined! It's not a fun summit, but it definitely rounds out the ridgeline above Ice Lake Basin and has beautiful views of all everything you just hiked!
From the summit of fuller, descend back to the saddle and follow the zig-zagging use trail to the basin below - from there, follow the cairns, which will take you to a junction with Fuller Lake. From Fuller Lake, the obvious Ice Lake Basin trail network resumes - time to head back to the car for post-hike dranks. 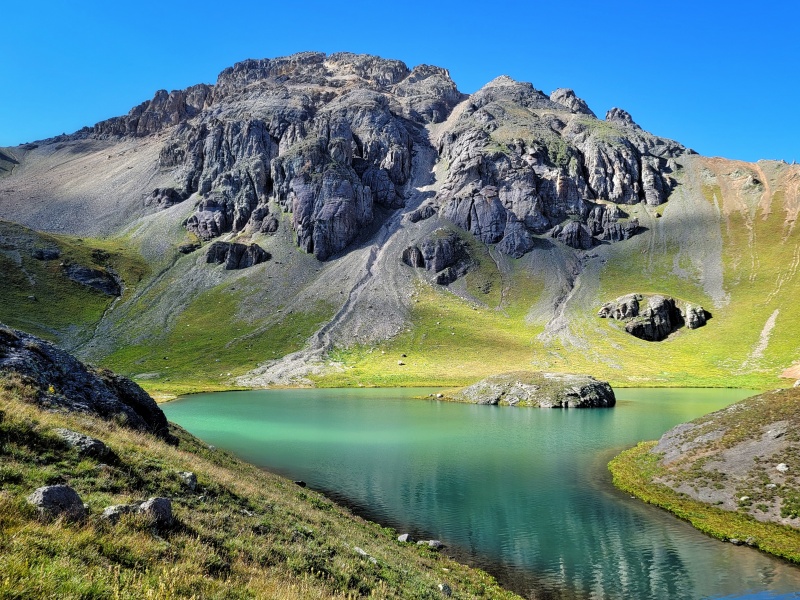


In summary, a very chossy, but incredibly beautiful traverse! Thumbnails for uploaded photos (click to open slideshow): 


|
| Comments or Questions | ||||||||||||
|---|---|---|---|---|---|---|---|---|---|---|---|---|
|
Caution: The information contained in this report may not be accurate and should not be the only resource used in preparation for your climb. Failure to have the necessary experience, physical conditioning, supplies or equipment can result in injury or death. 14ers.com and the author(s) of this report provide no warranties, either express or implied, that the information provided is accurate or reliable. By using the information provided, you agree to indemnify and hold harmless 14ers.com and the report author(s) with respect to any claims and demands against them, including any attorney fees and expenses. Please read the 14ers.com Safety and Disclaimer pages for more information.
Please respect private property: 14ers.com supports the rights of private landowners to determine how and by whom their land will be used. In Colorado, it is your responsibility to determine if land is private and to obtain the appropriate permission before entering the property.